/ /AluminumCasting /MechContrSyst /ParametricSlicing /AluminumCarving /Thermodynamics /FEA /SPE3Dprinting /ElectricMotorcycle /3dPressureSensingHotend /PopsicleBridge /Ramjet /ModelSterling /3DPrintedDiscGolf /Bonsai /DamascusRing /Drawings /MetropolisFEA /Python /Ceramics
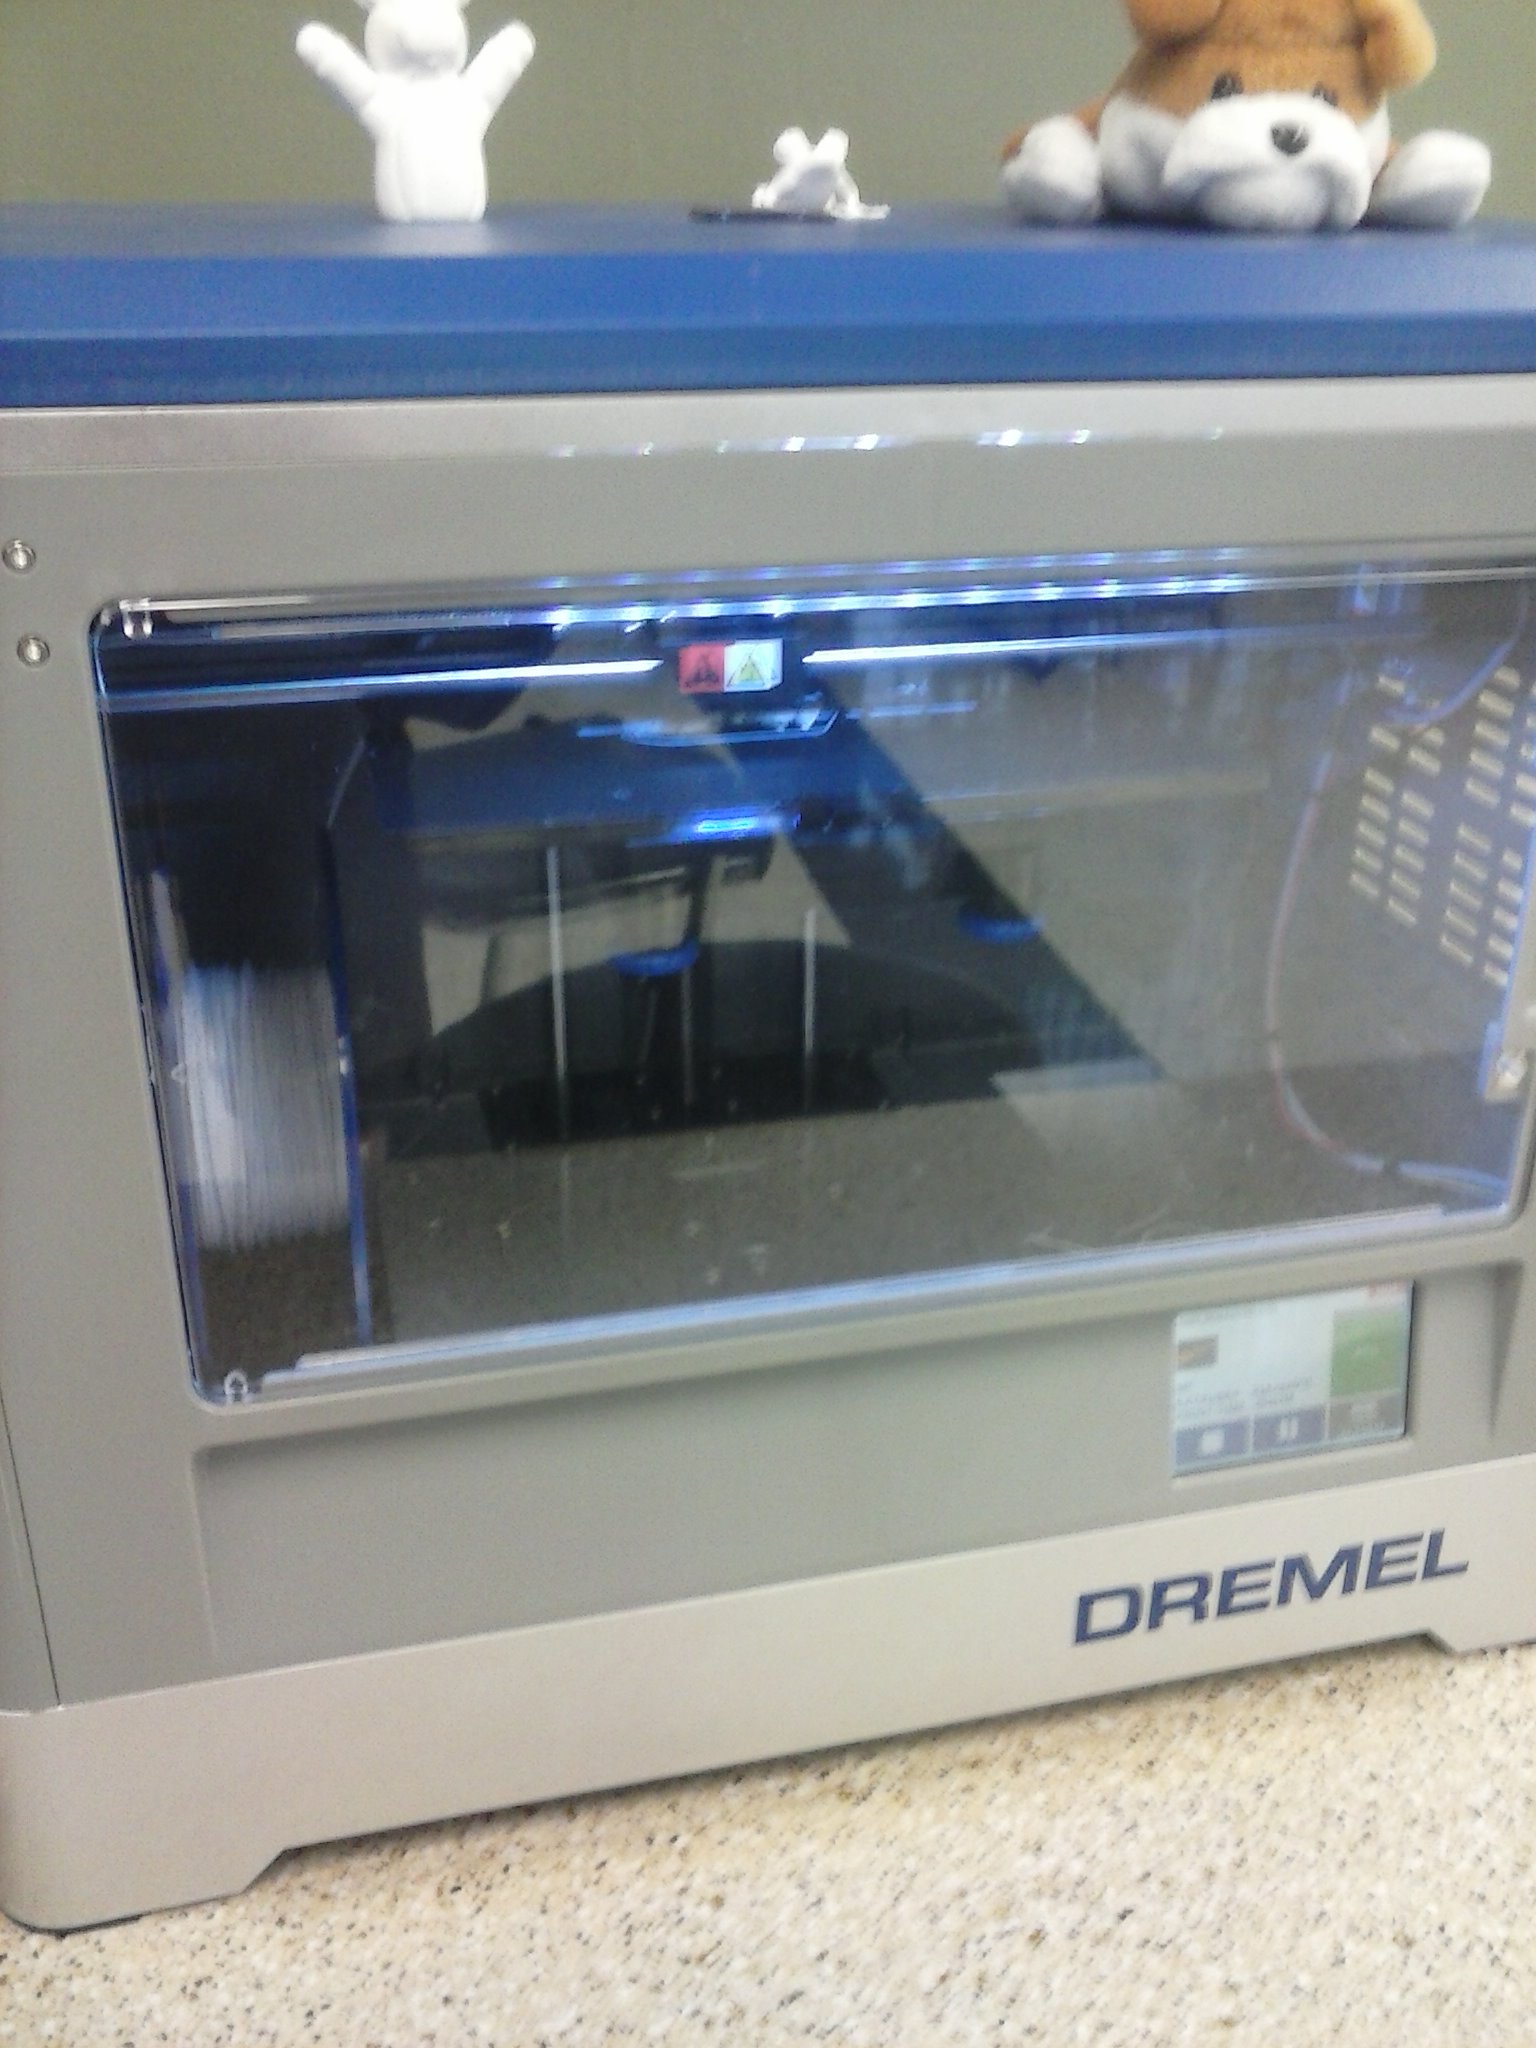
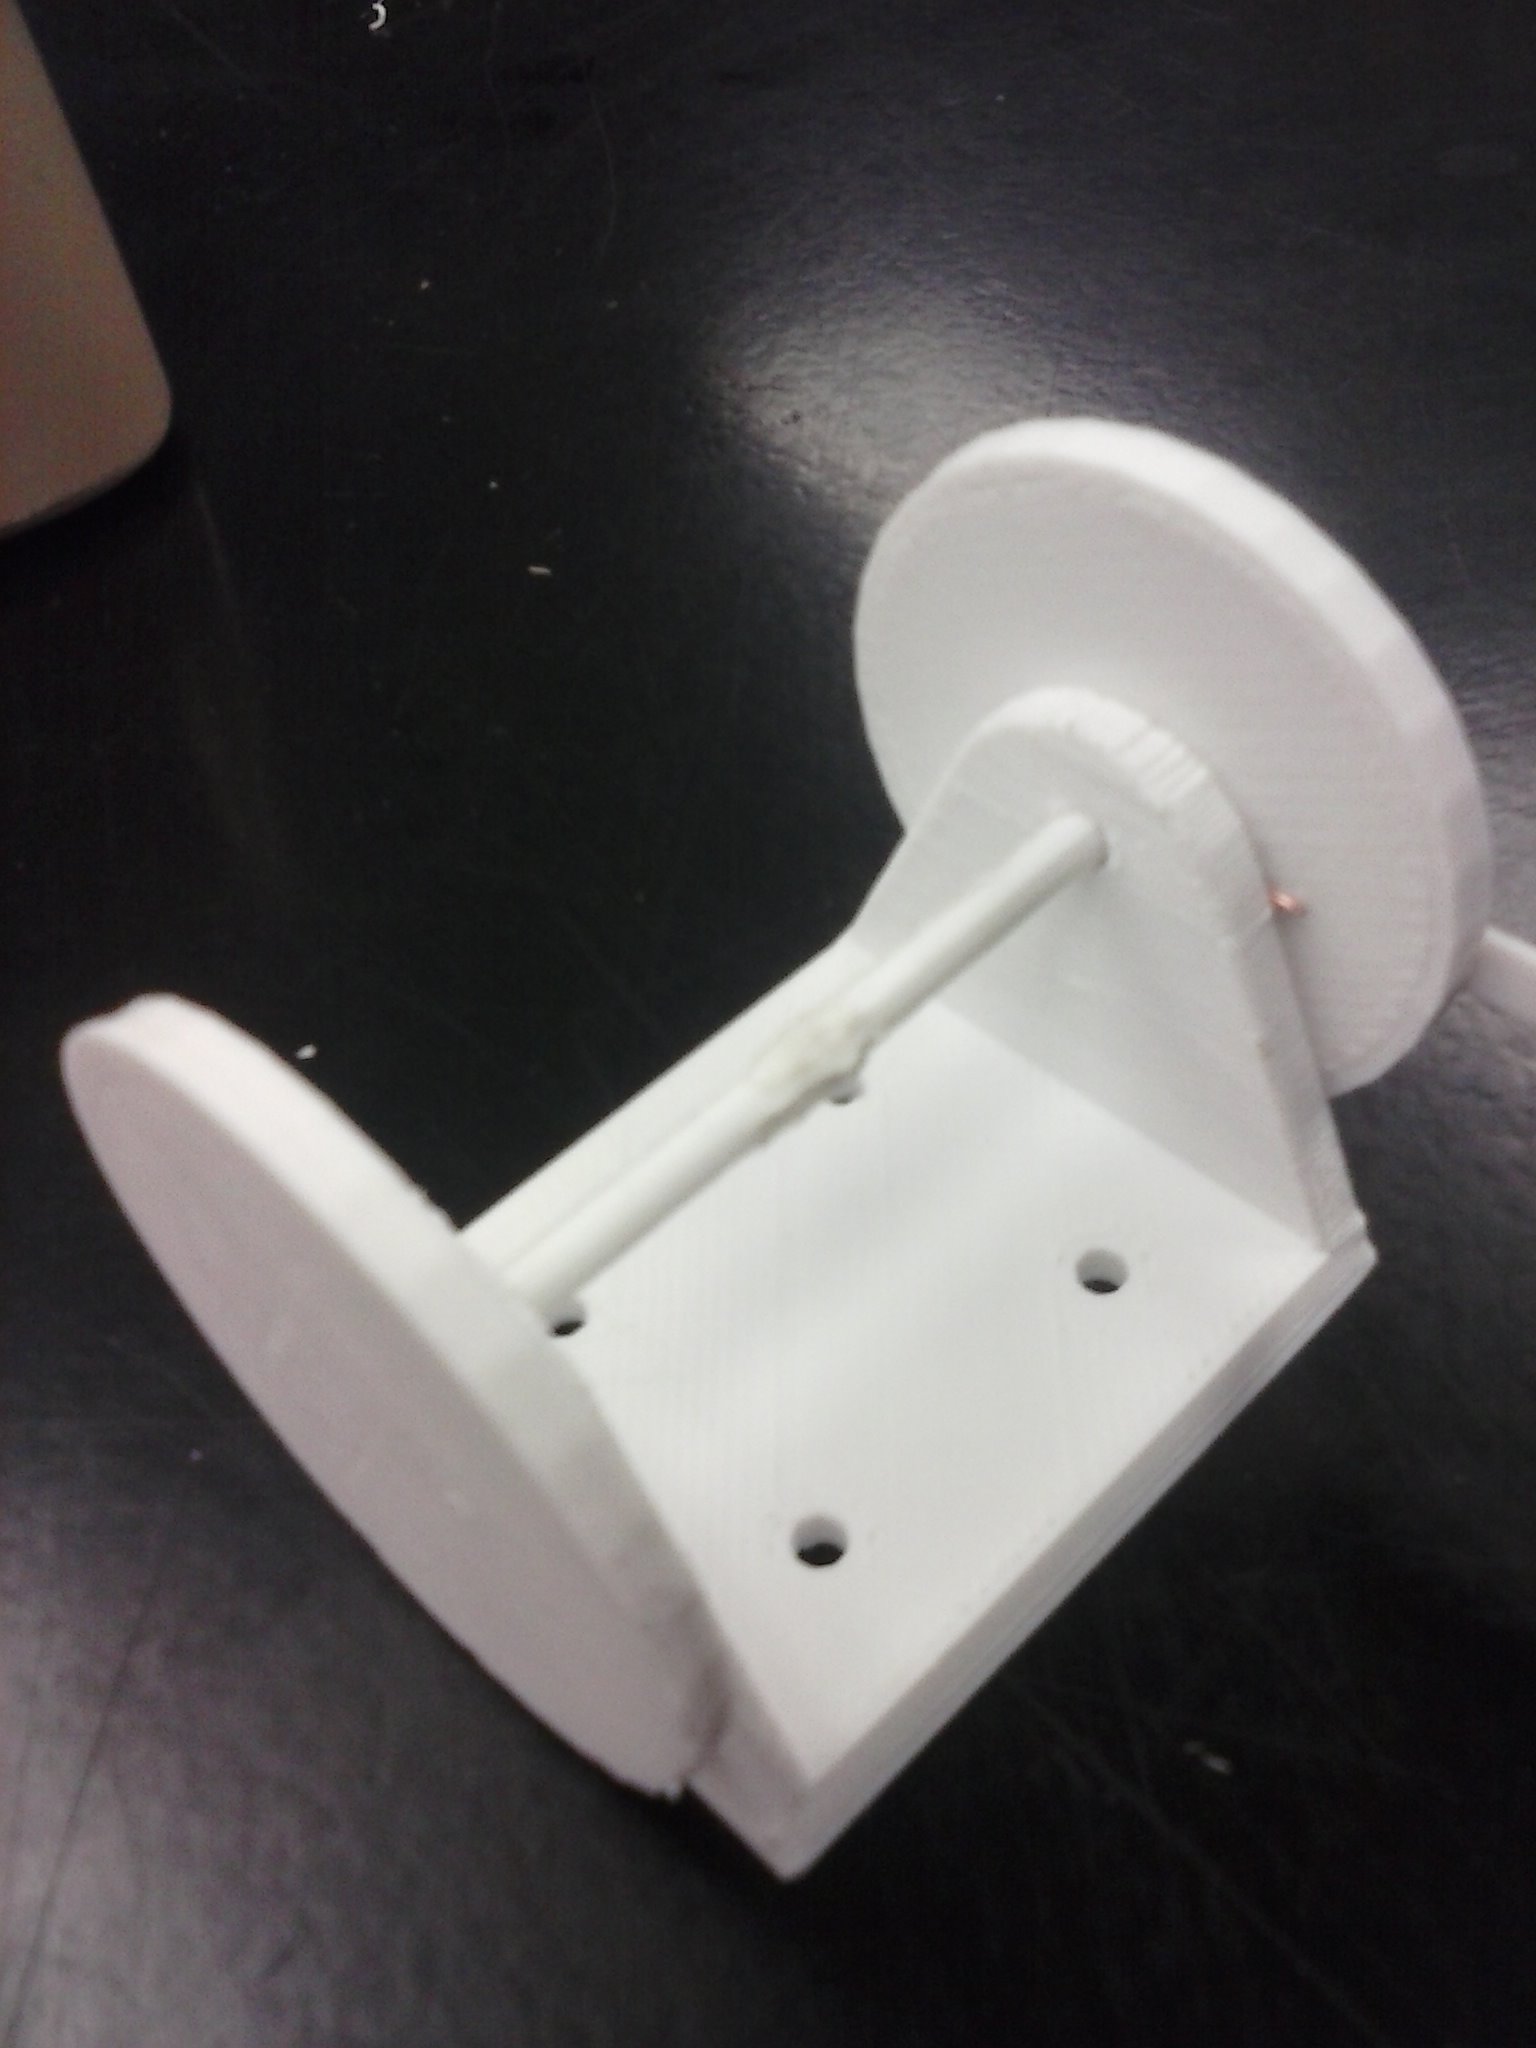
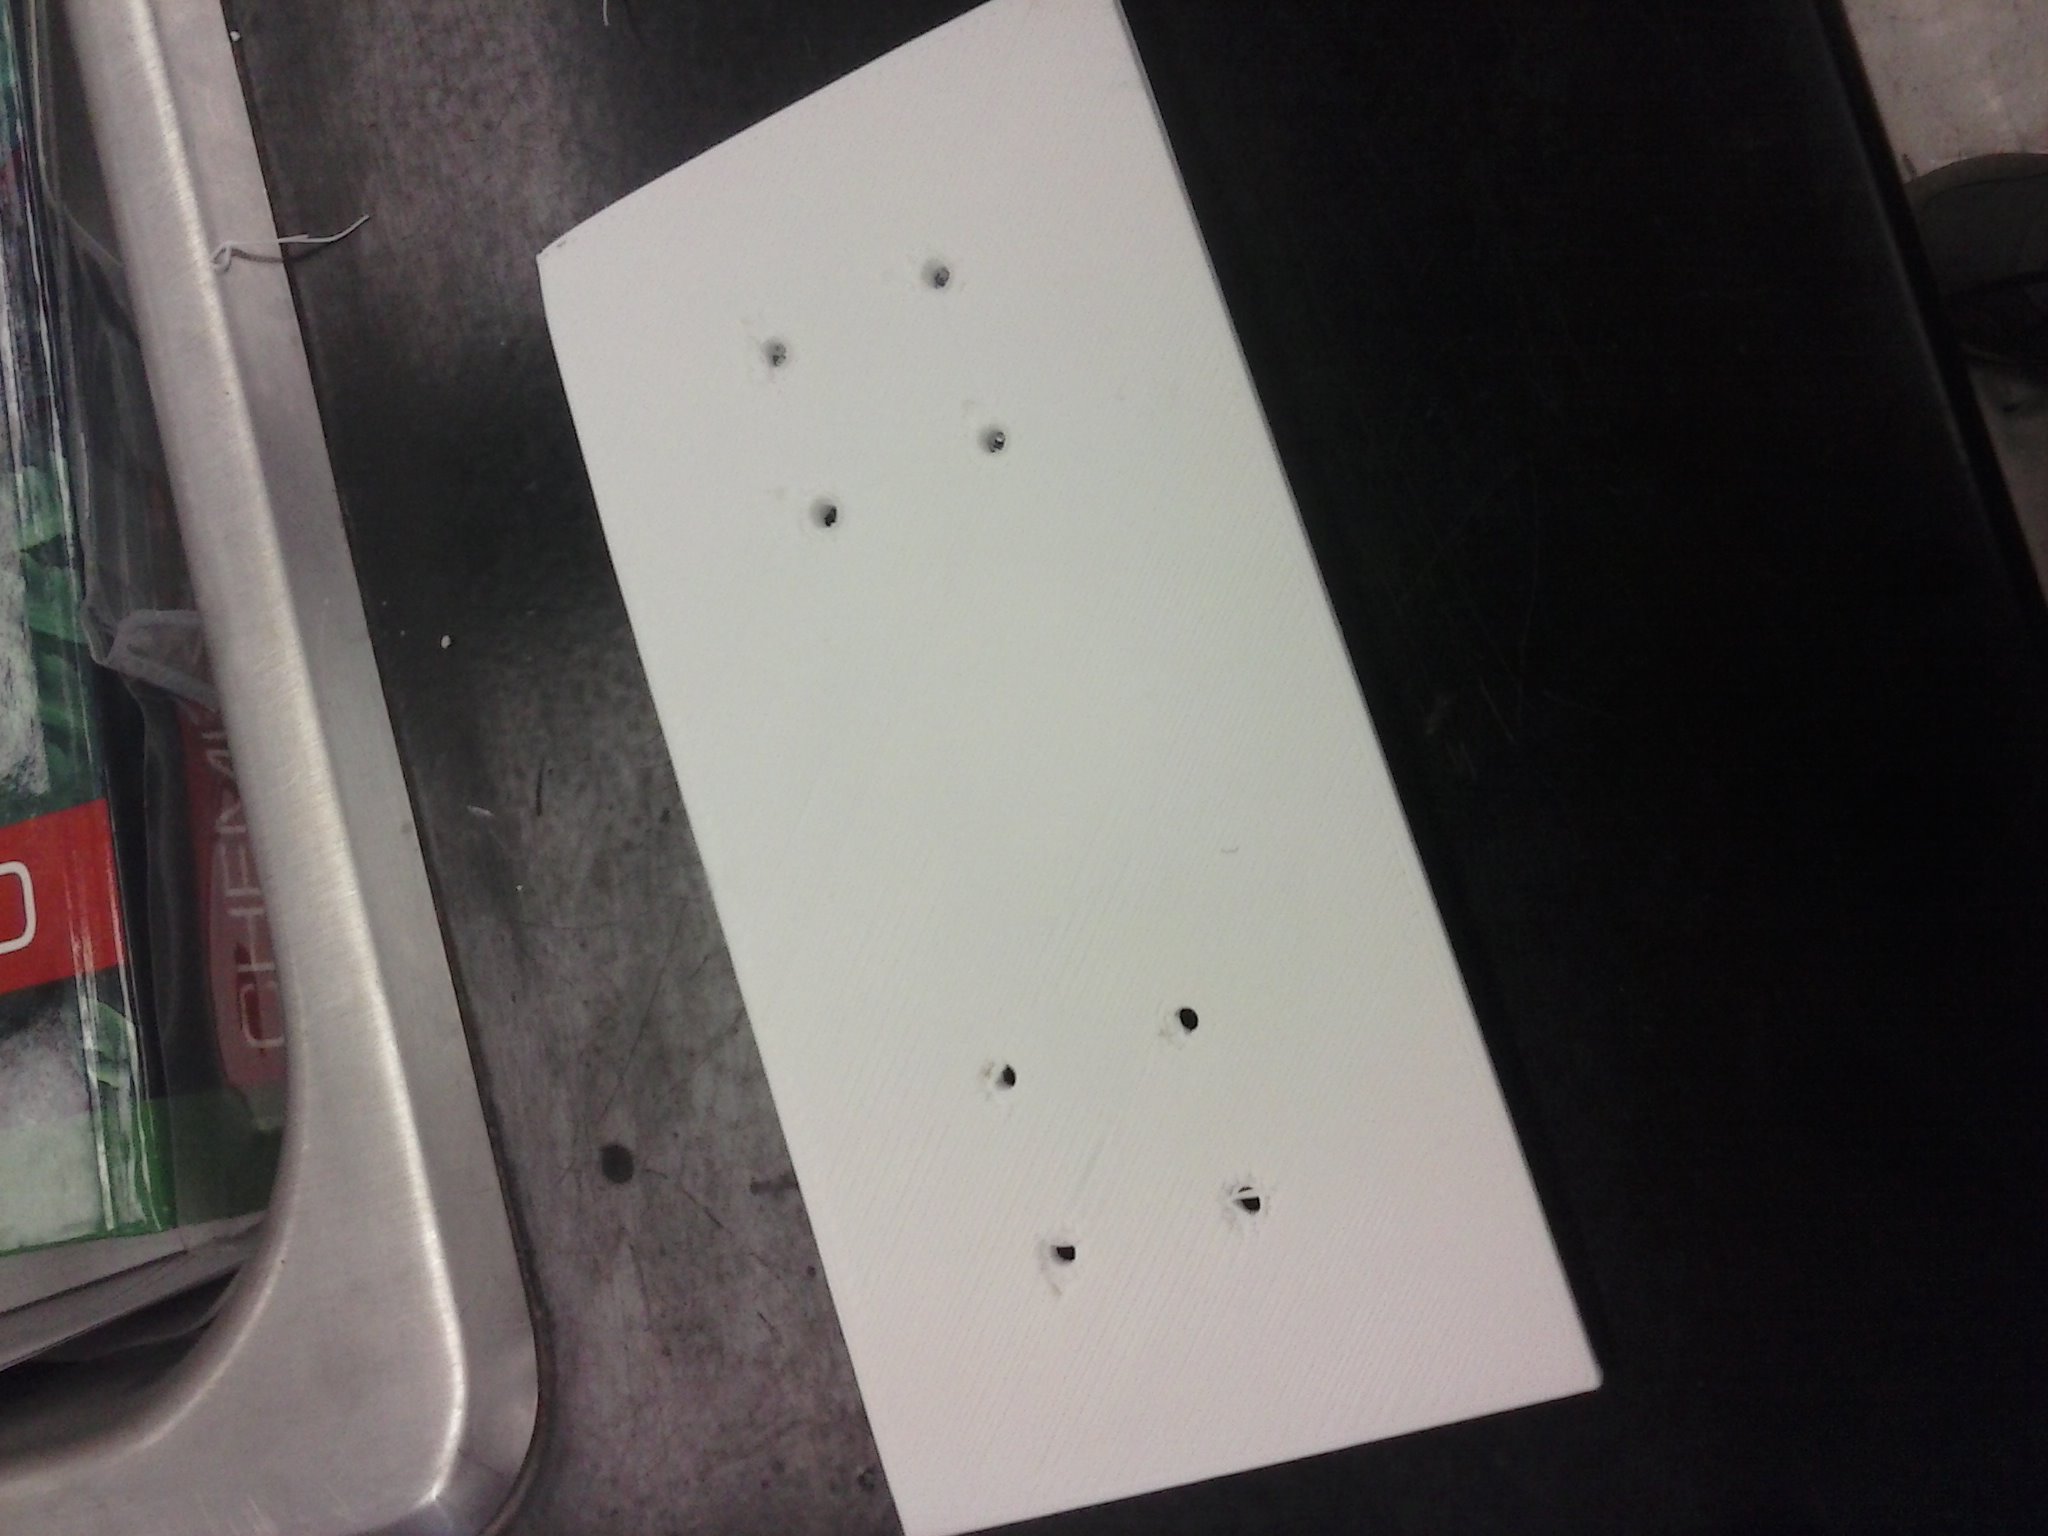
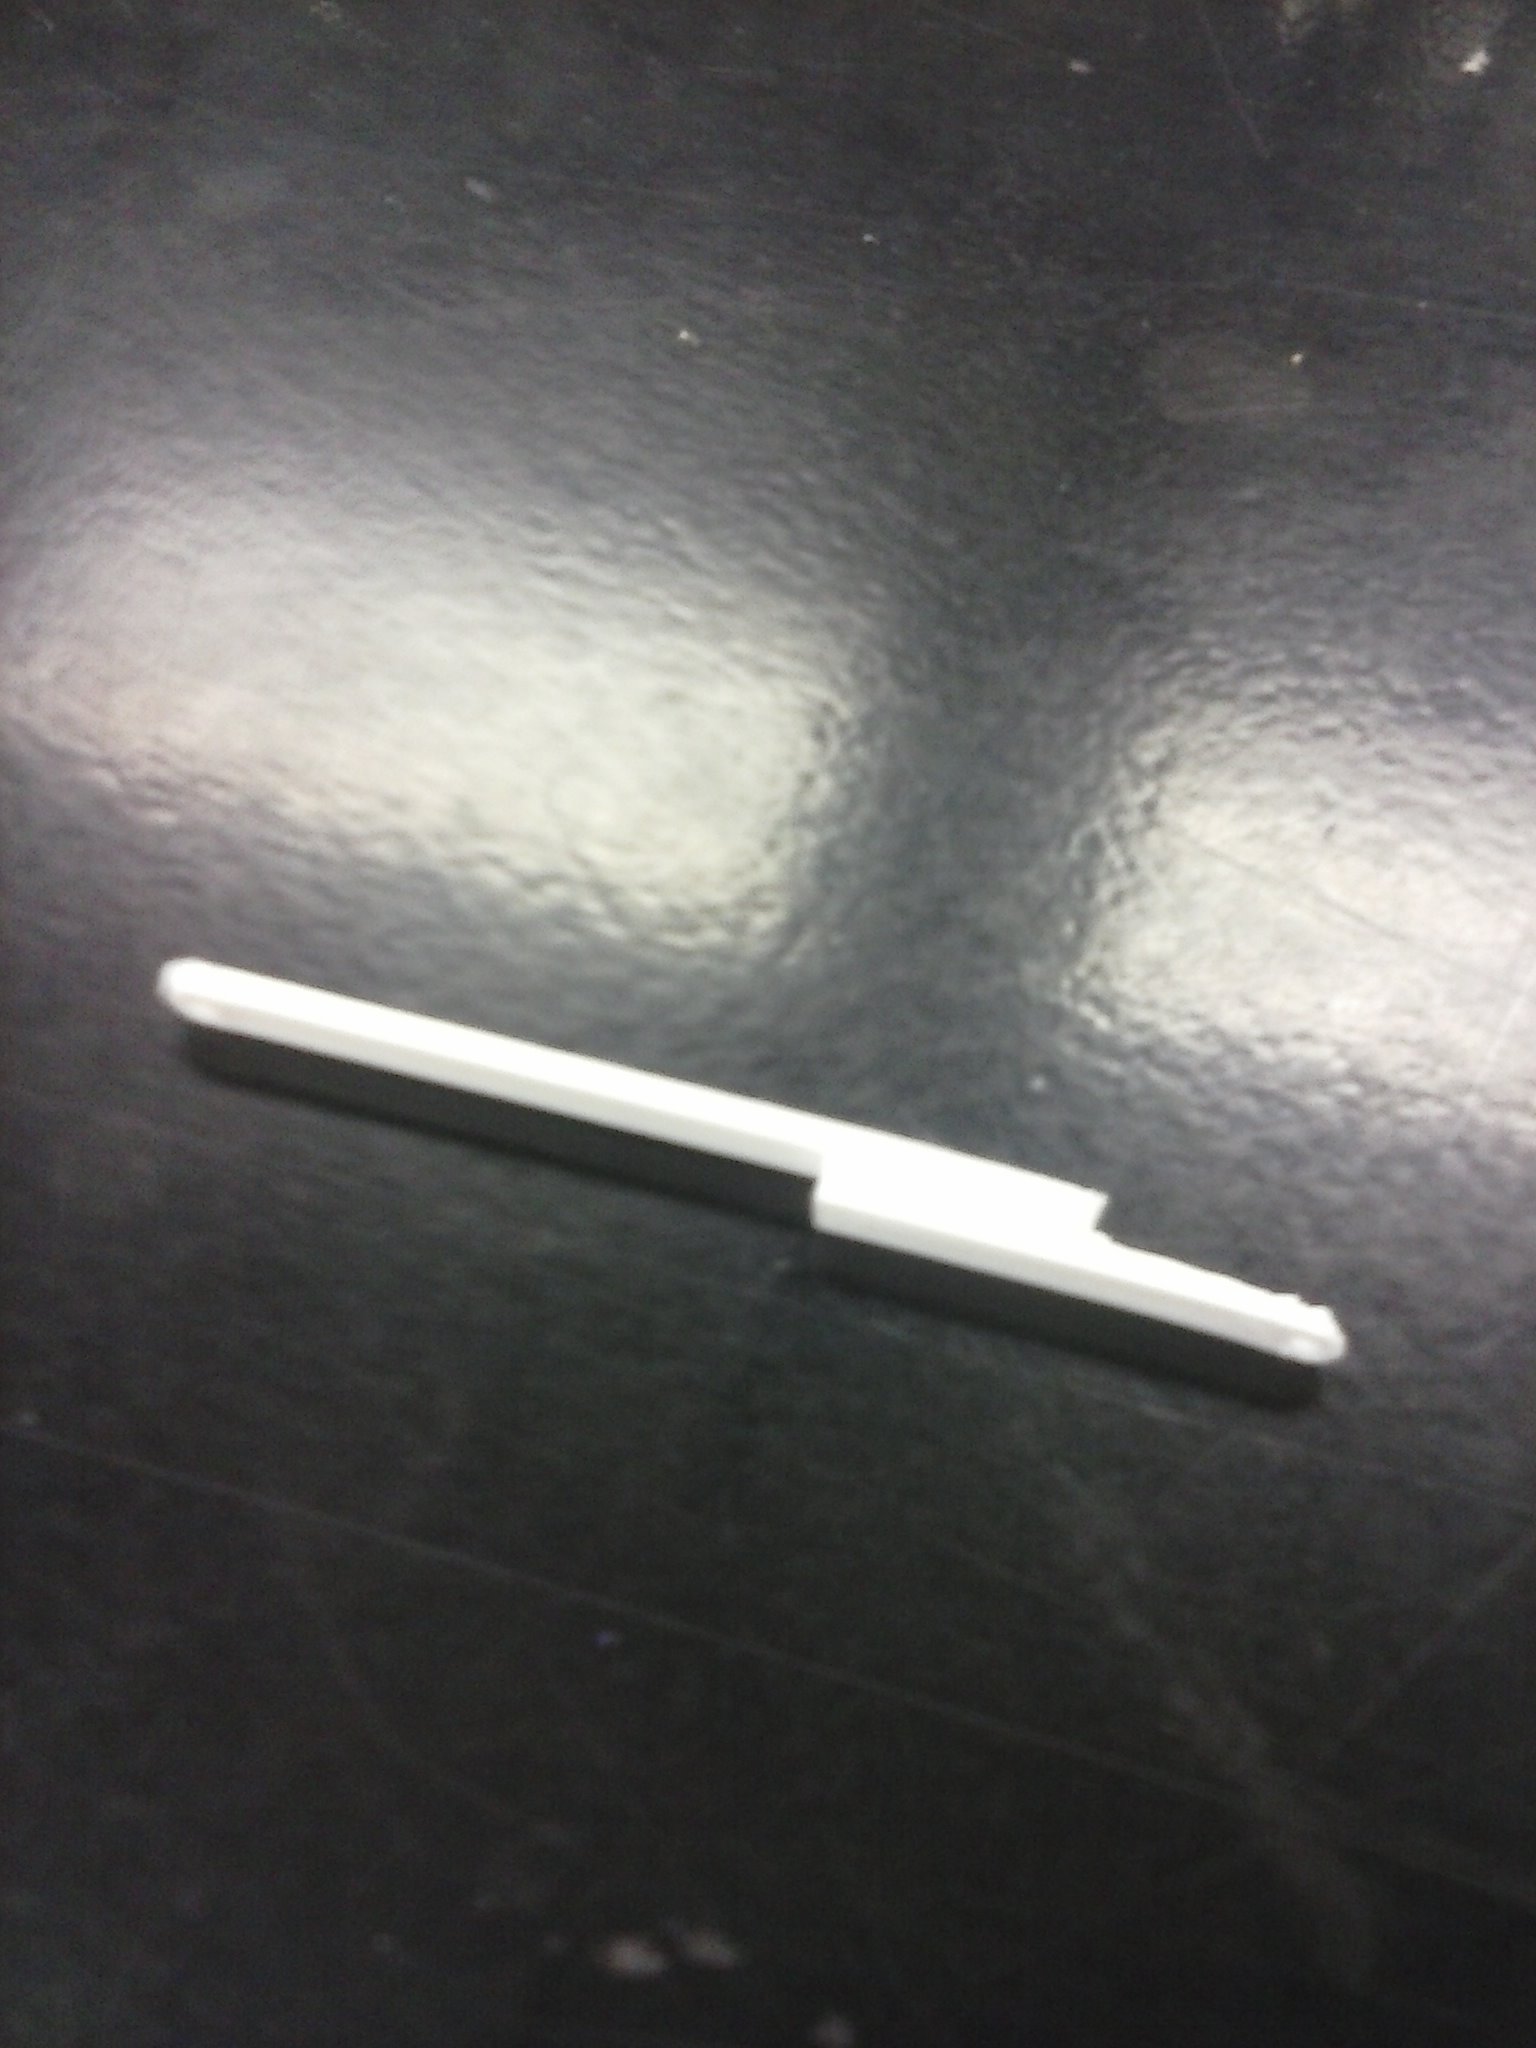
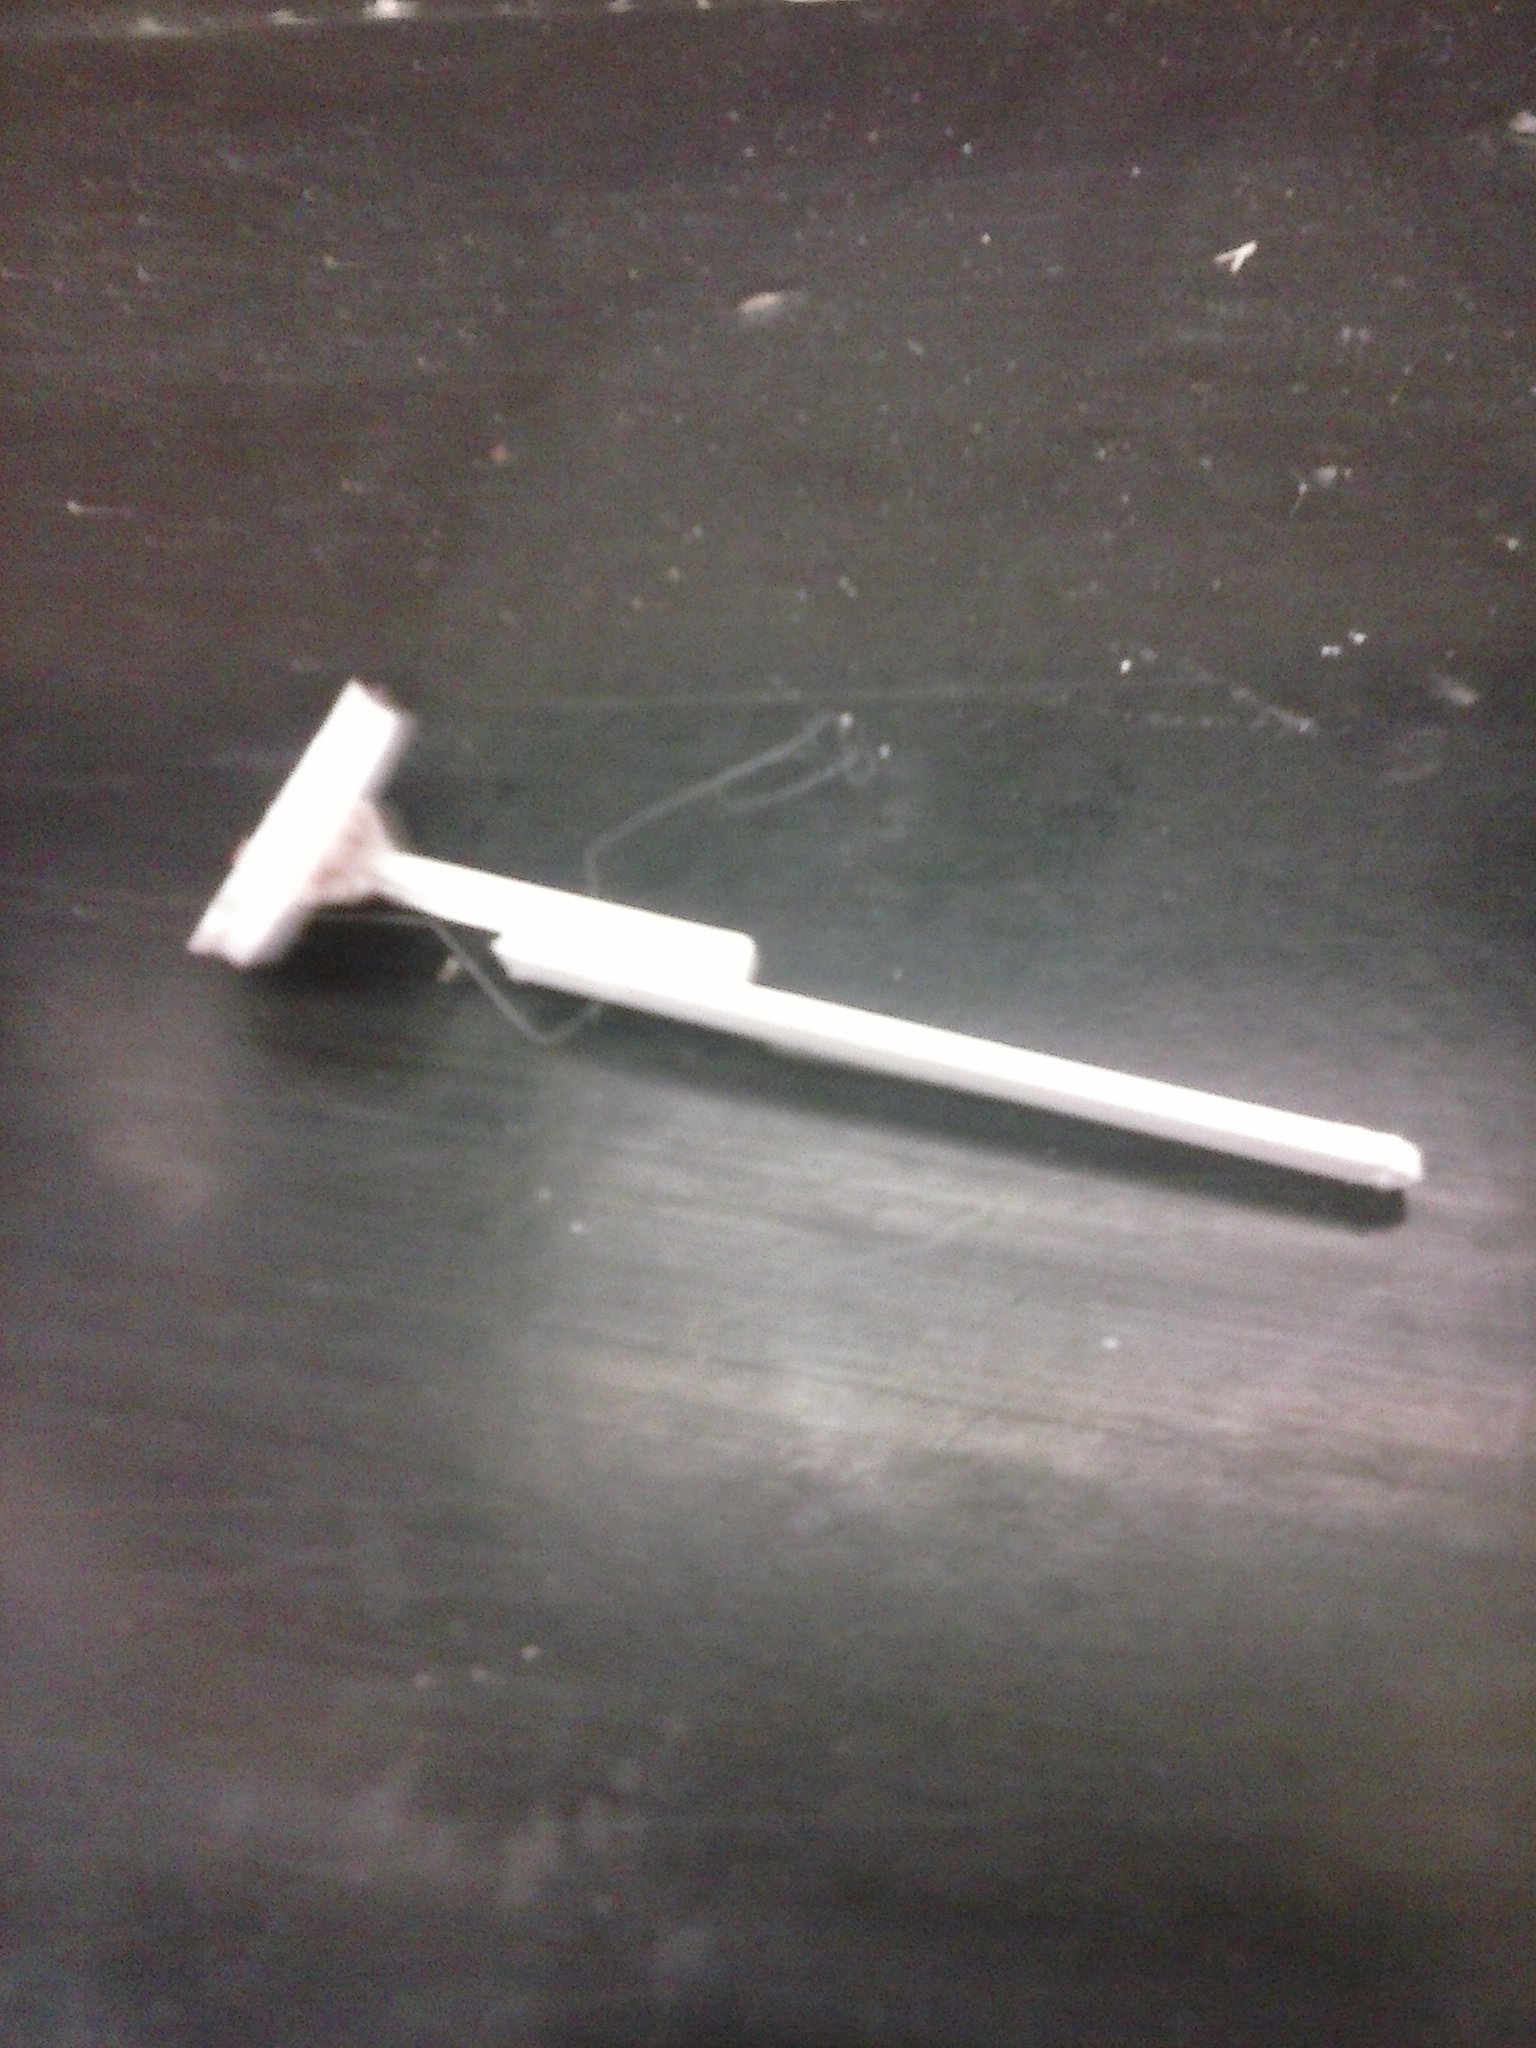
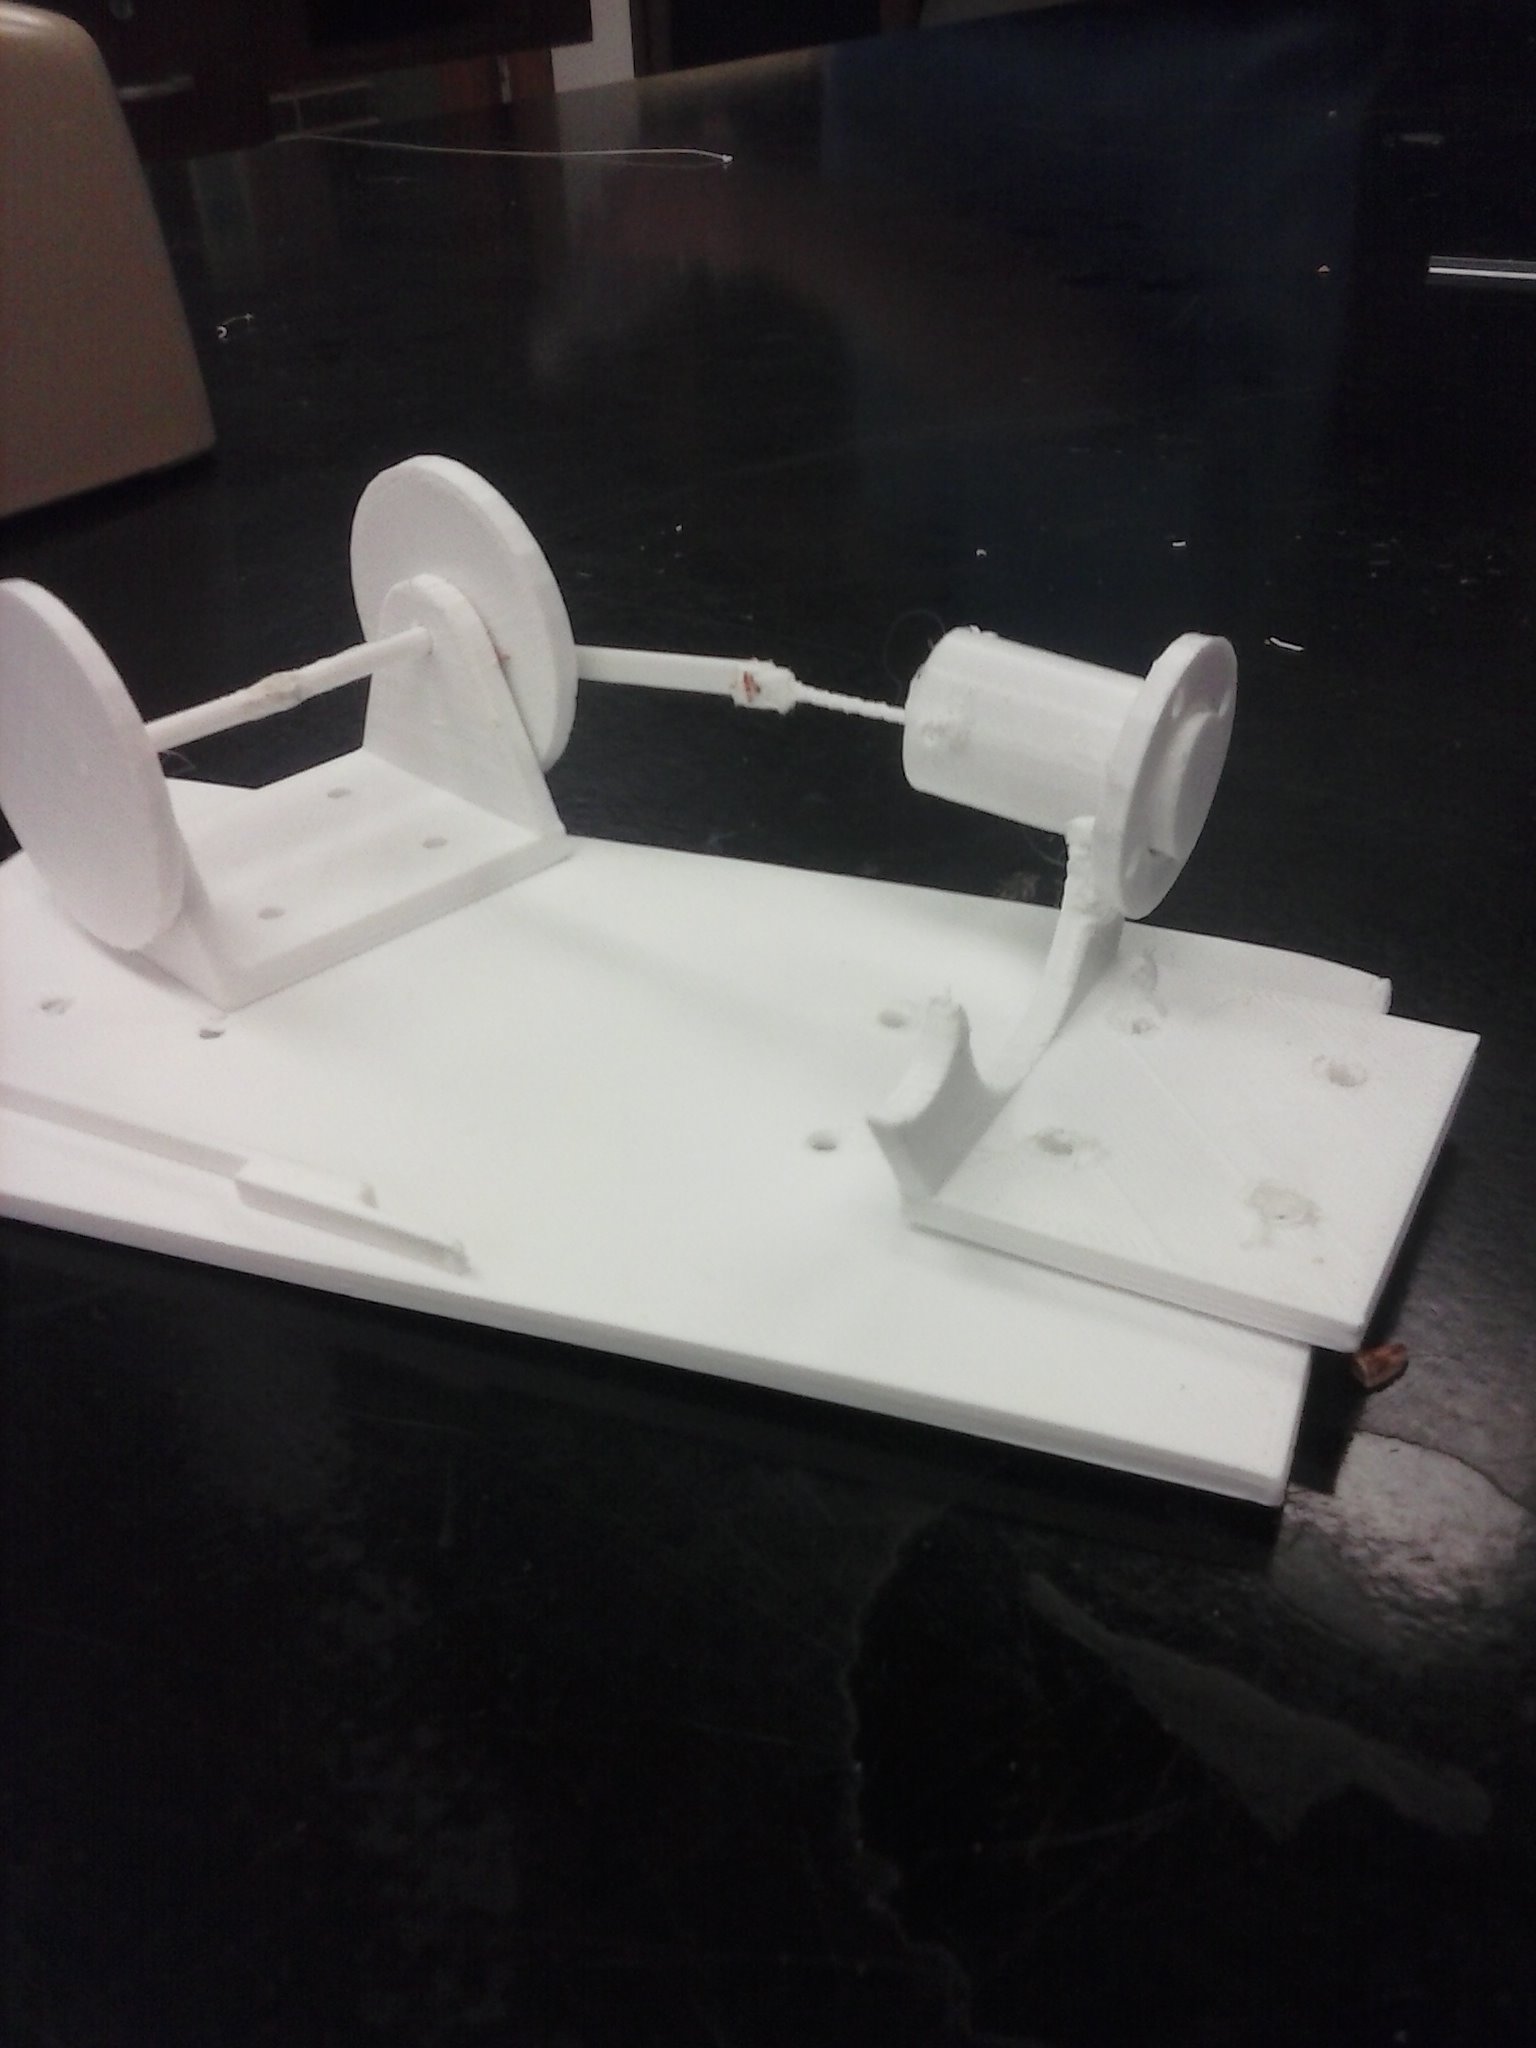
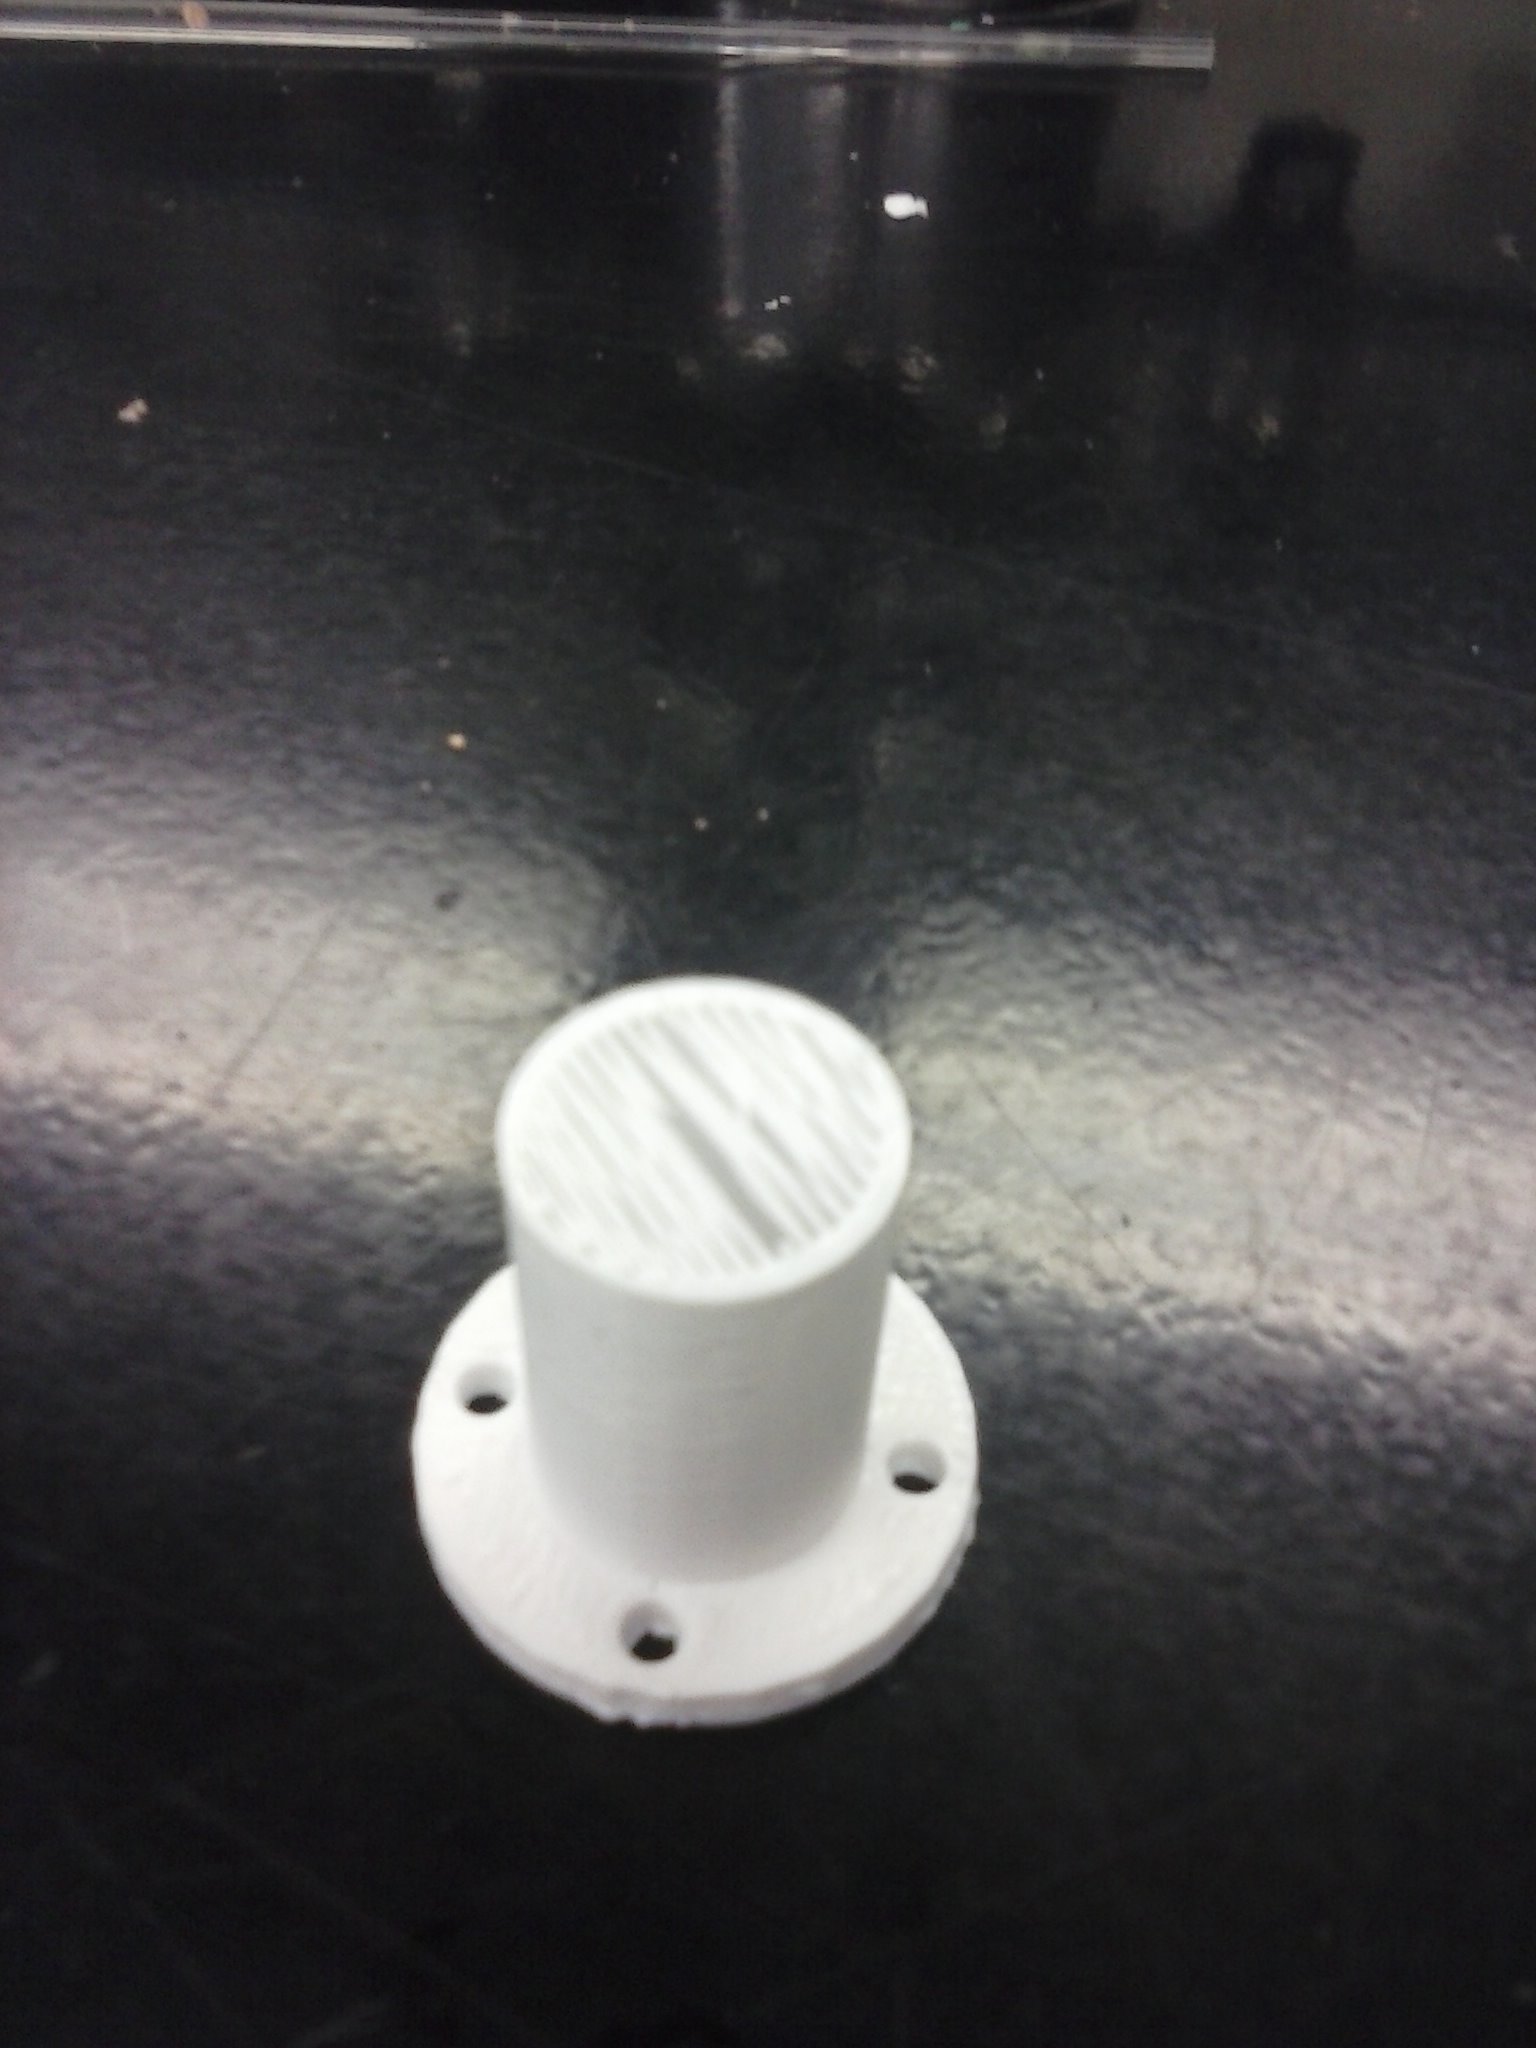
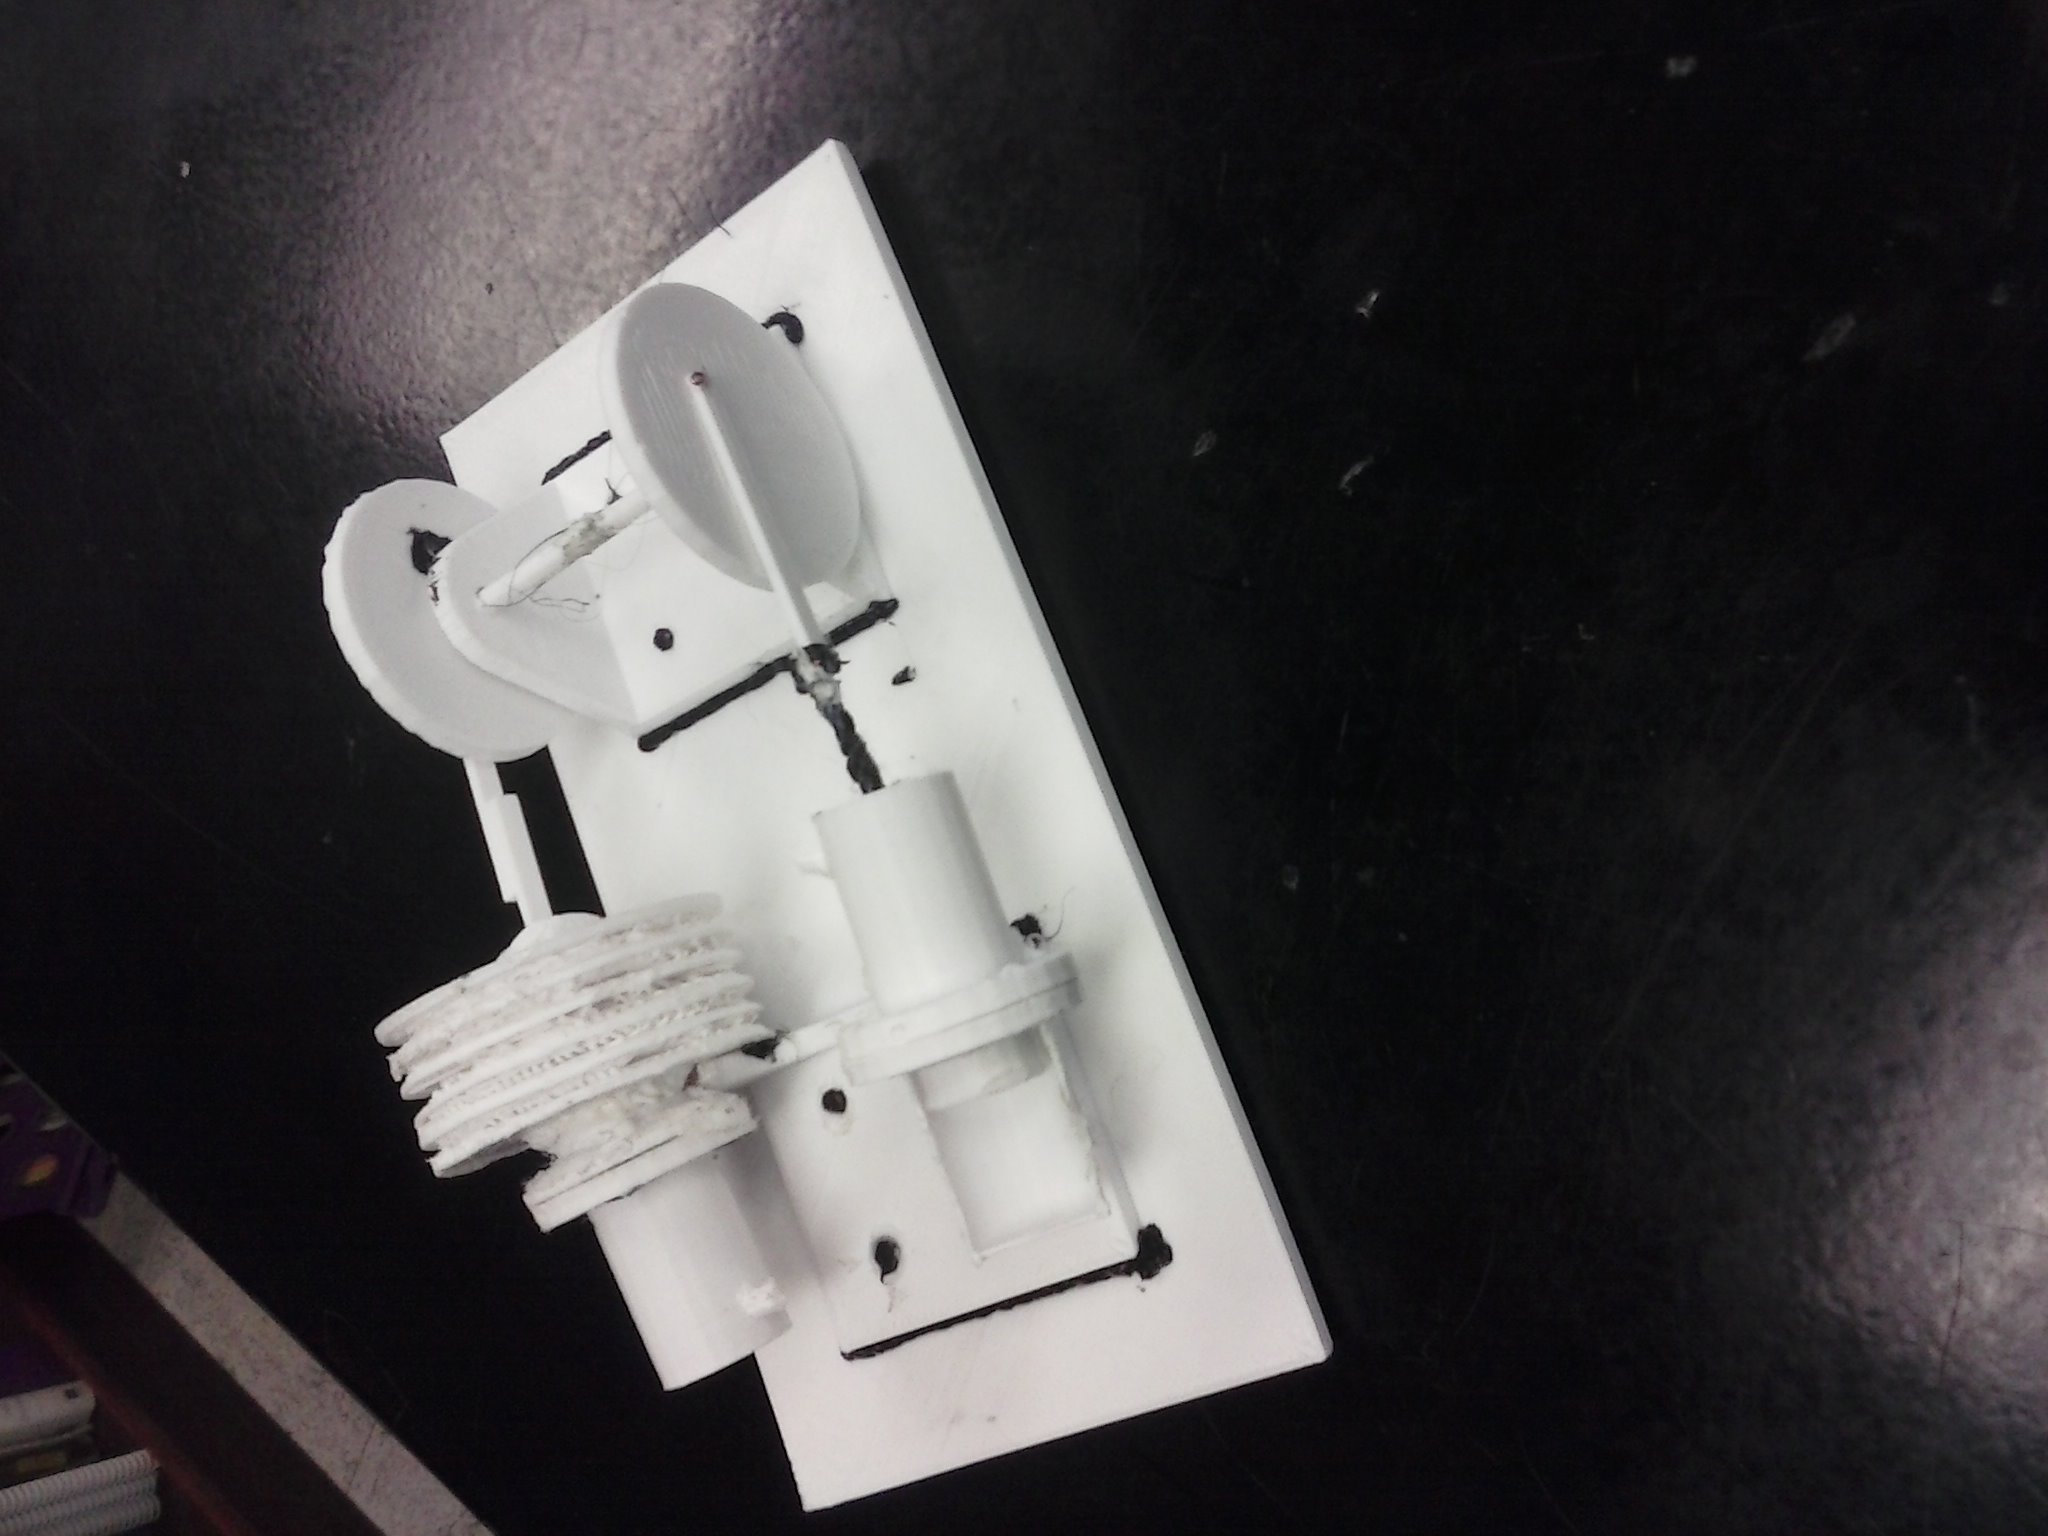
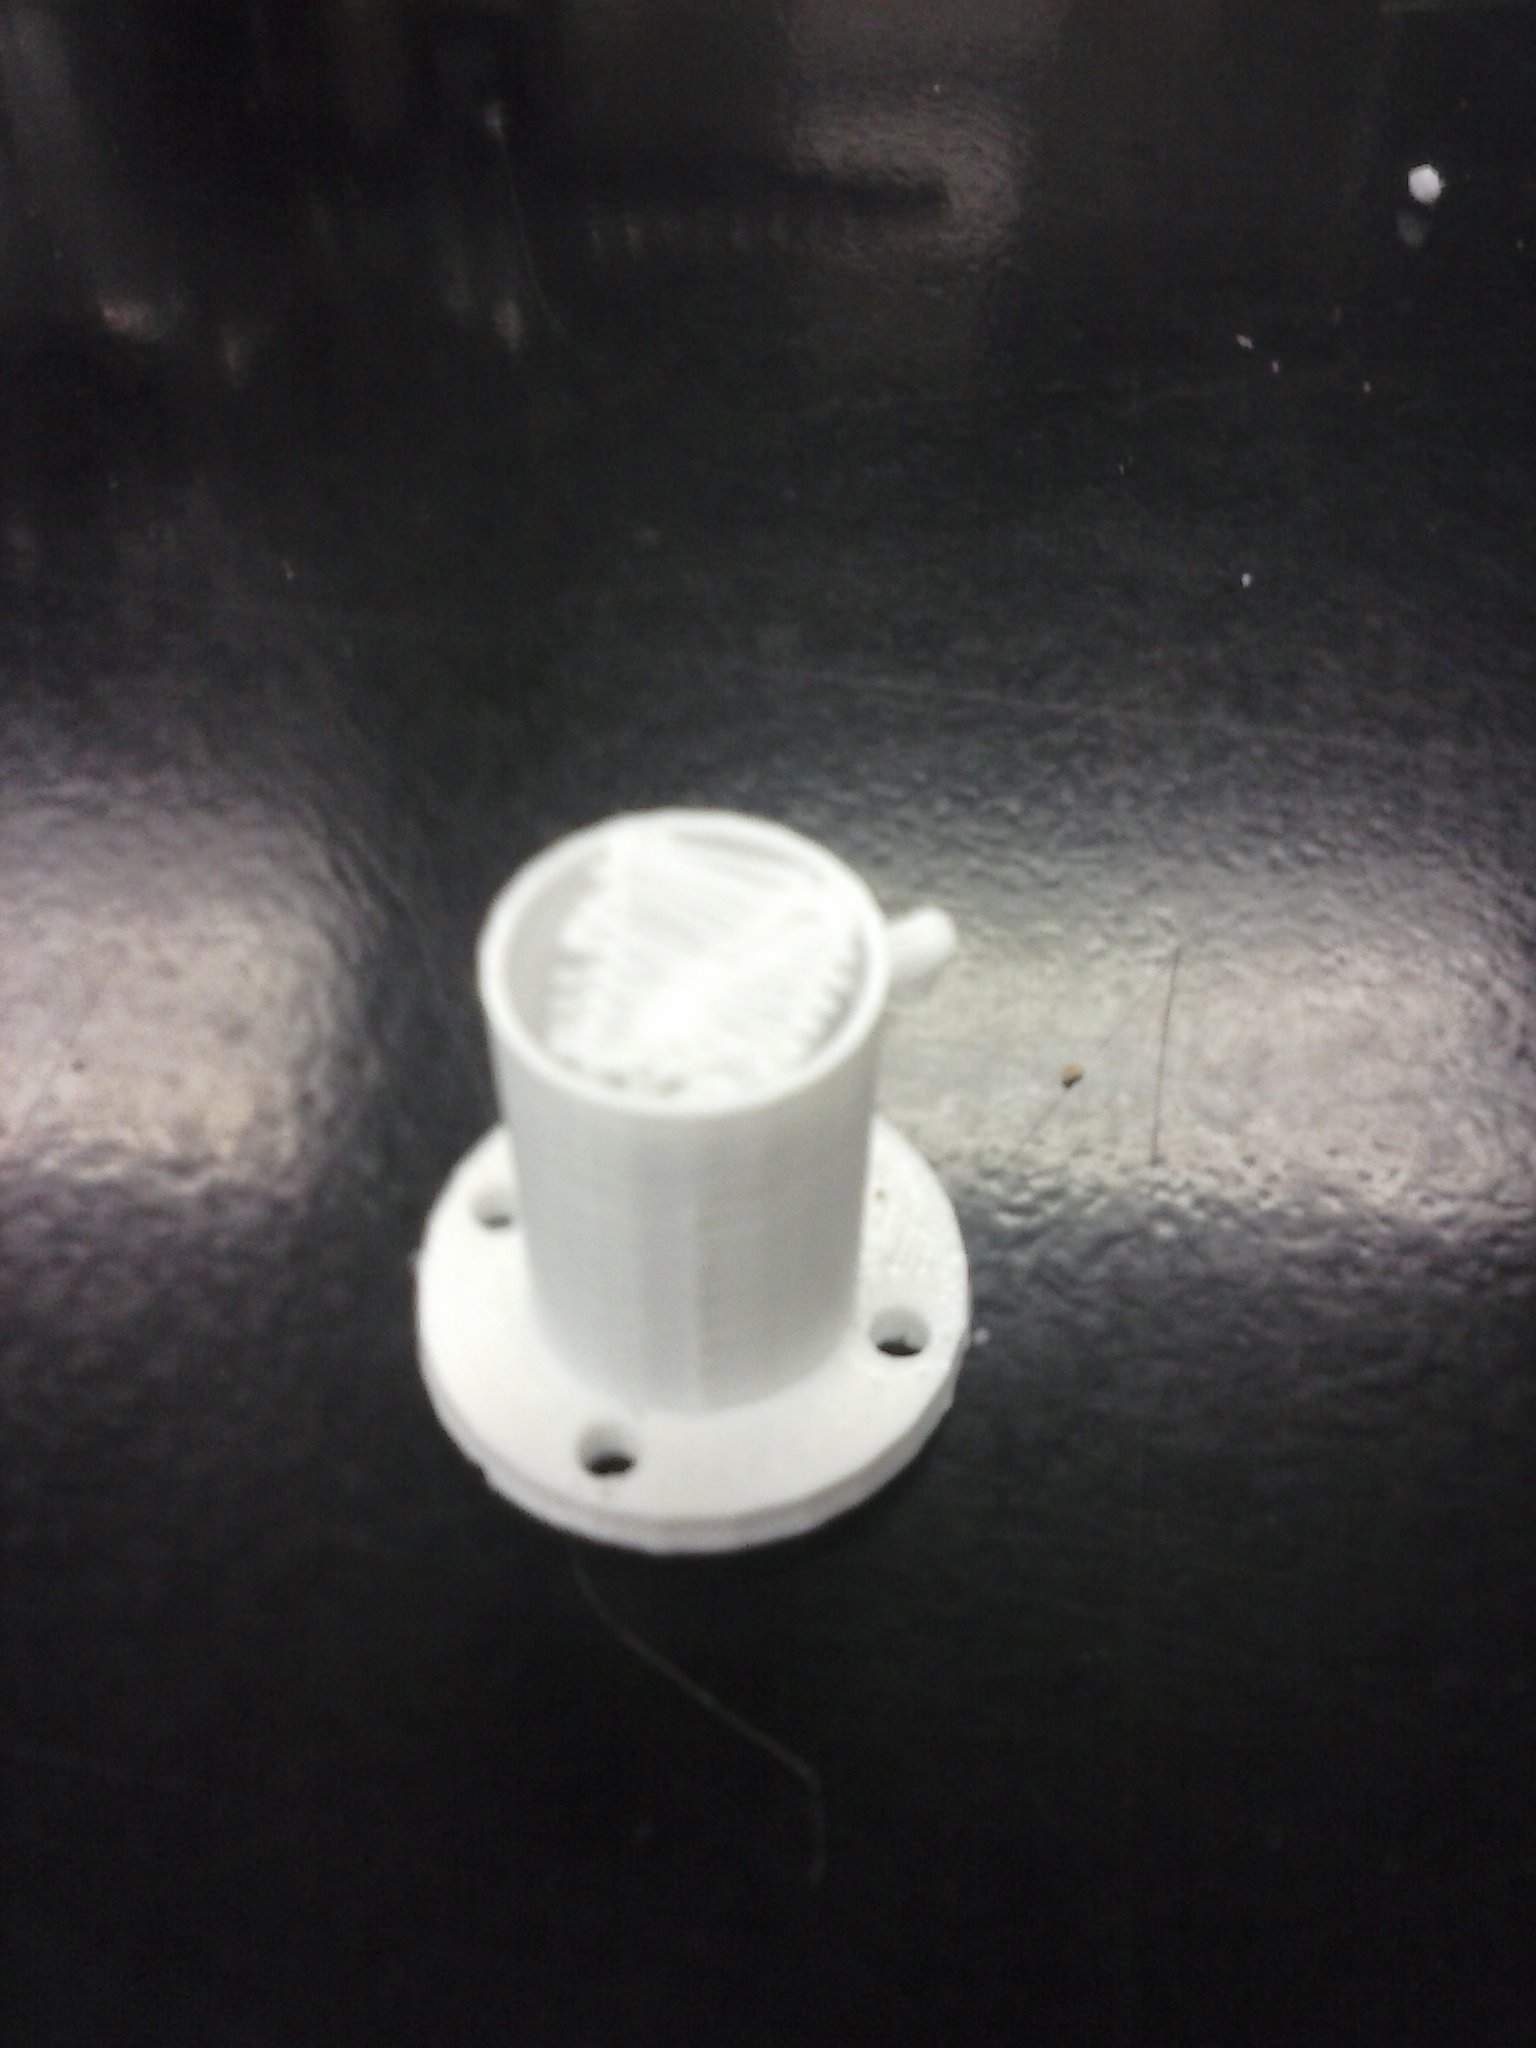
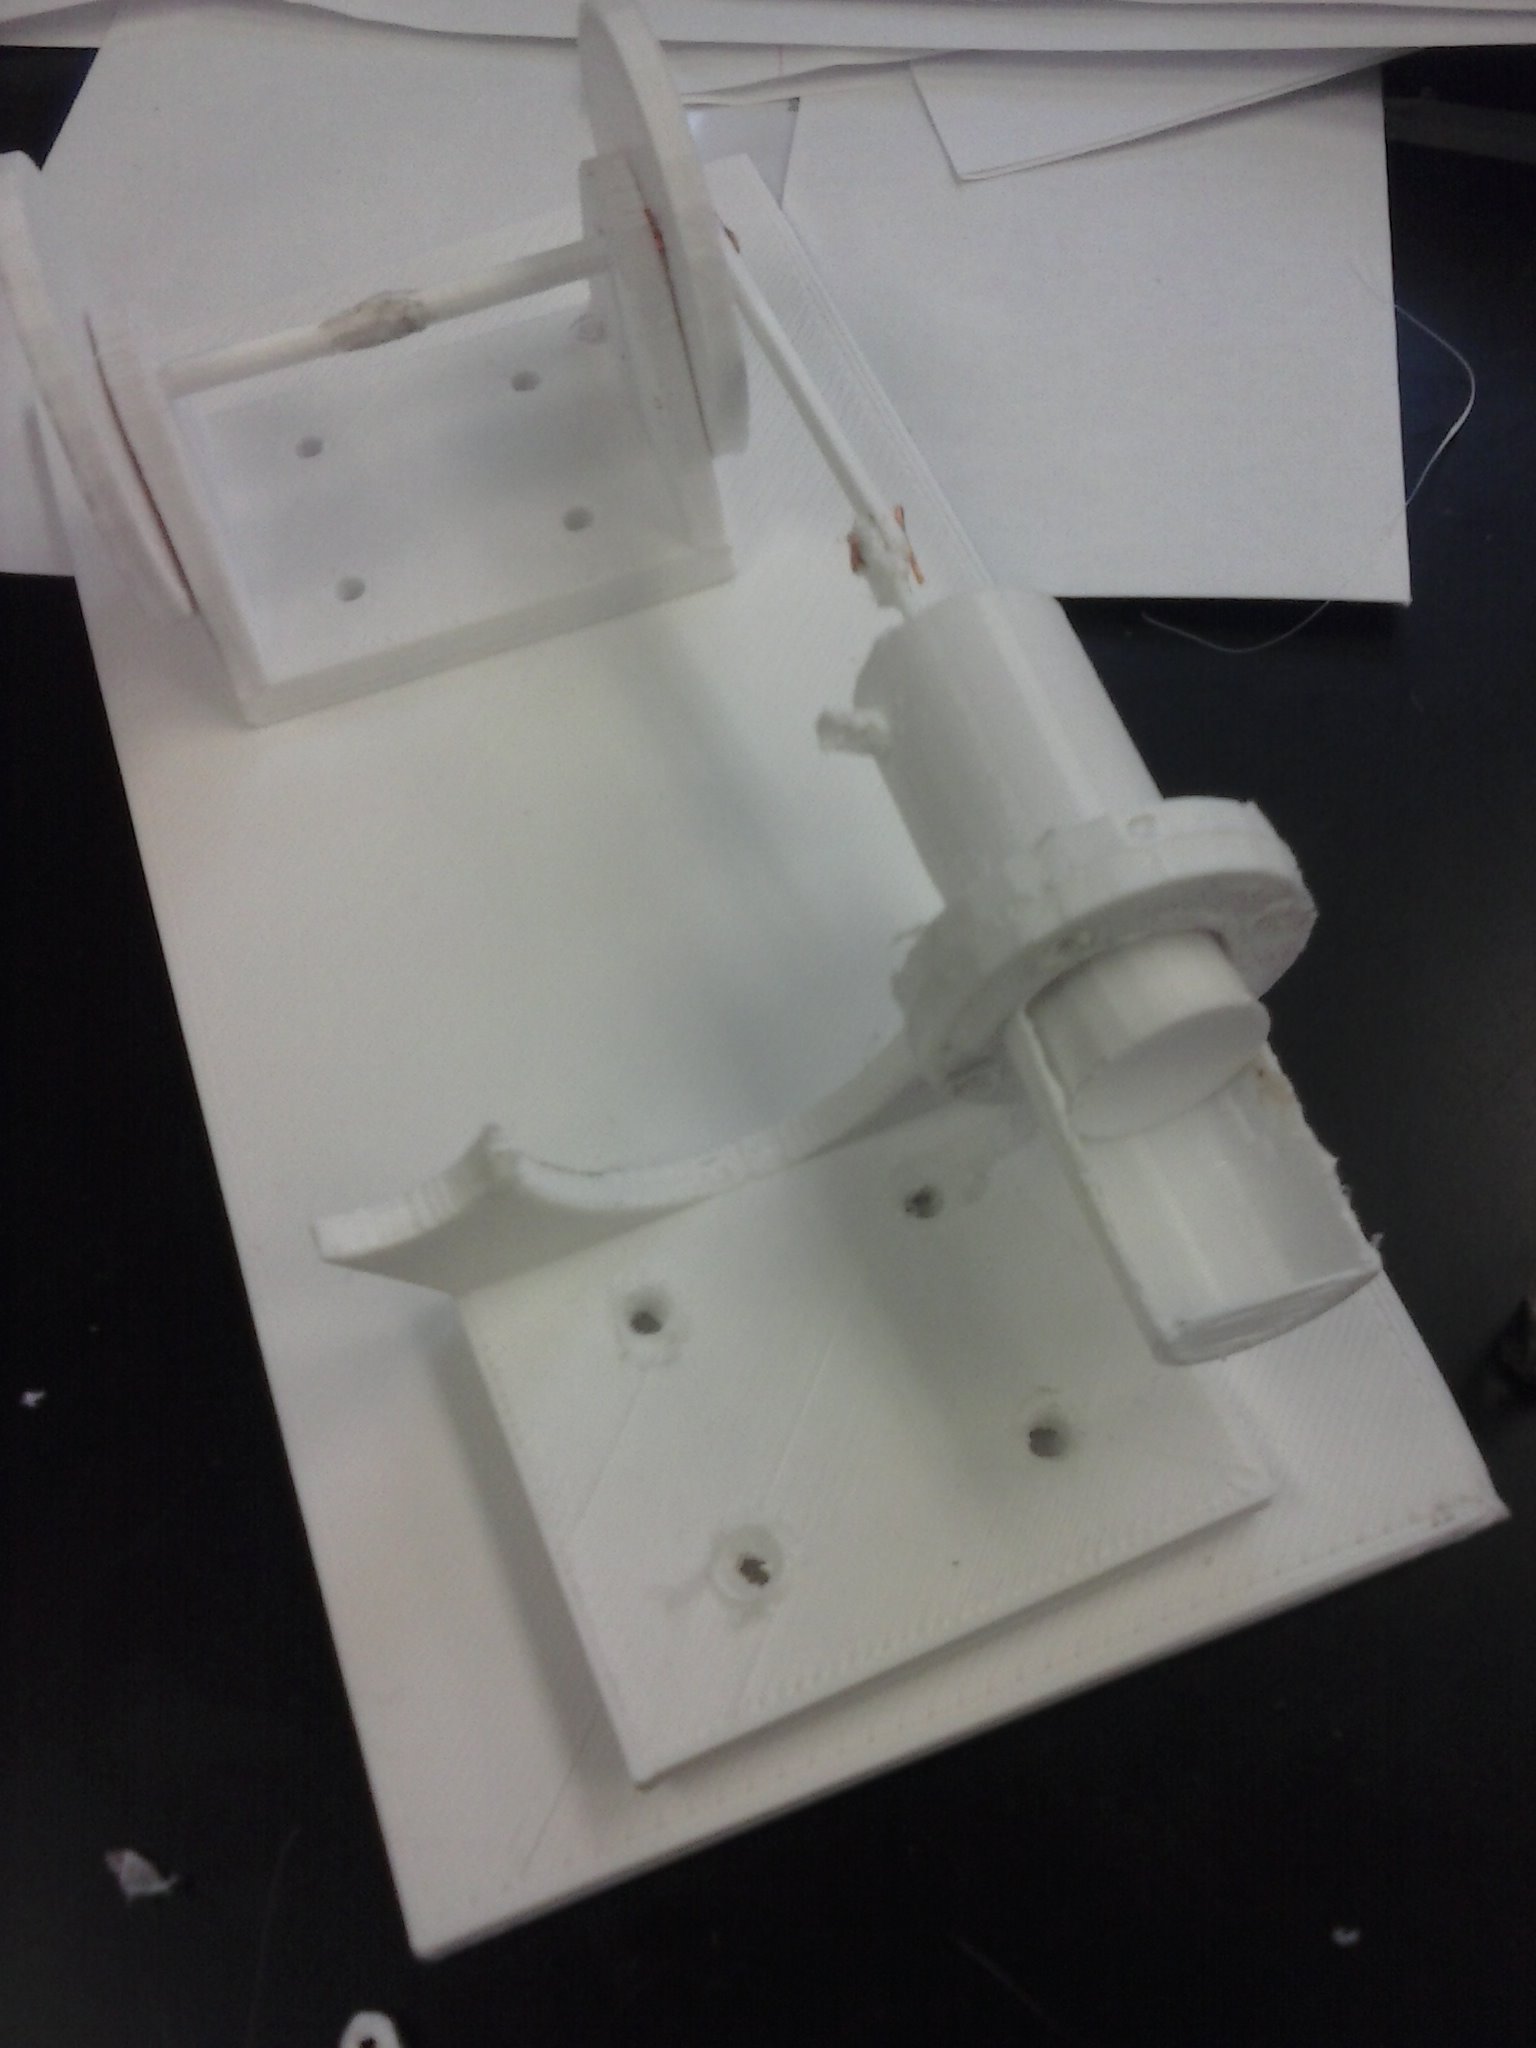
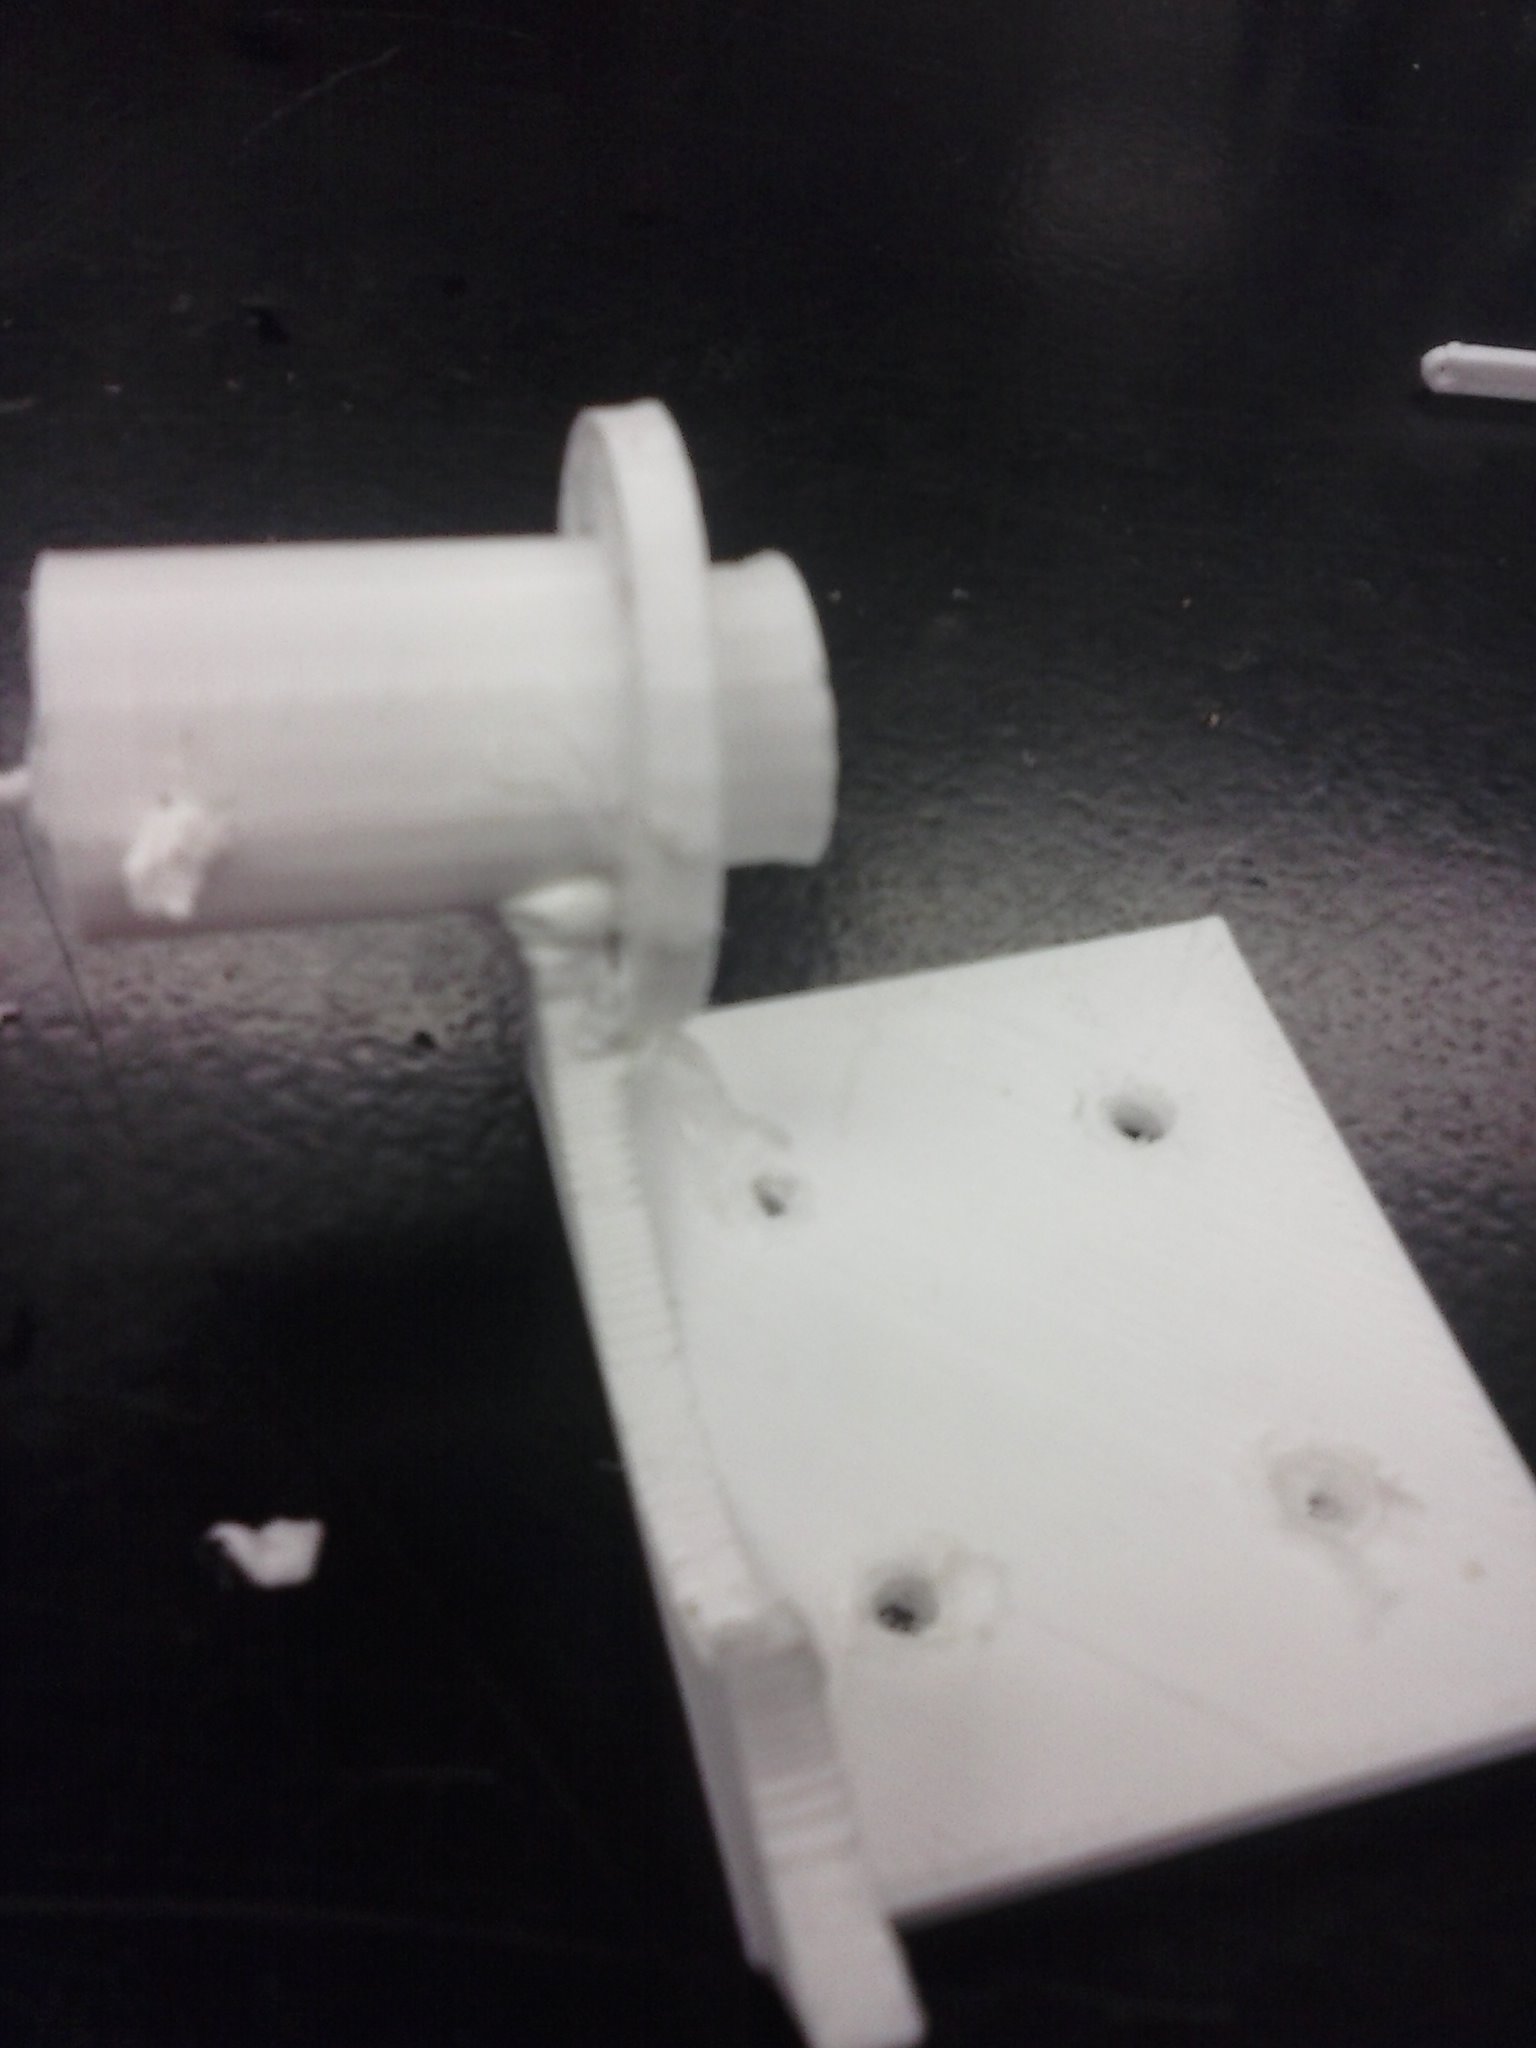
This is my first ever 3d printing project. It is a 3d model of a stirling engine, a type of engine that uses external heating and piston movement to move air back and forth to extract power. I did this in my senior year of highschool. I used Catia to model the components and assemble to ensure fitment. After completing this I exported them as a .stl that could be sliced by the highschool 3dprinter software. After printing the parts I learned a terrible truth... The dimensions I had chosen were far to thin... Things in the computer did not really transfer to my idea in the real world. Another mistake was that the pistons I made did not have a skirt to keep them aligned in the cylinder. Oh ya... remember the first time you 3d printed something? you probably didn't think overhangs would be a problem... Ooof, look at those cooling fins, overhangs golor and an imposibility to remove the support material. The parts still came out good enough for assembly but they were not as robust as I had hoped. After printing out all the parts on the HS 3d printer, it was time for assembly. Another interesting tool that the highschool had was a 3d printing pen. This is similar to a 3d printer but a person uses it to sculpt objects. I used this to "plastic weld" the parts together. I had left tabbing holes to weld through the parts together. After the parts were welded together there were still a few parts that had to pivot. To connect these I used some small gauge wire to wrap them together. After everything was done, the model did spin as intended, but it had hitching as it spun. It was a learning experience to be sure...
email: va.web.code@gmail.com https://github.com/va-code https://www.youtube.com/@vaughnanderson7984