Random Ideas

A pile of things that are not projects yet. Plants, drawings, a hole-in-the-ground aluminum pour, a pendant, some printed discs, a motorcycle still in pieces, and a few manufacturing ideas that only exist as a sketch. The notes are whatever I had when I stopped.

Bonsai

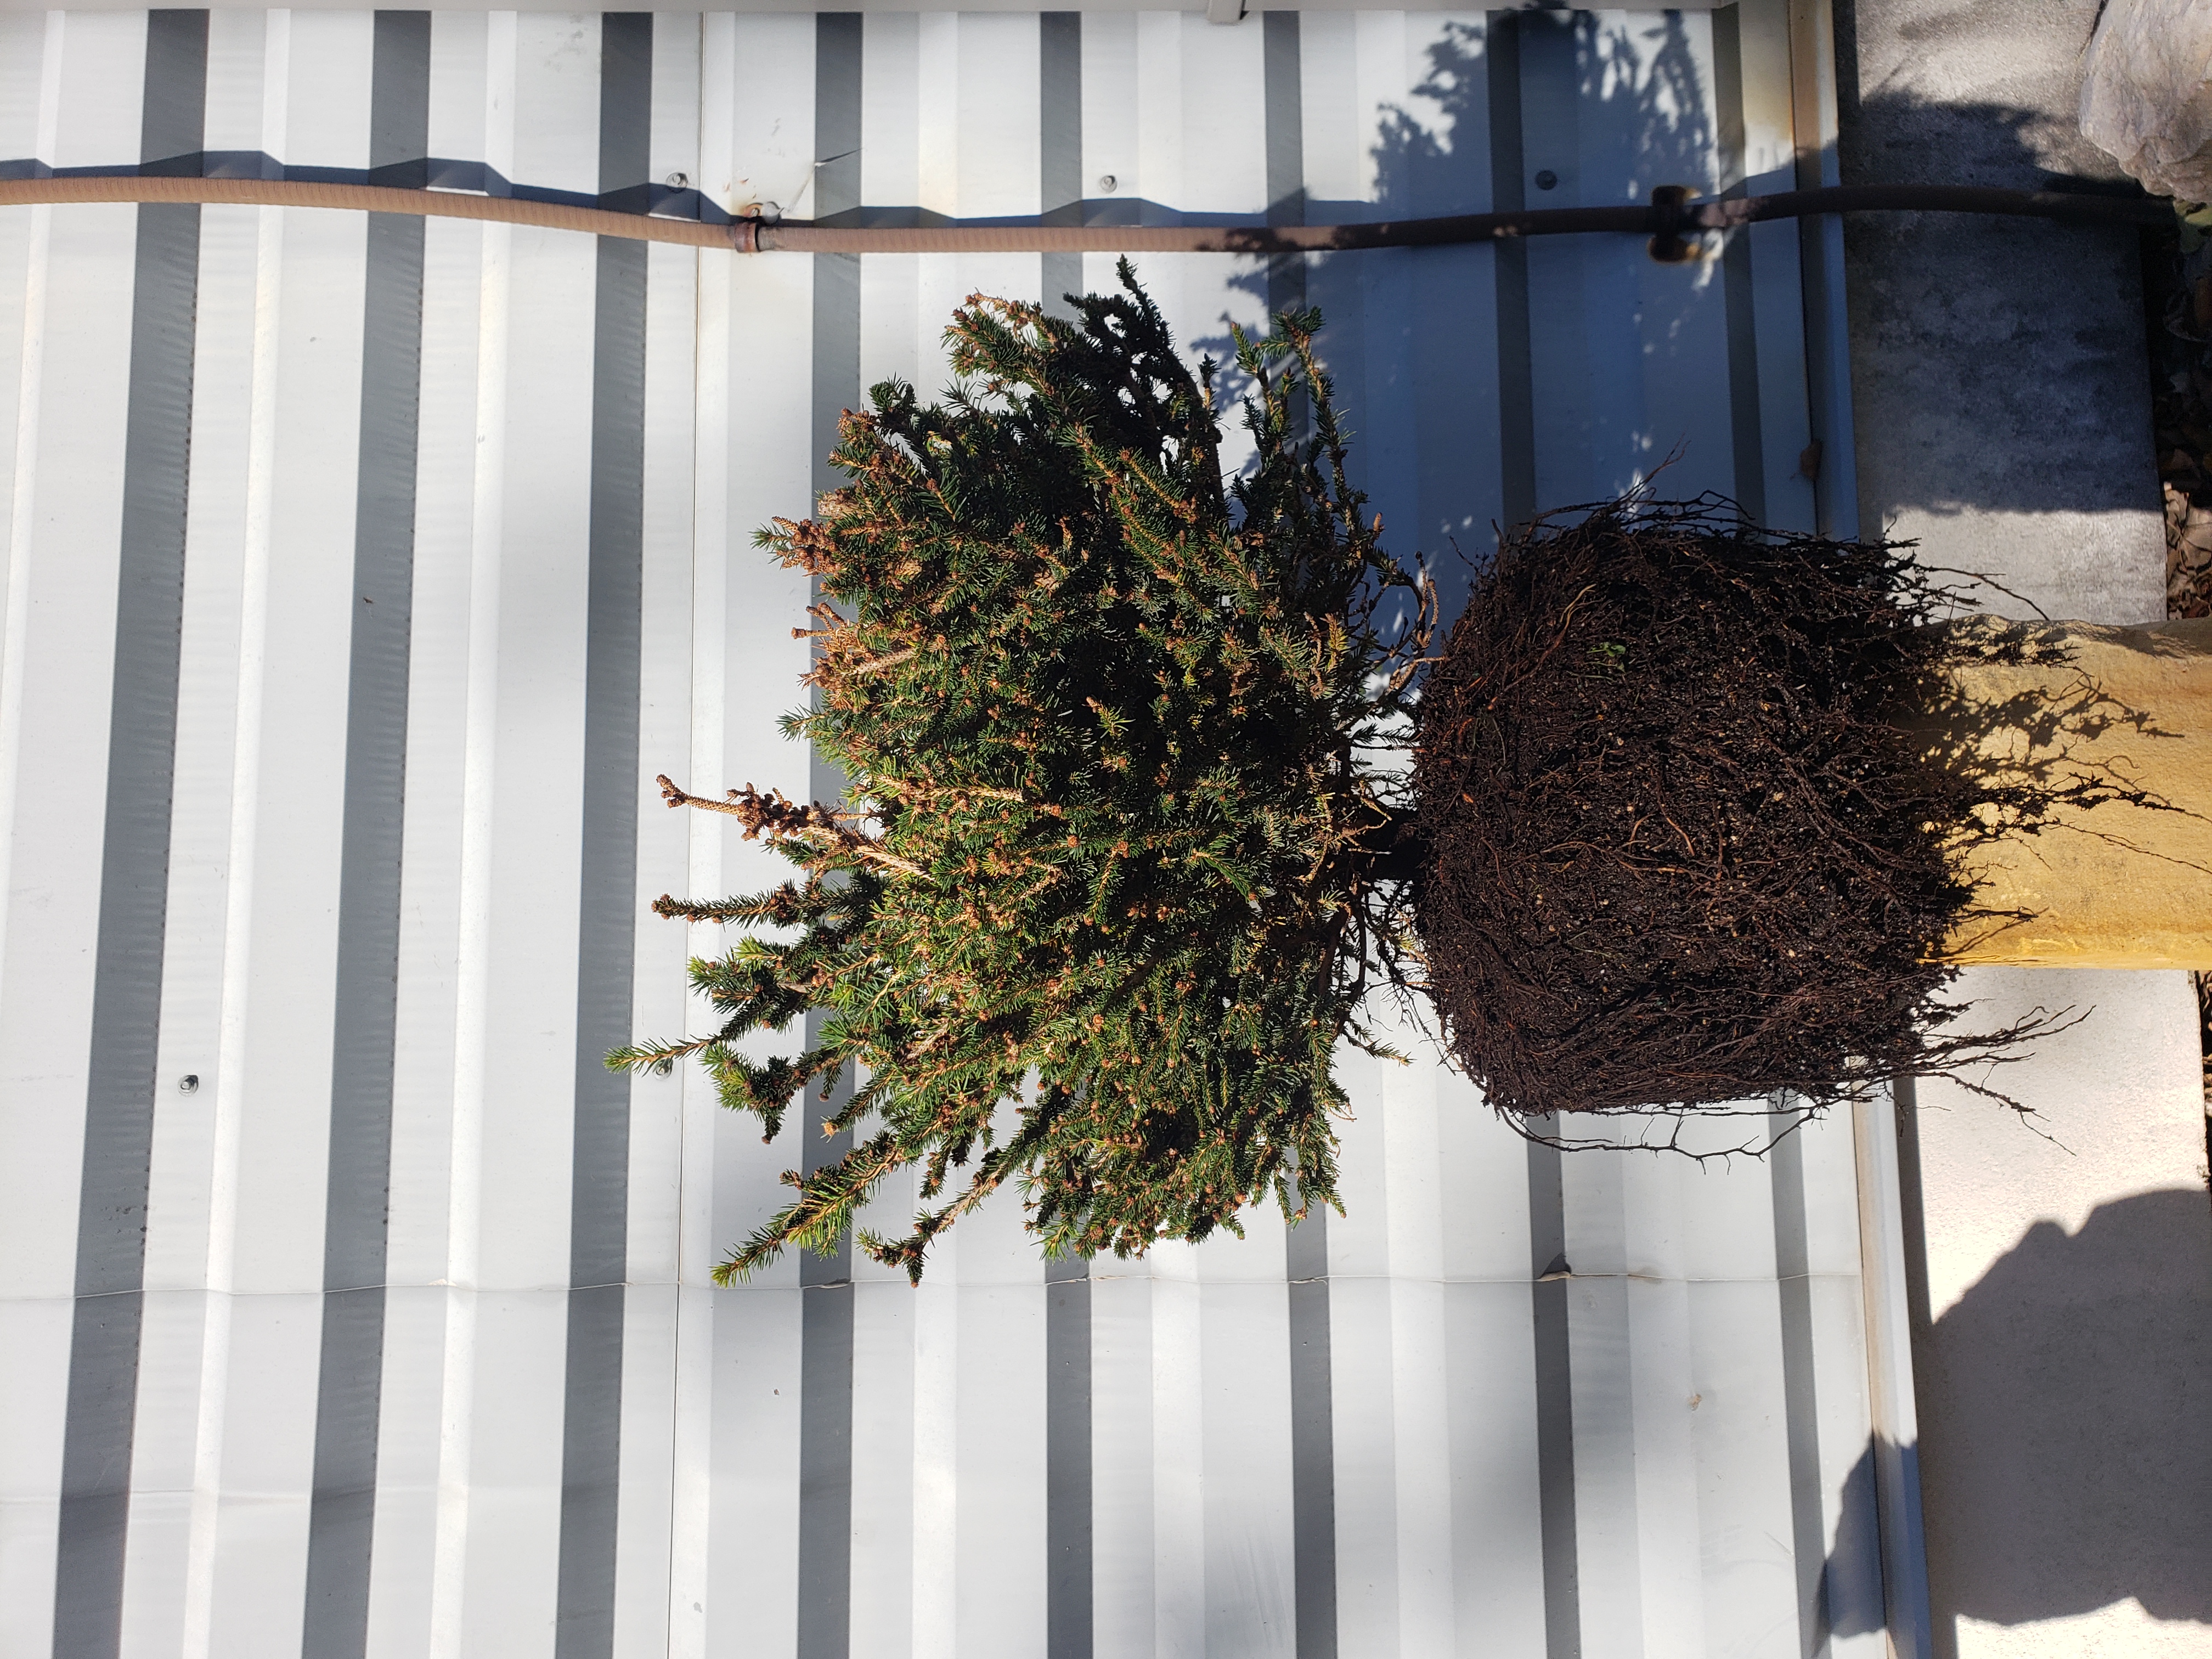
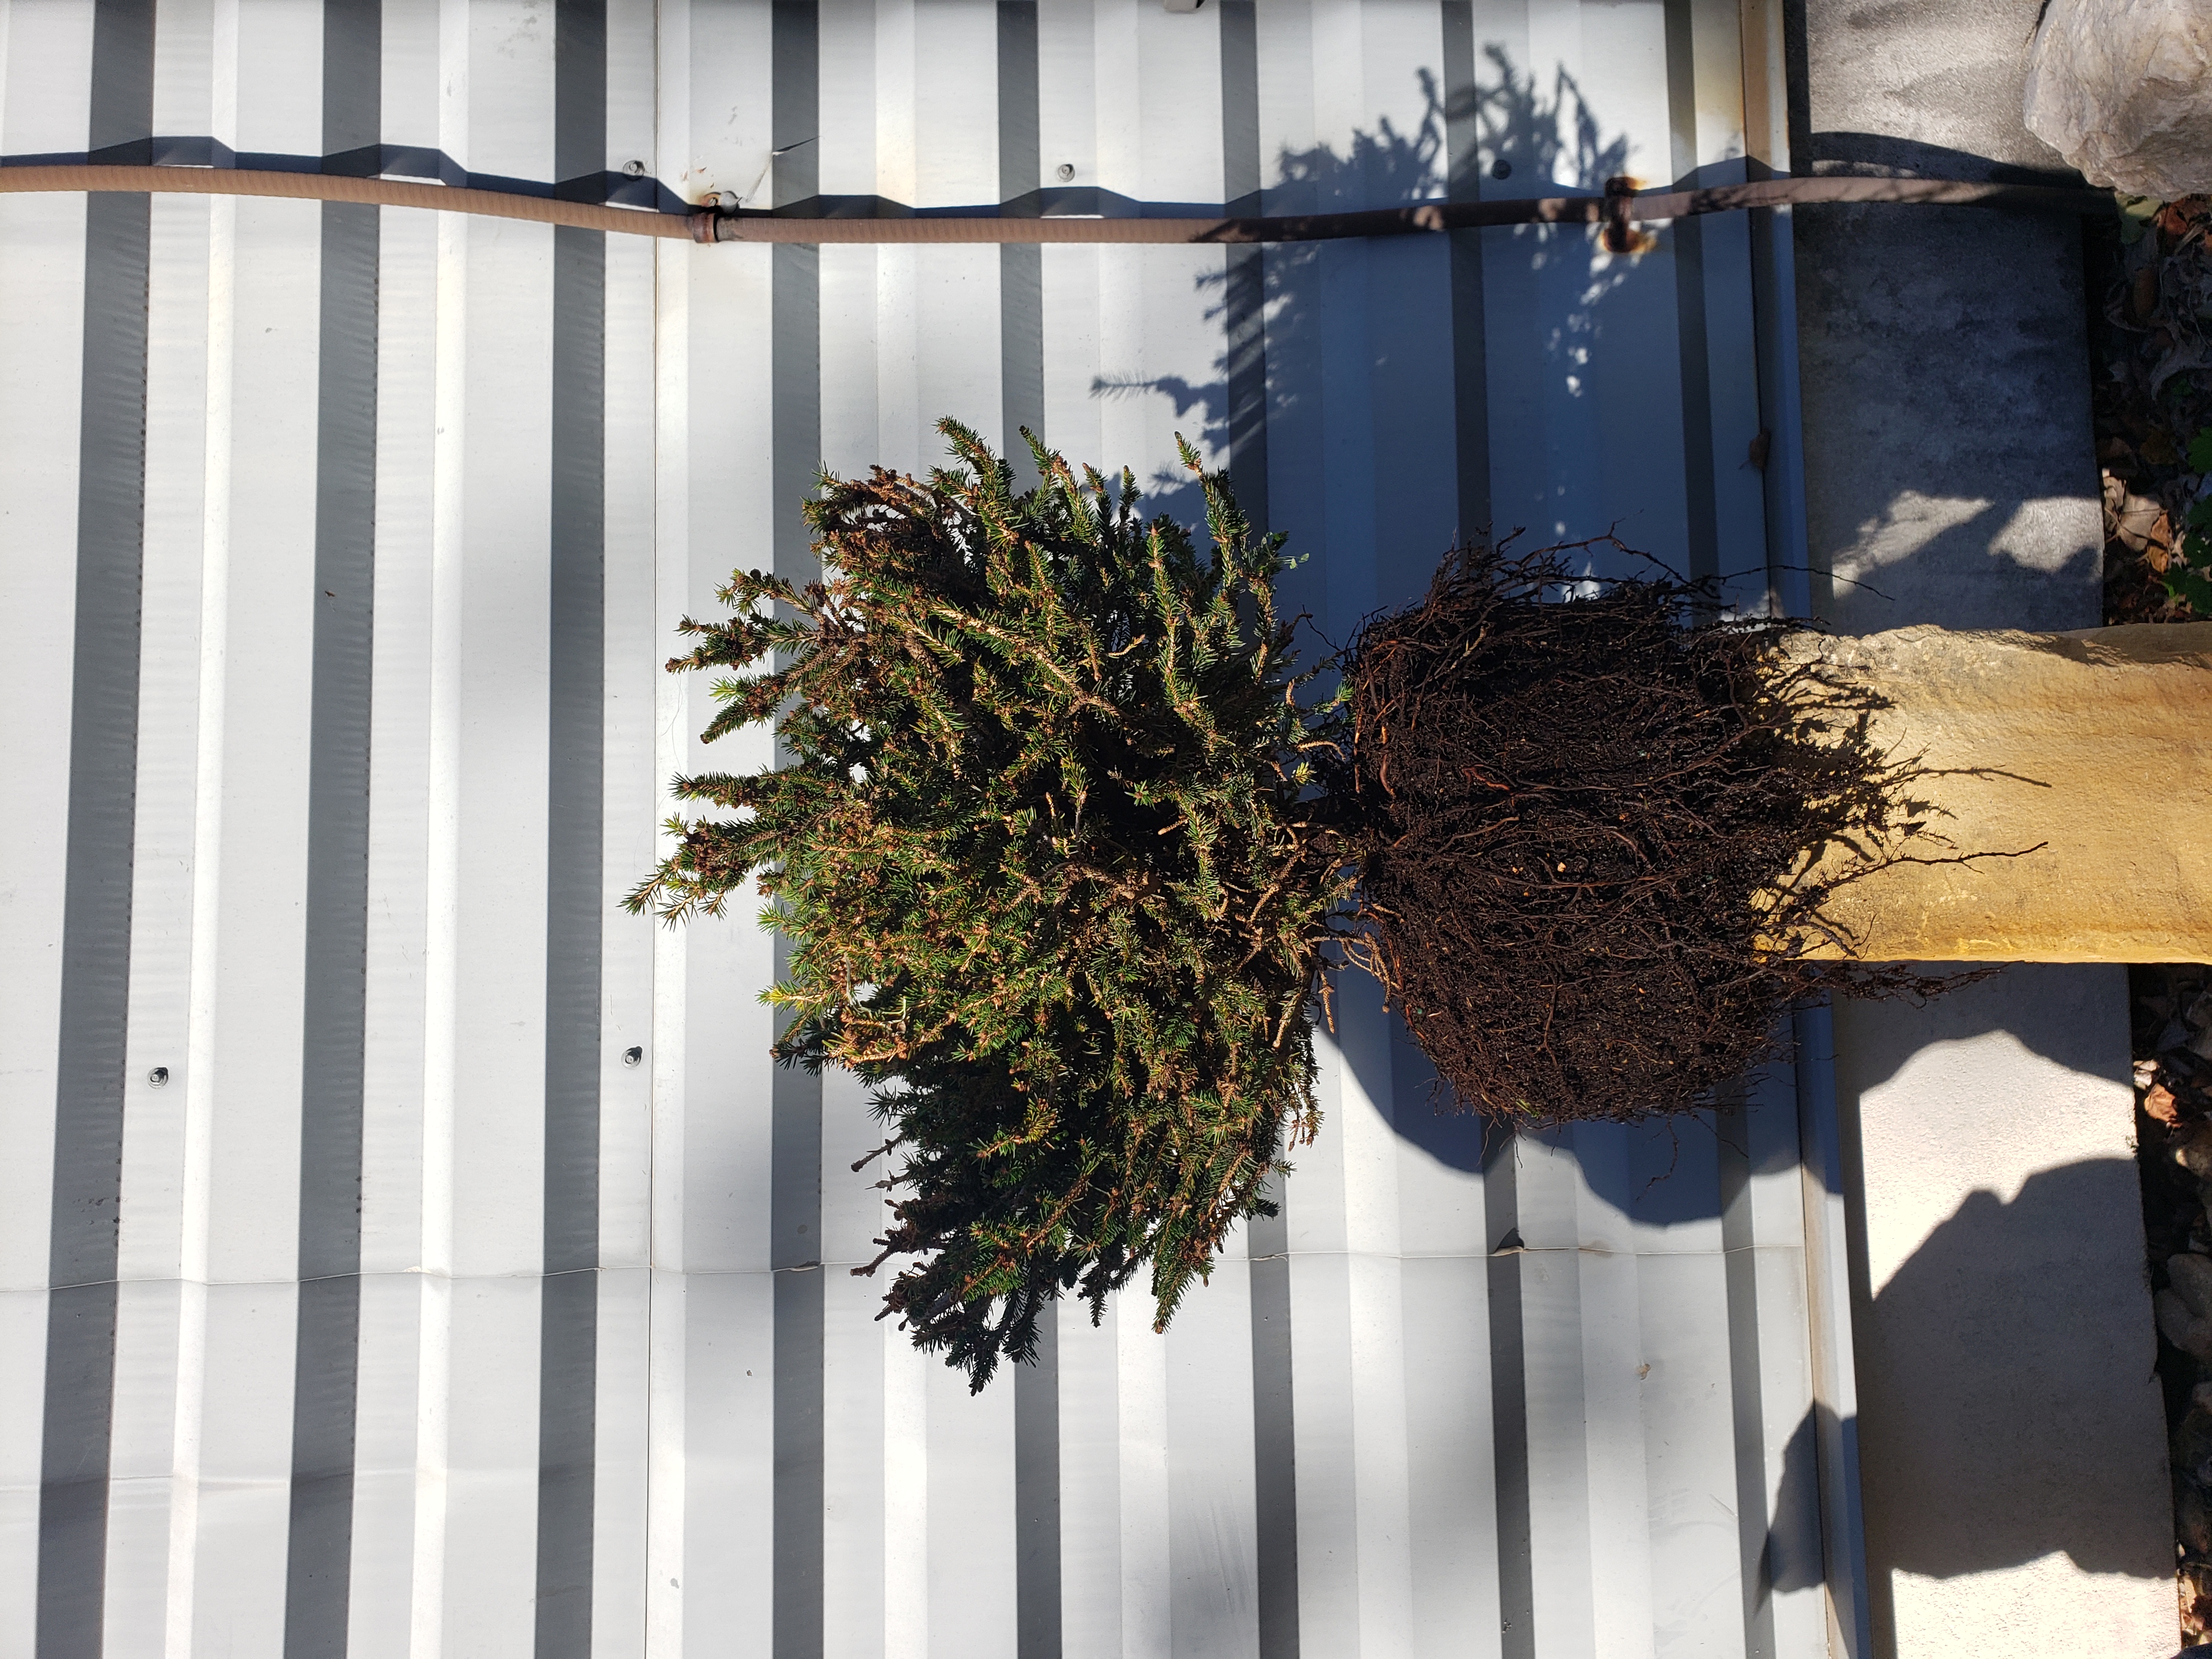
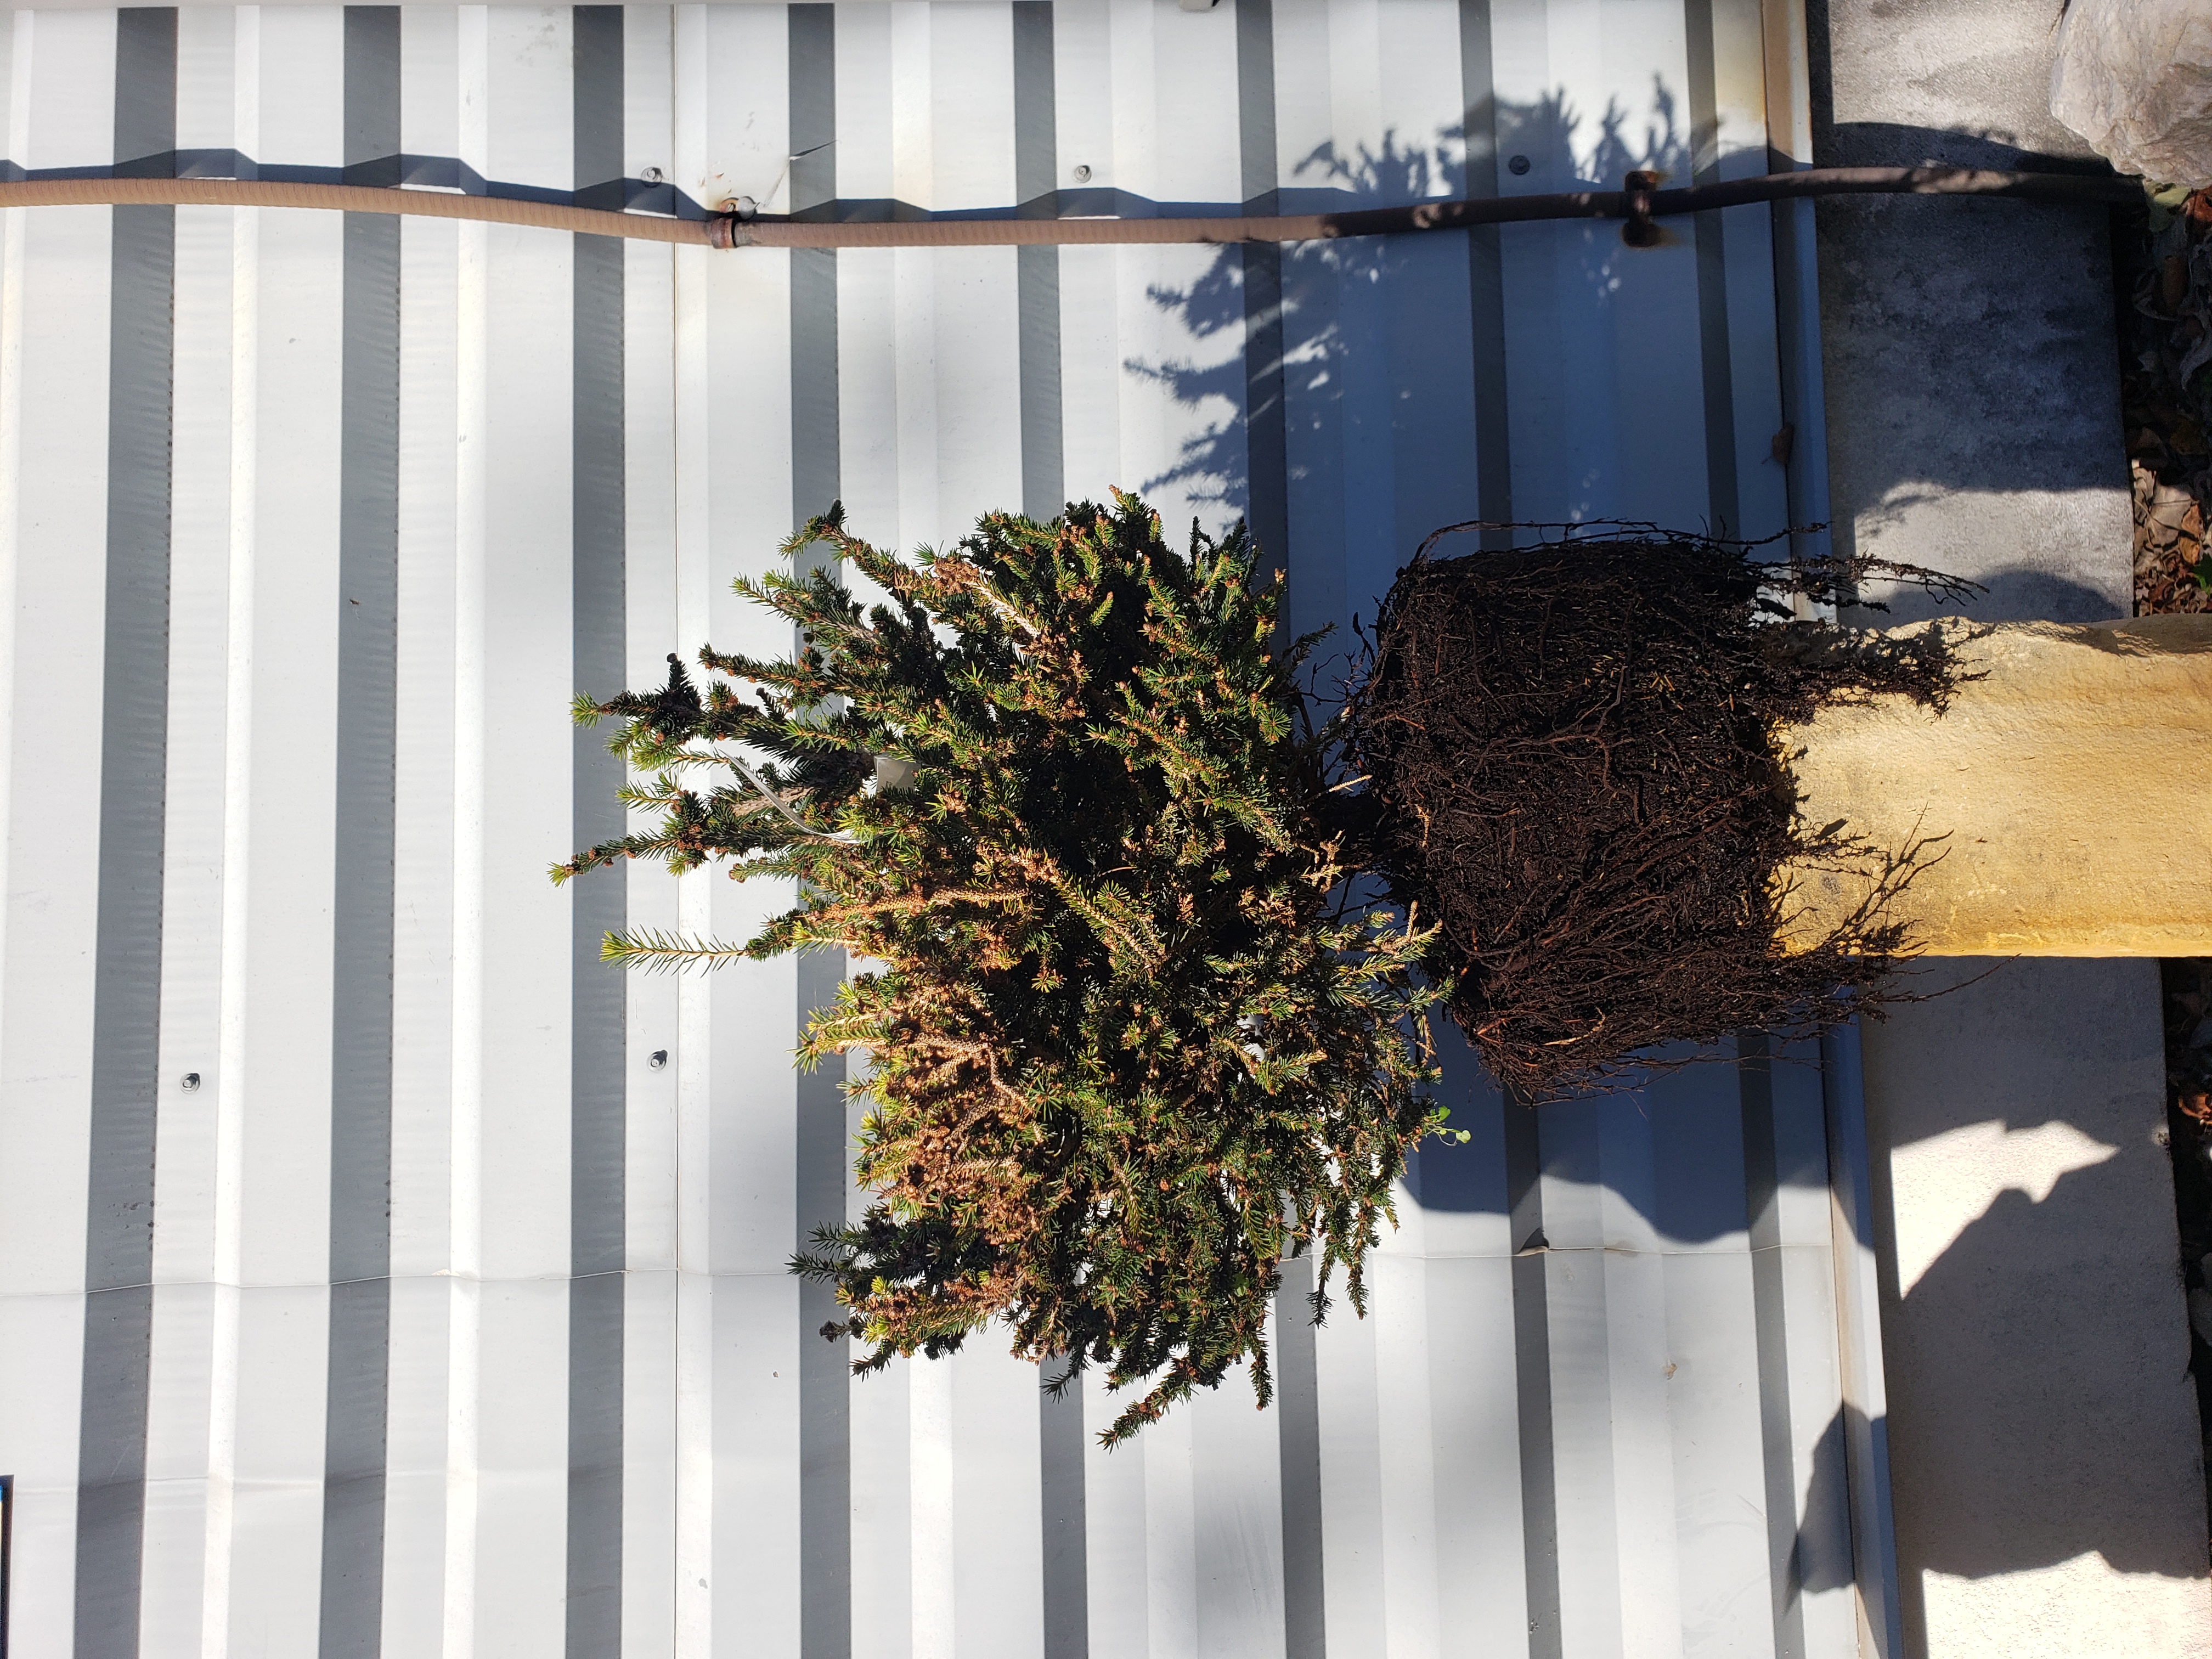
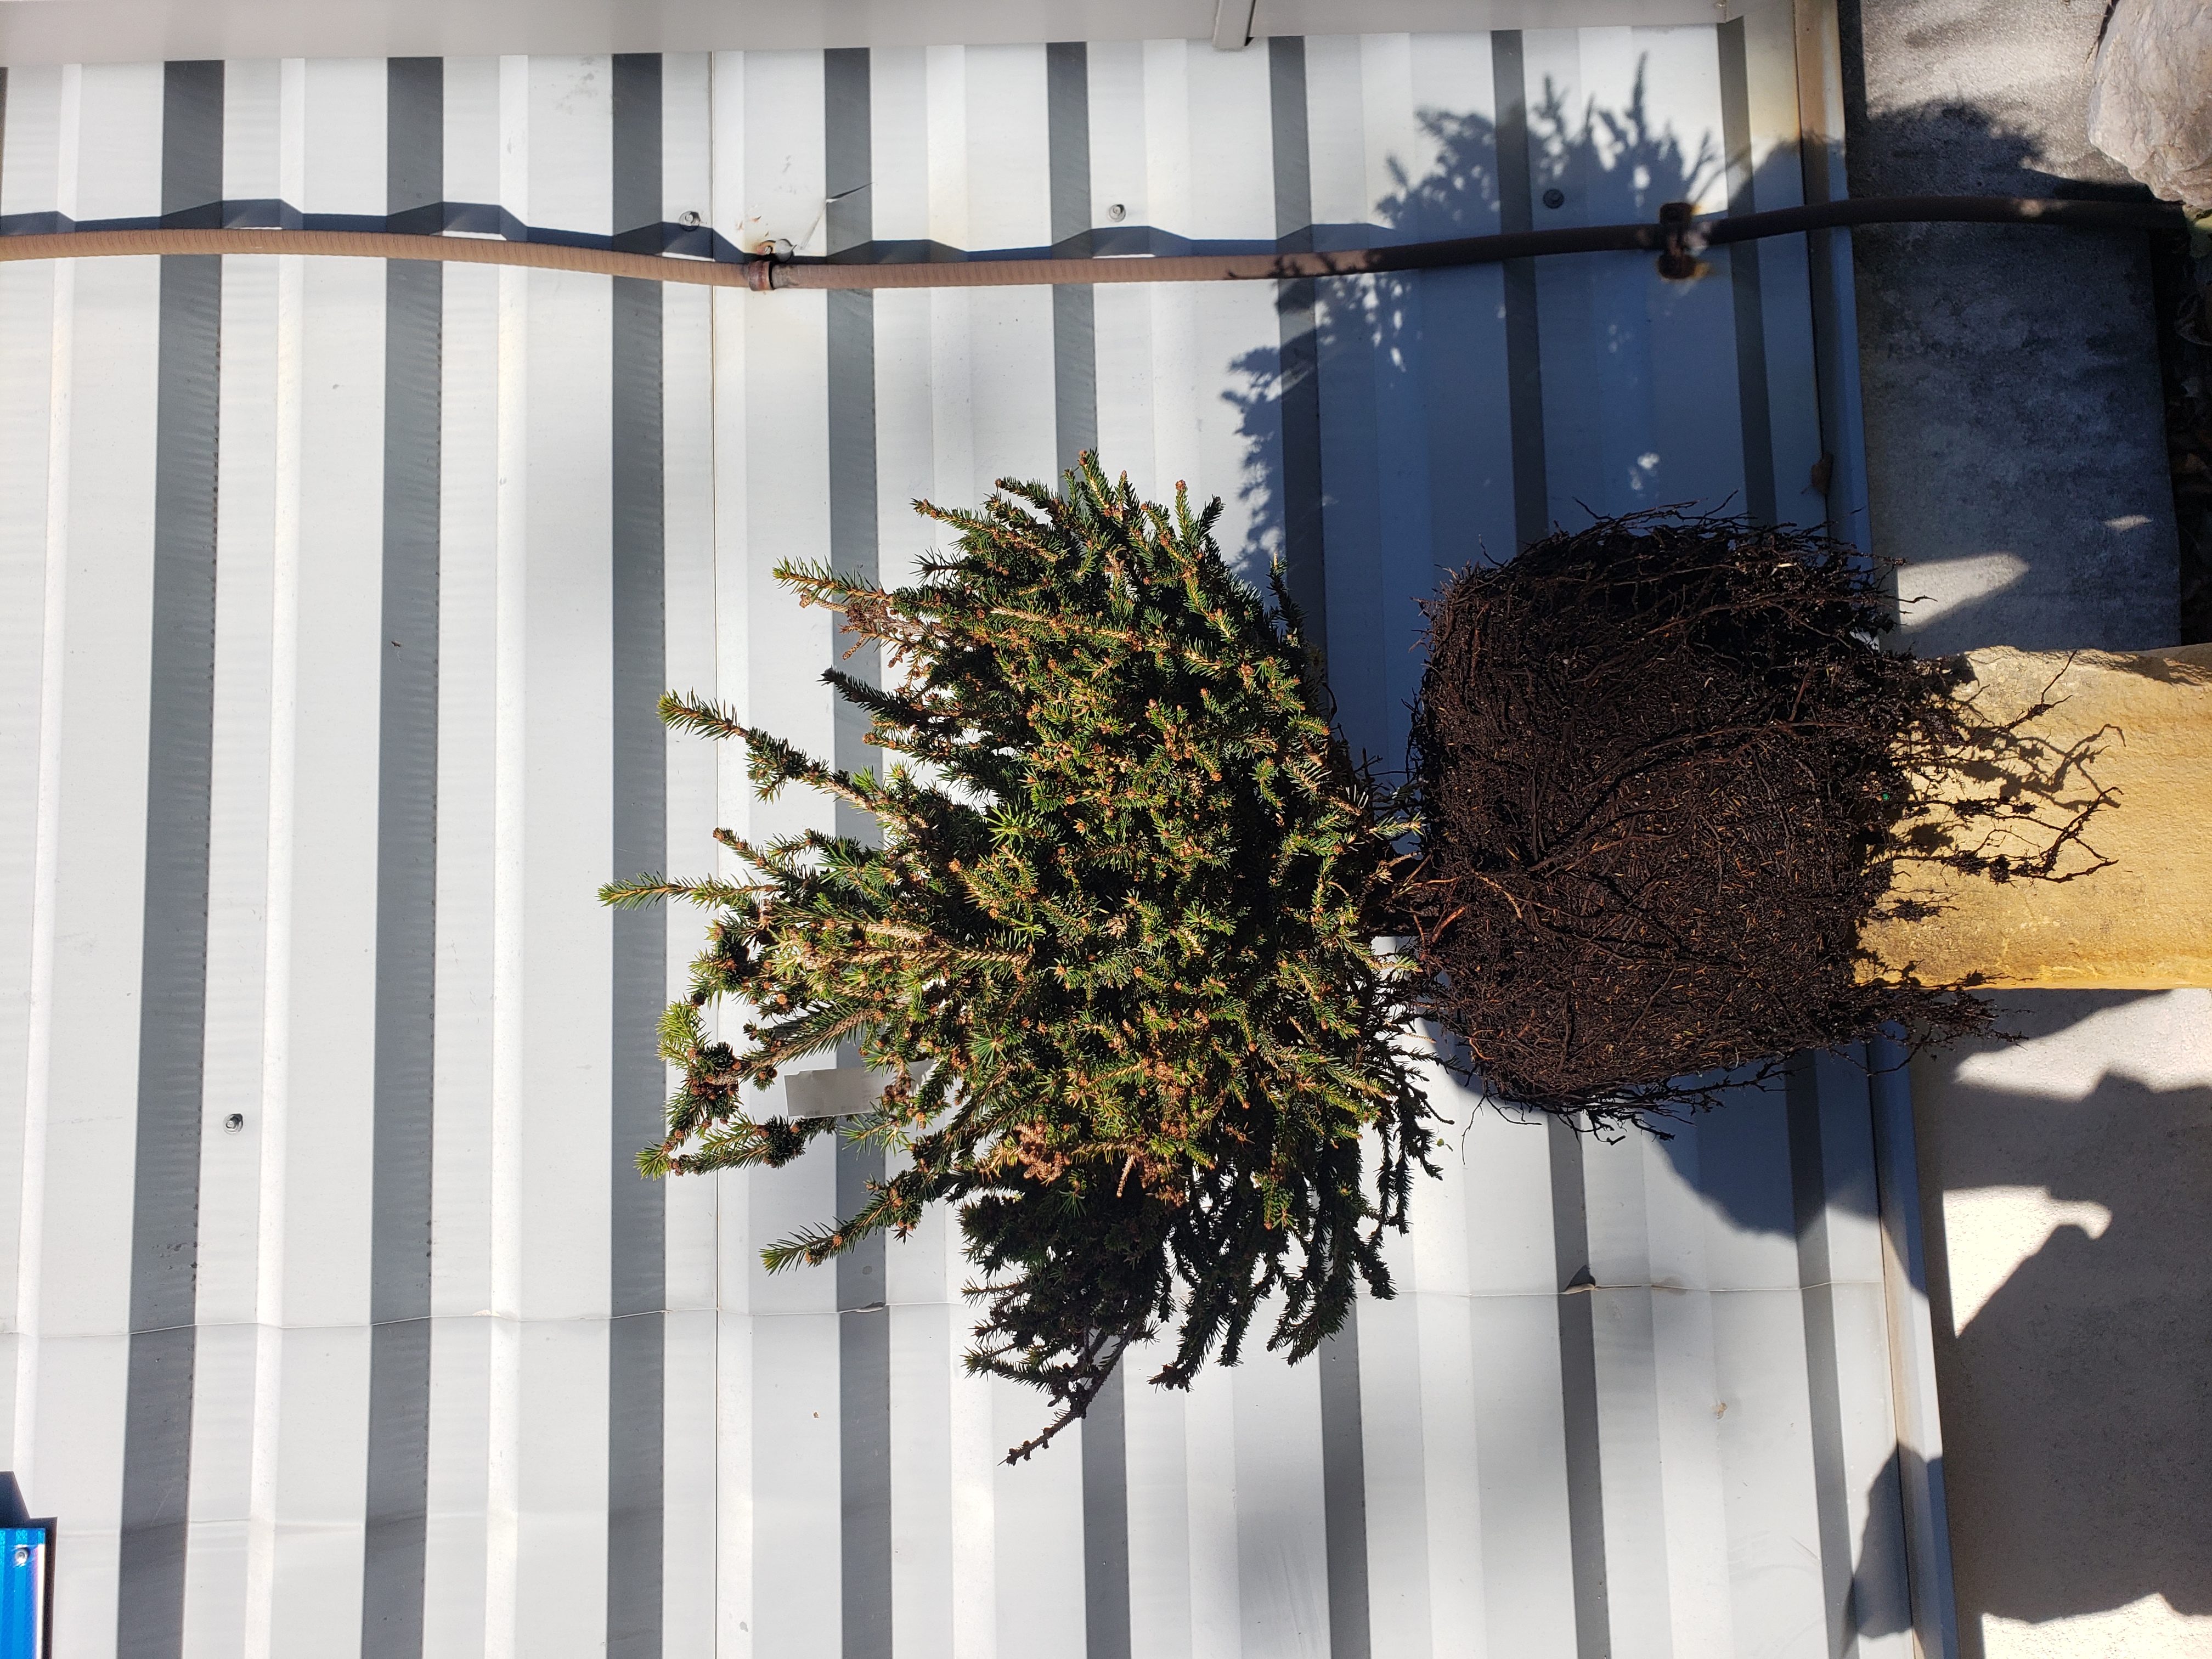
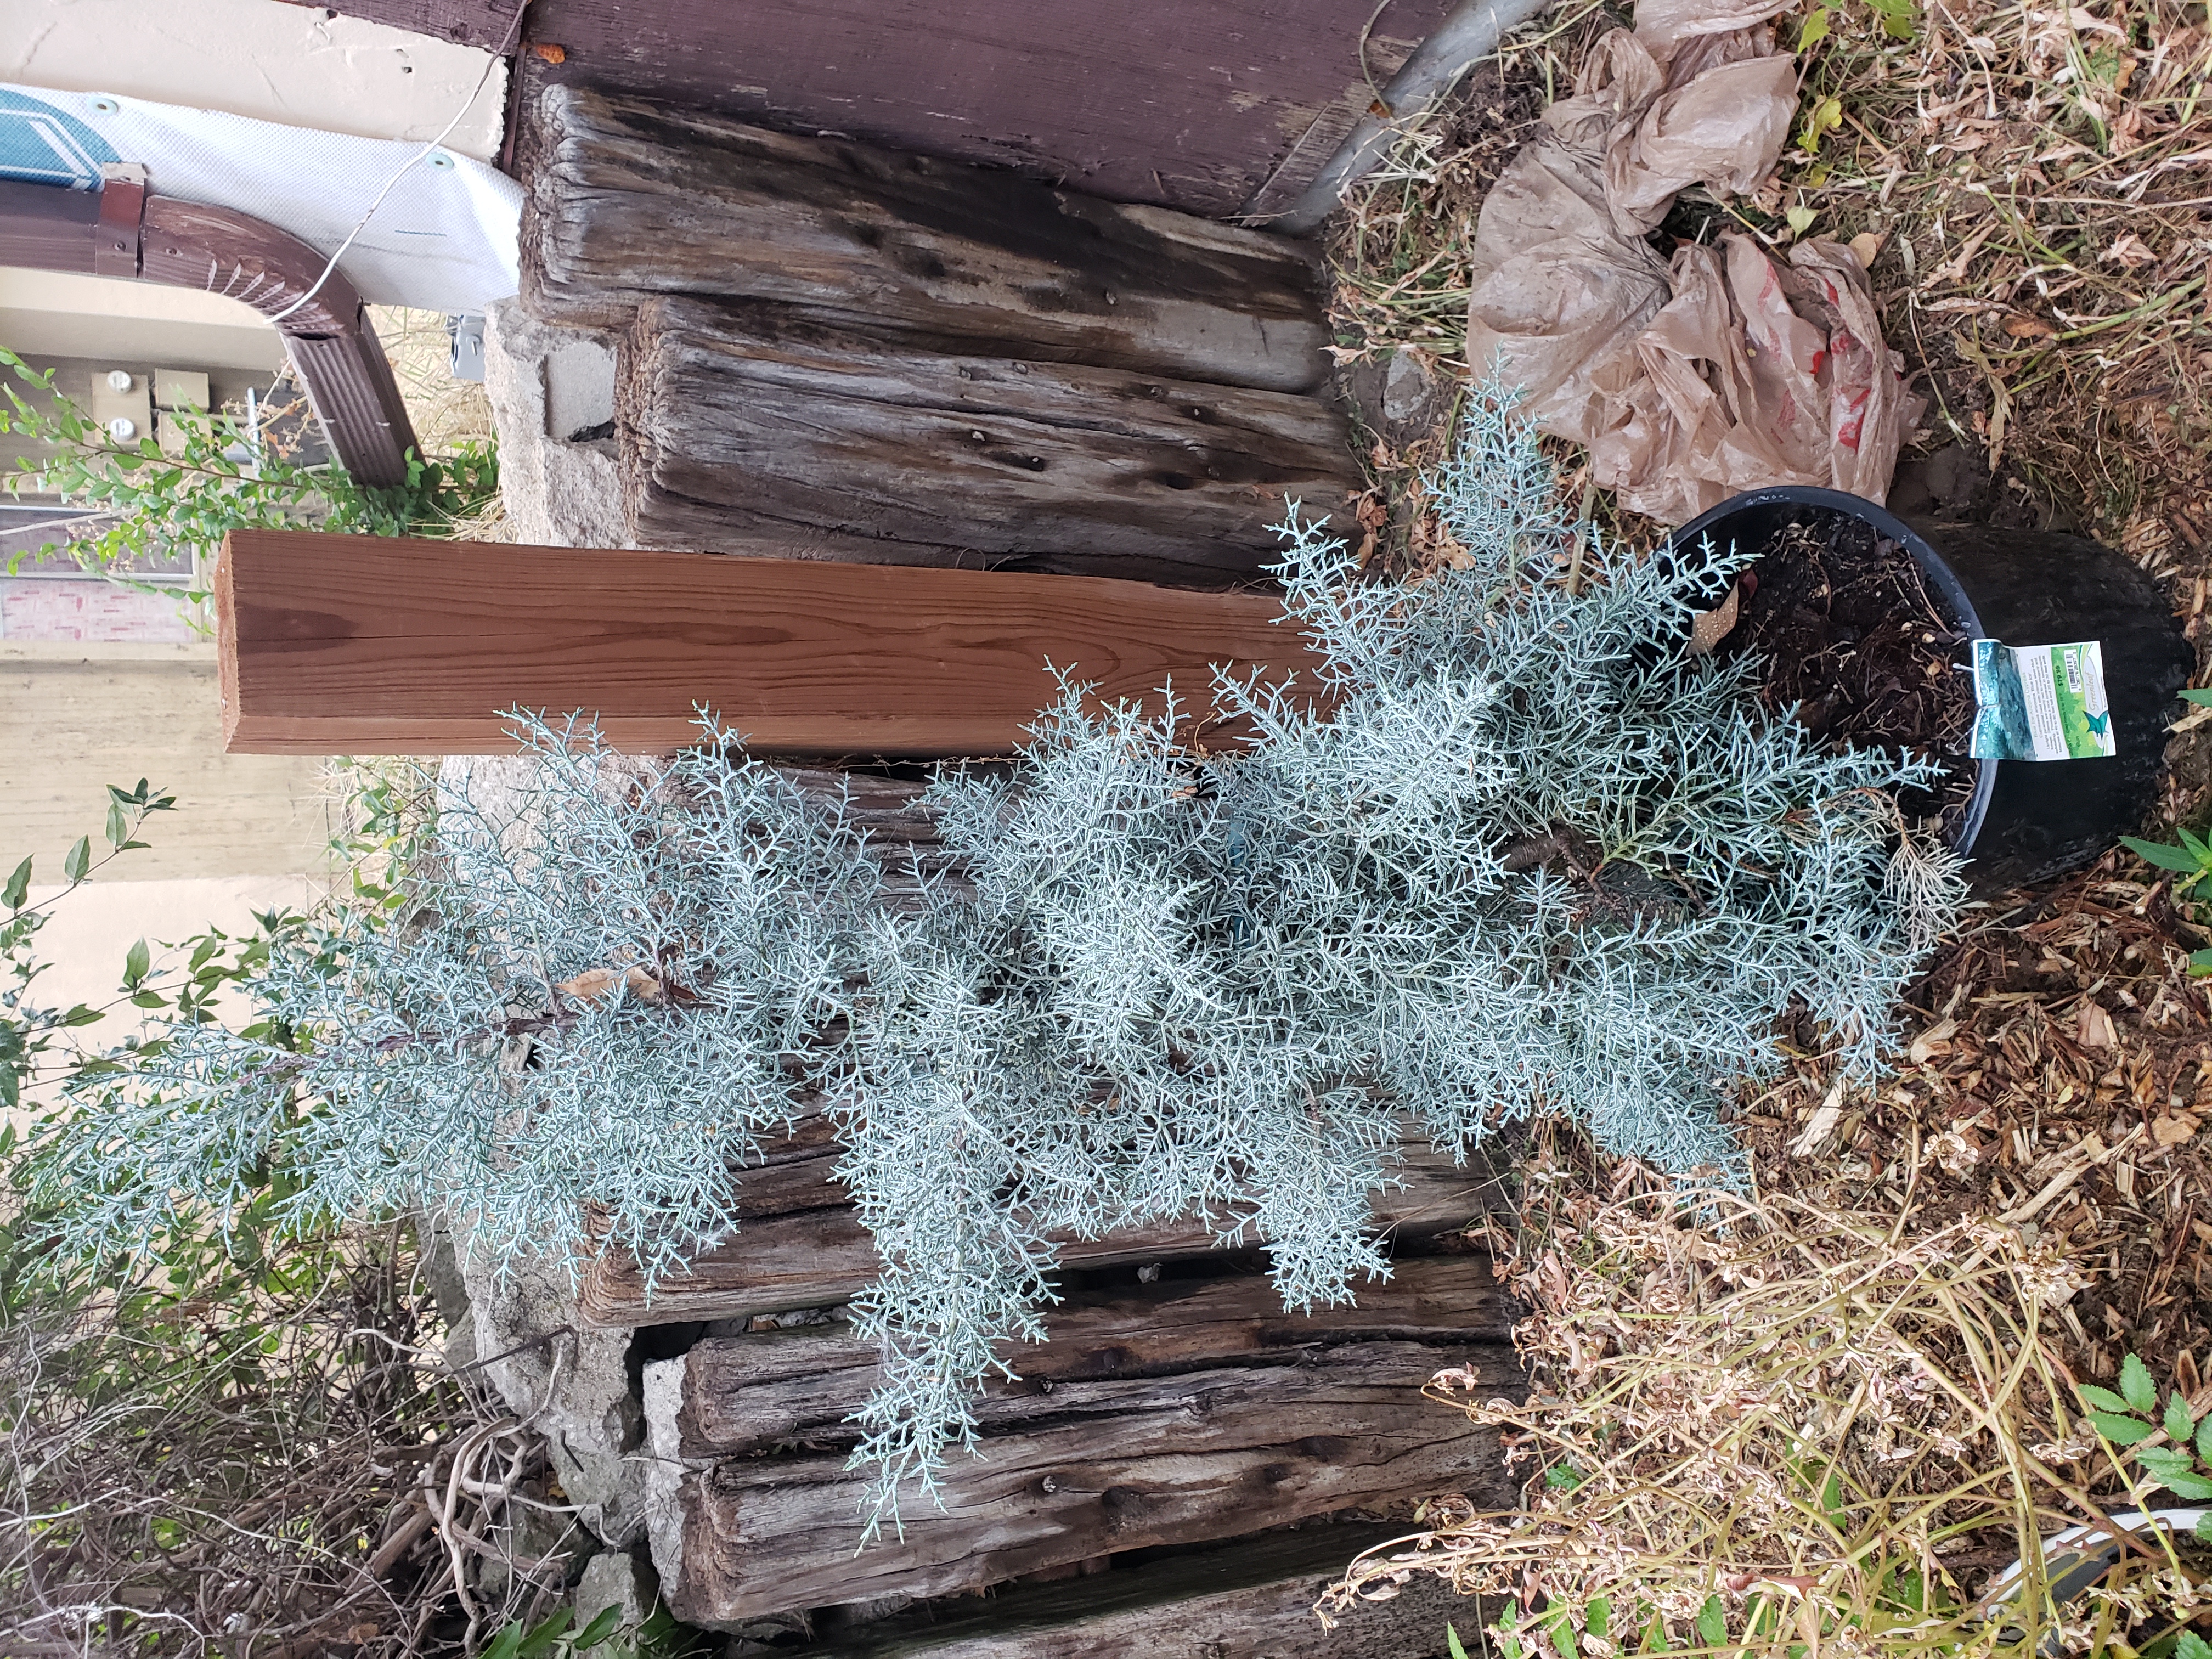
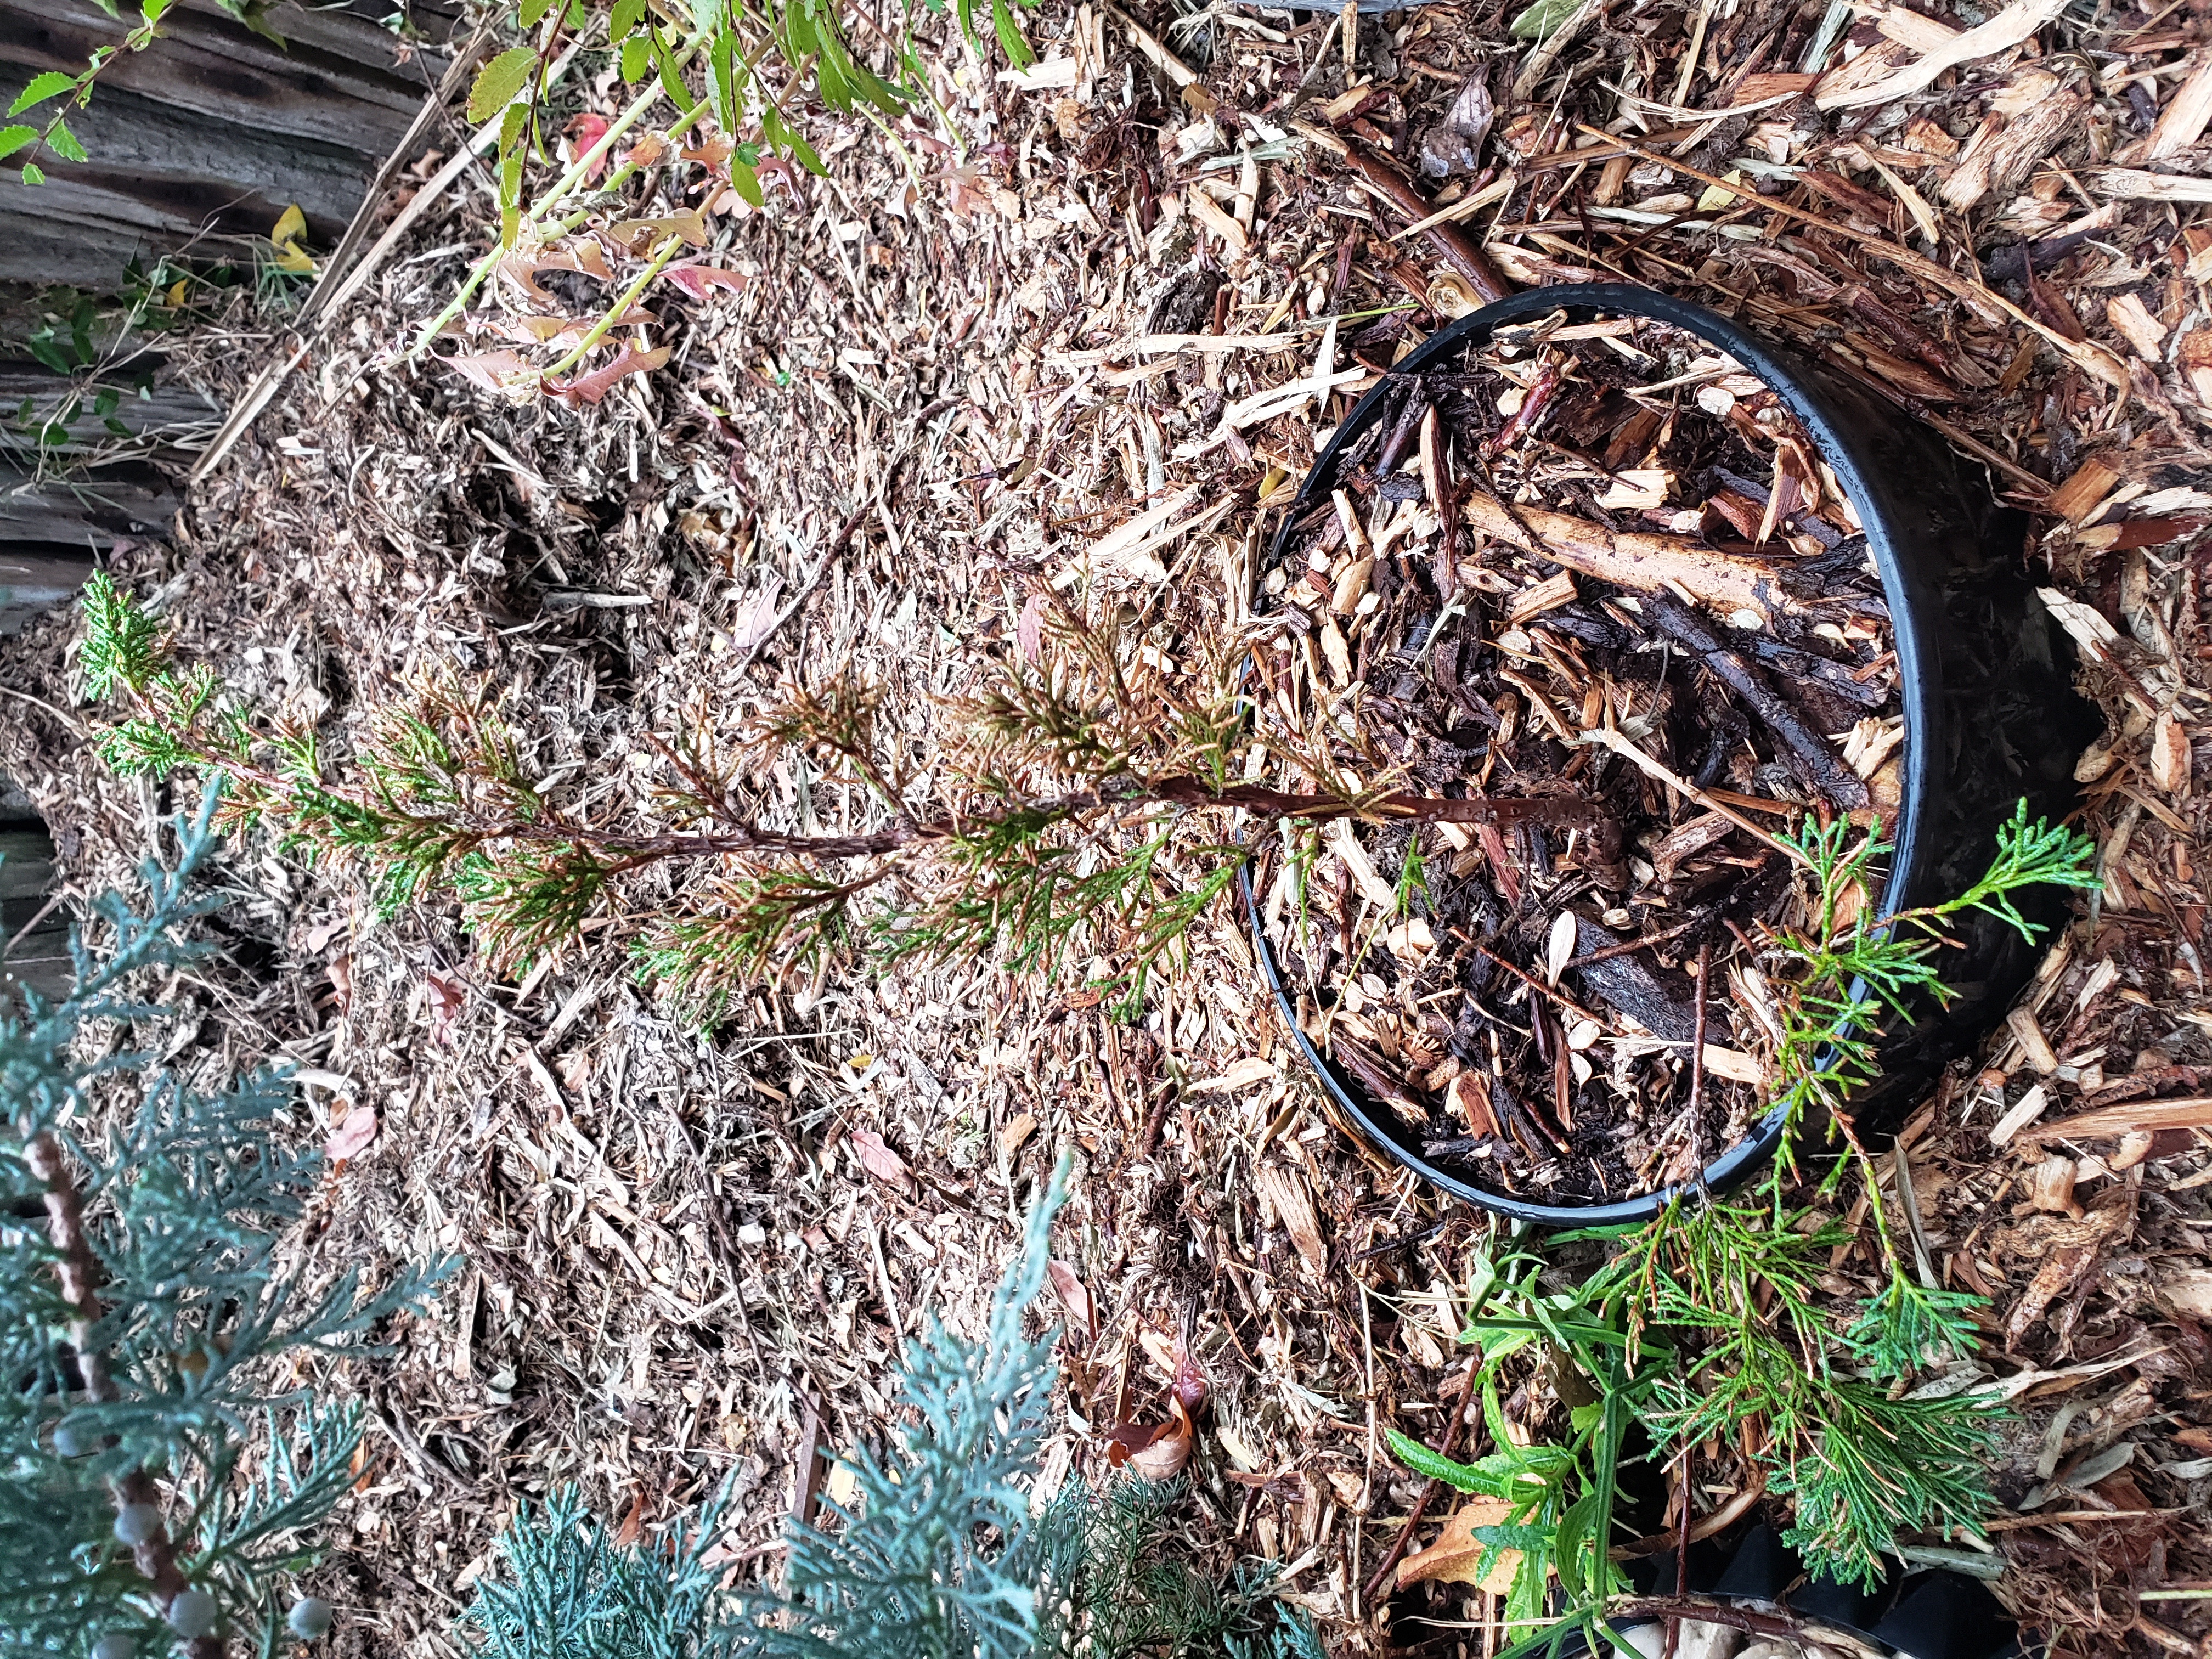
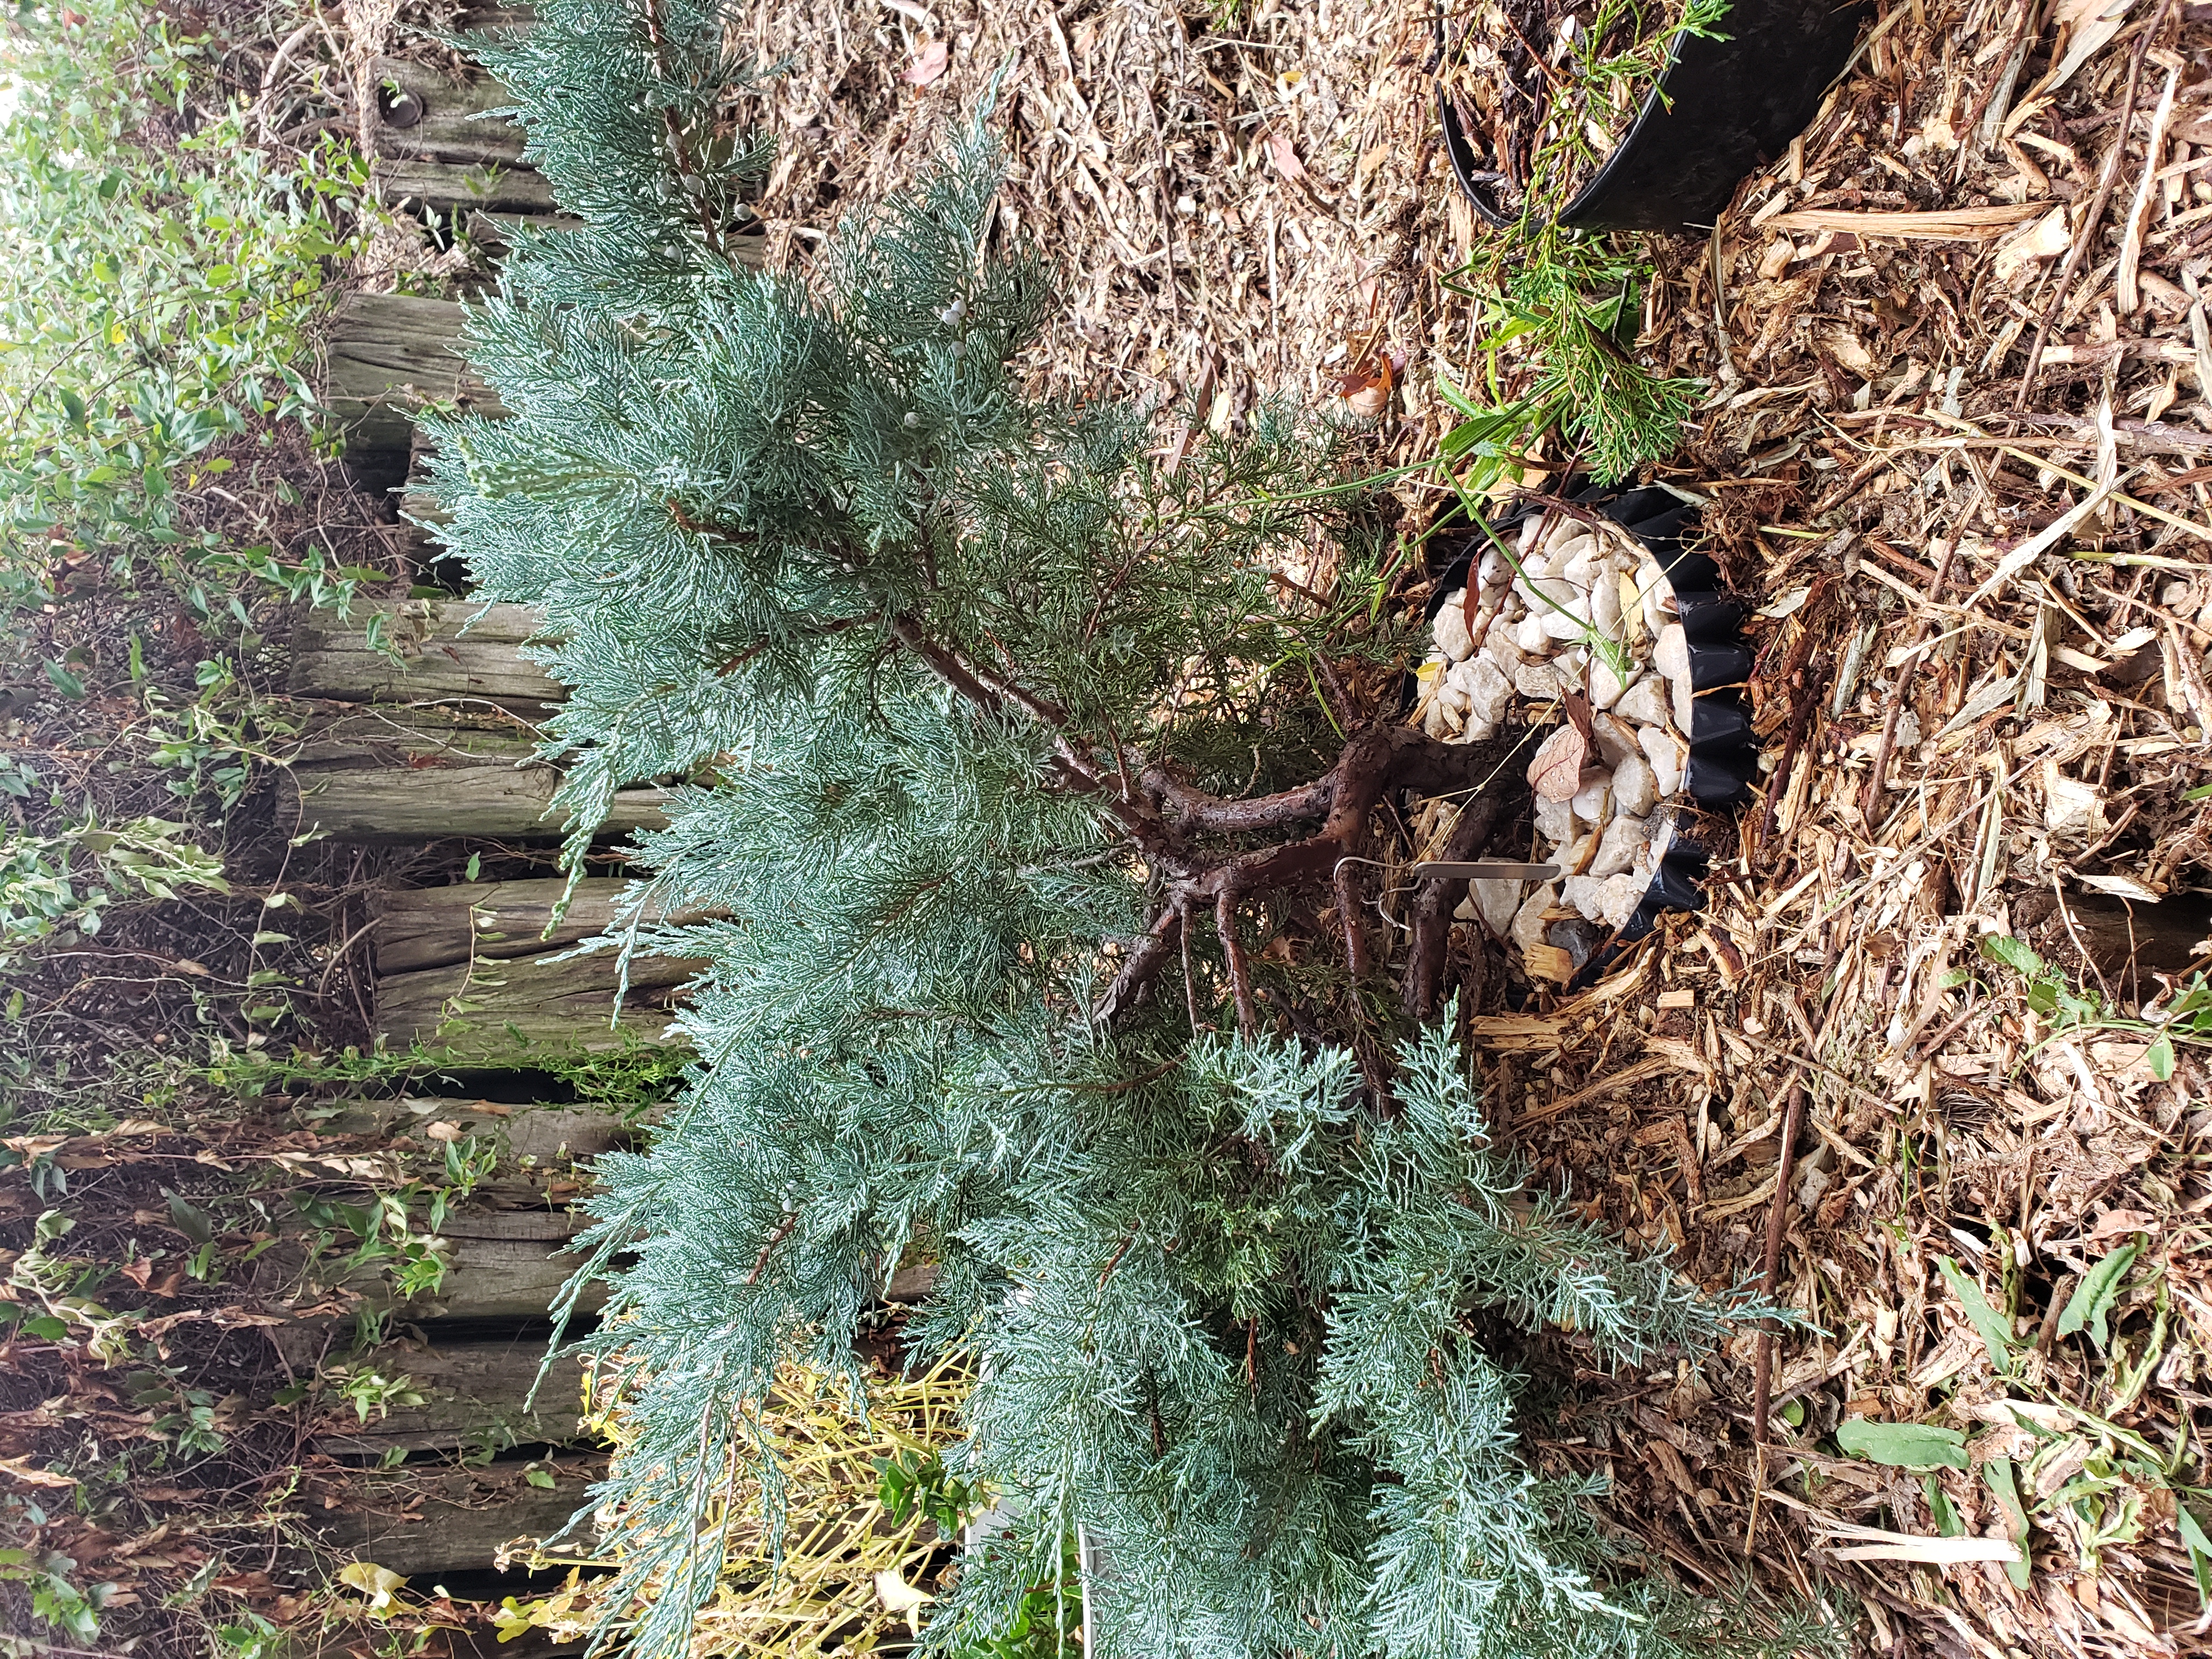
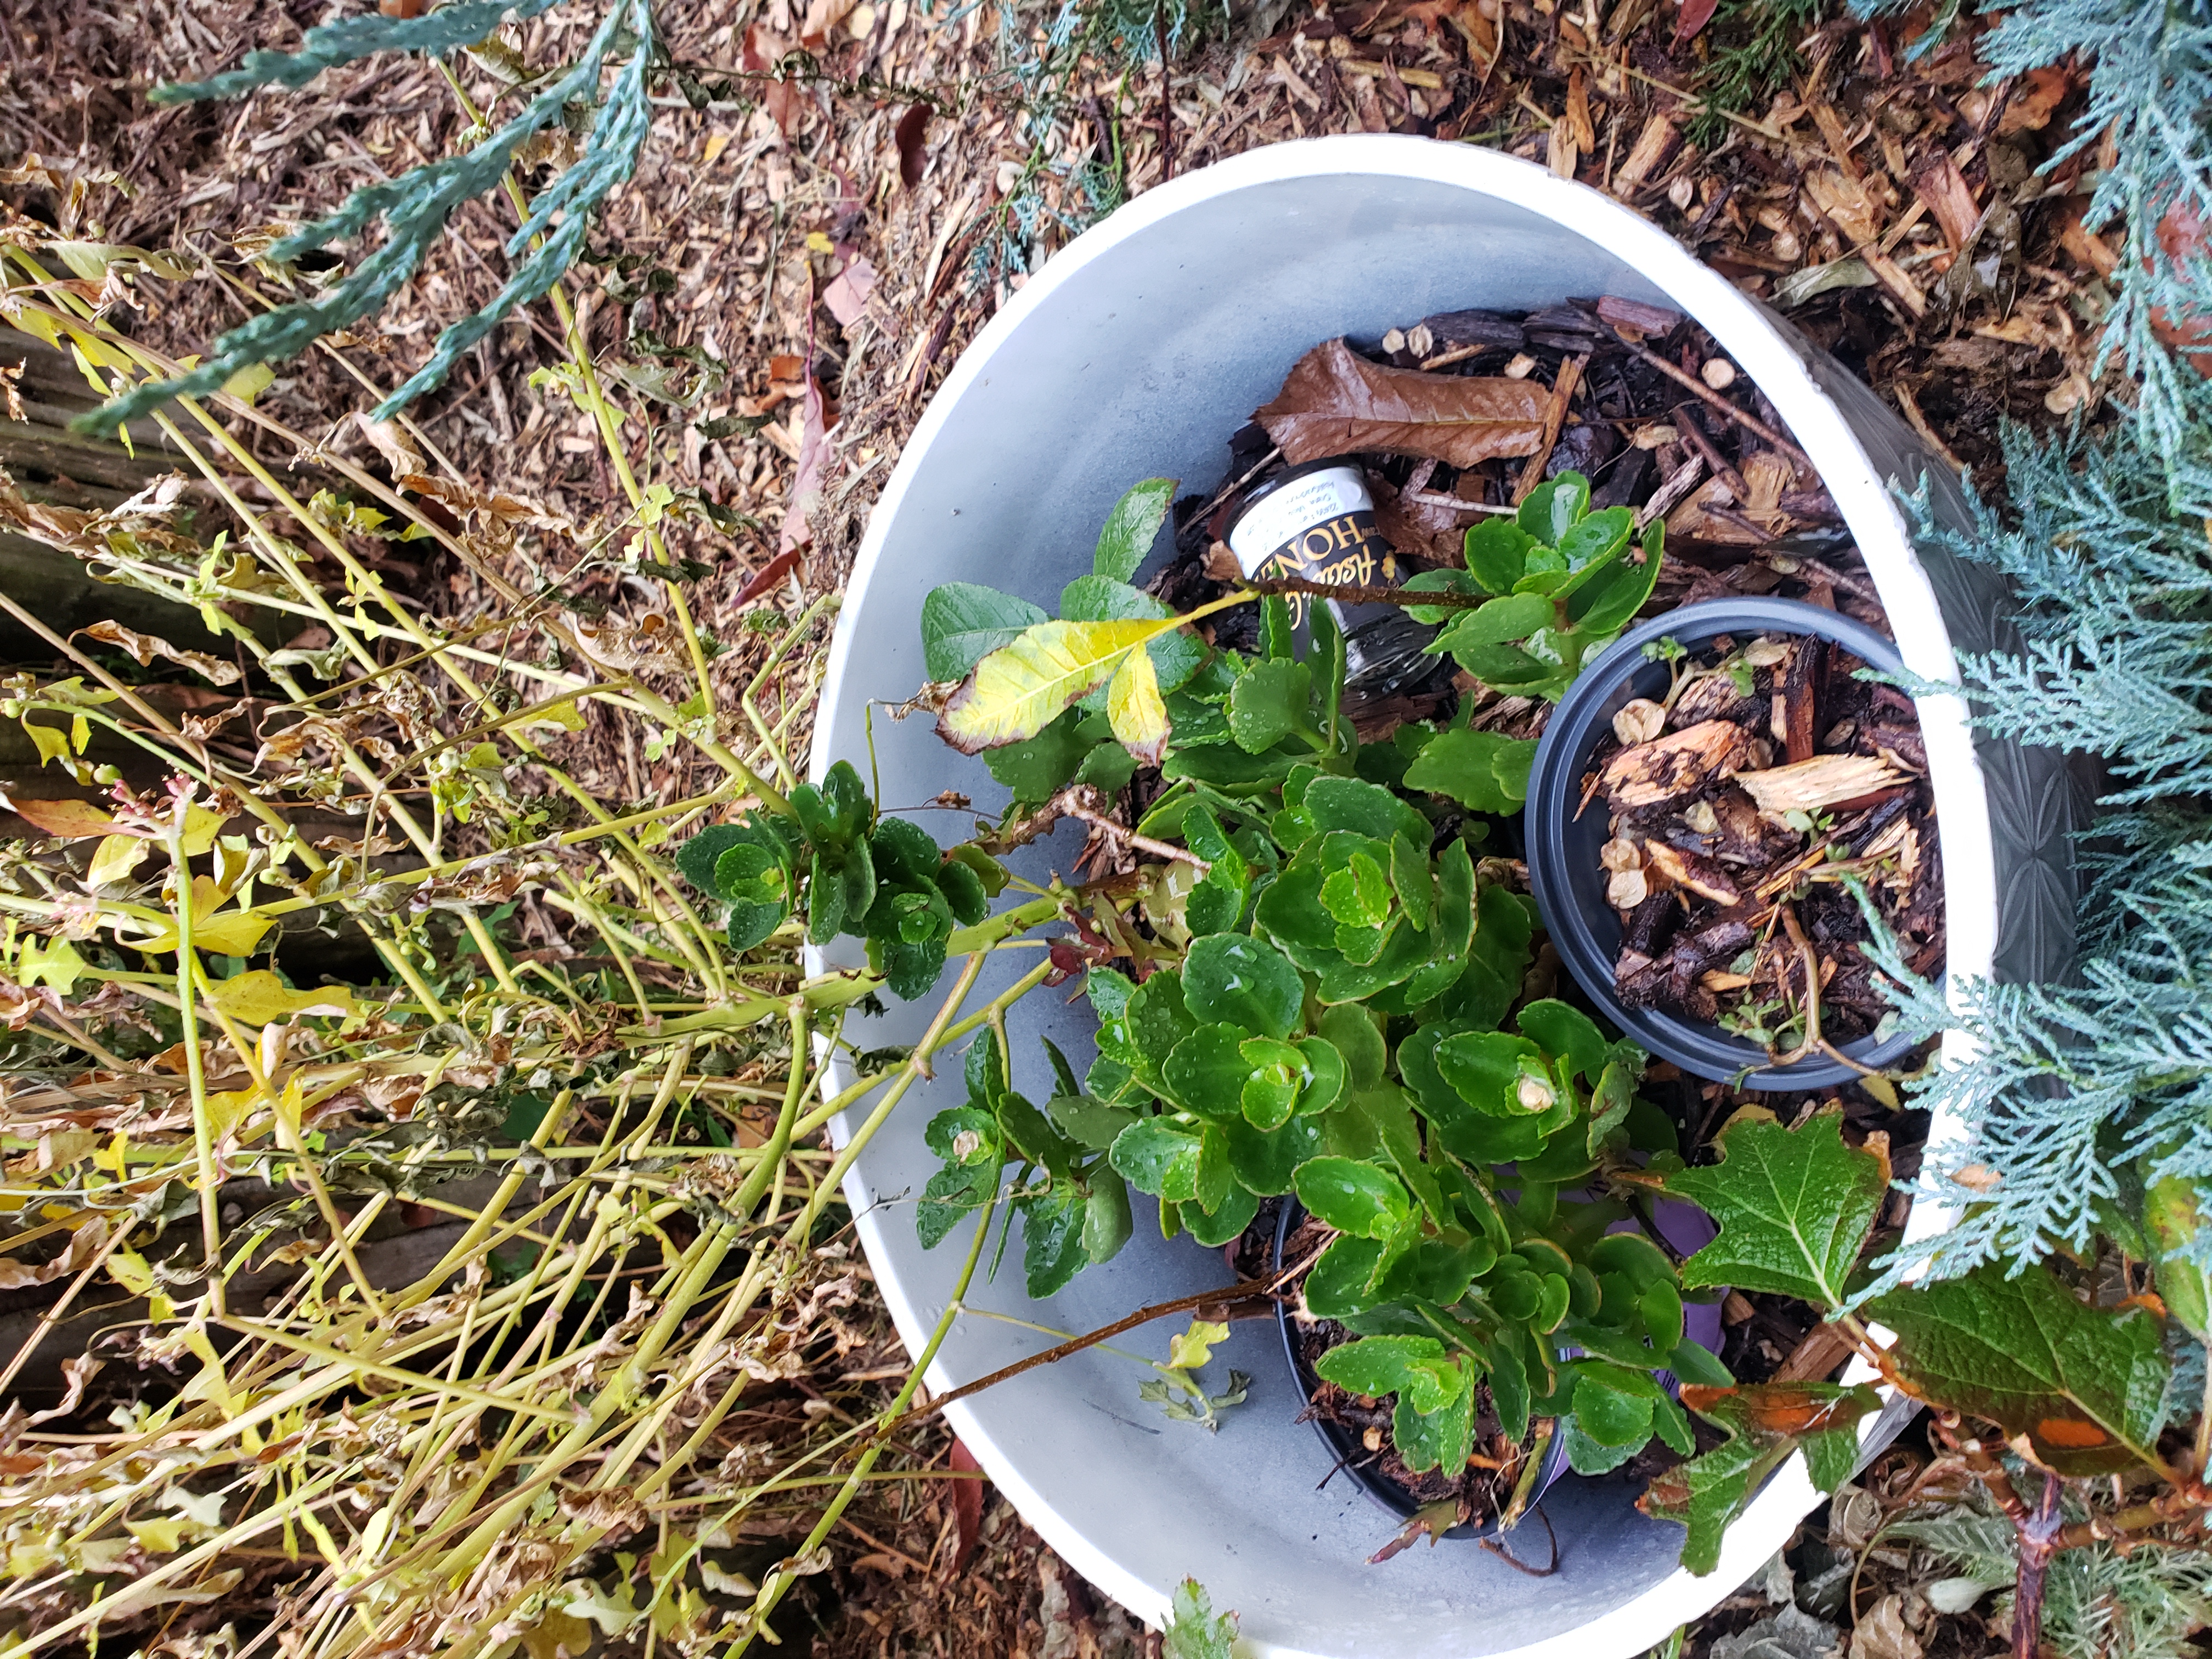
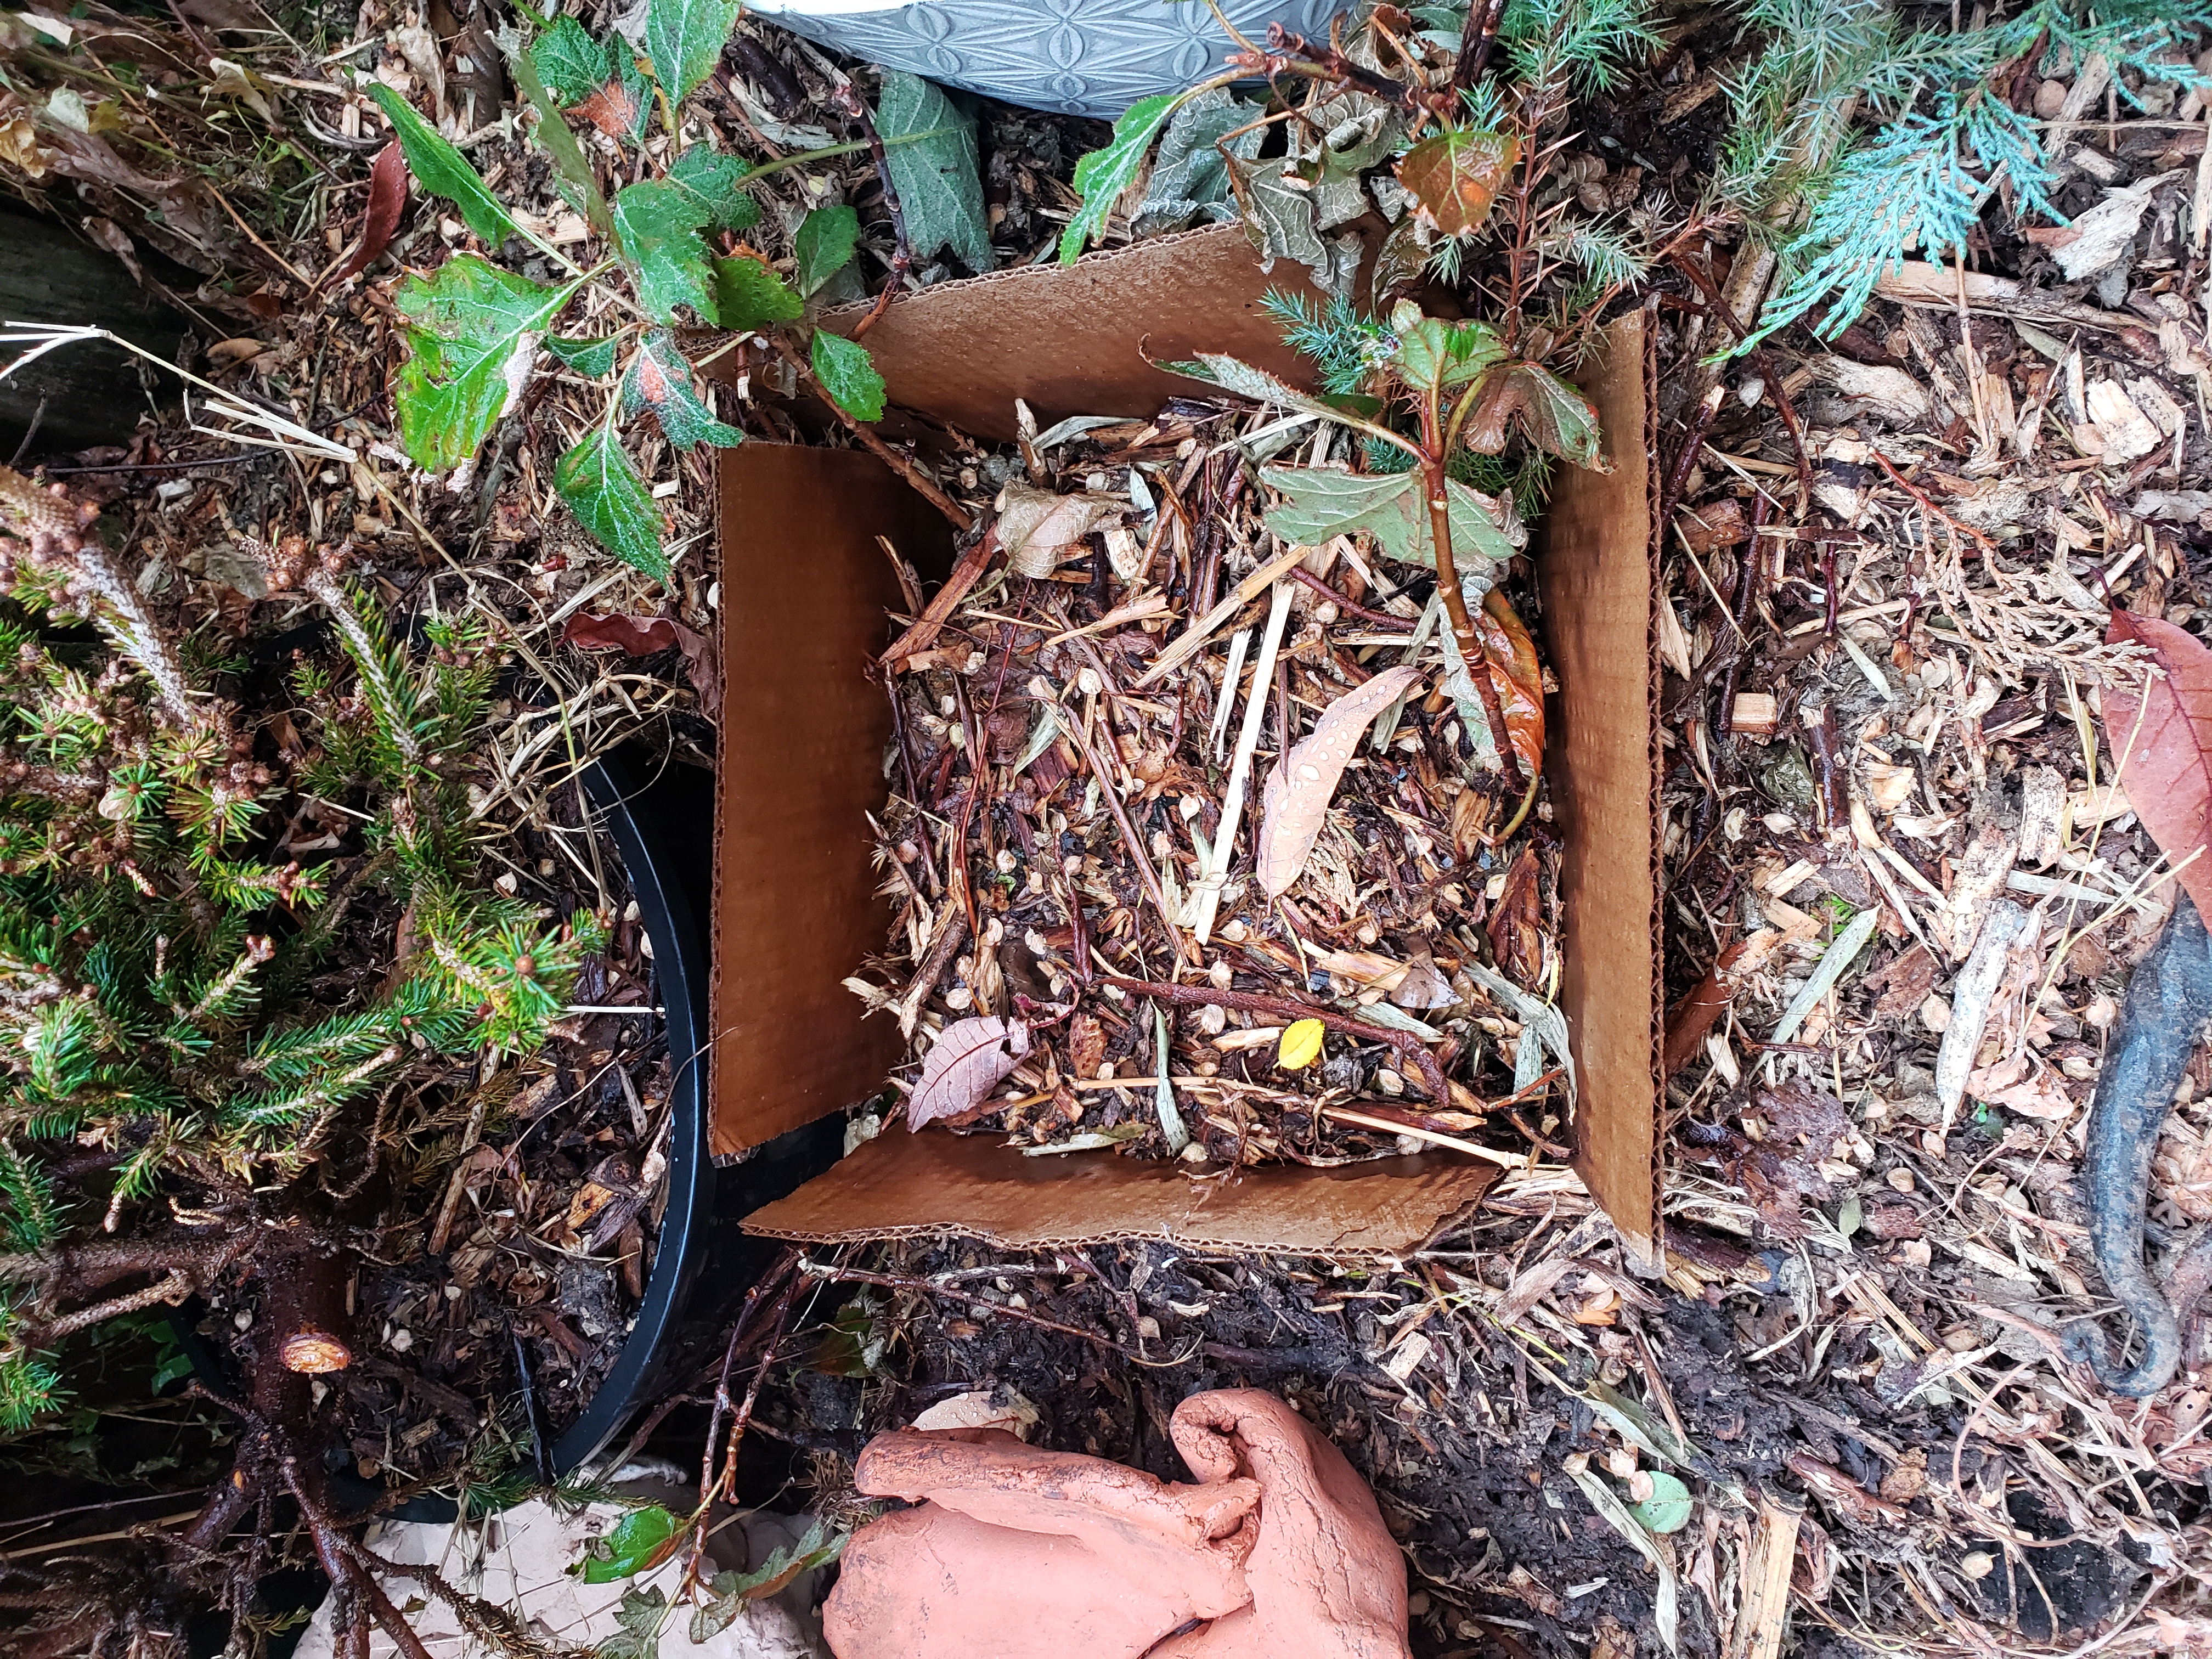
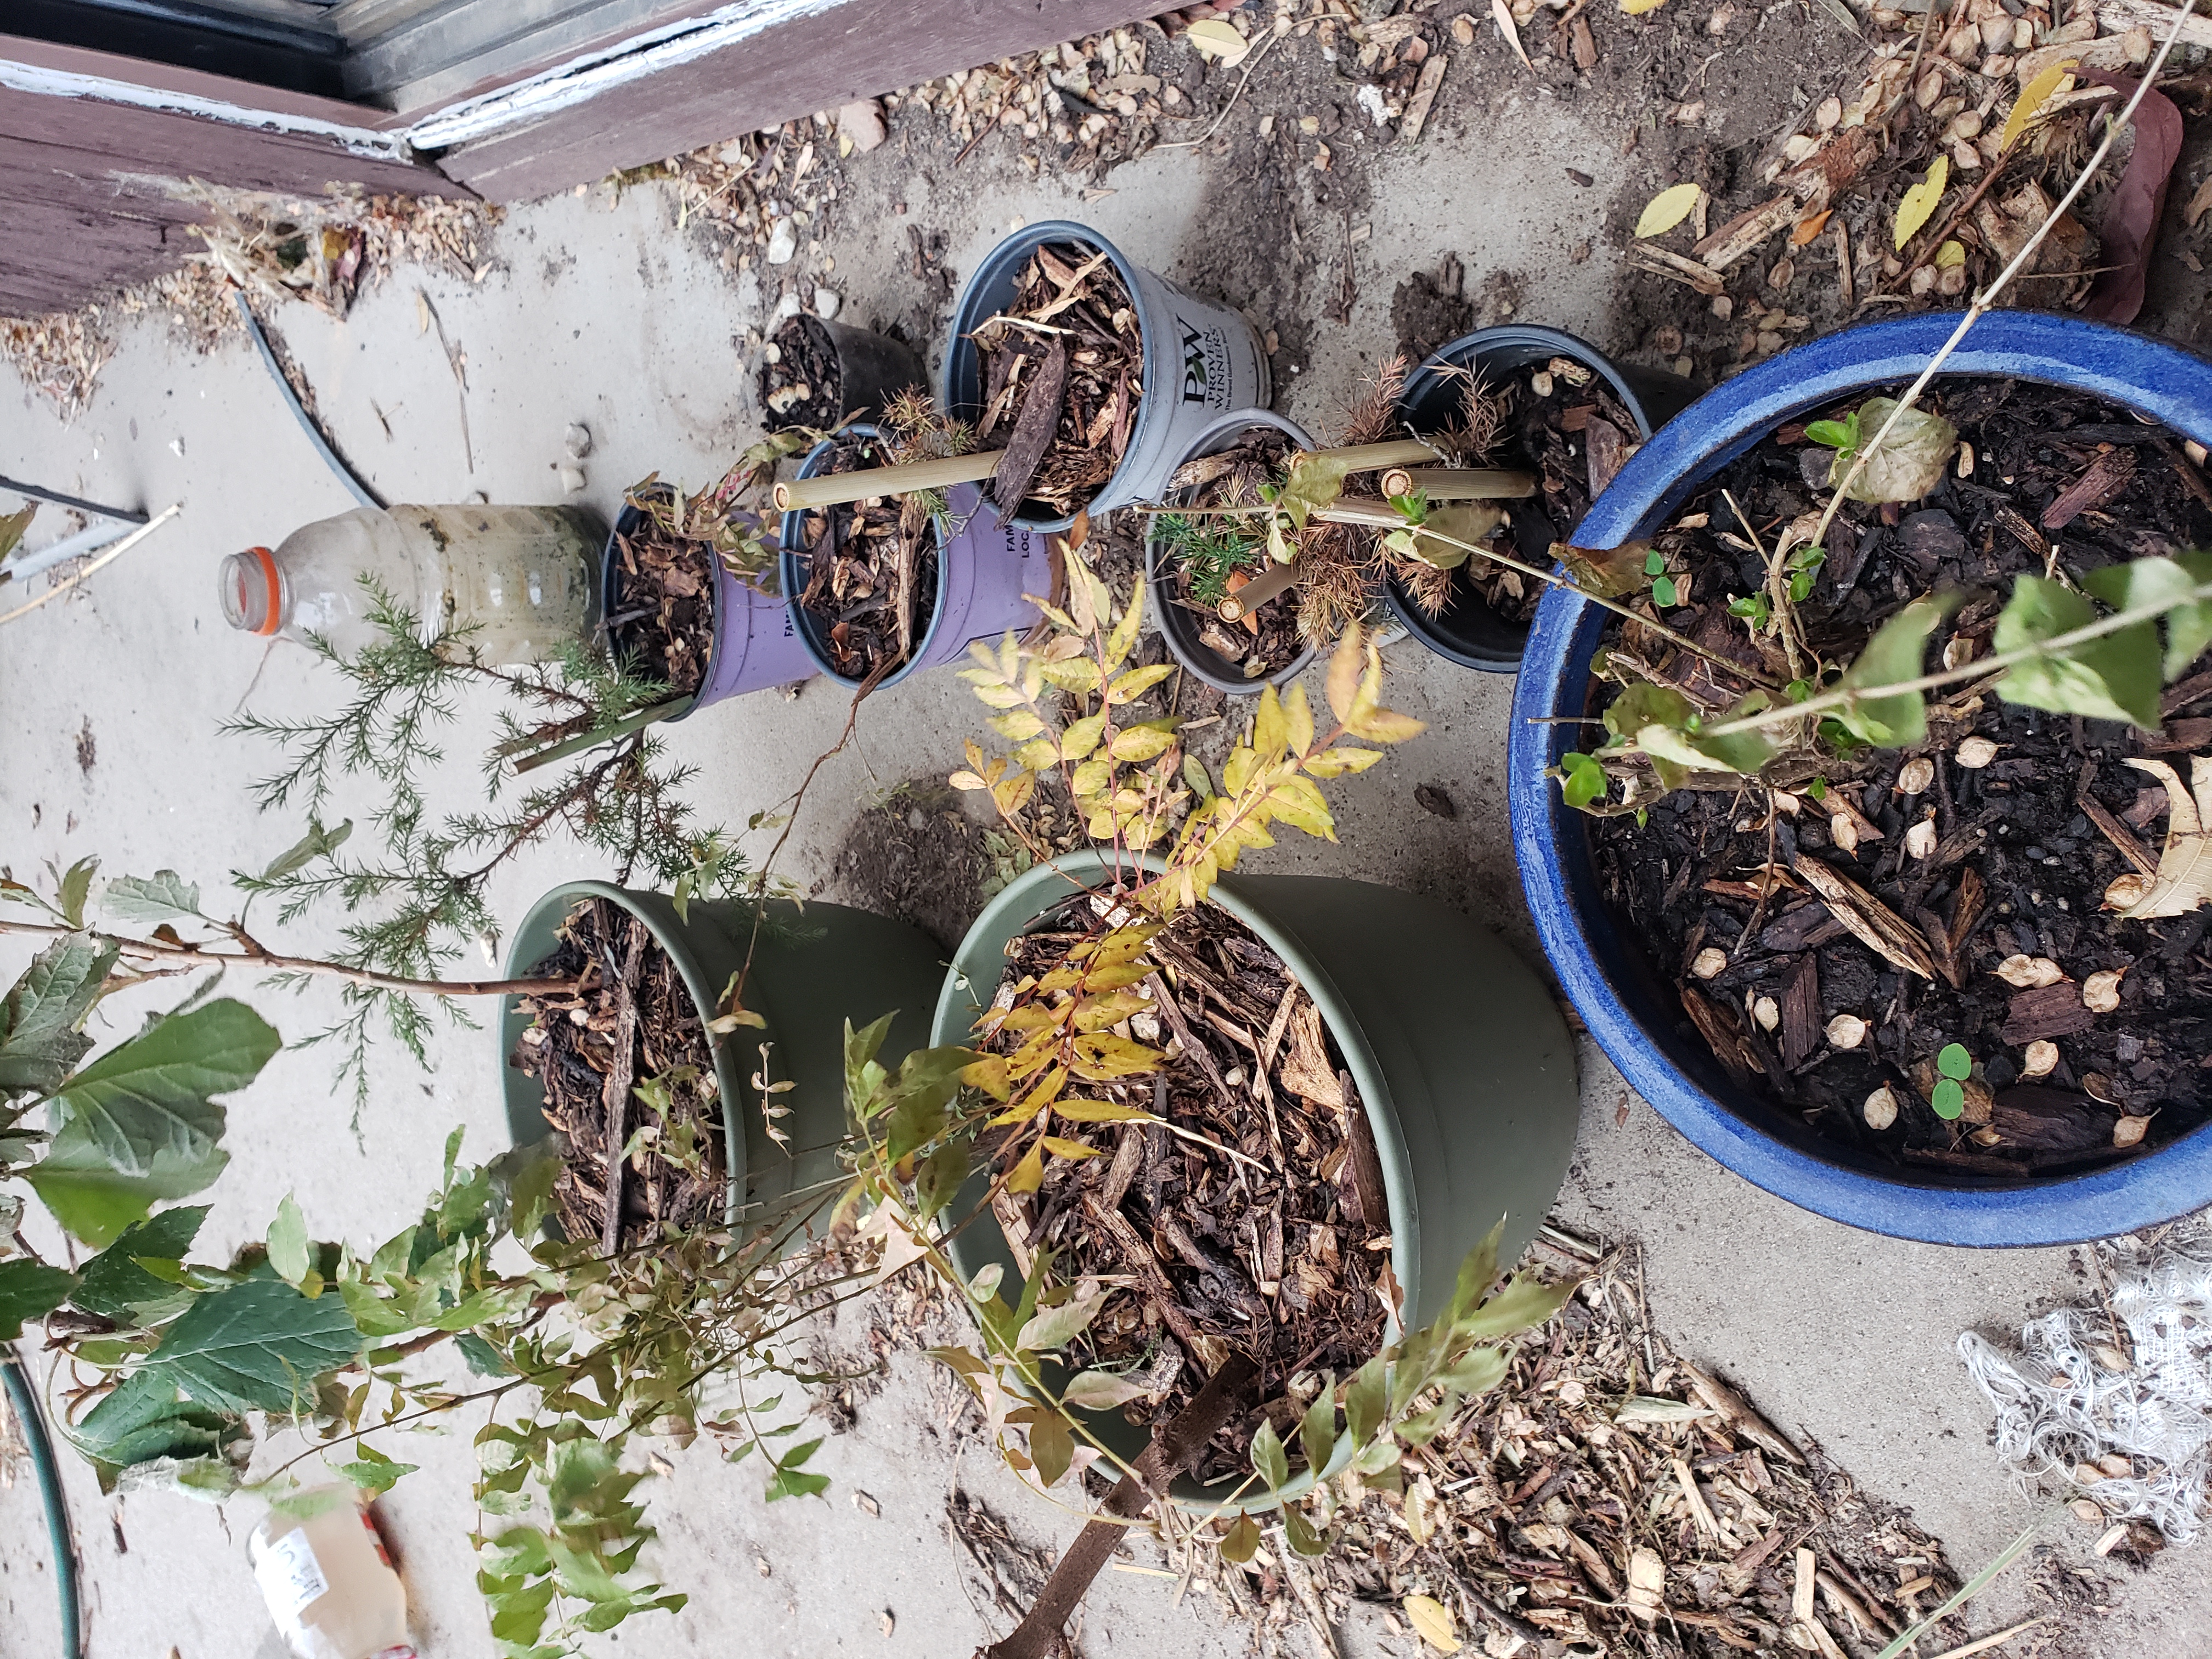
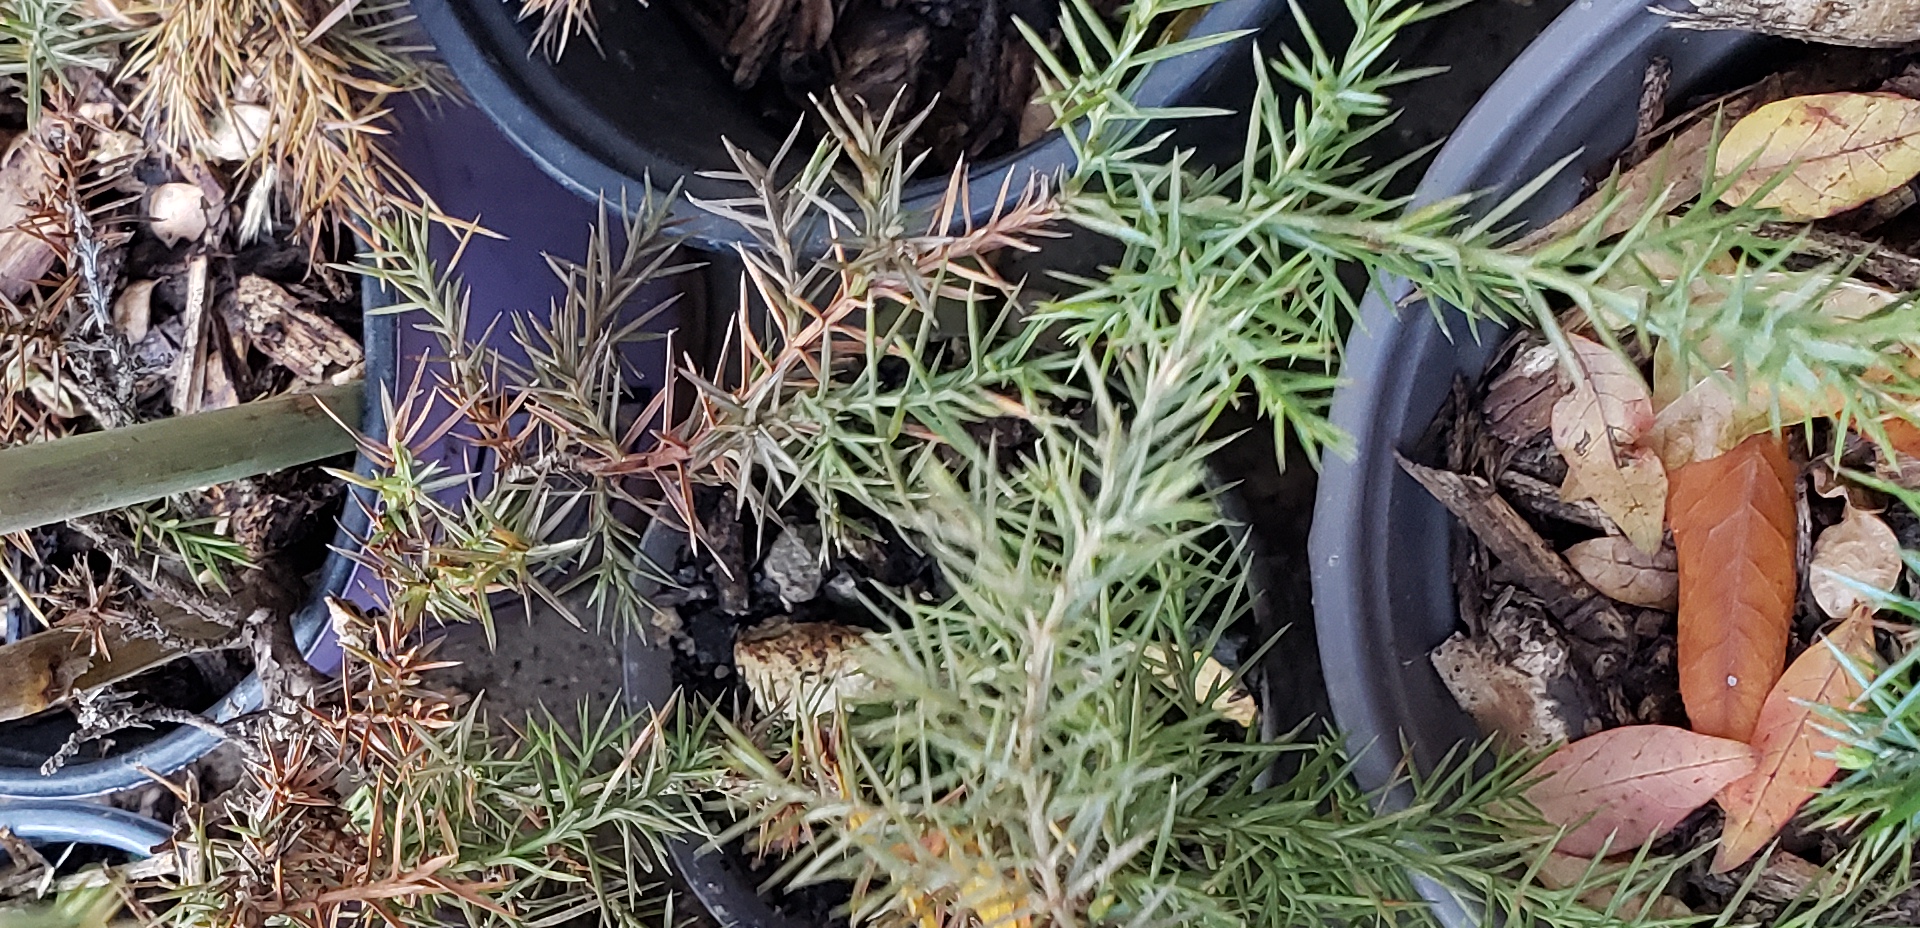
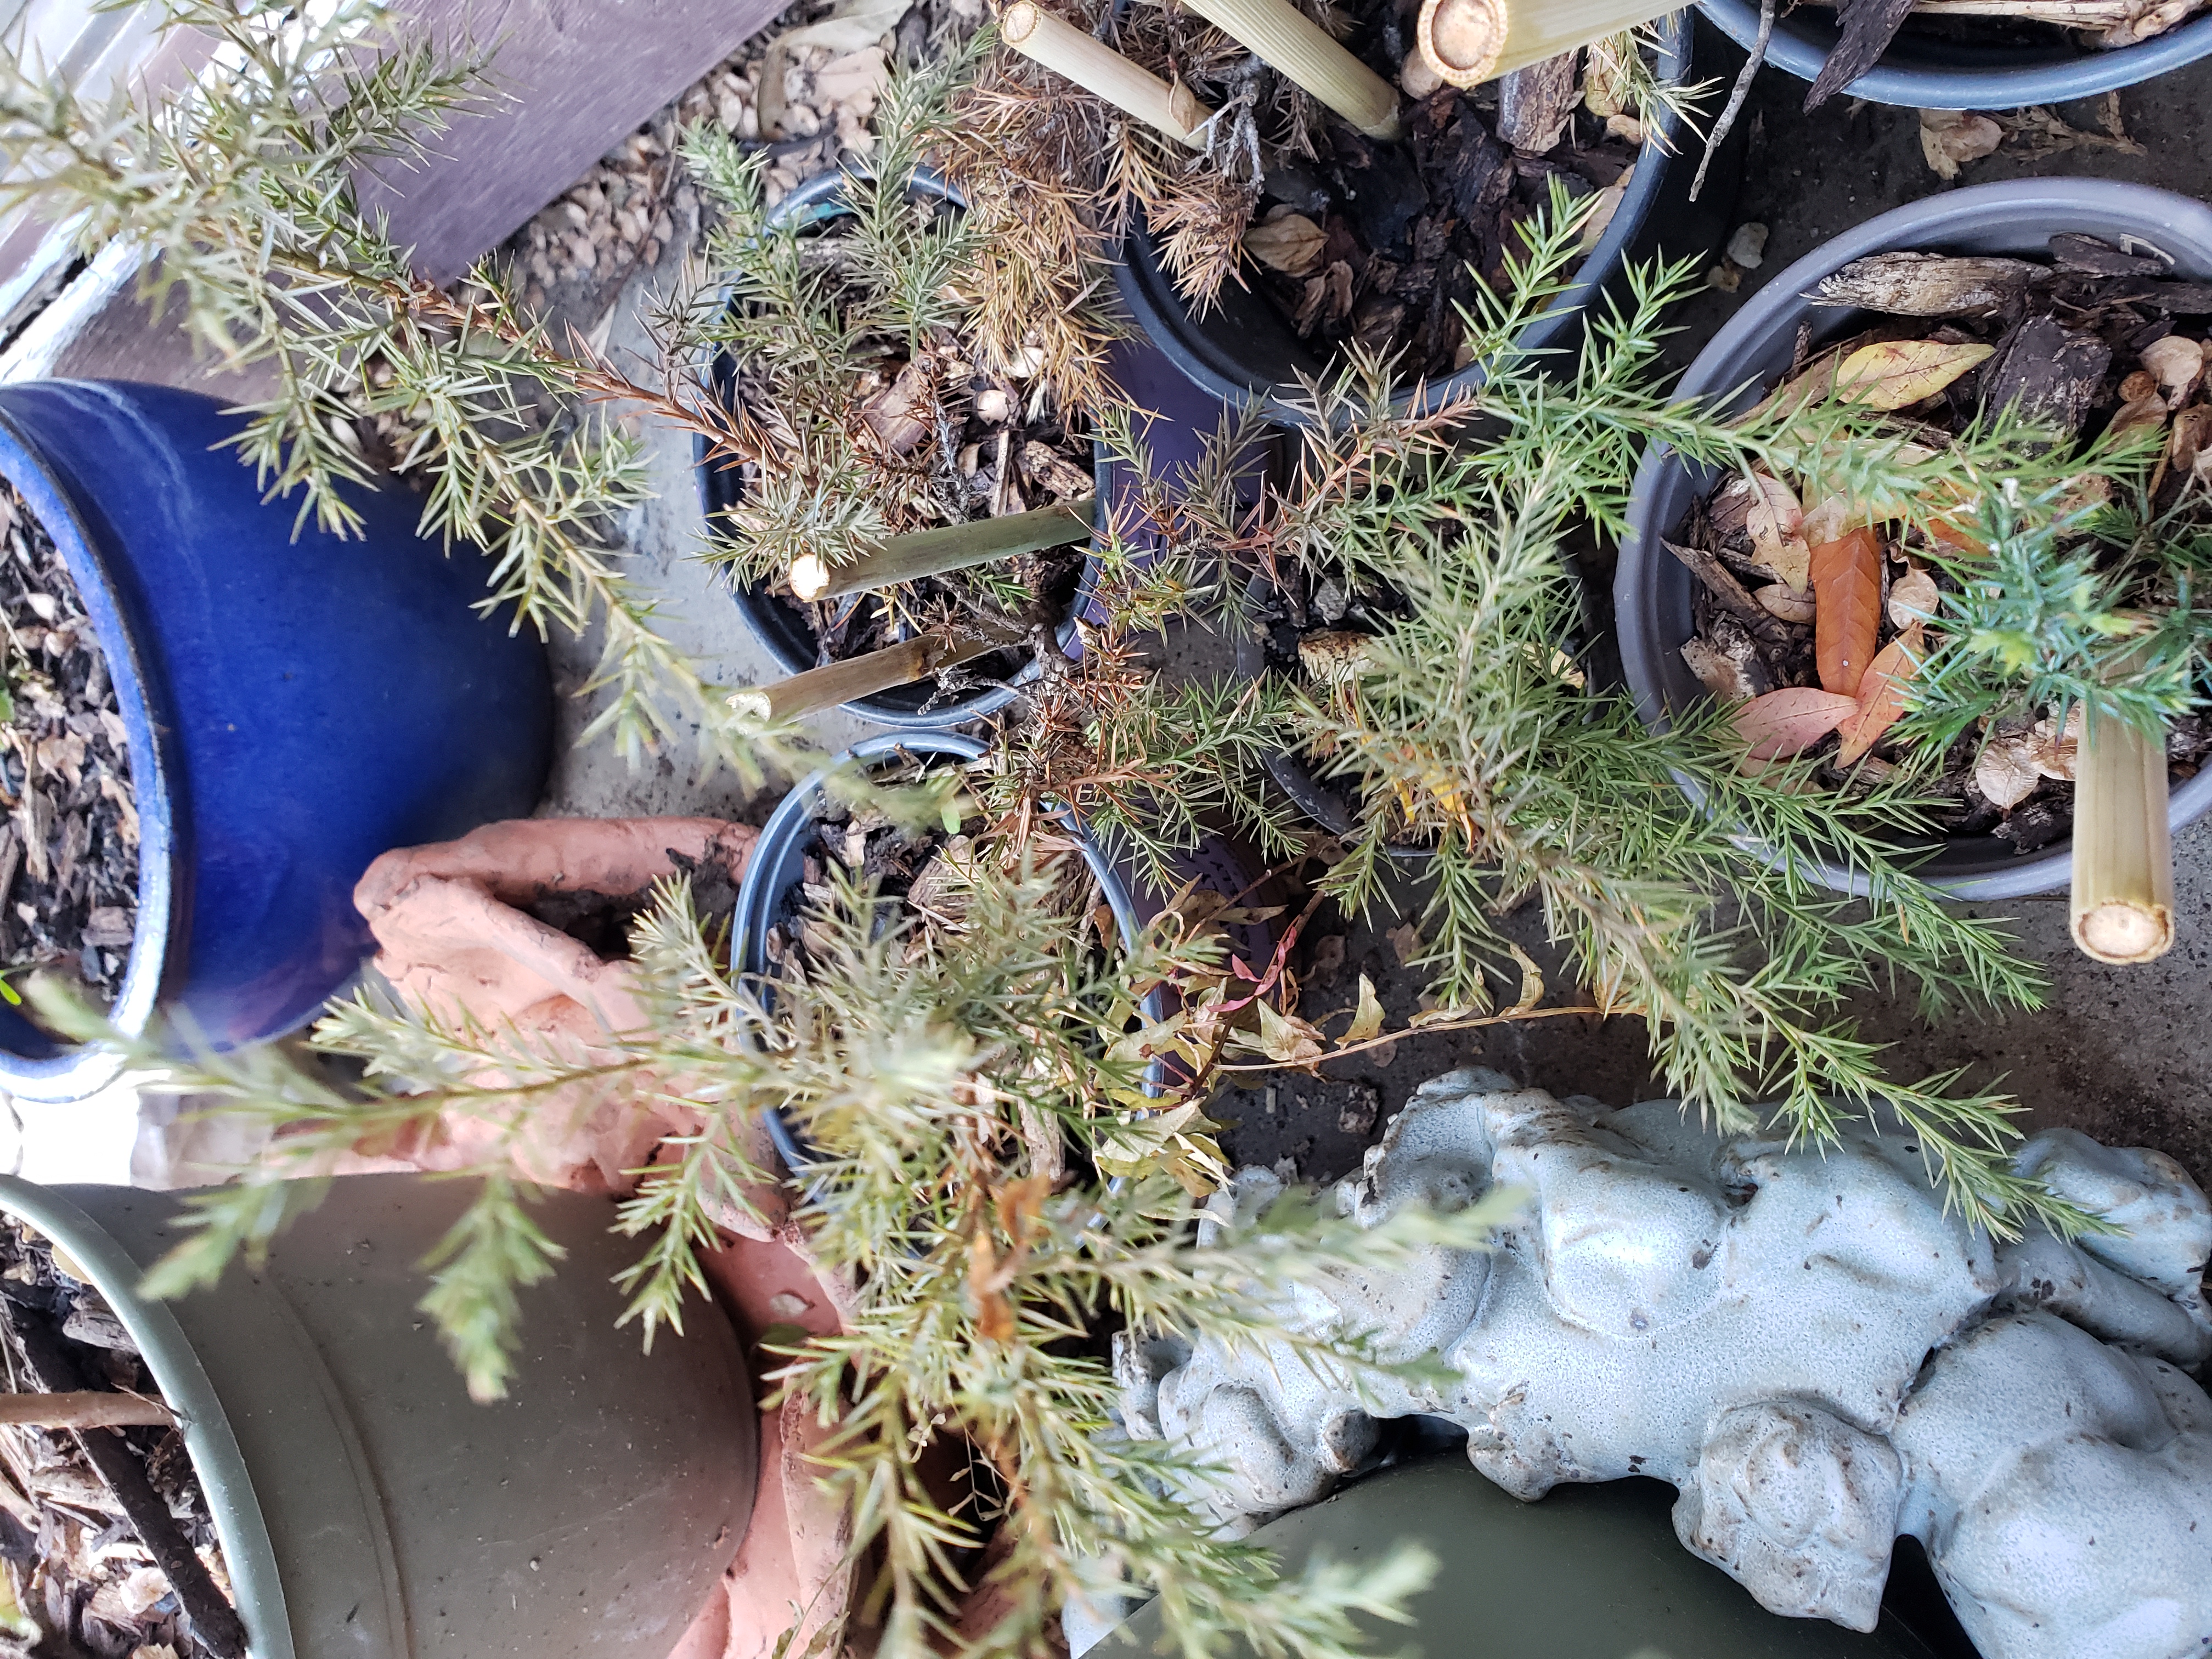
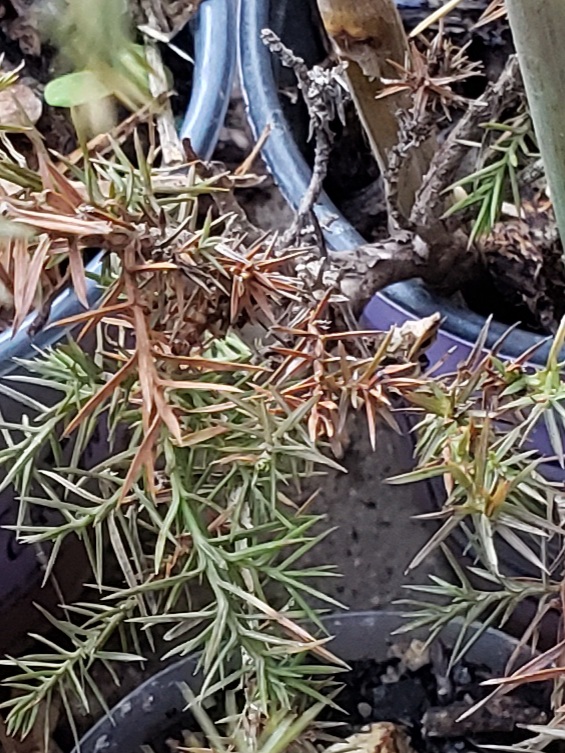
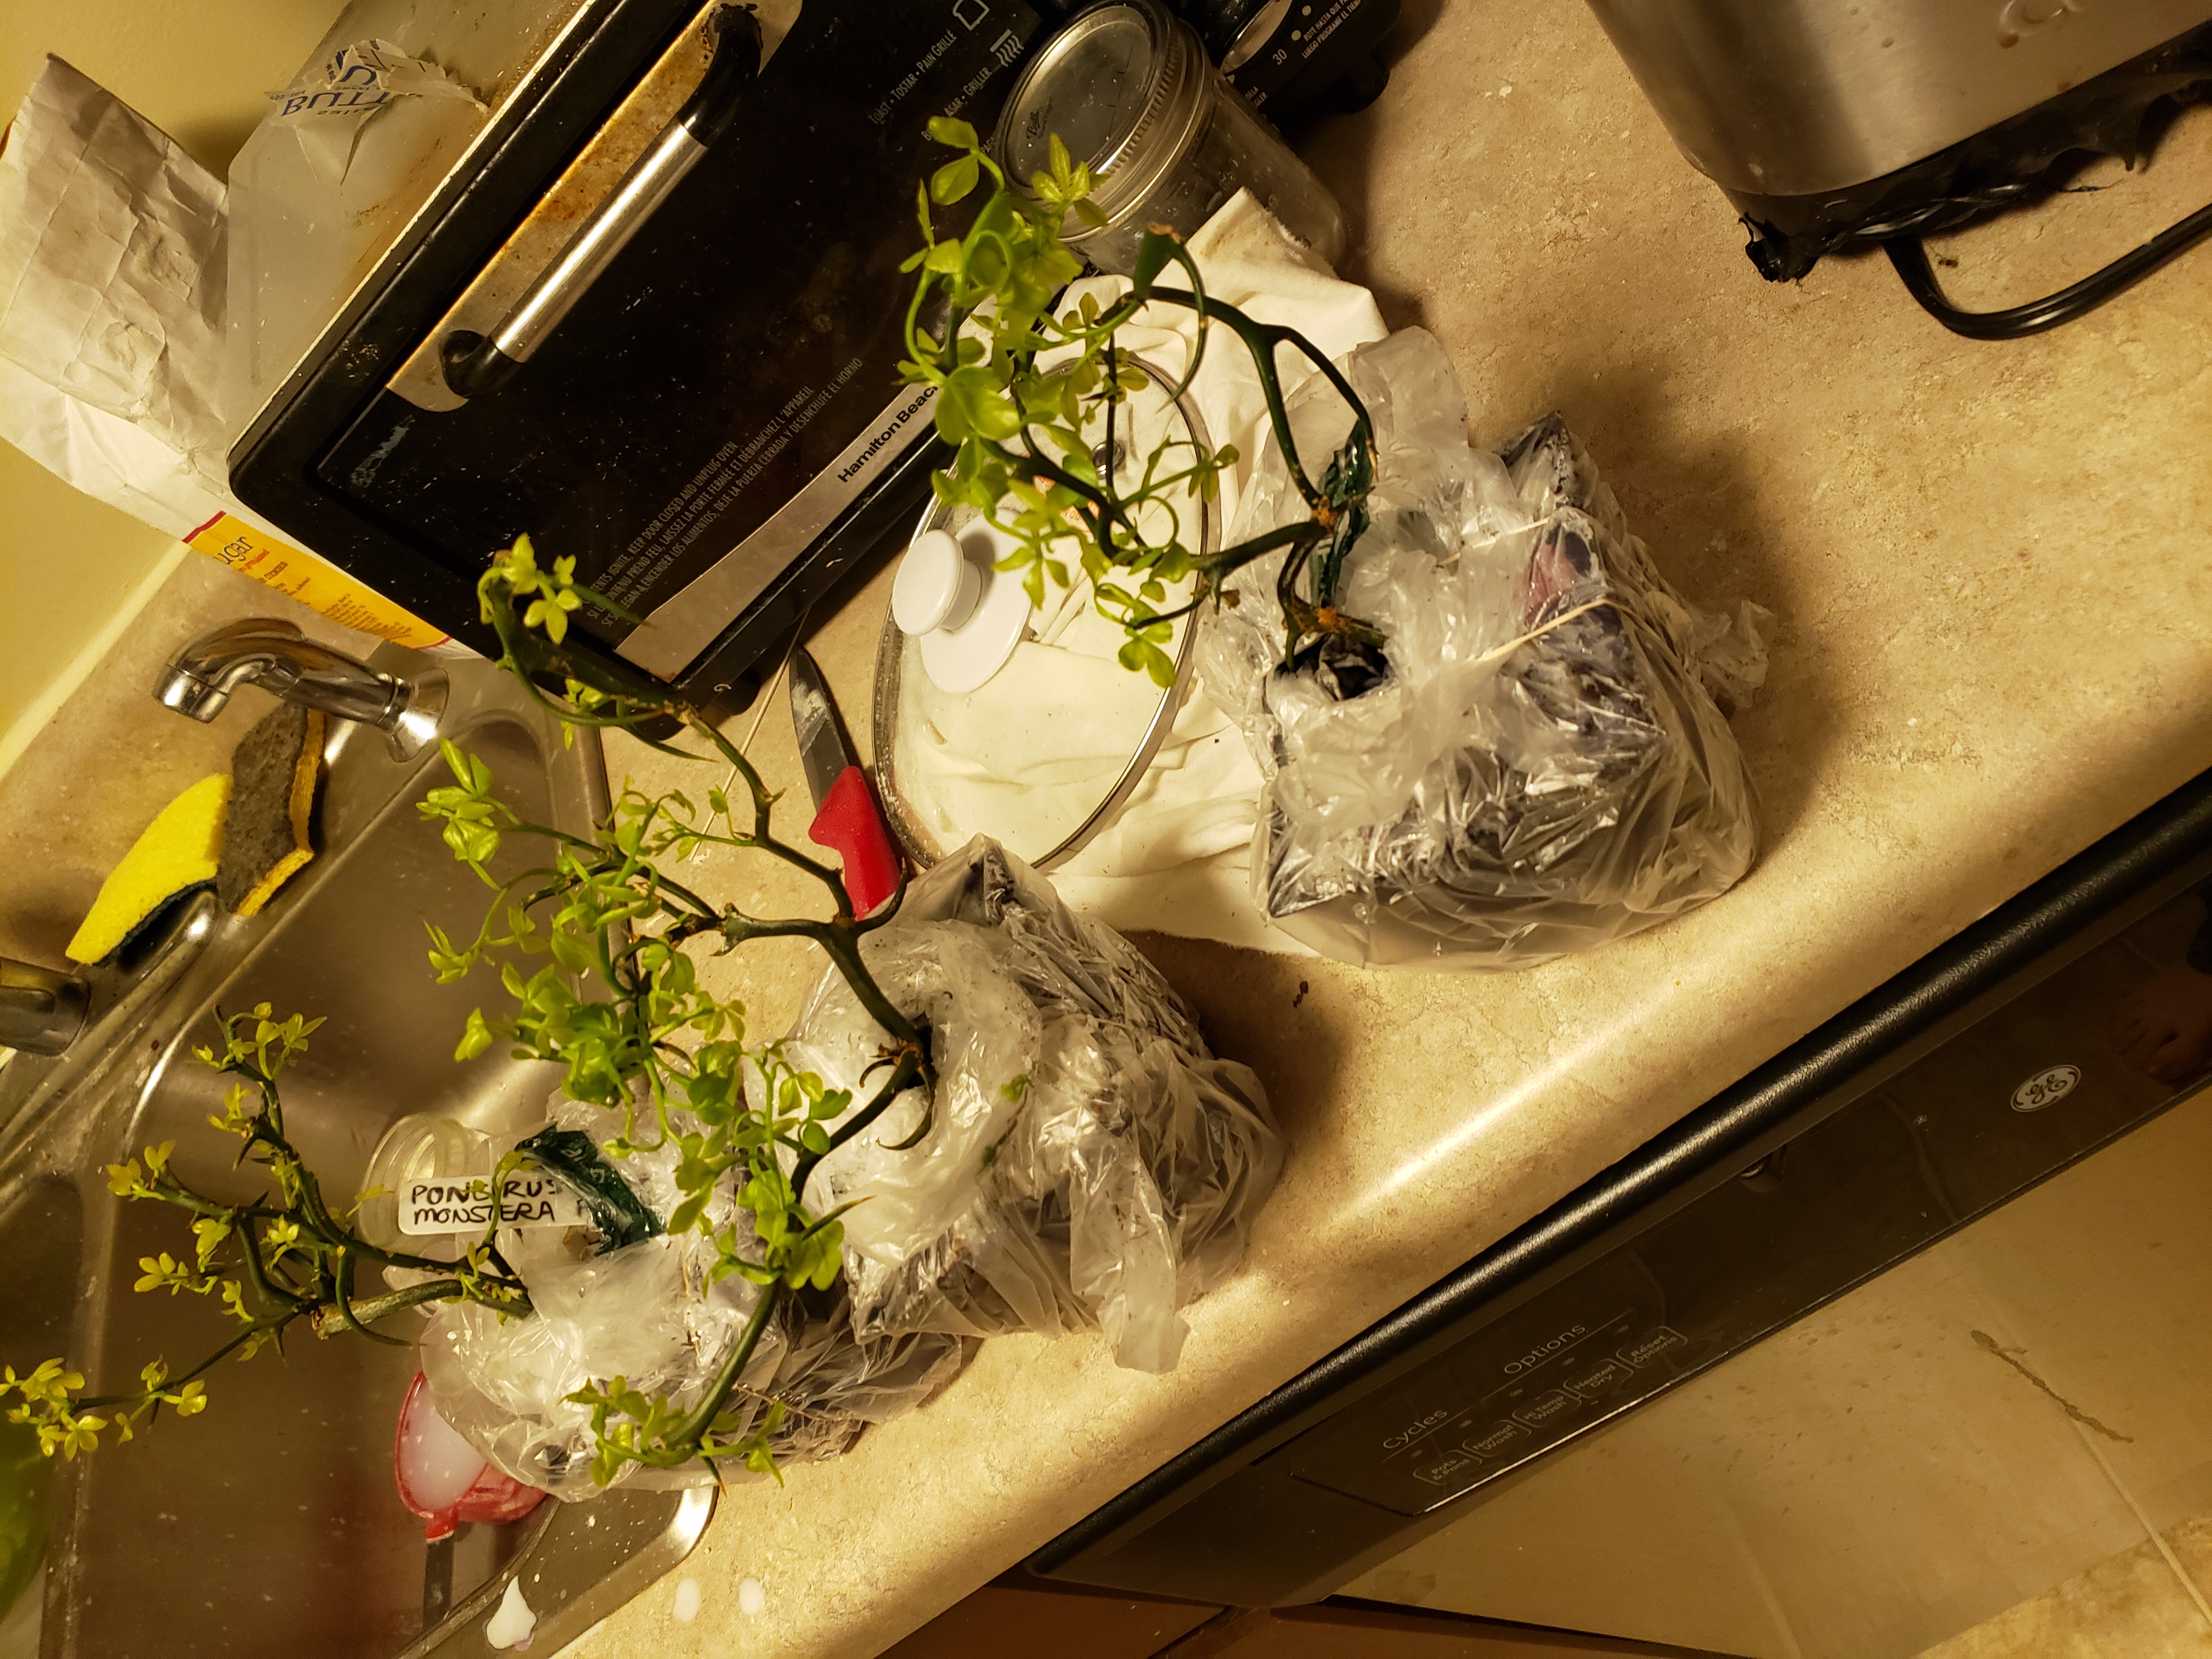
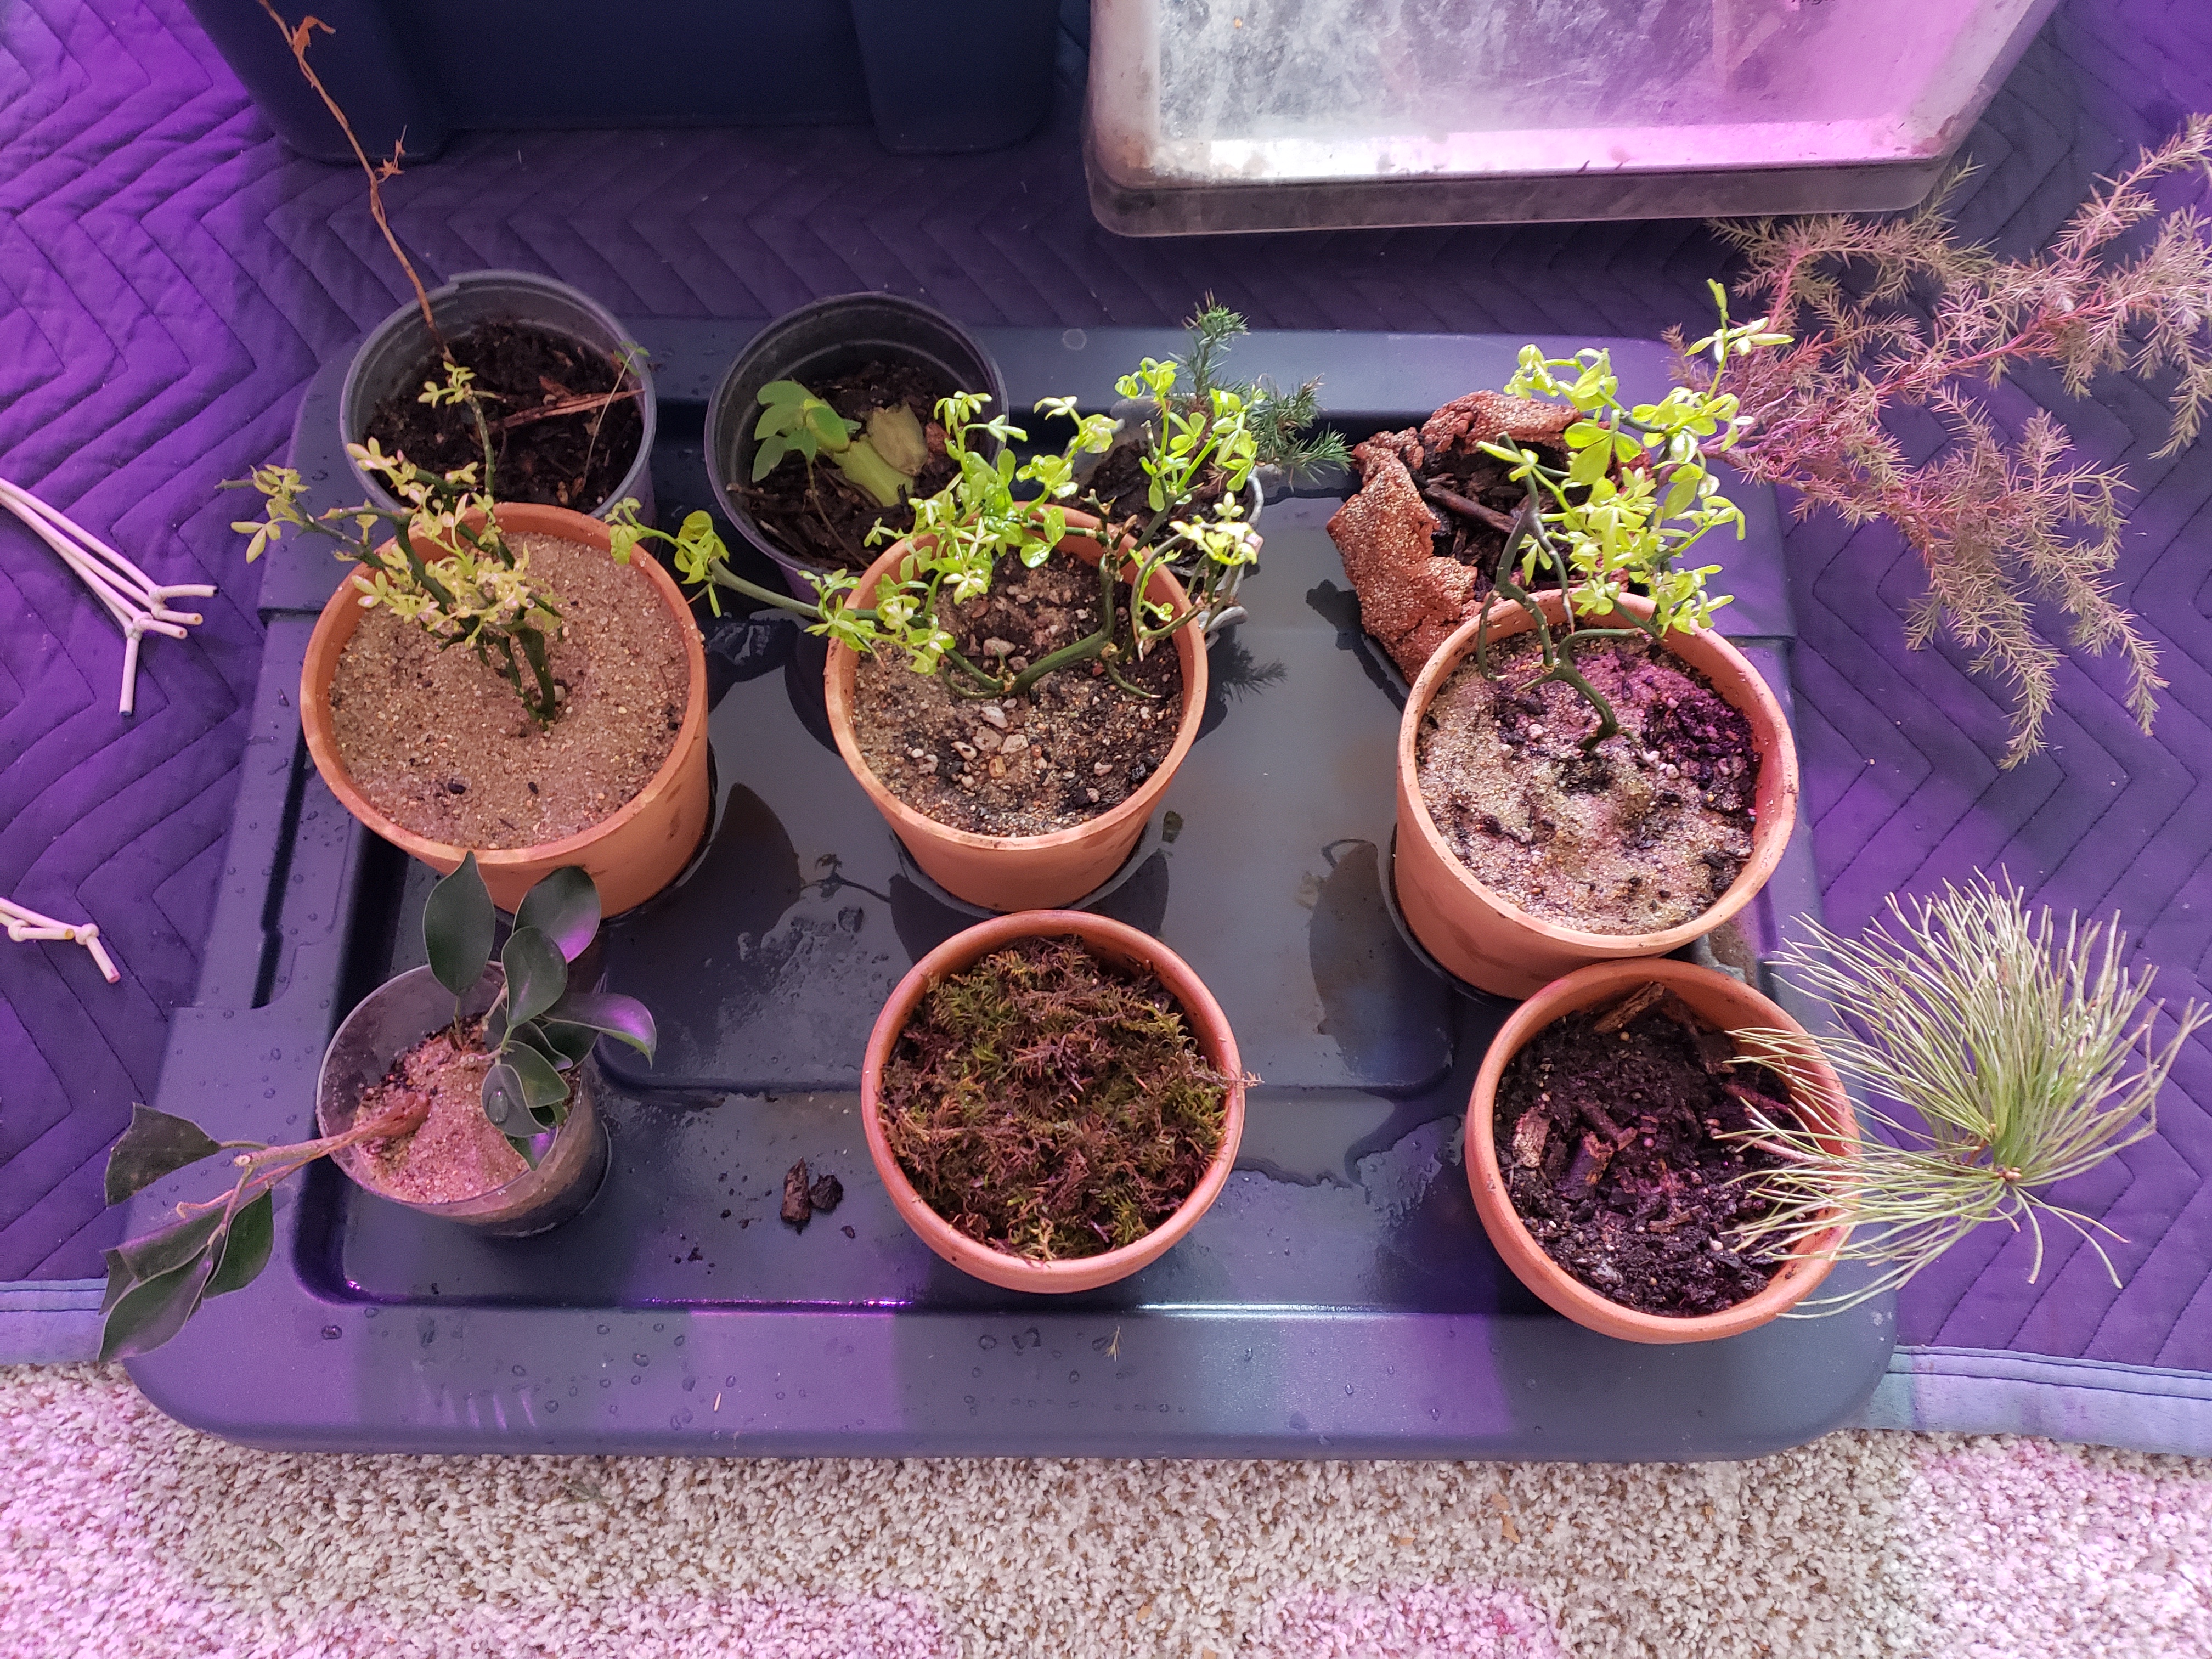
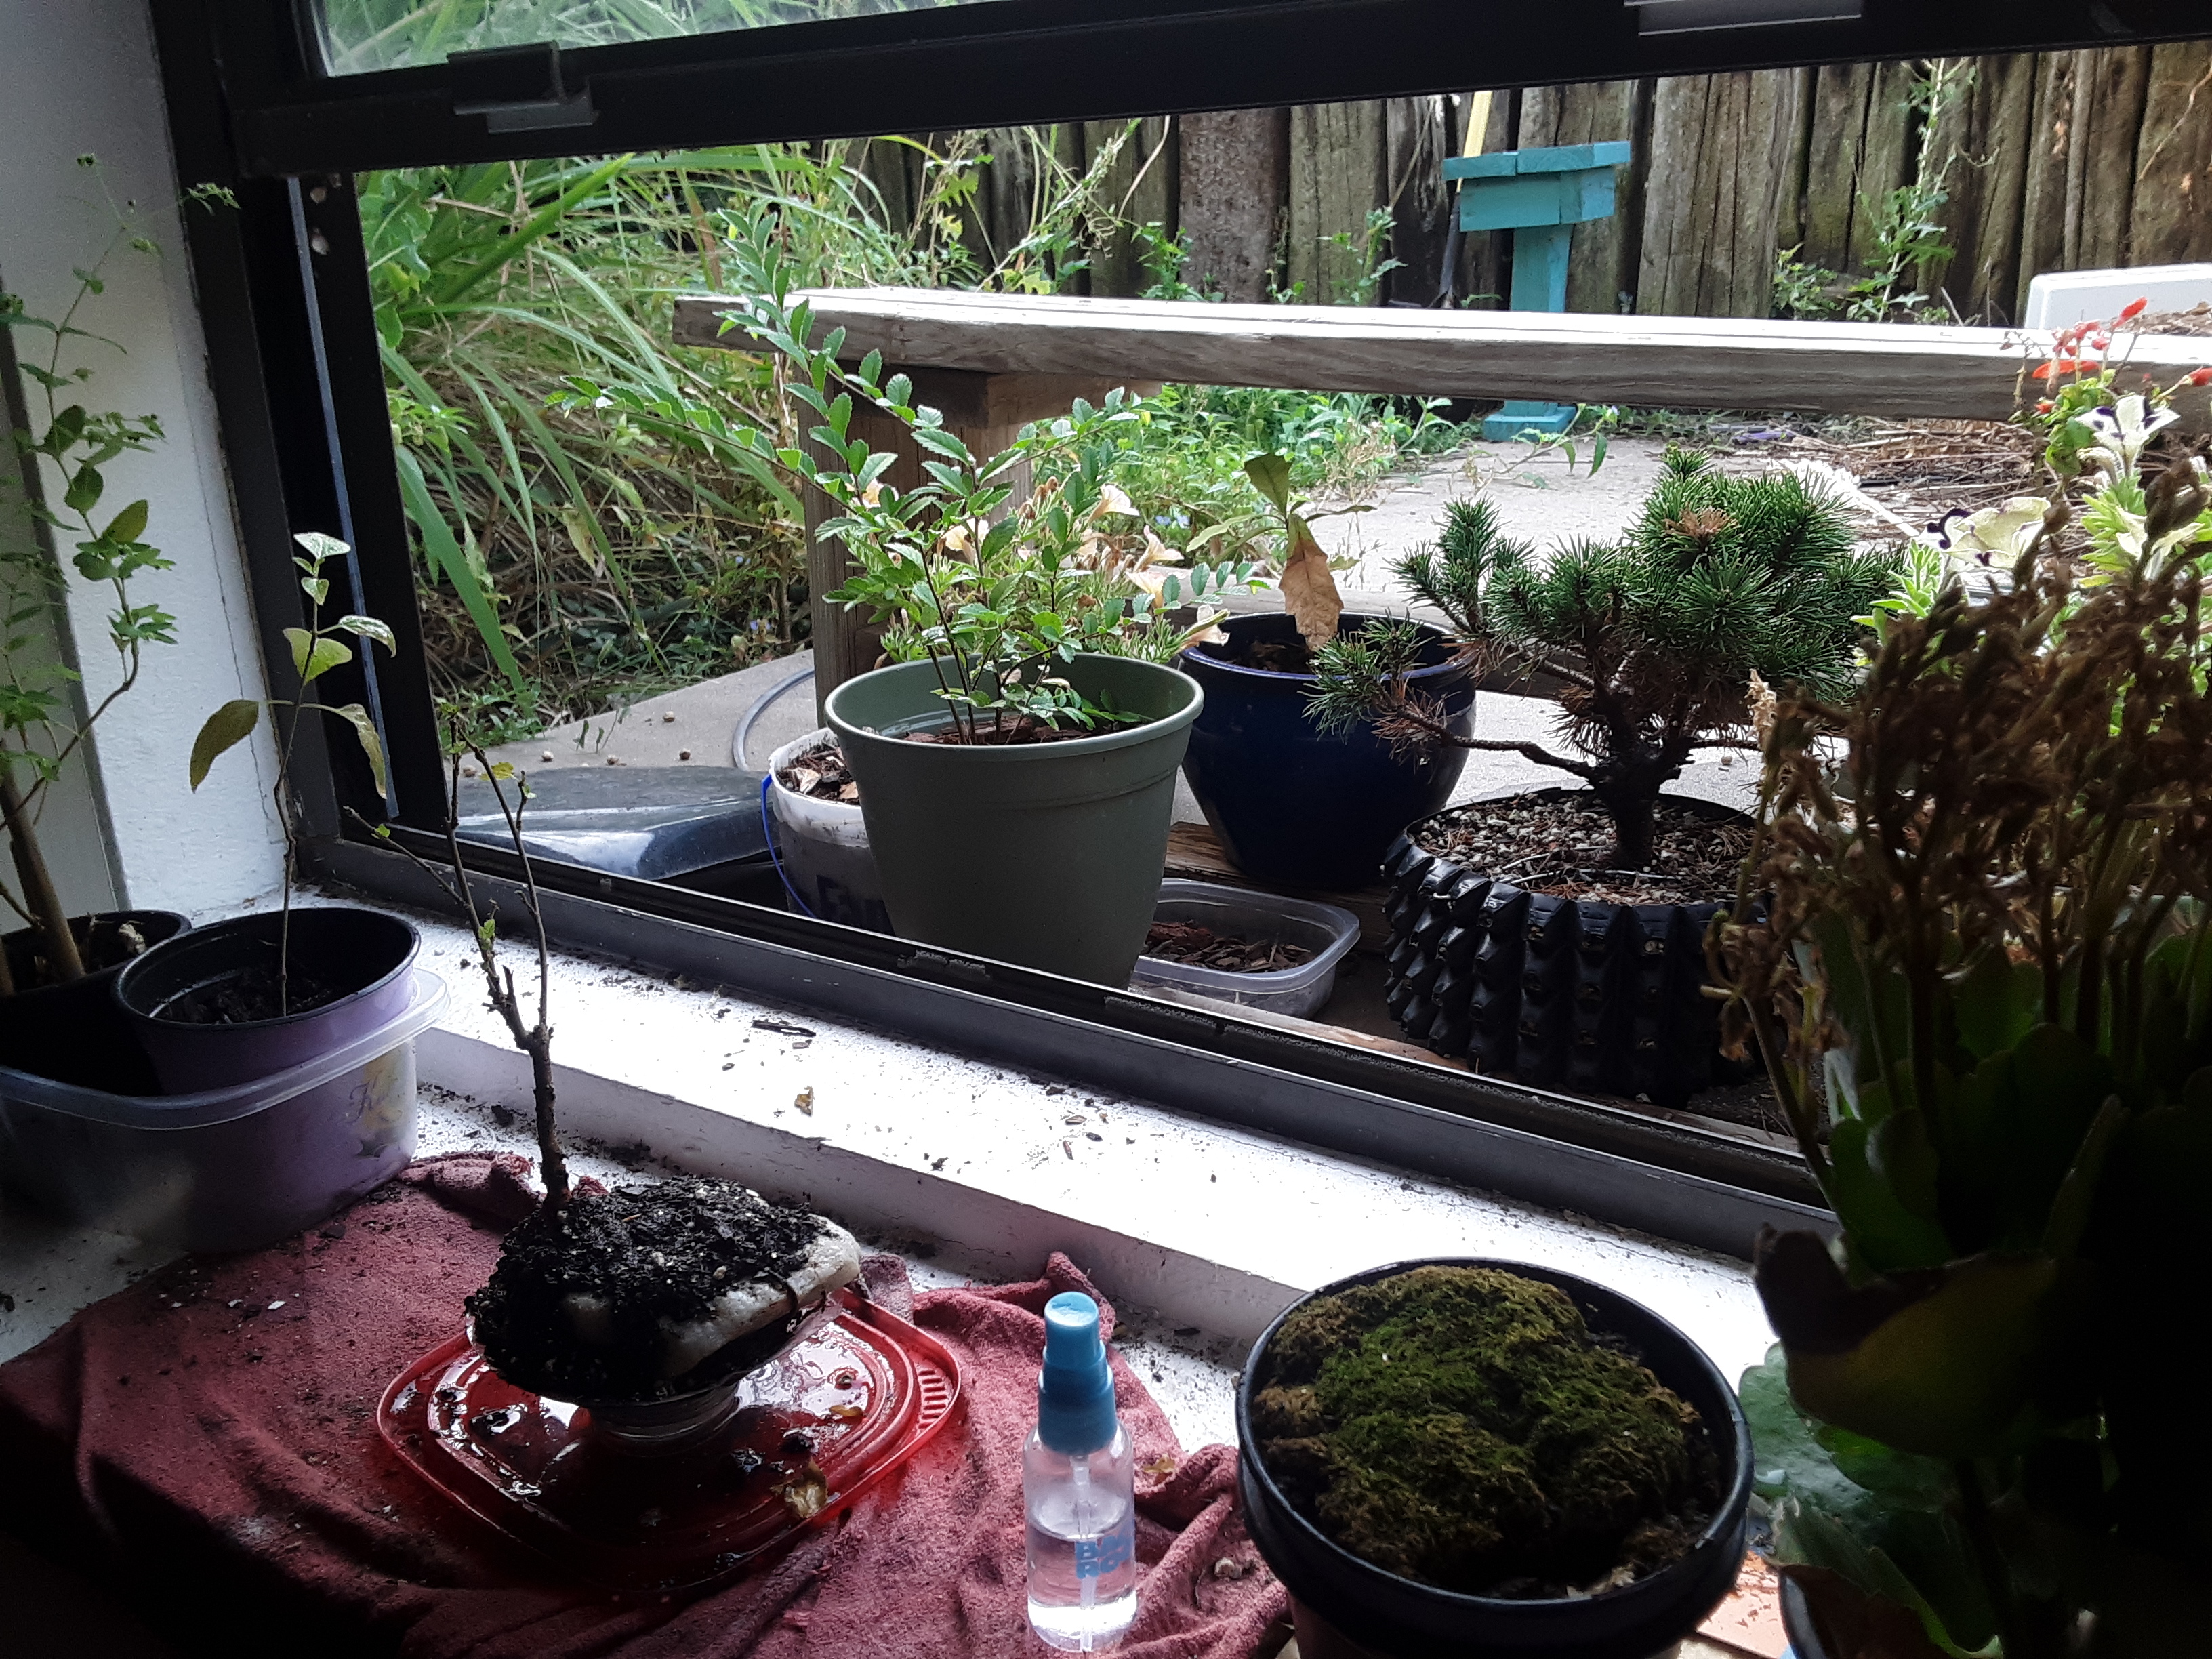
Keeping plants, in this case Bonsai. They die, they really do like to die. Here are a few pictures of the living ones.

Image
Image
Image
Image
Image
Image
Image
Image
Image
Image
Image
Image
Image
Image
Image
Image
Image
Image
Image
Image
Image

Drawings

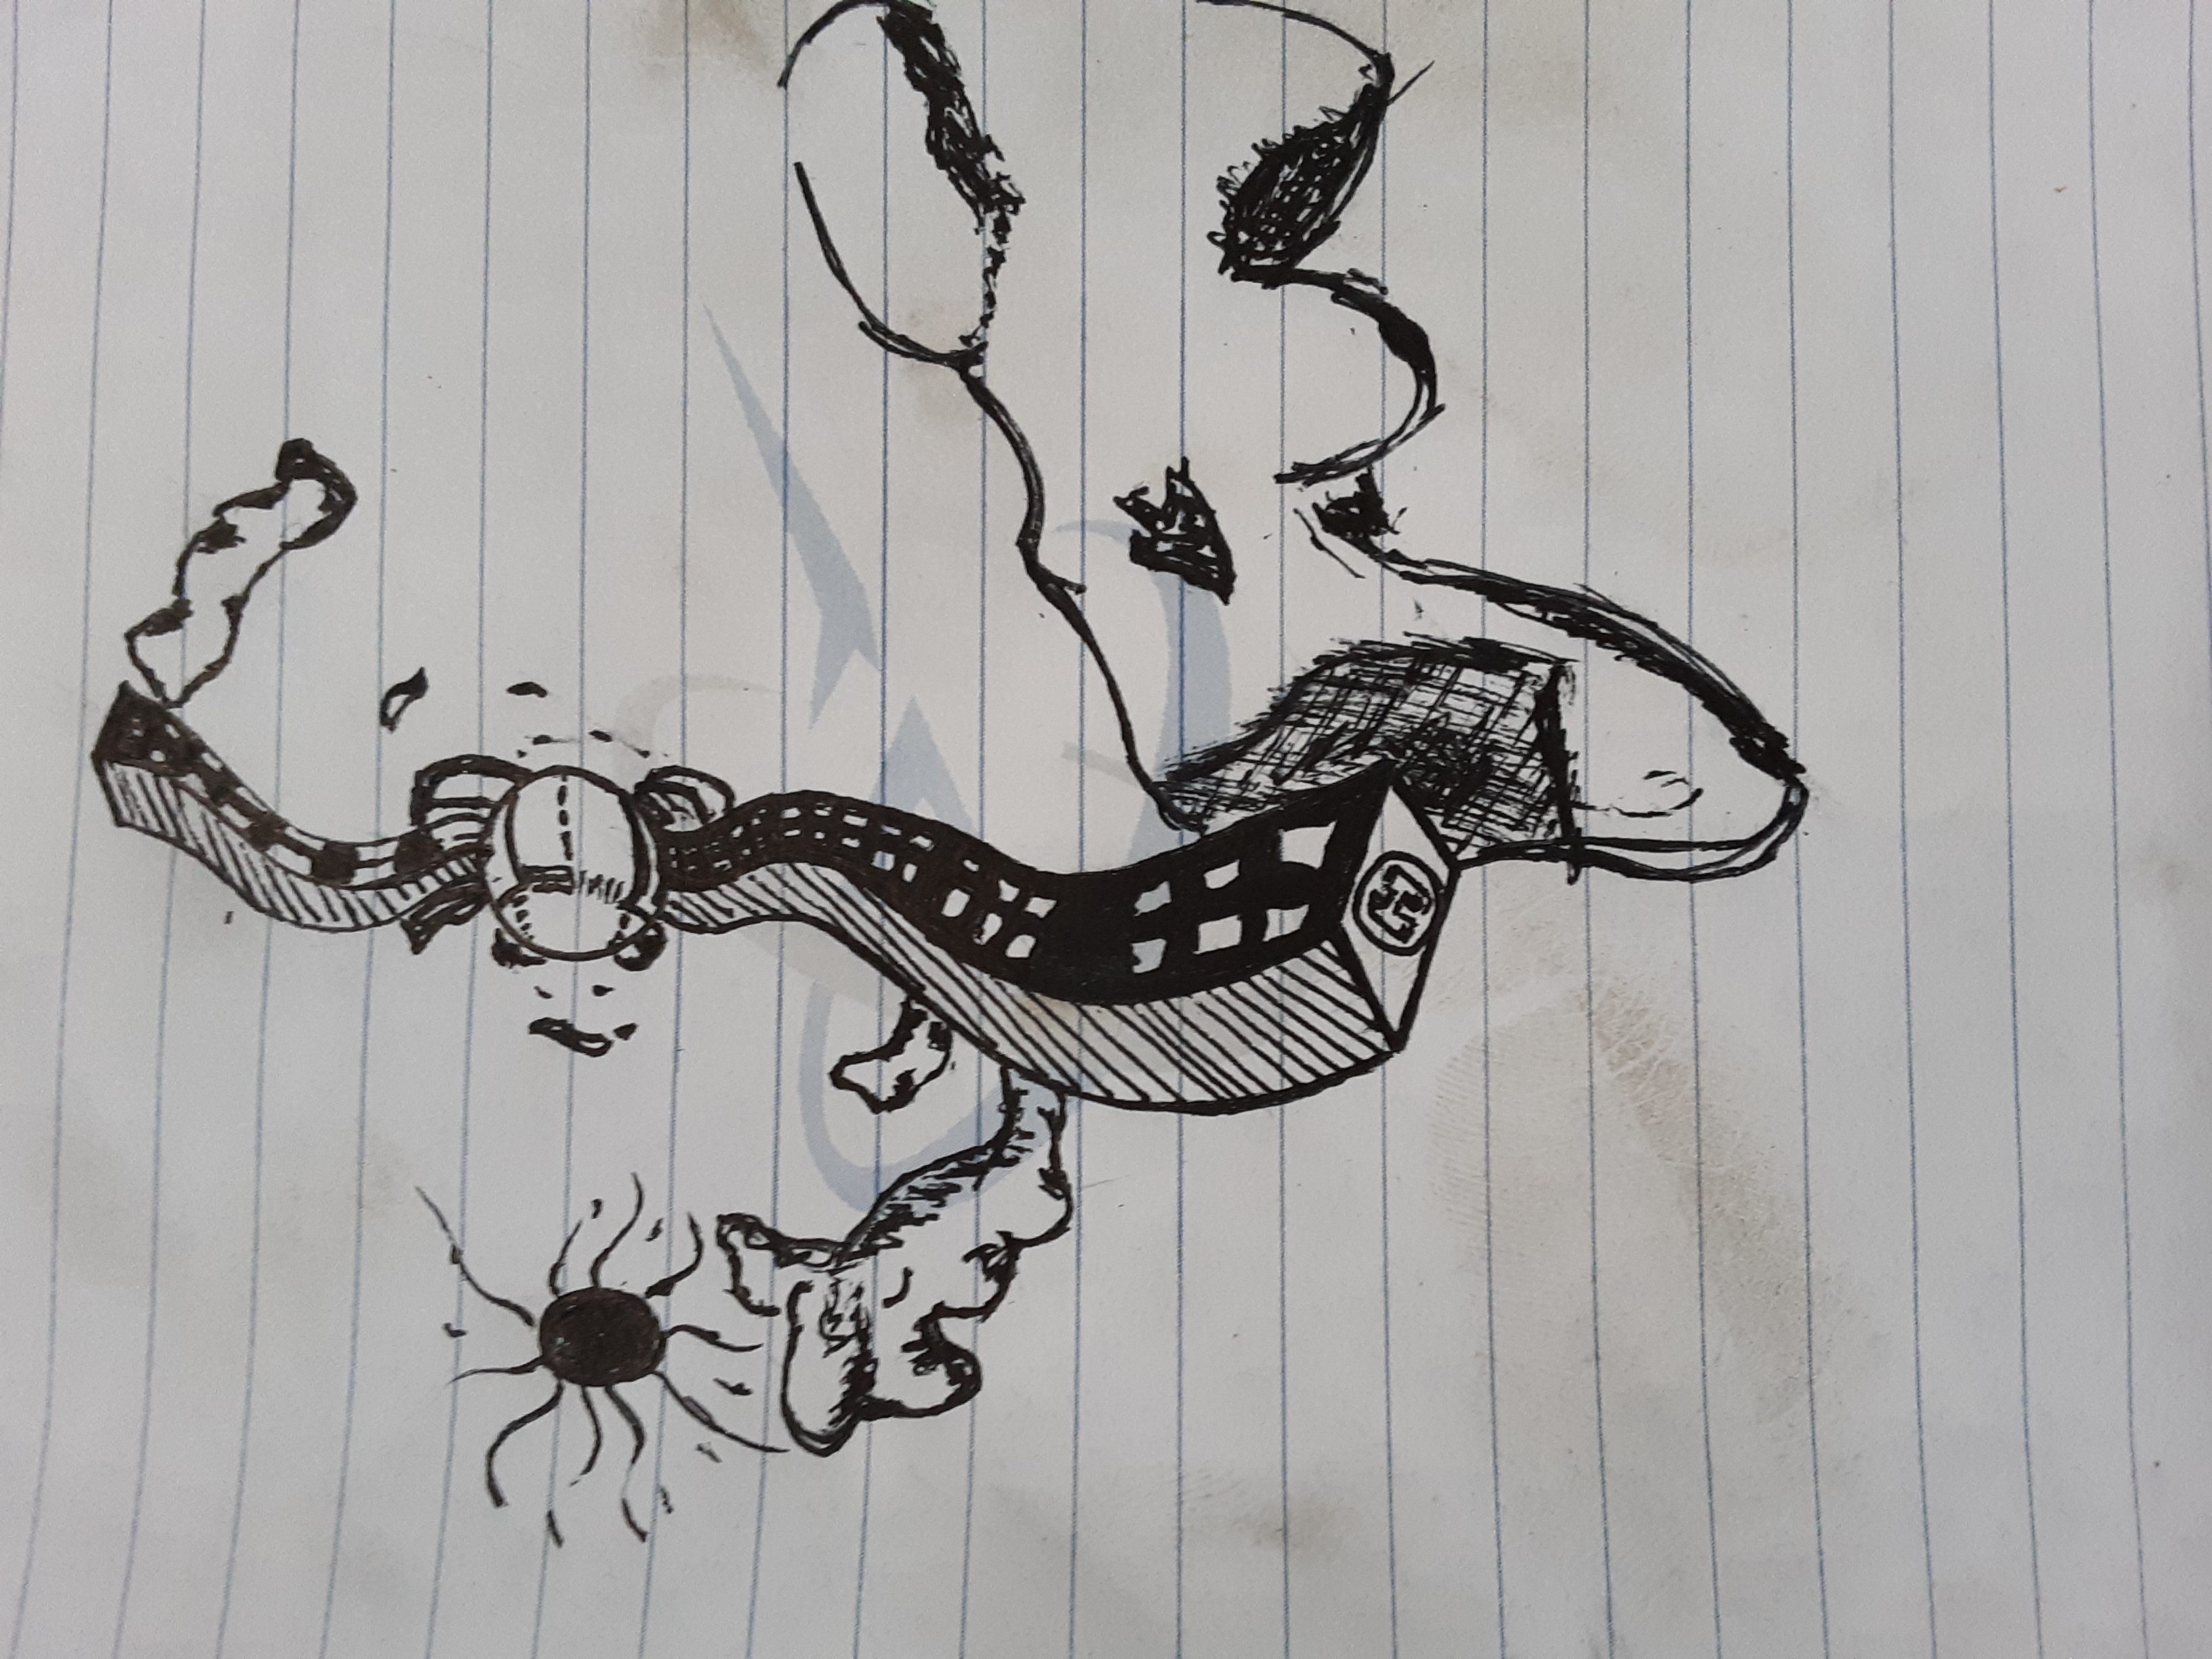
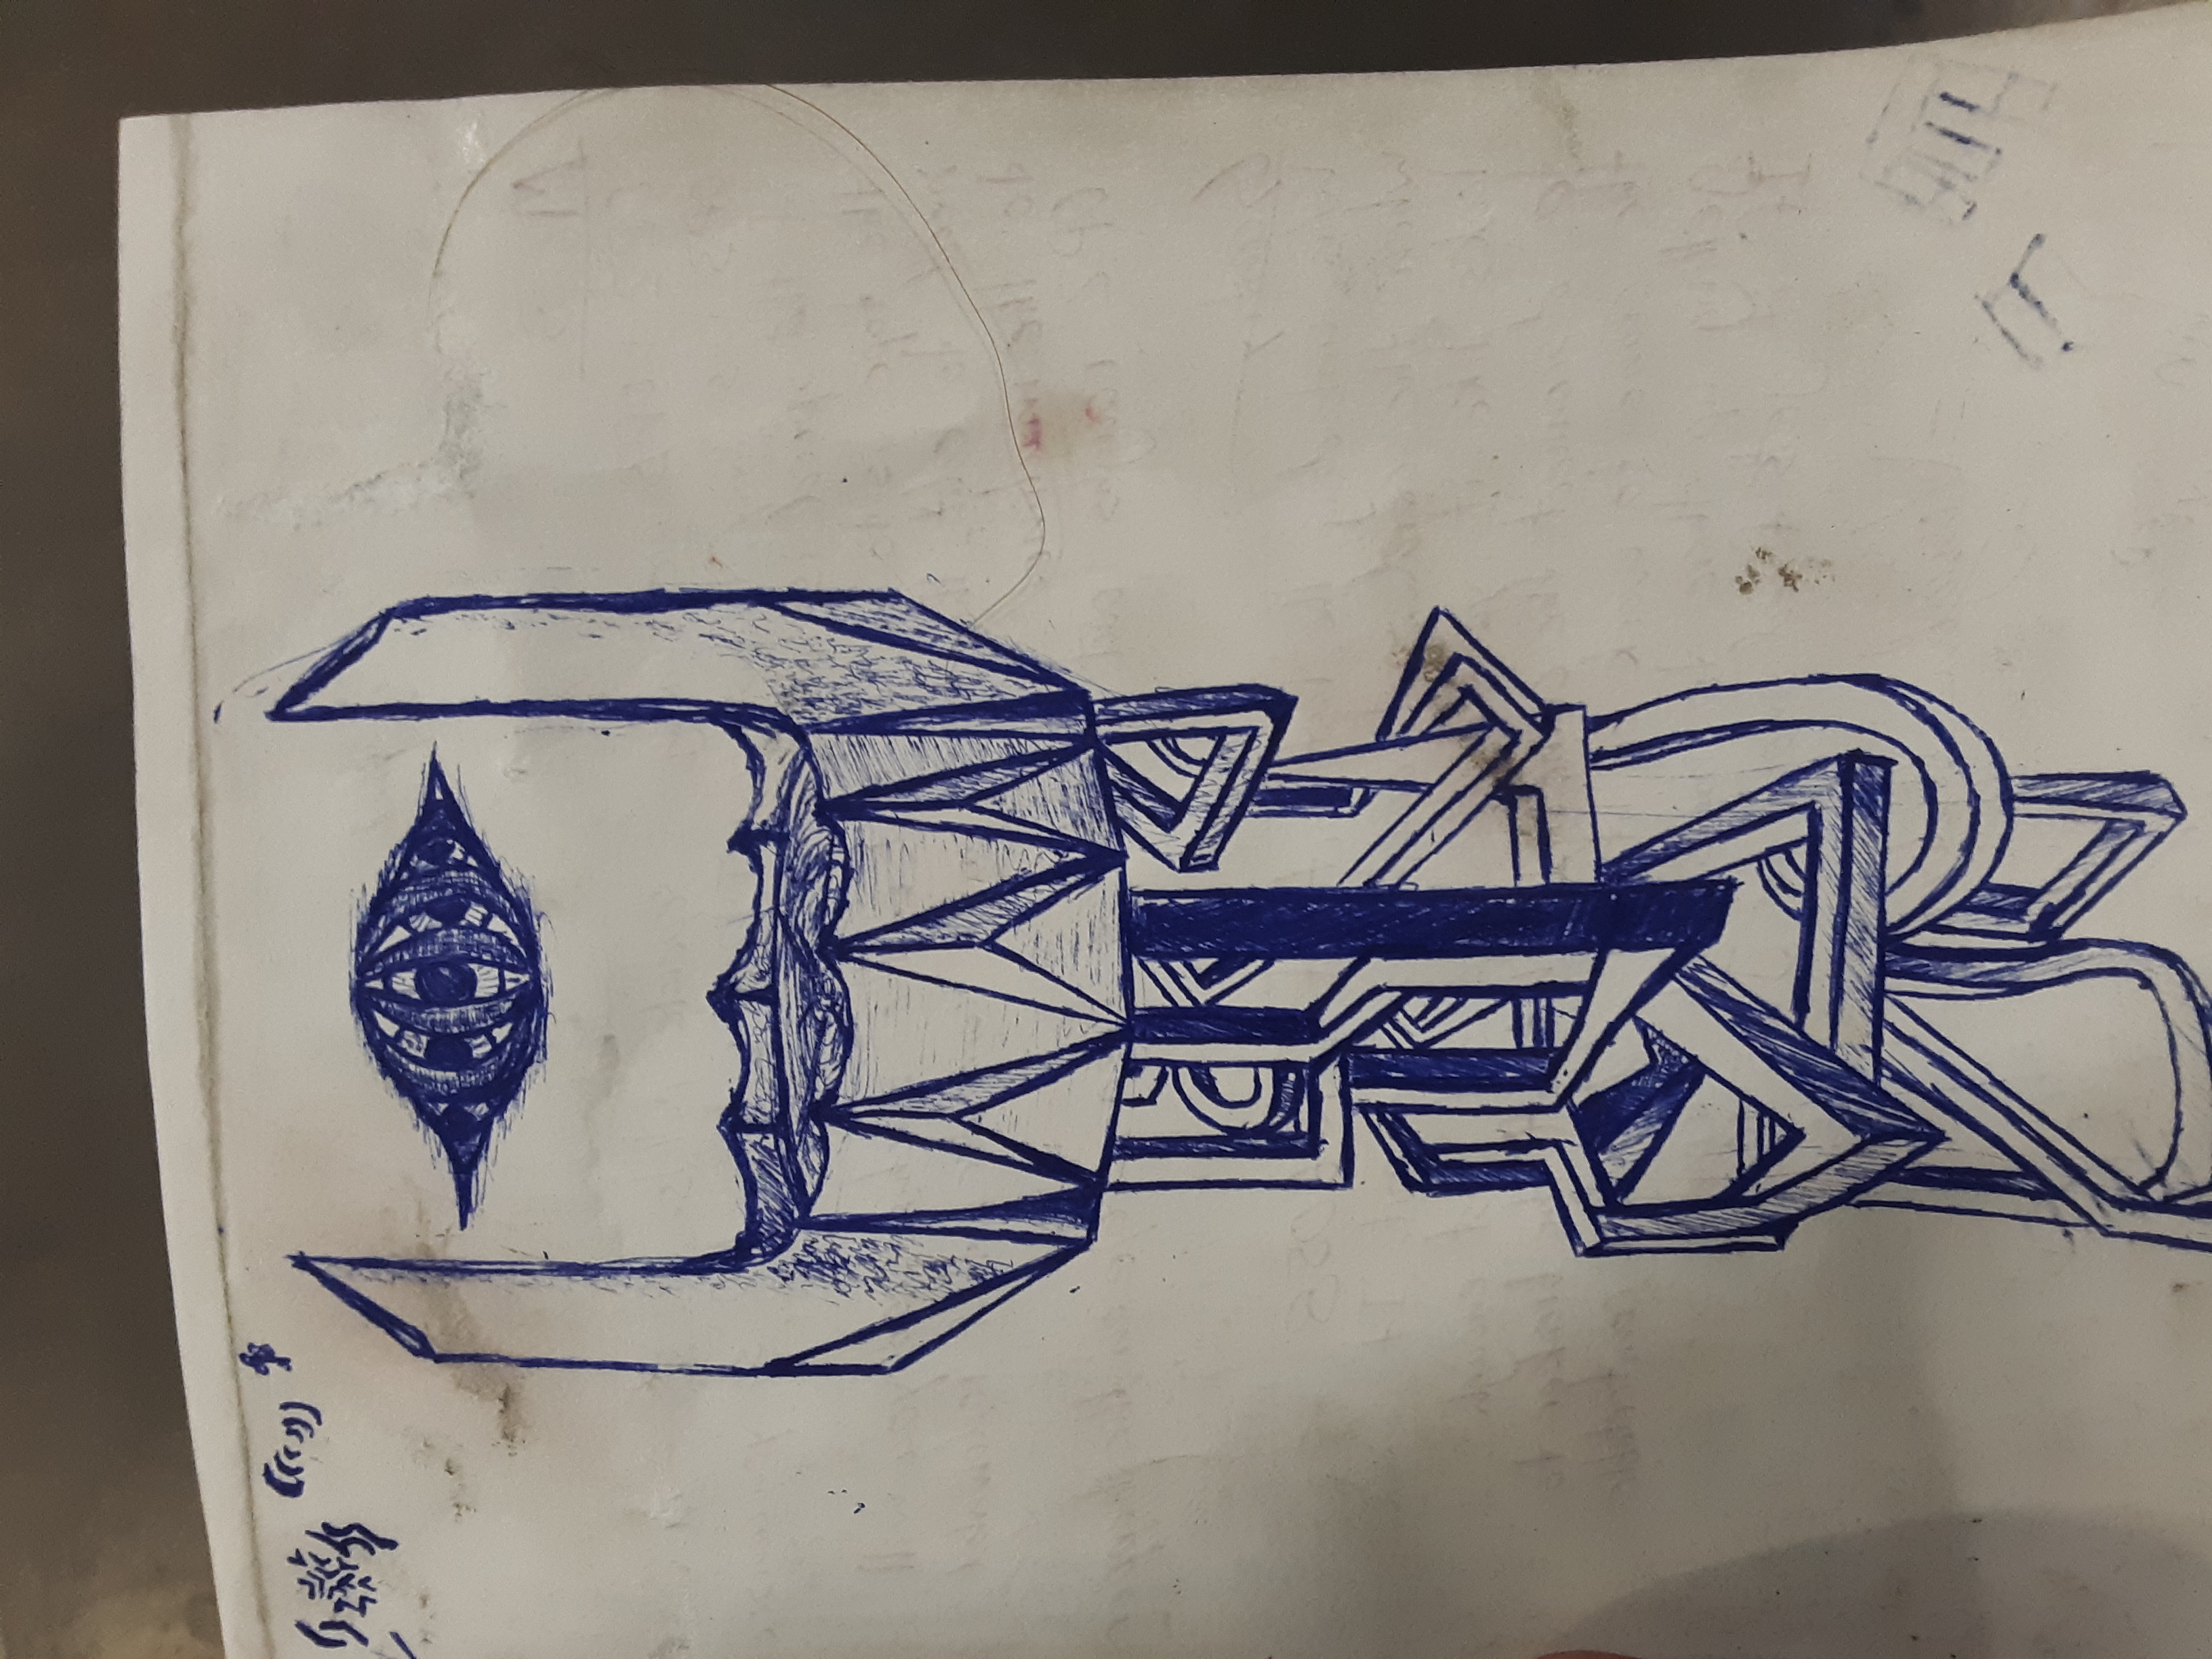
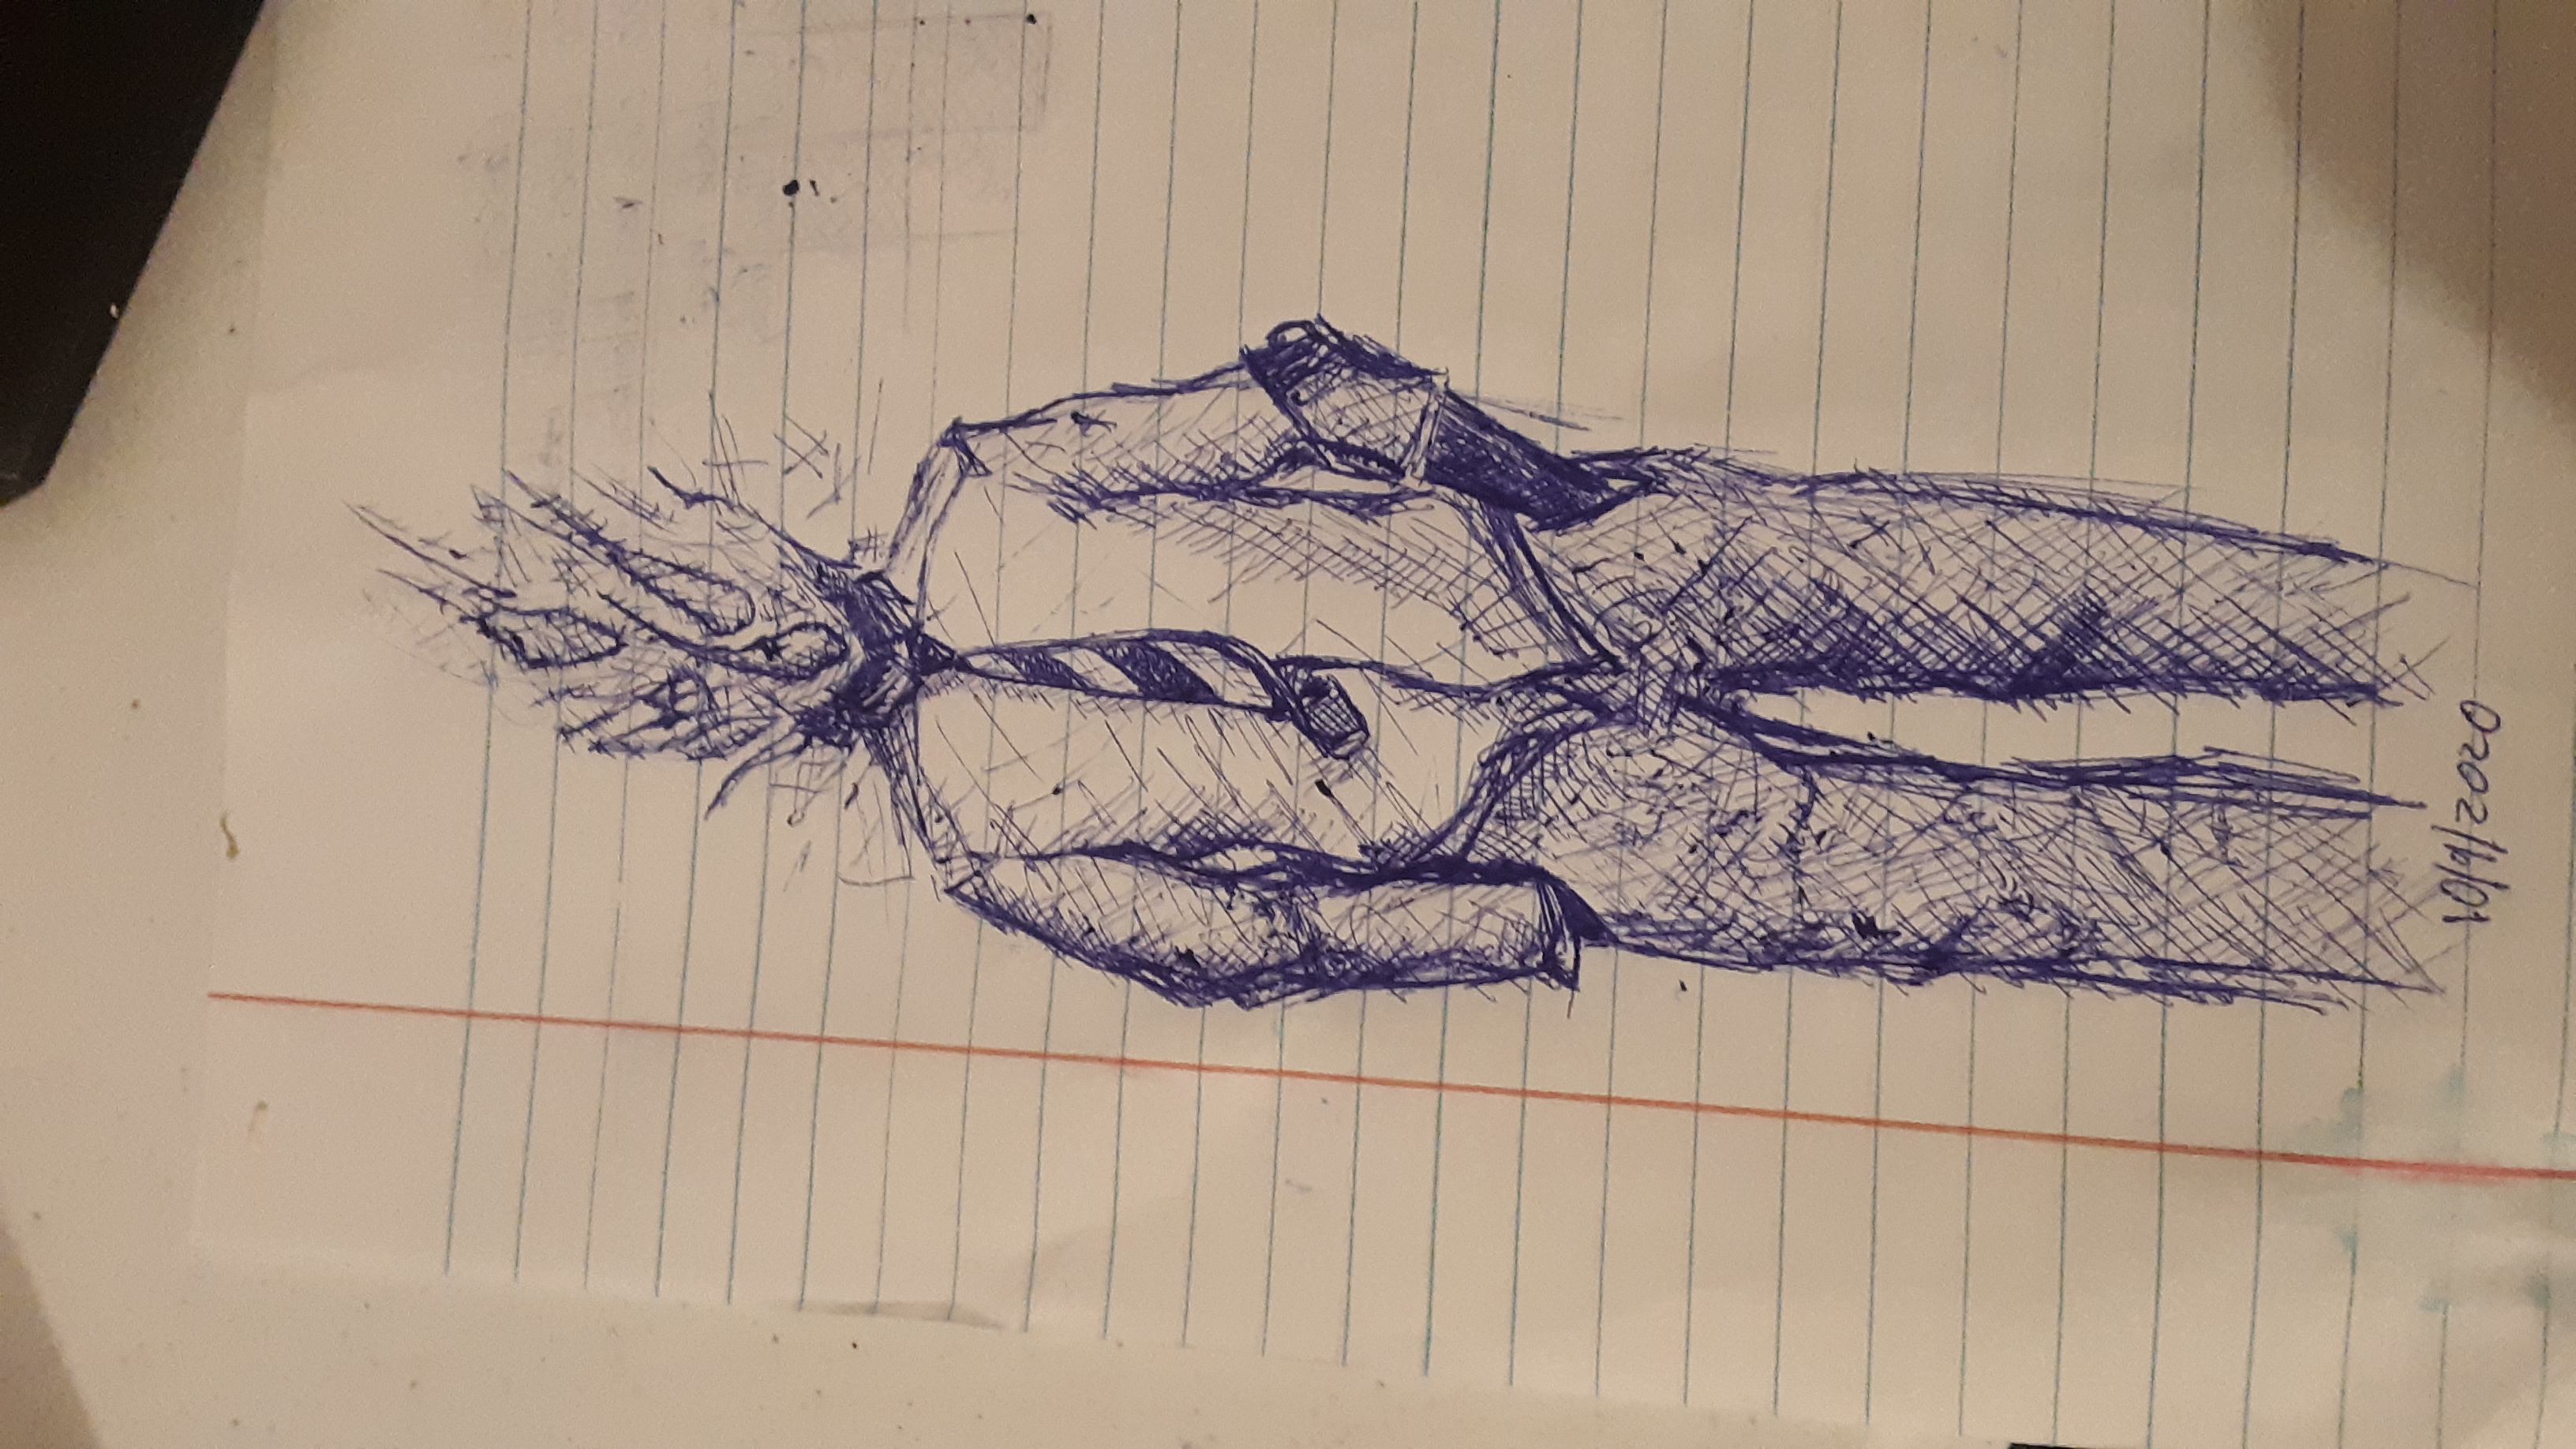
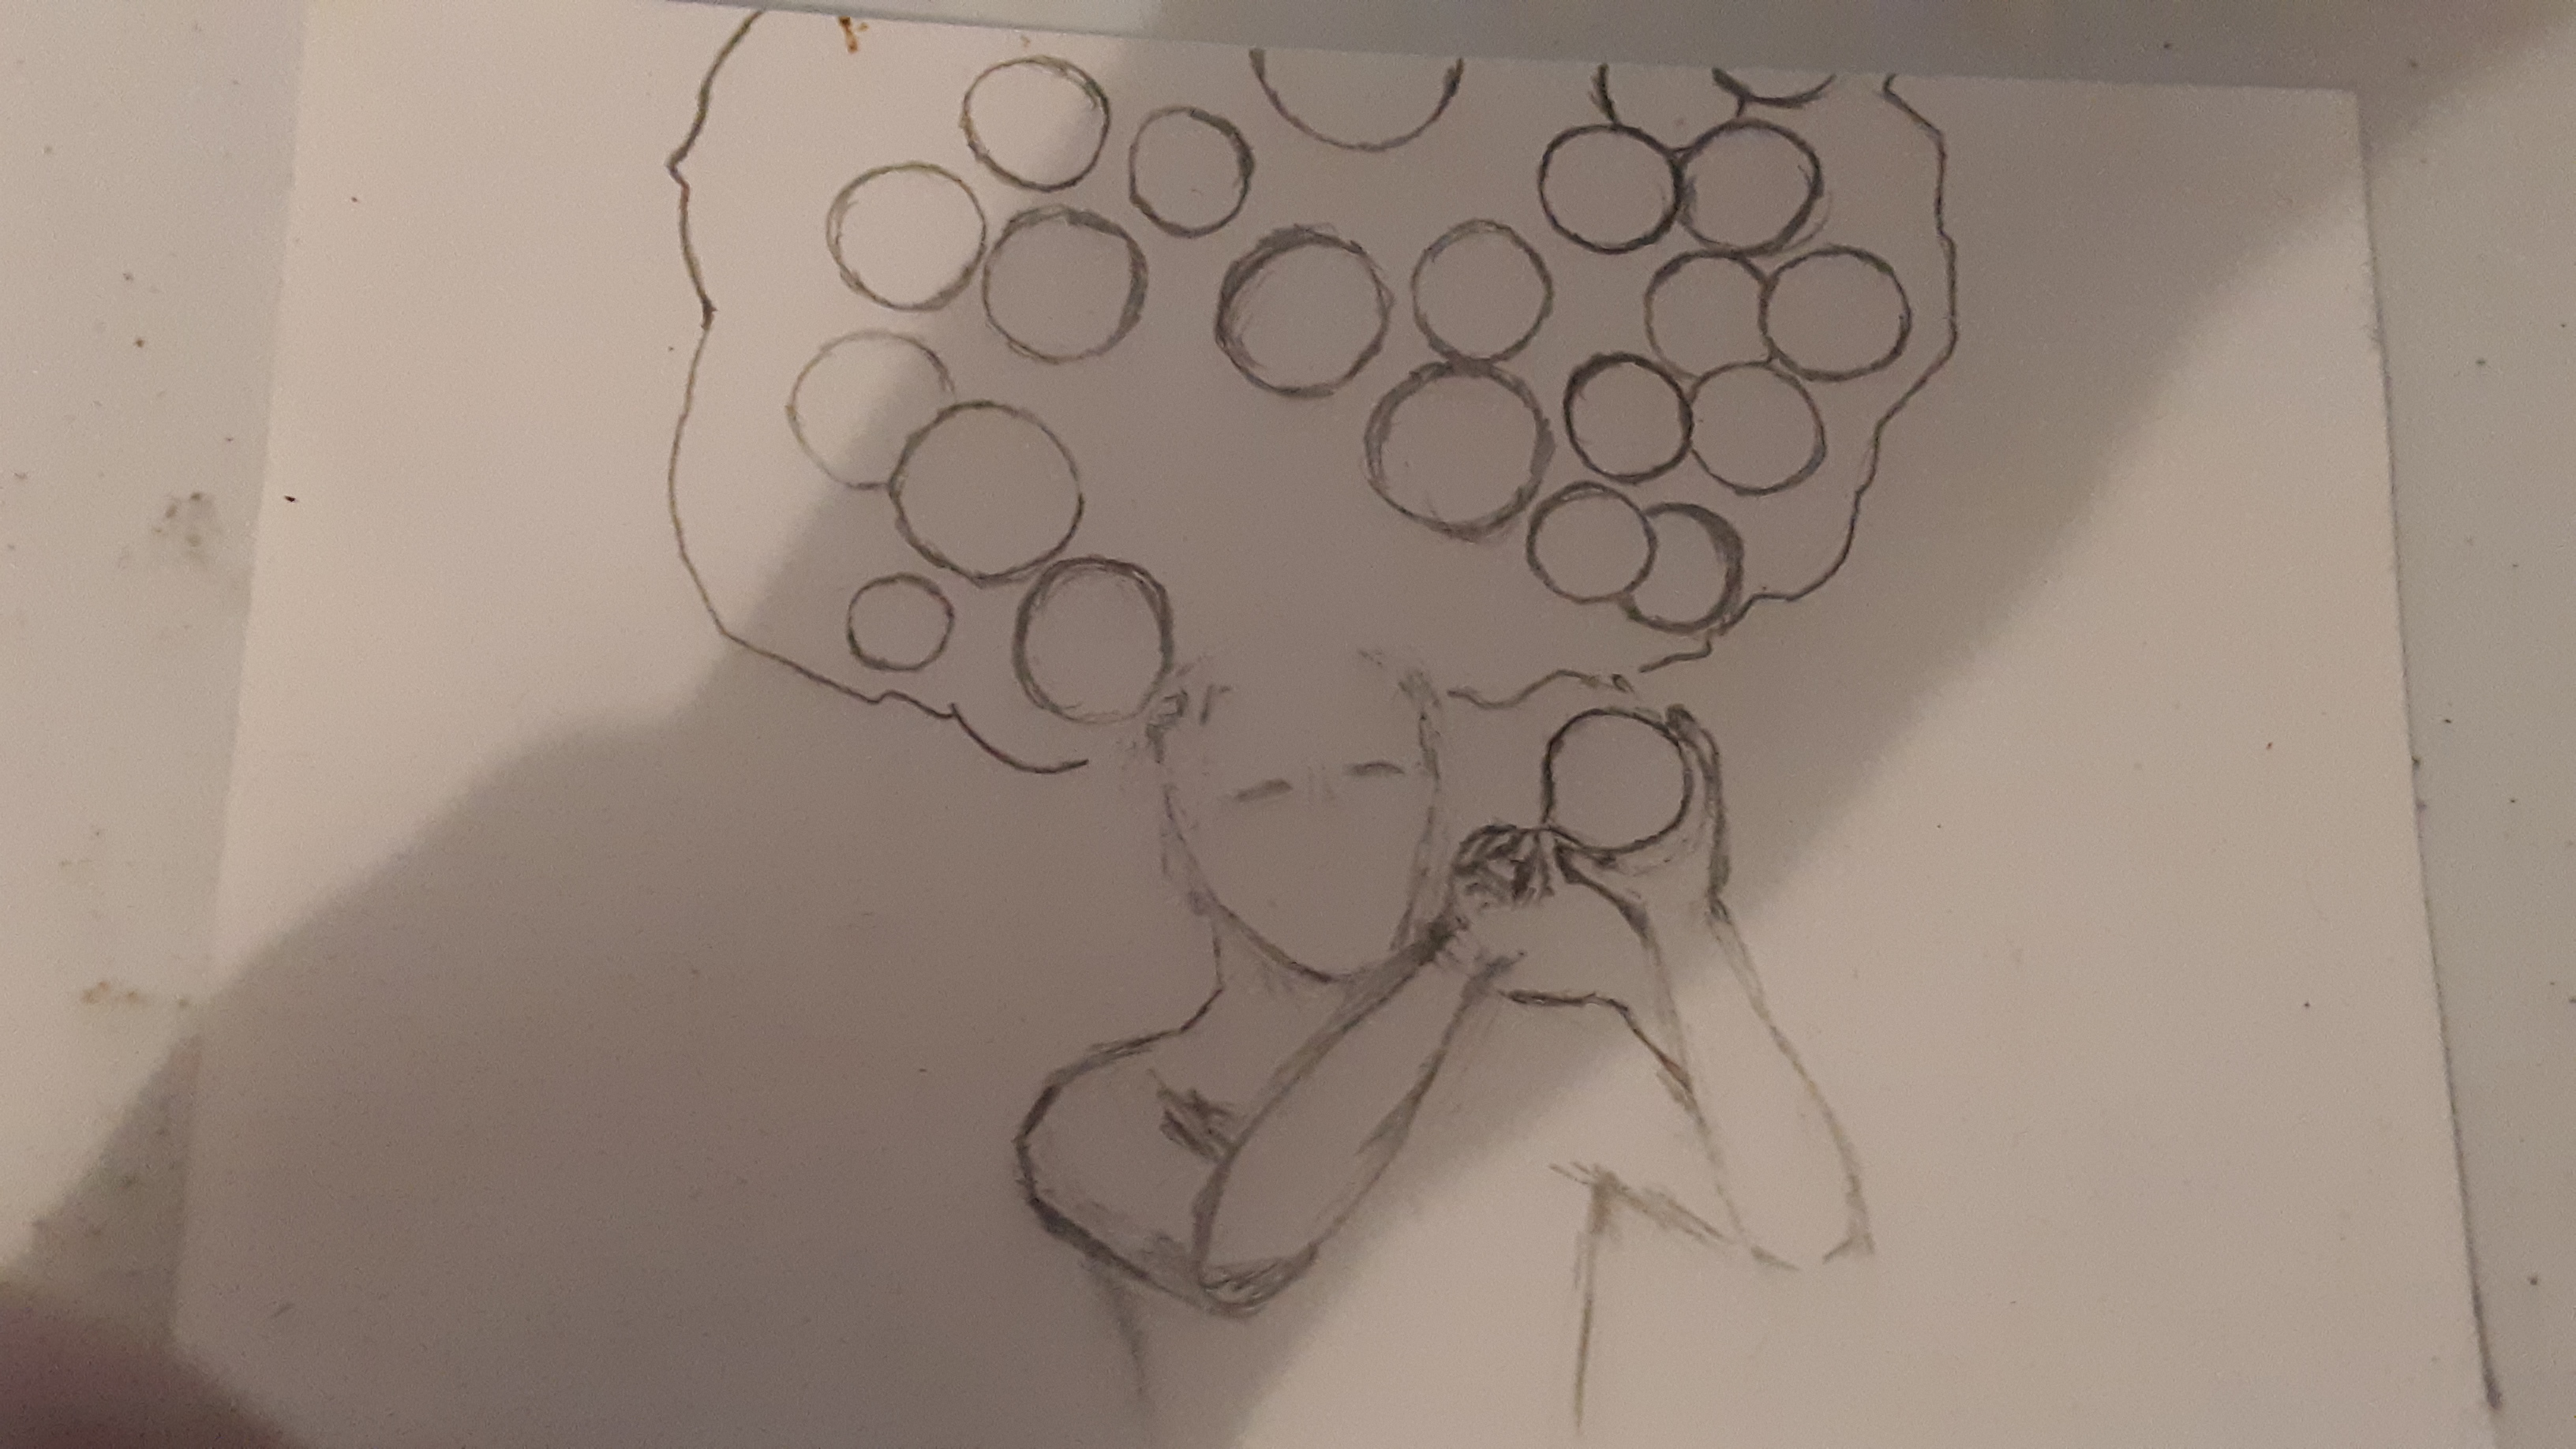
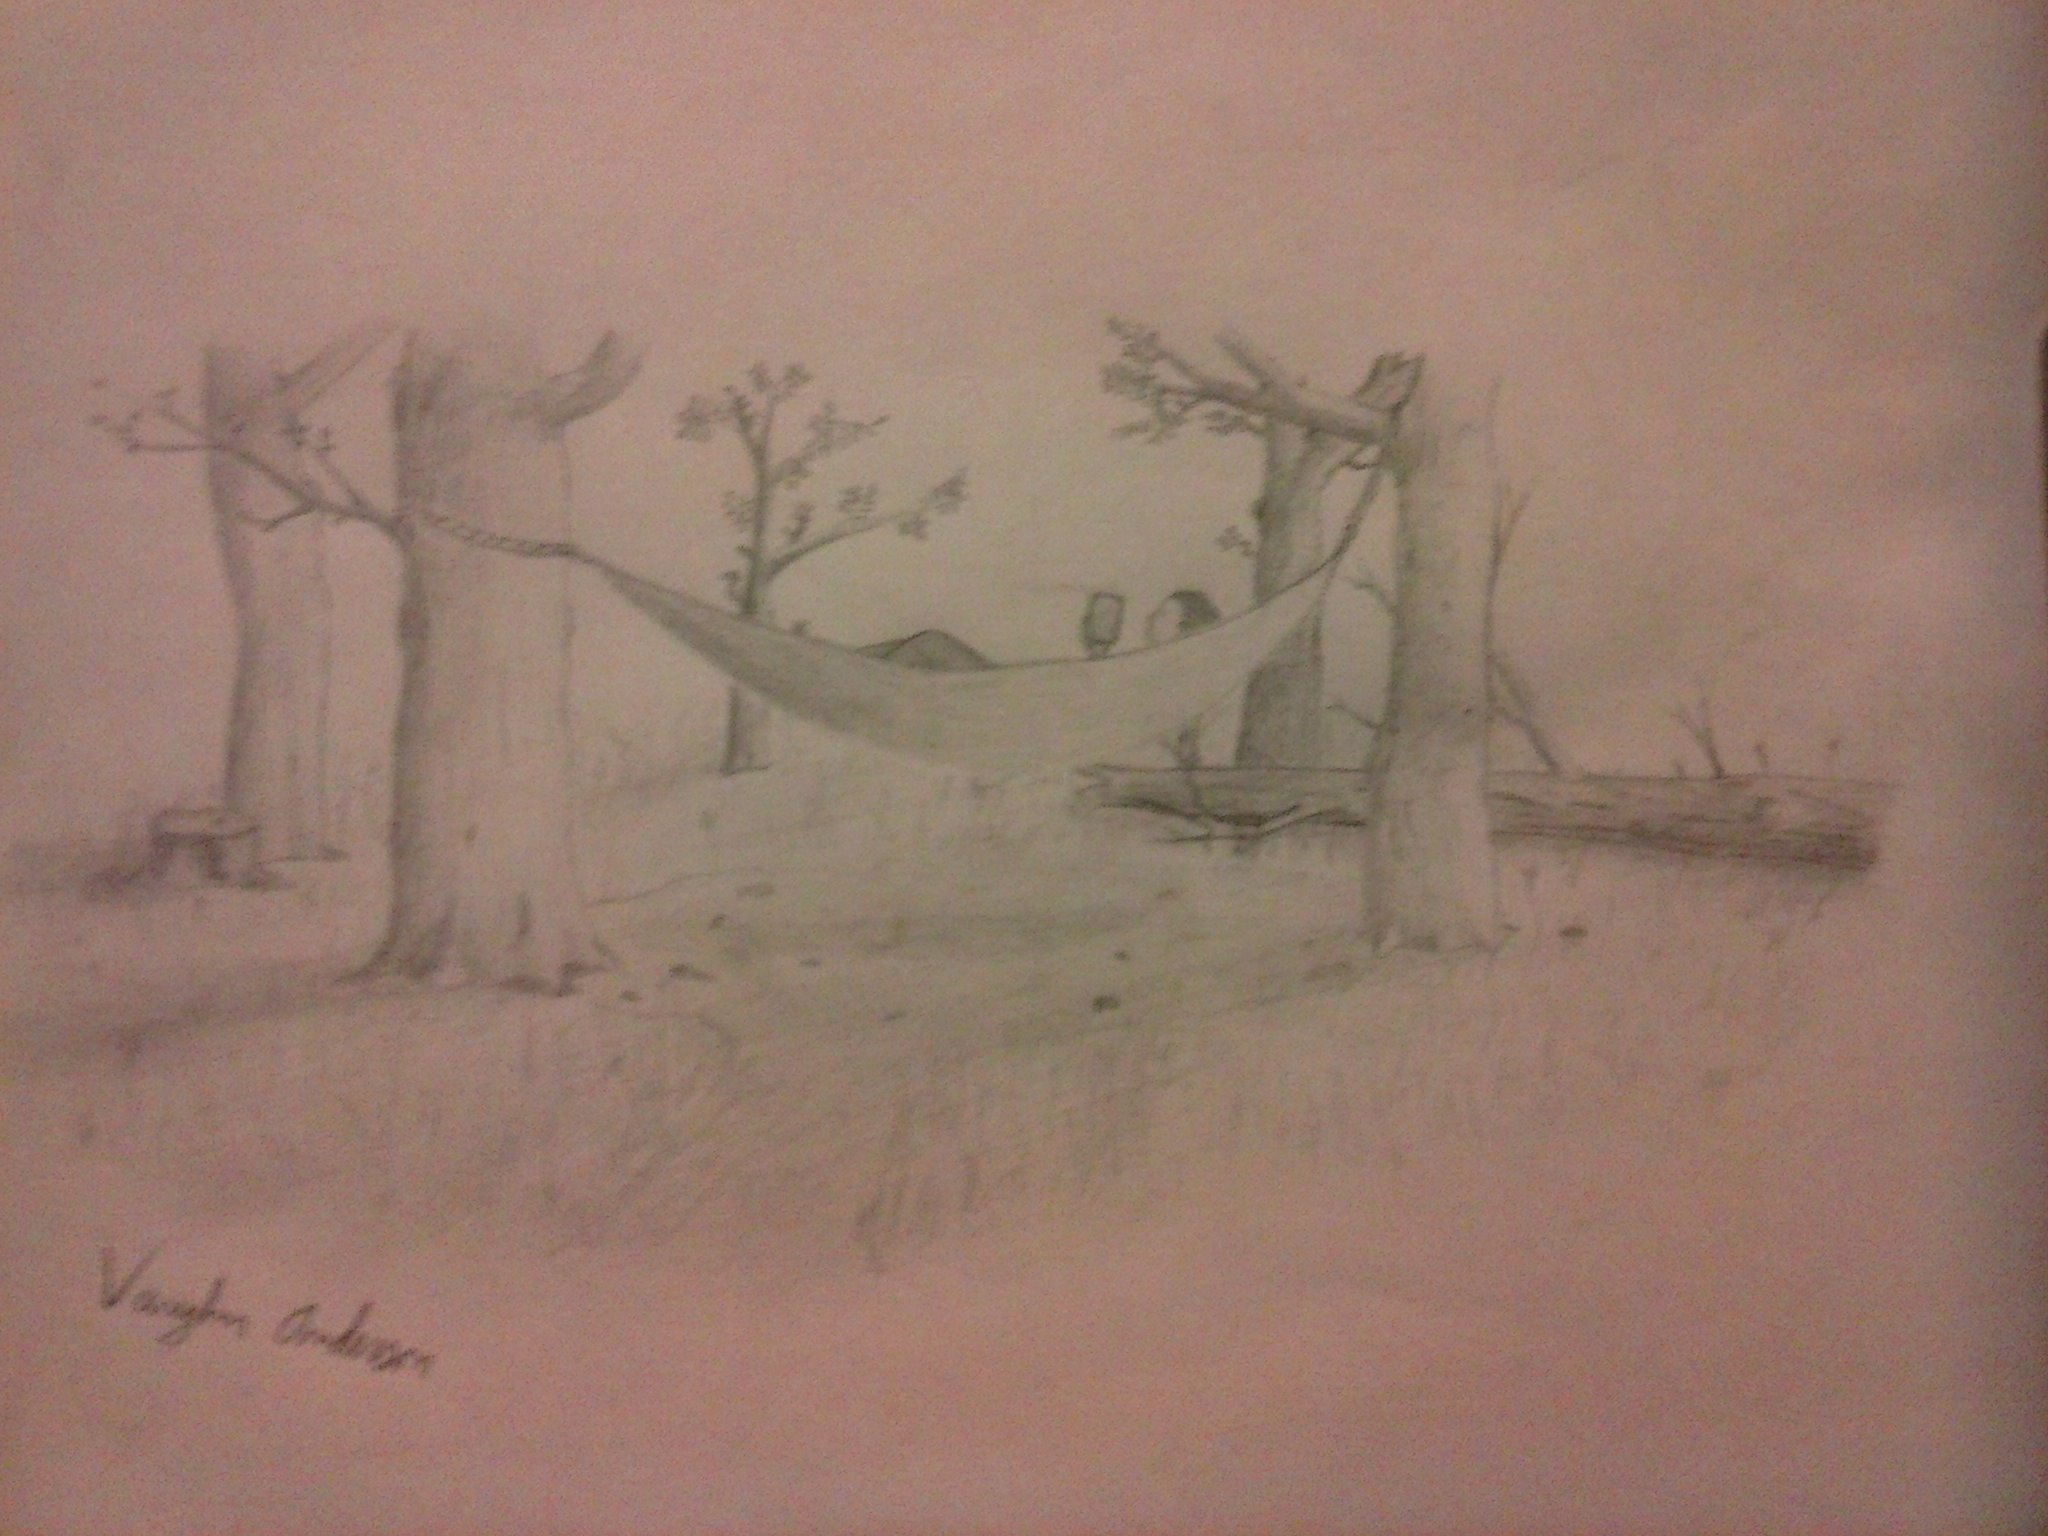
Here are some drawings I've done.

Image
Image
Image
Image
Image

Ceramics

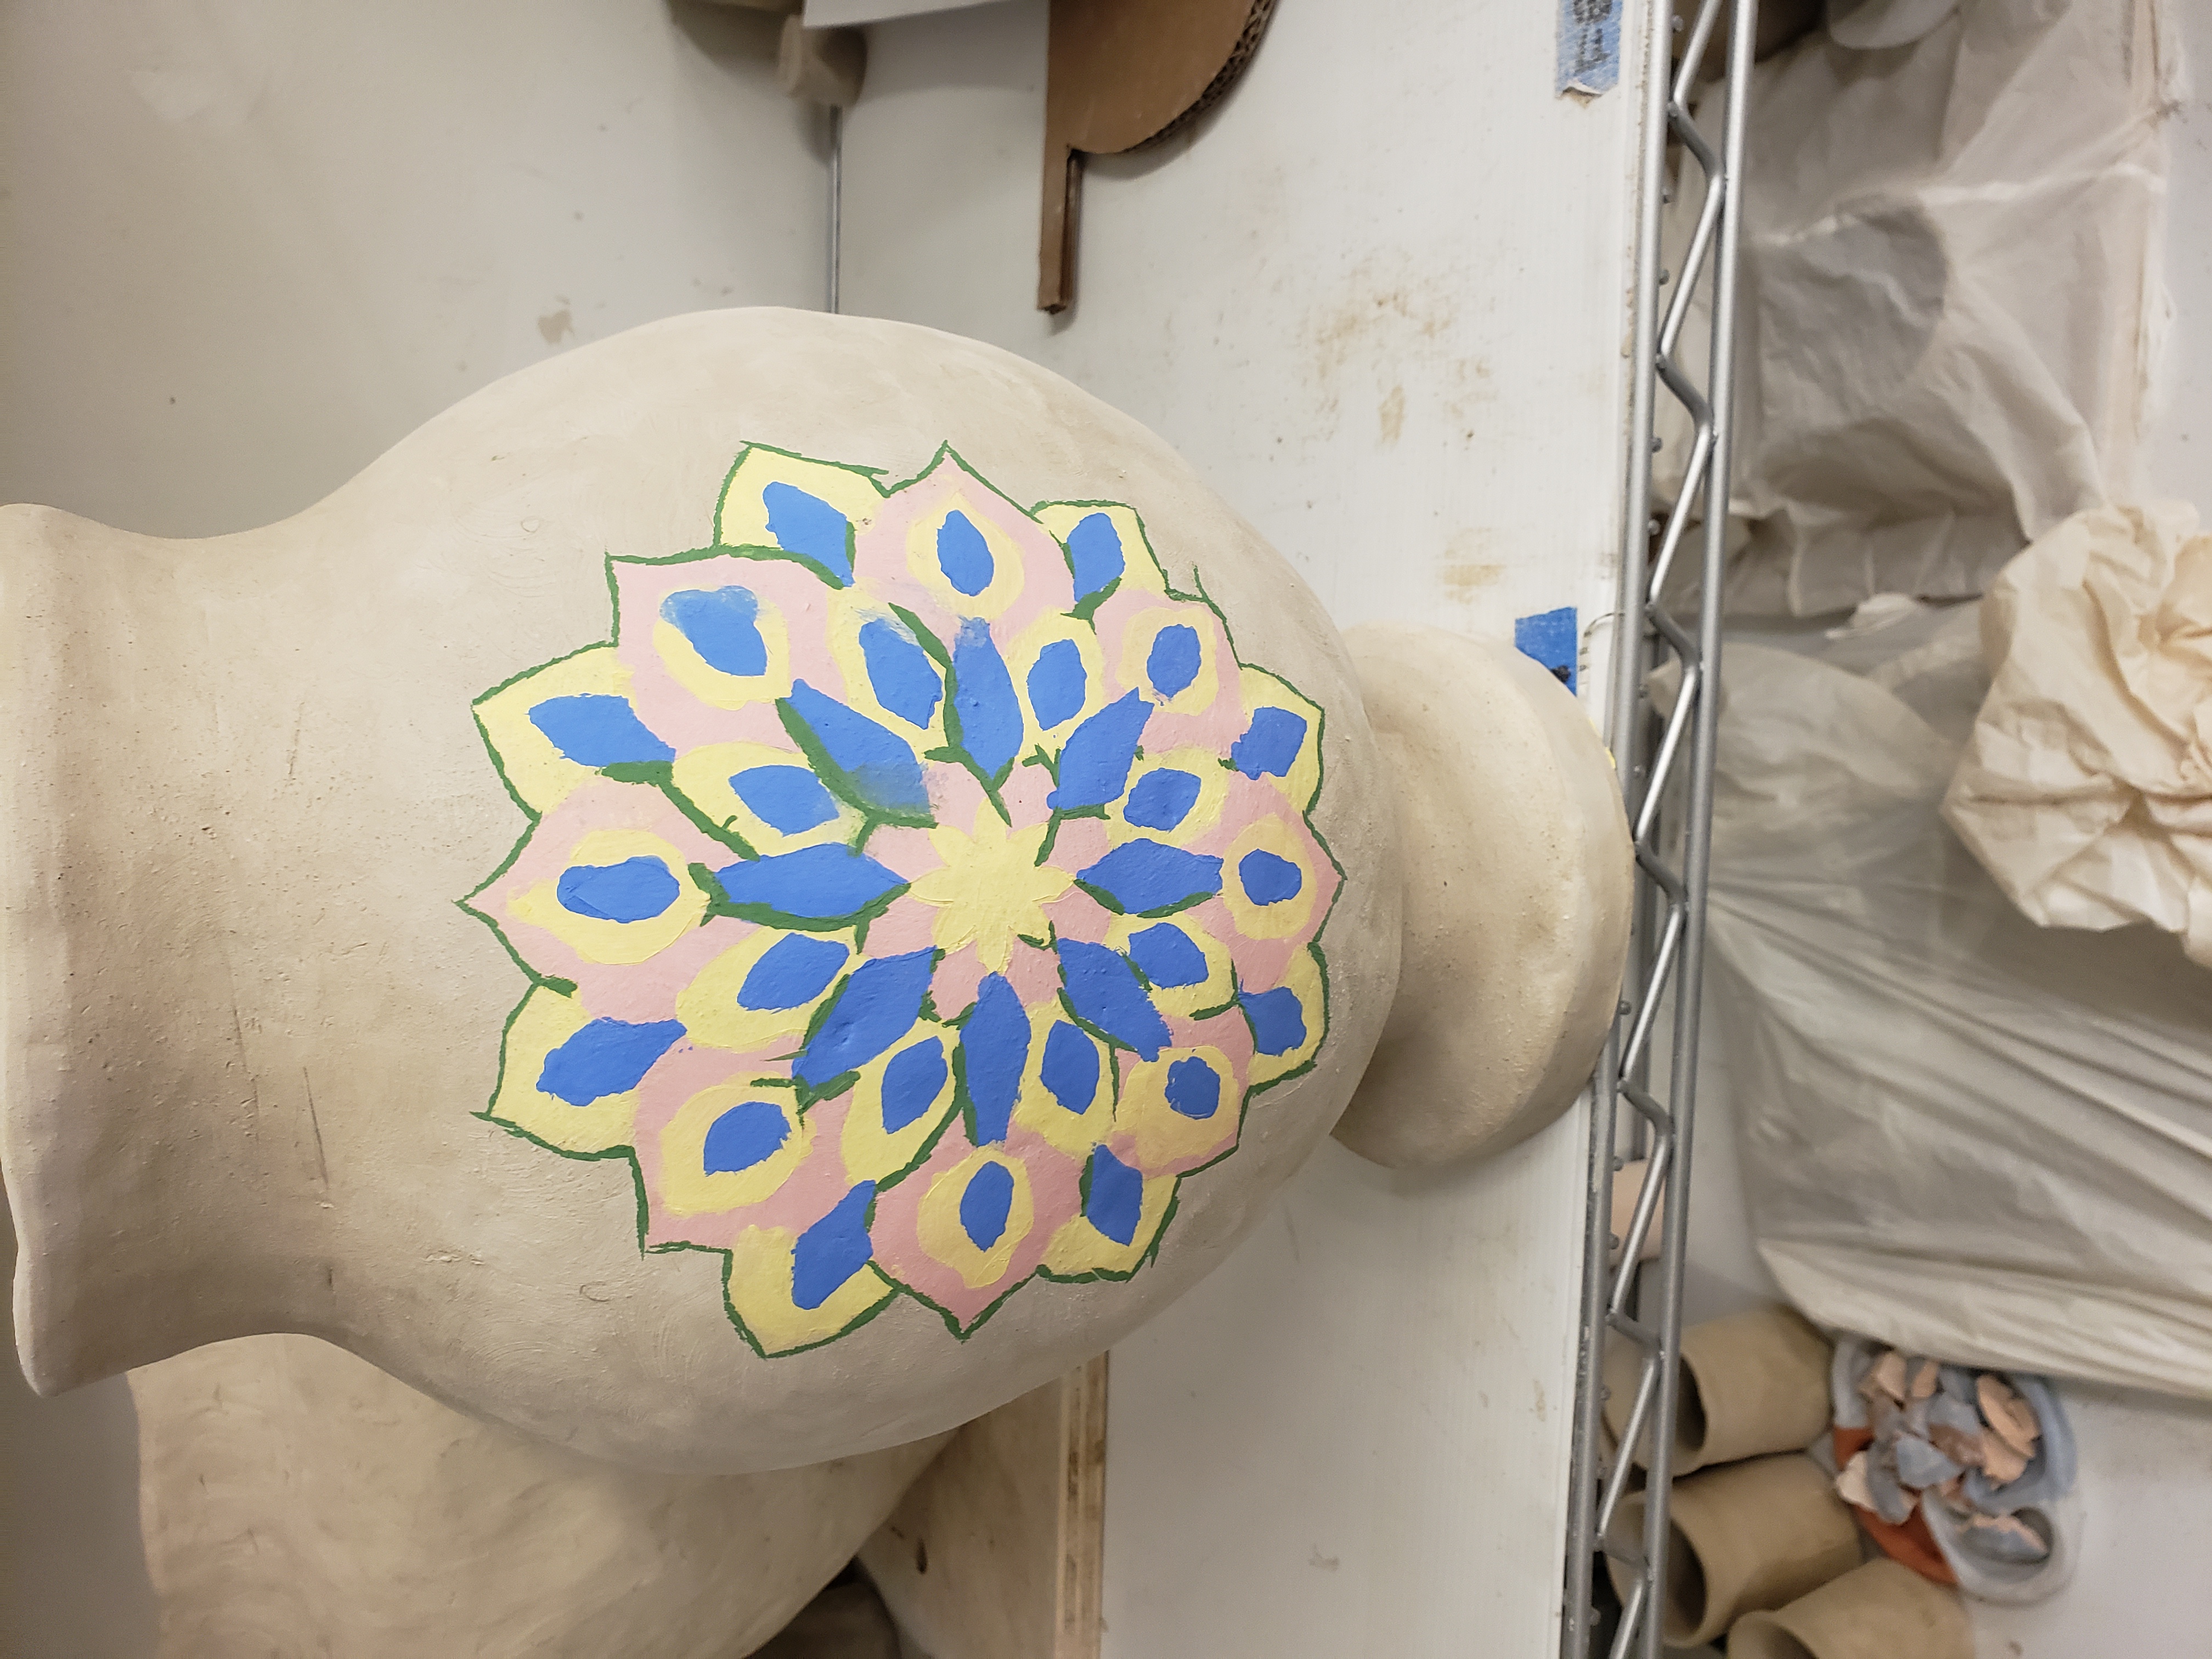
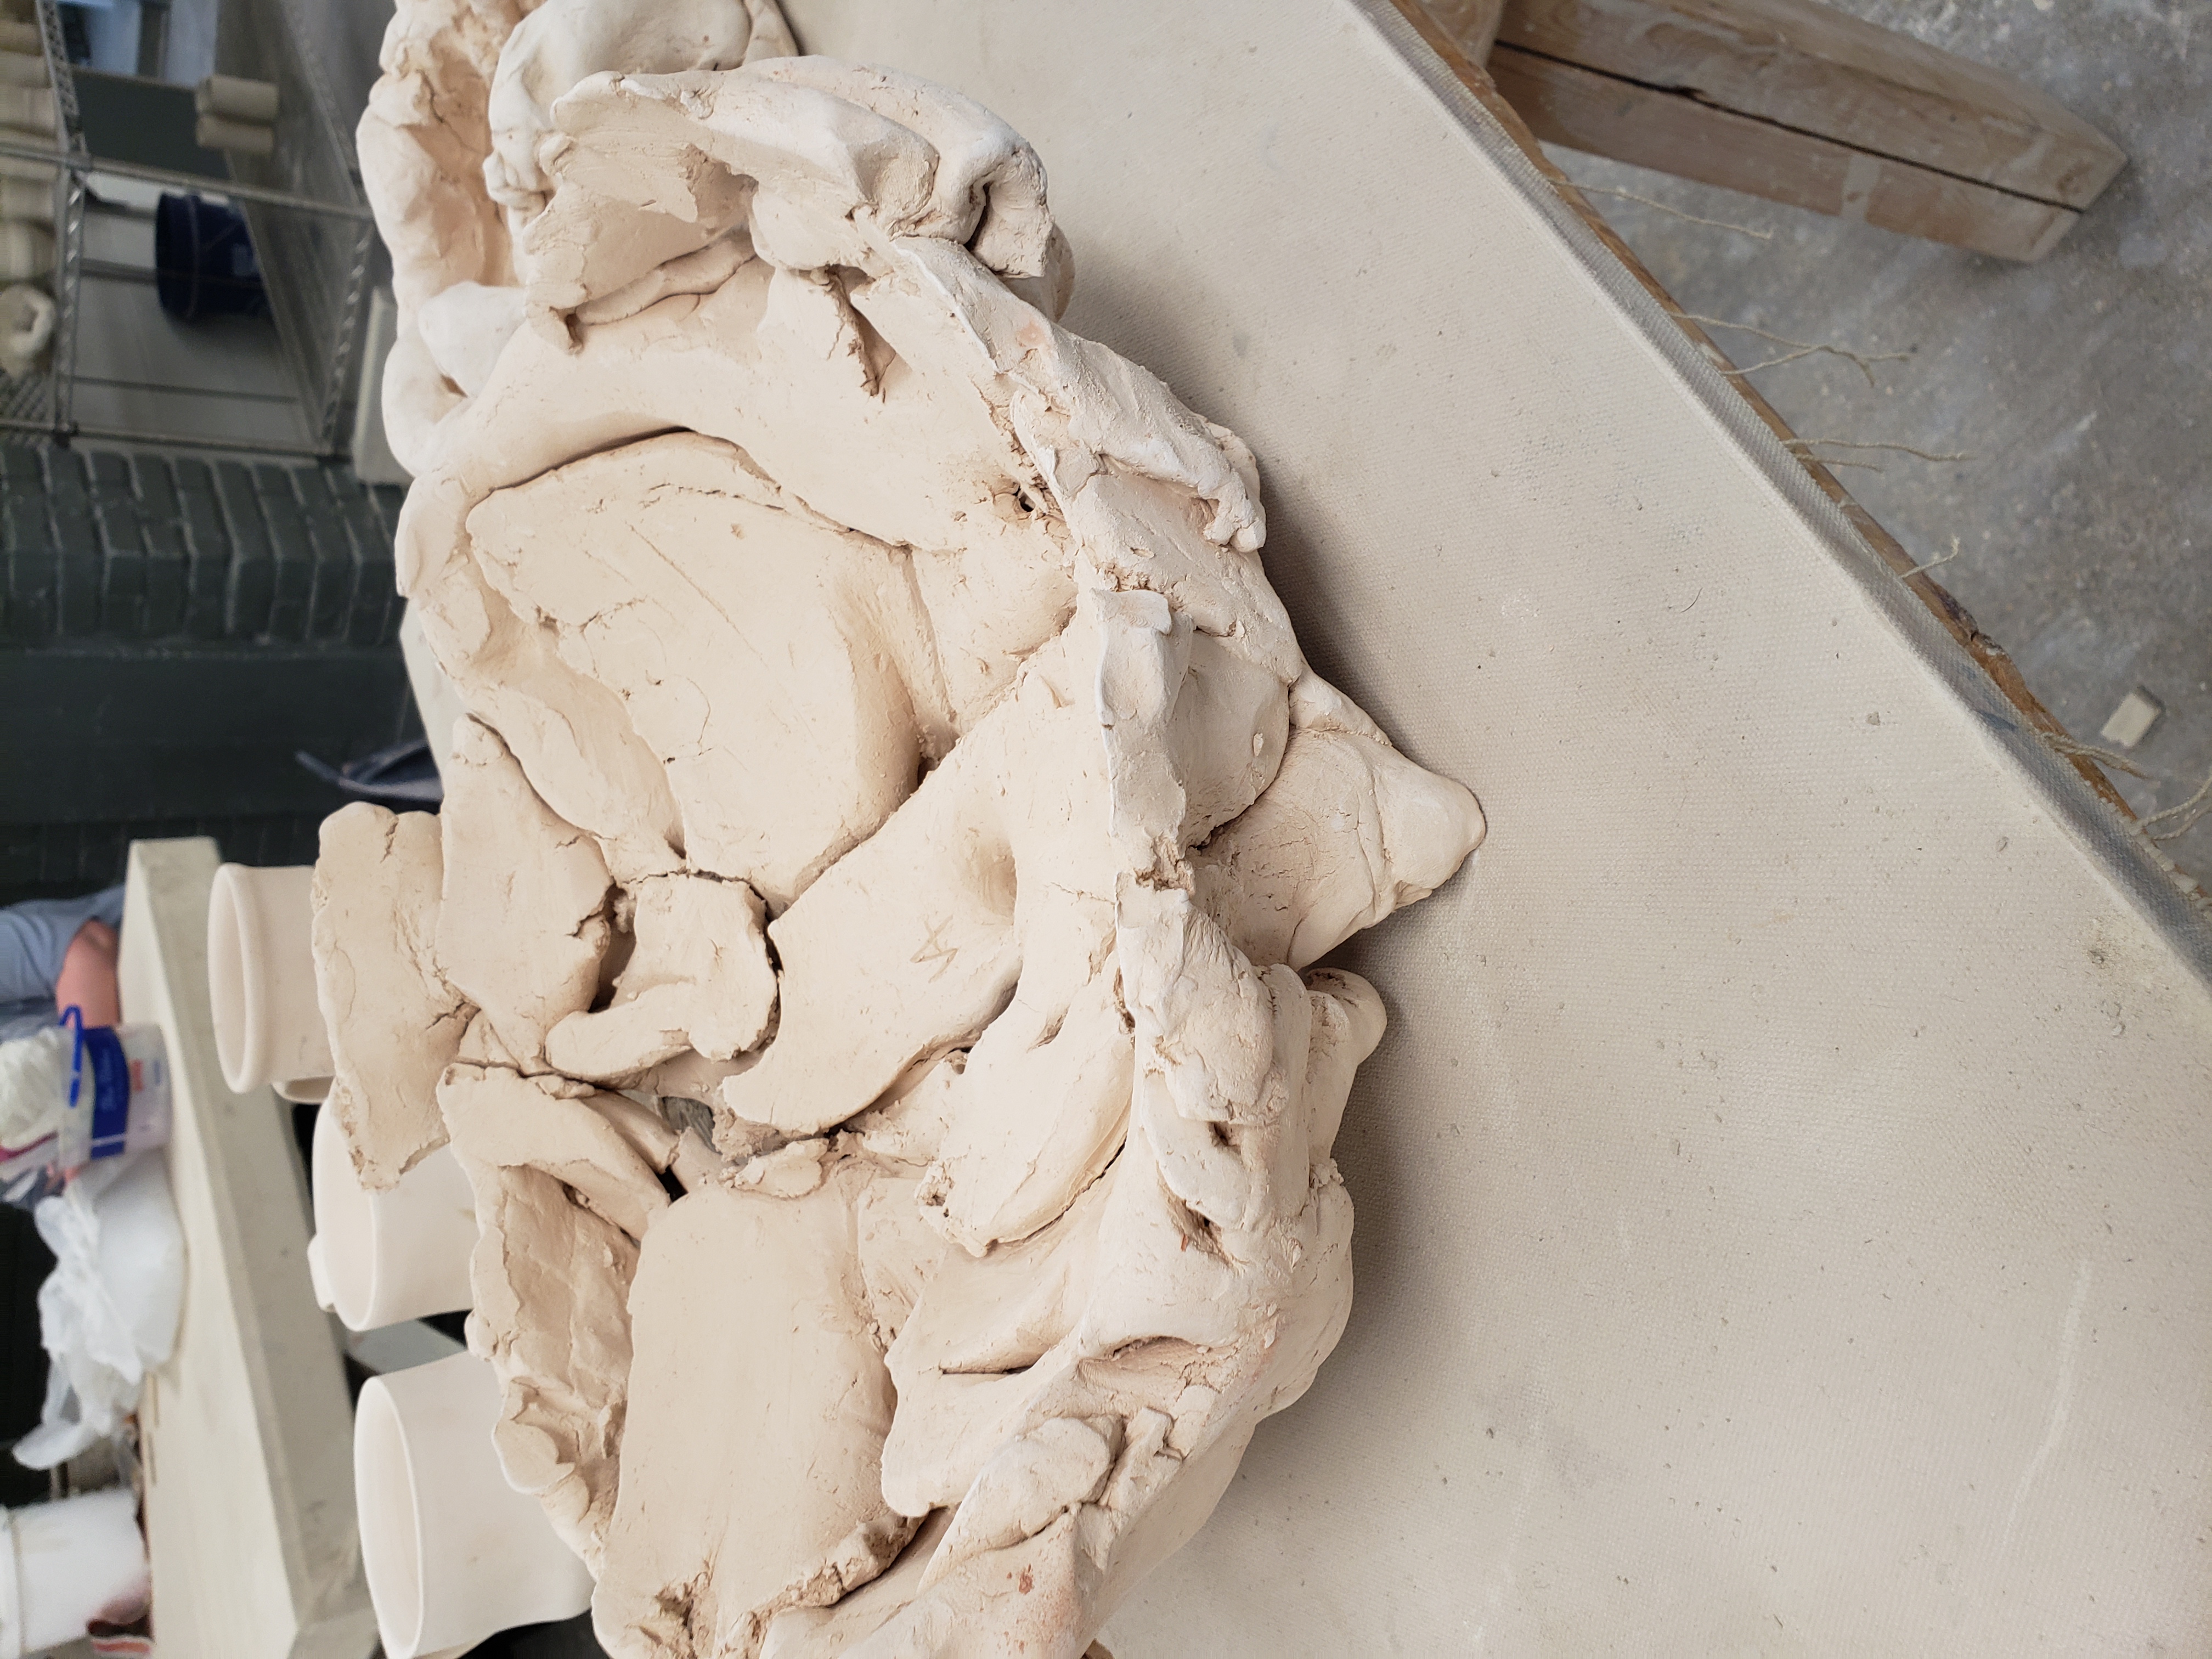
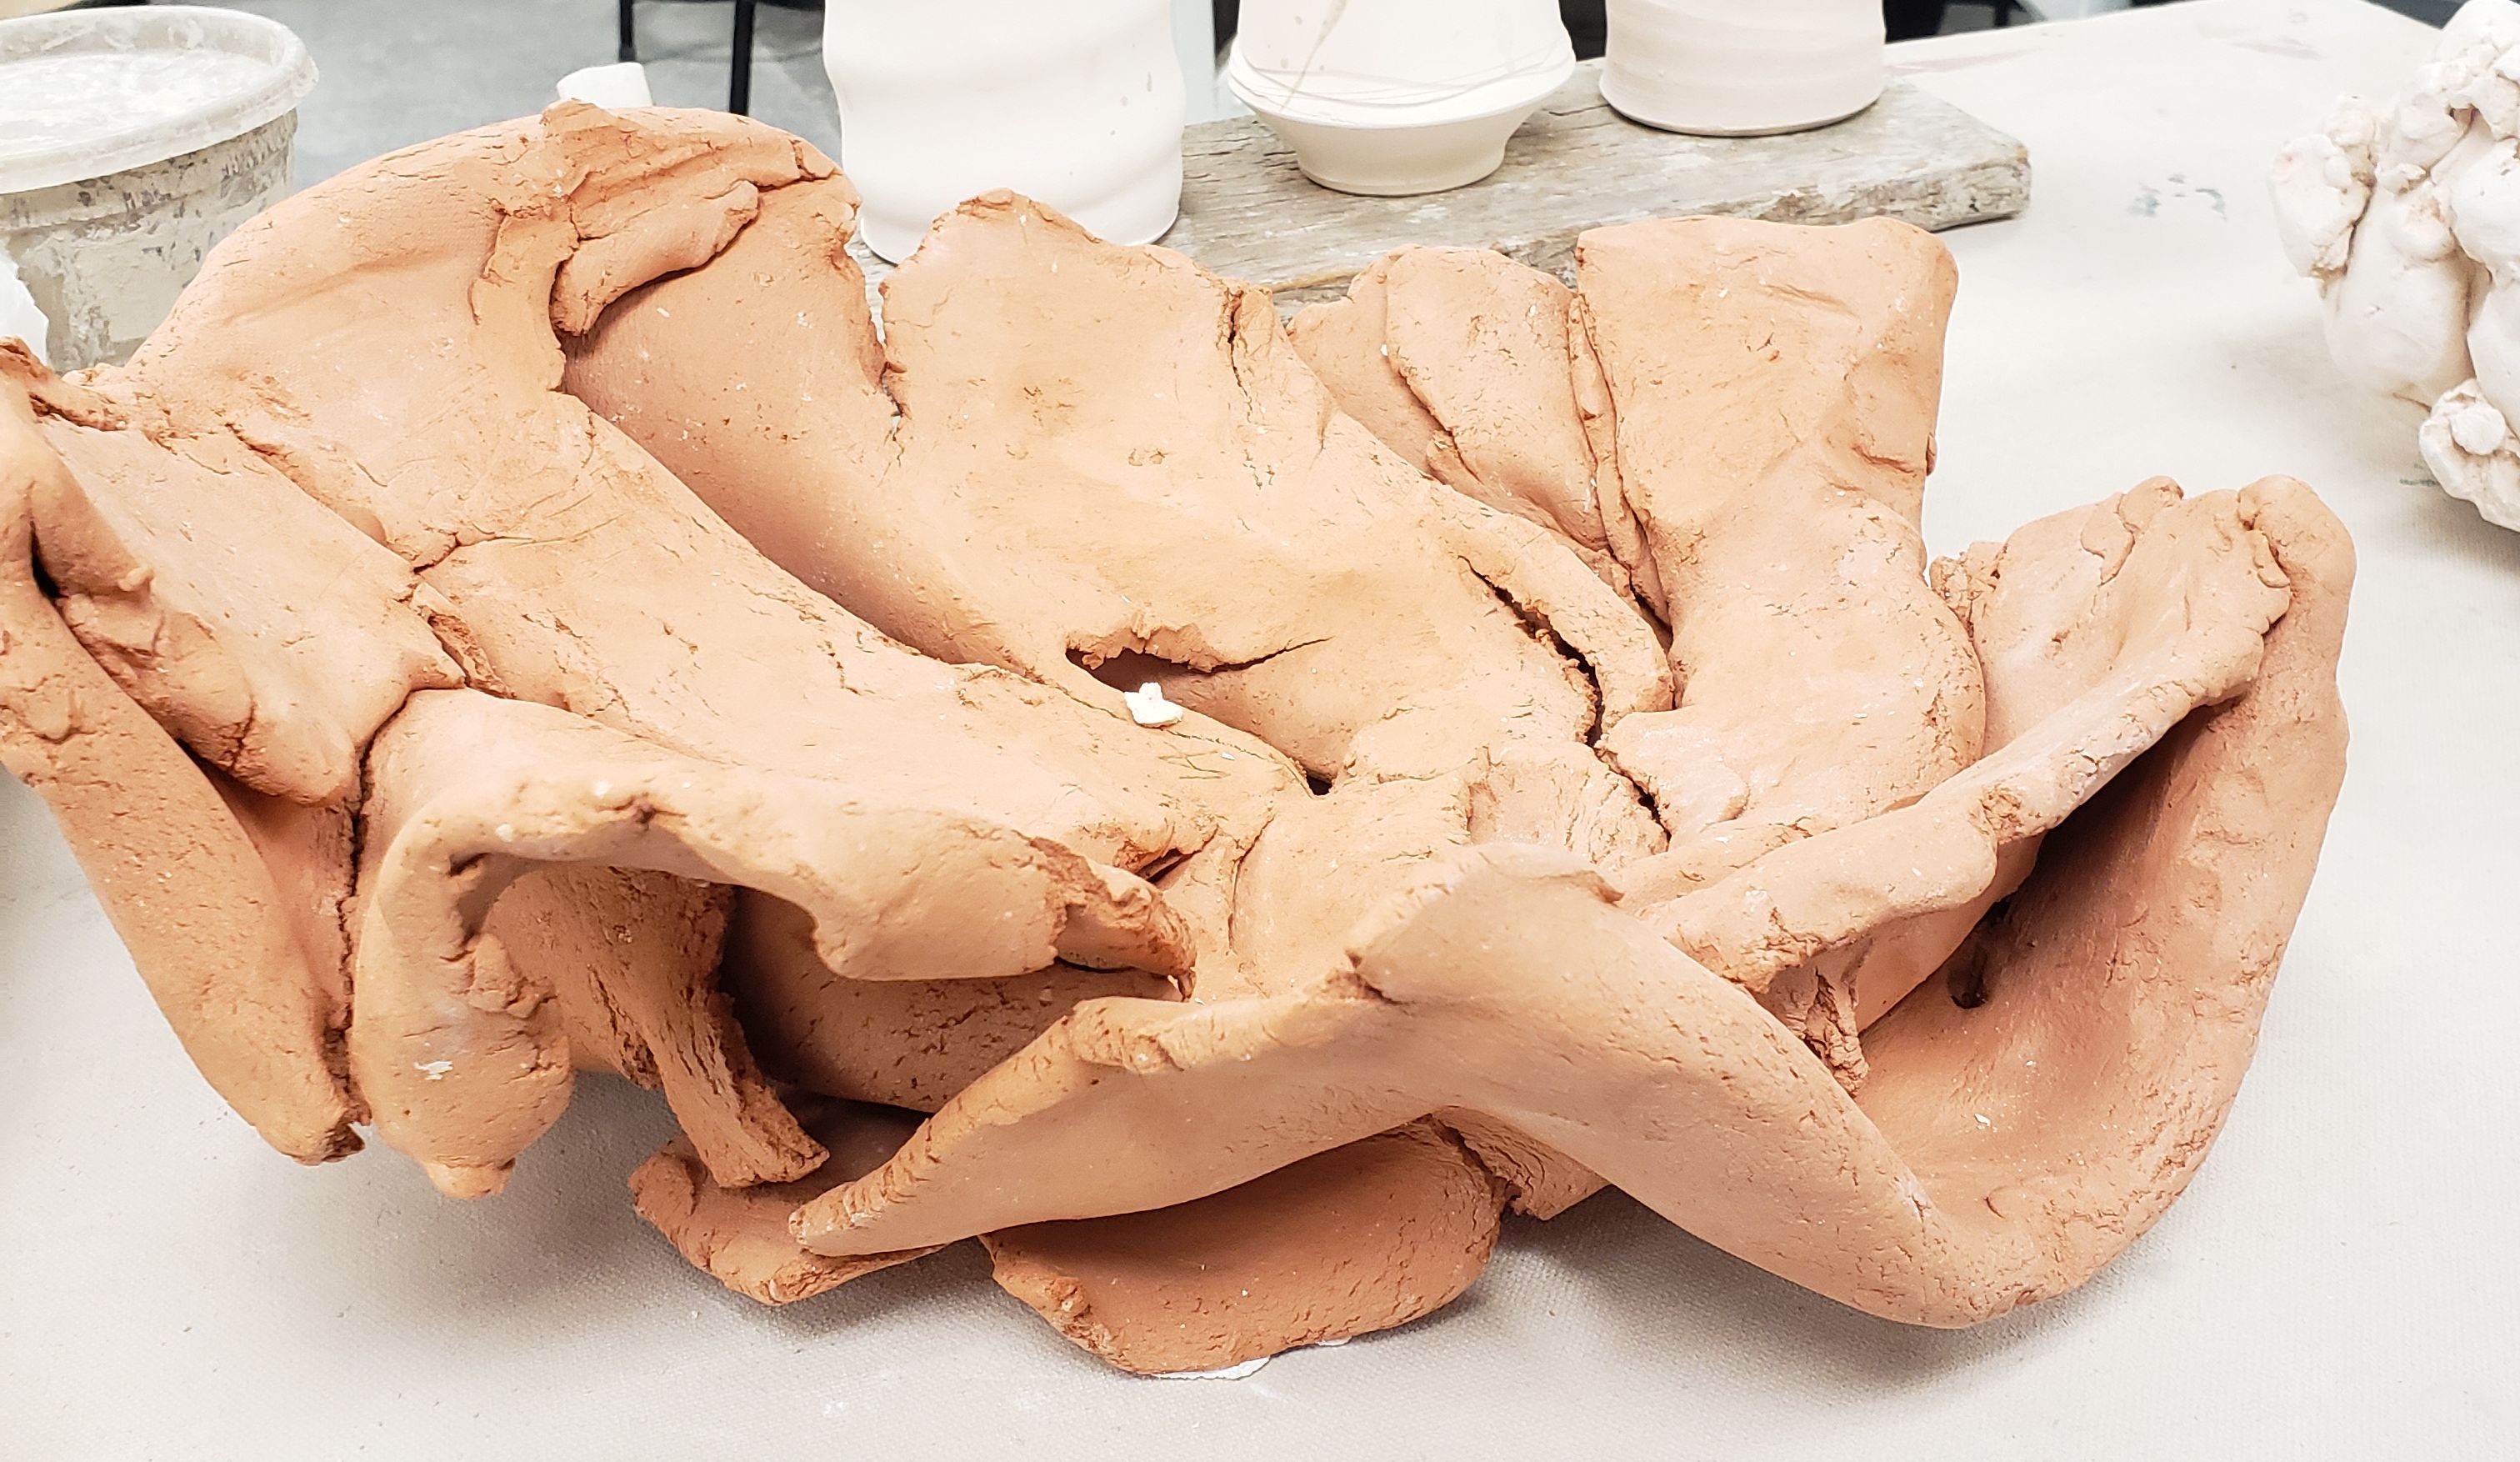
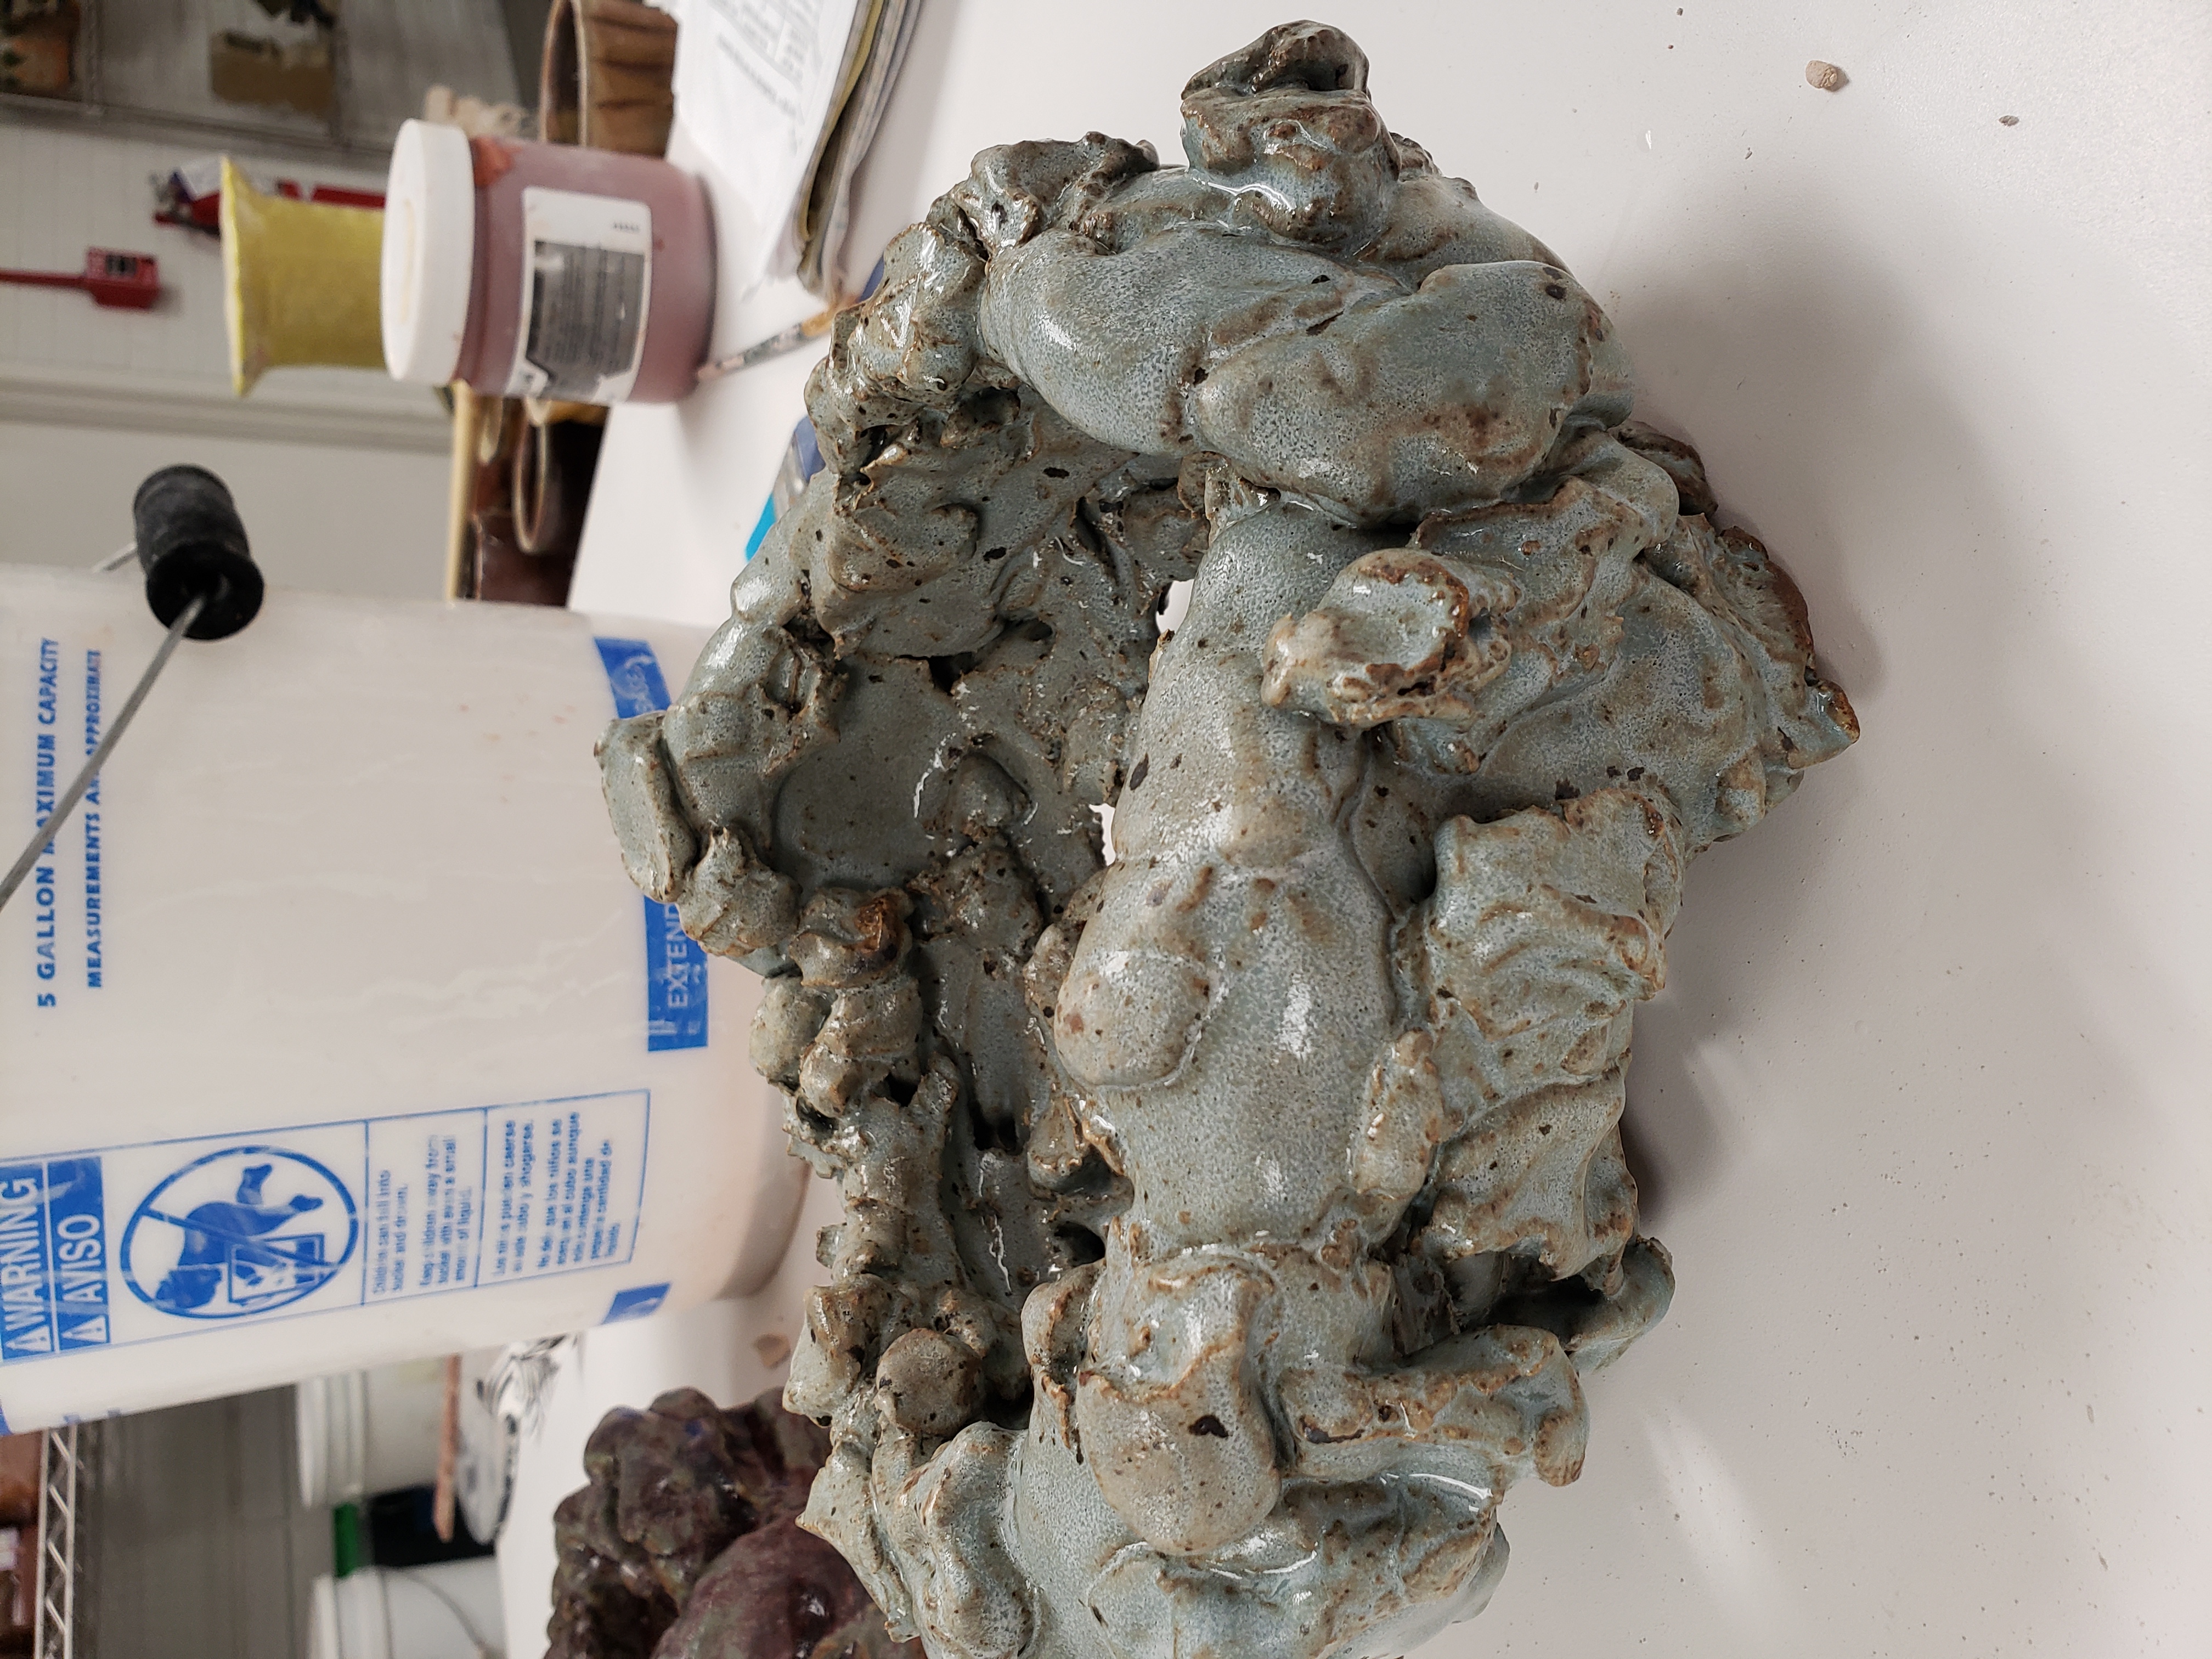
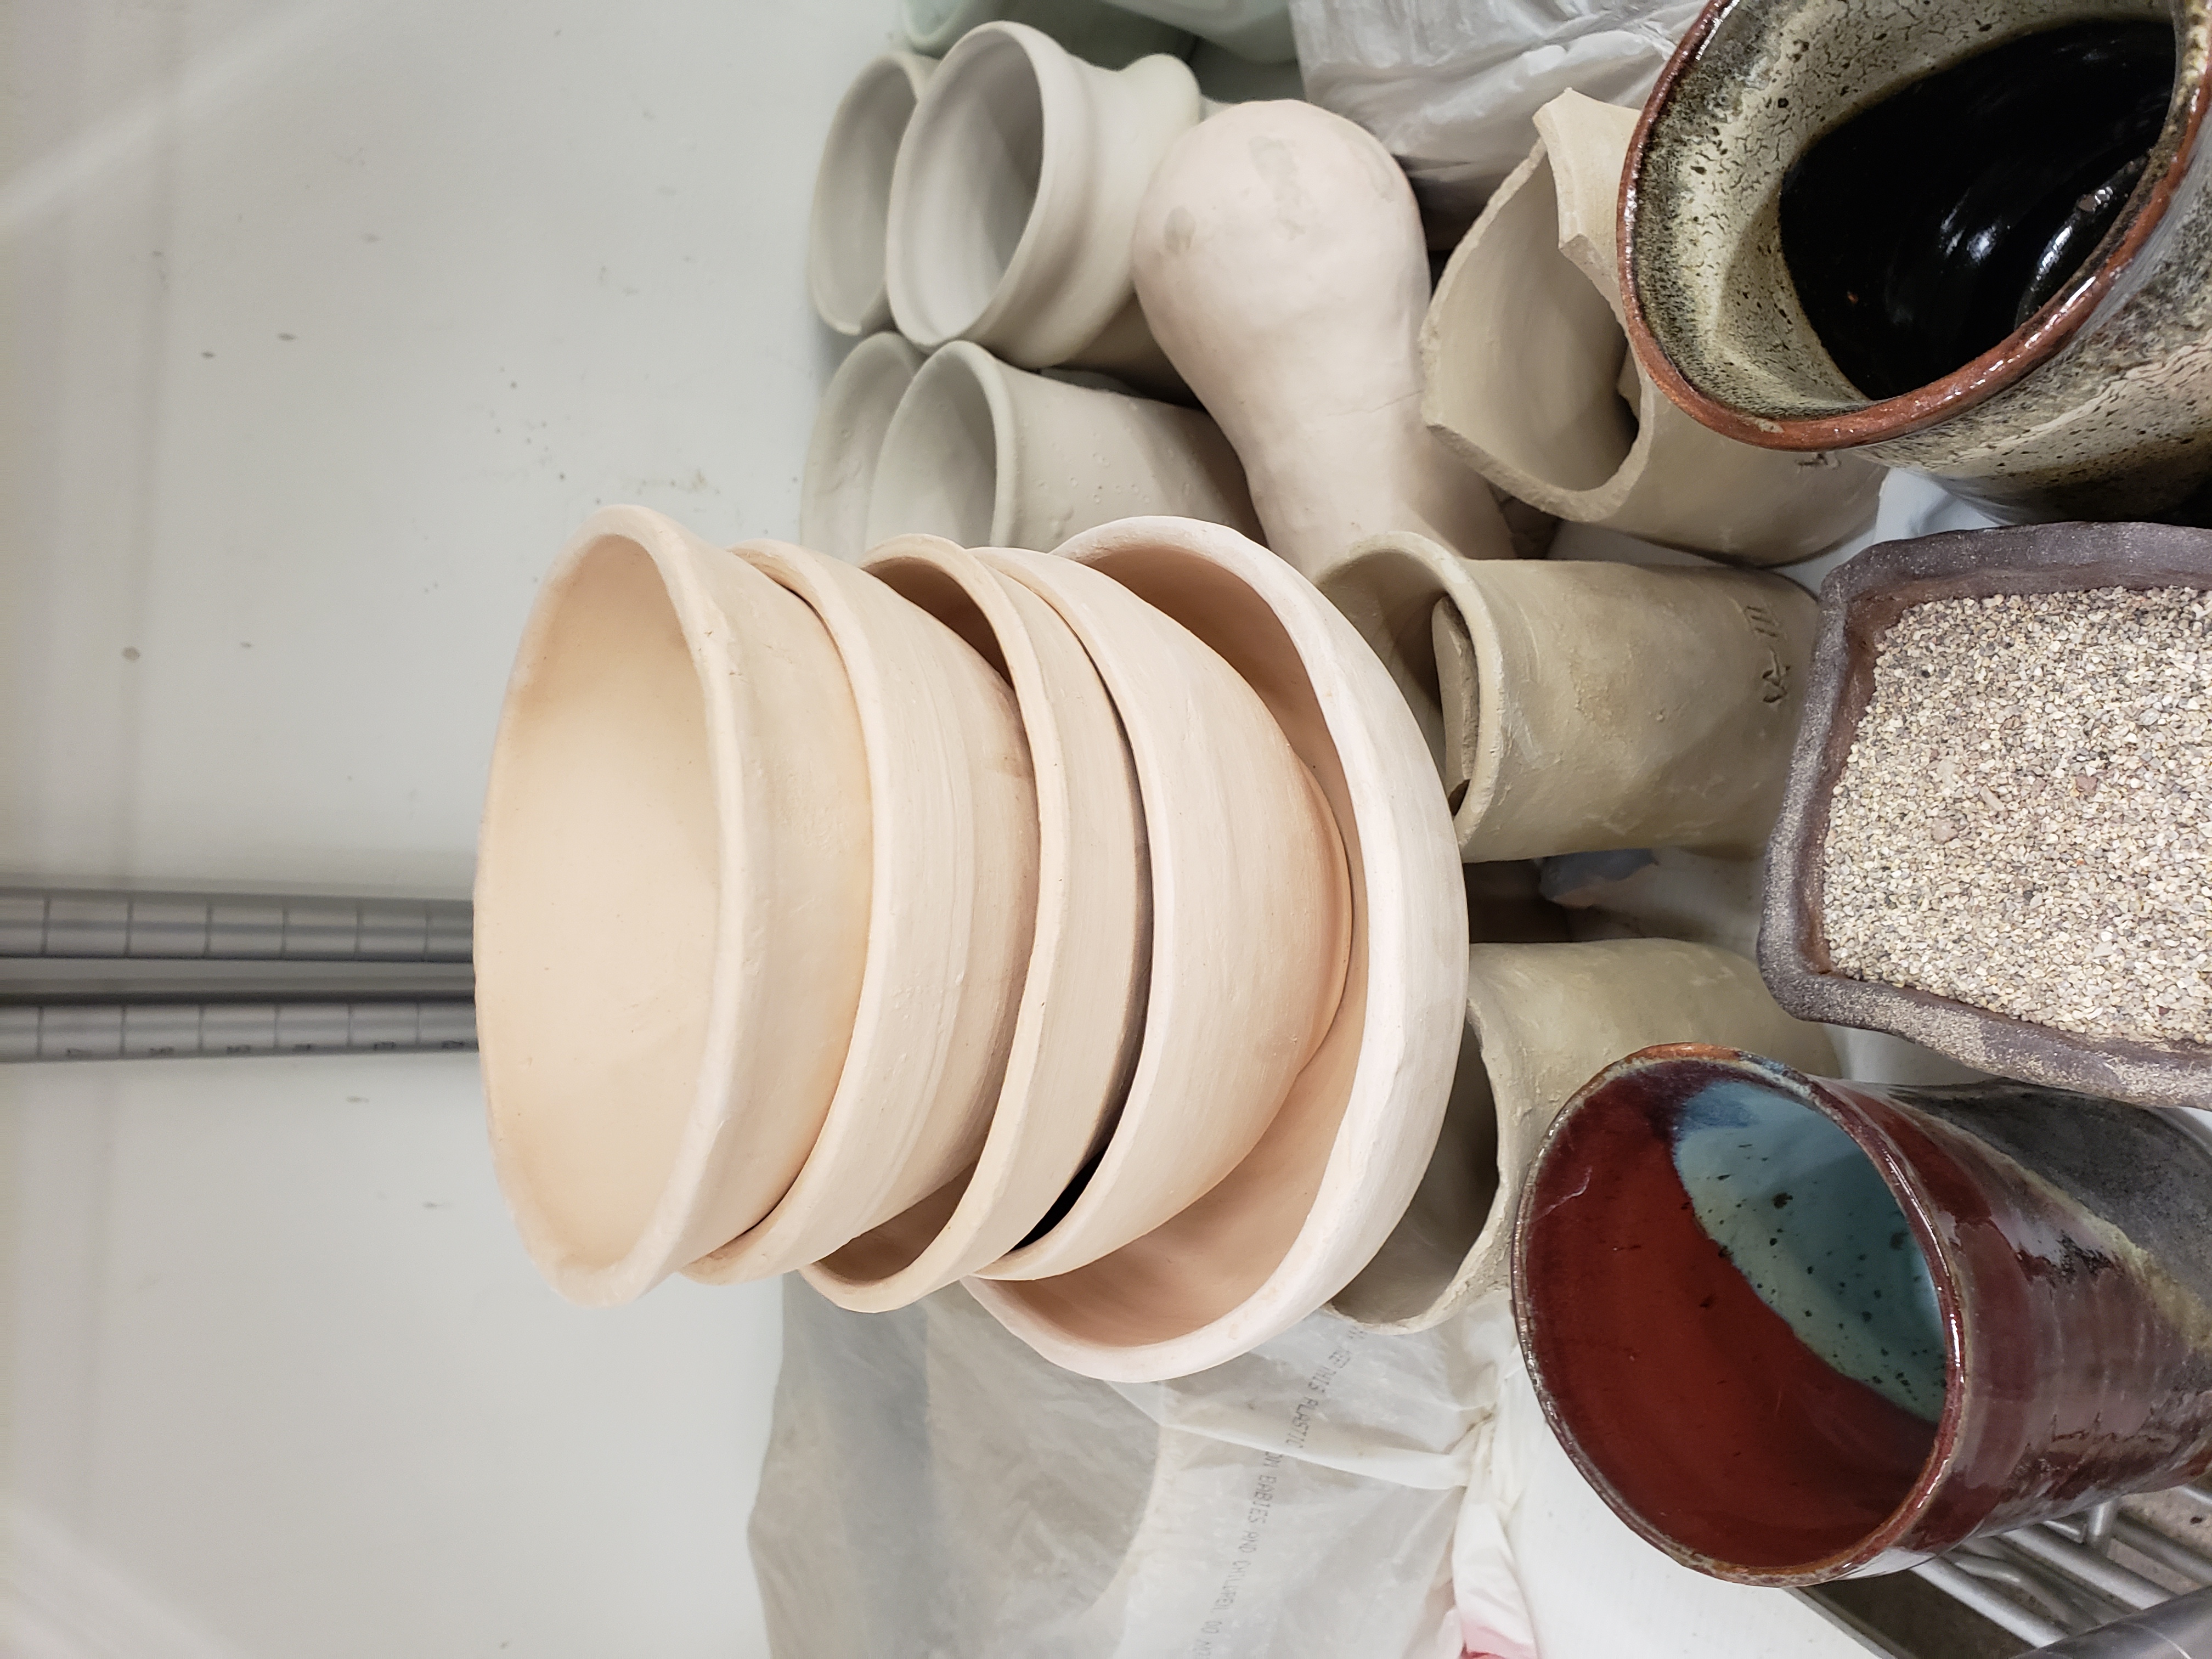
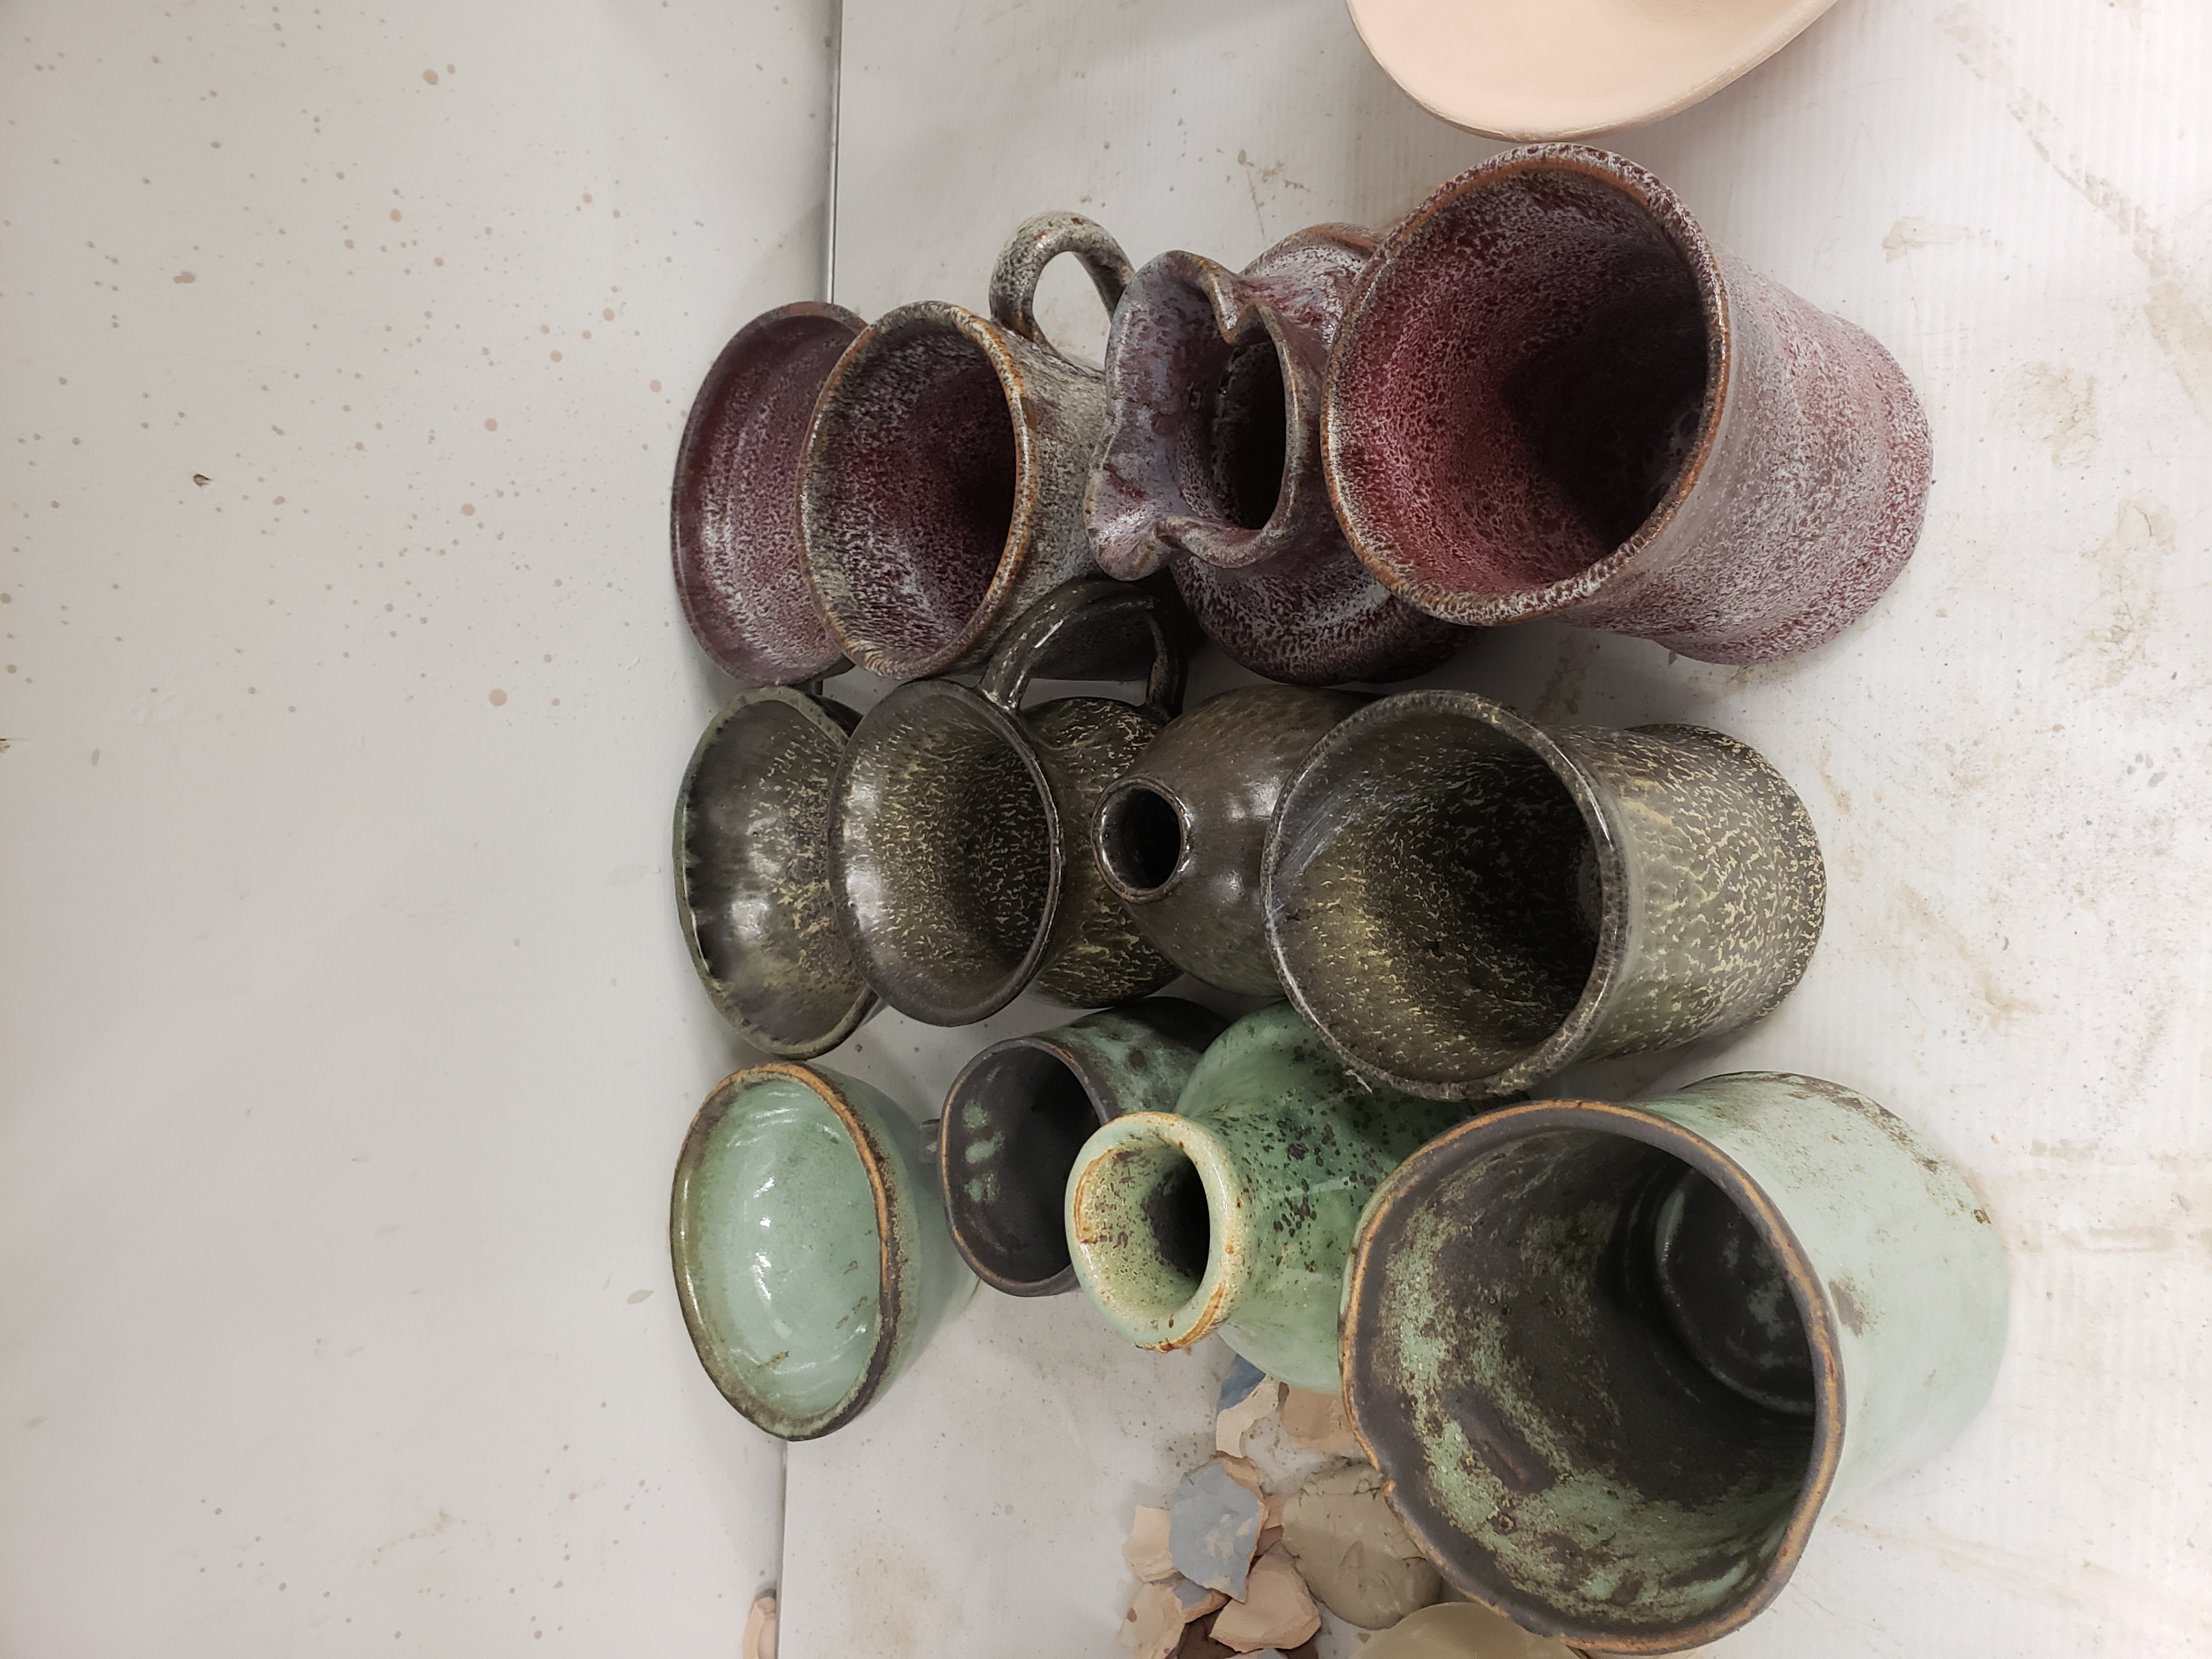
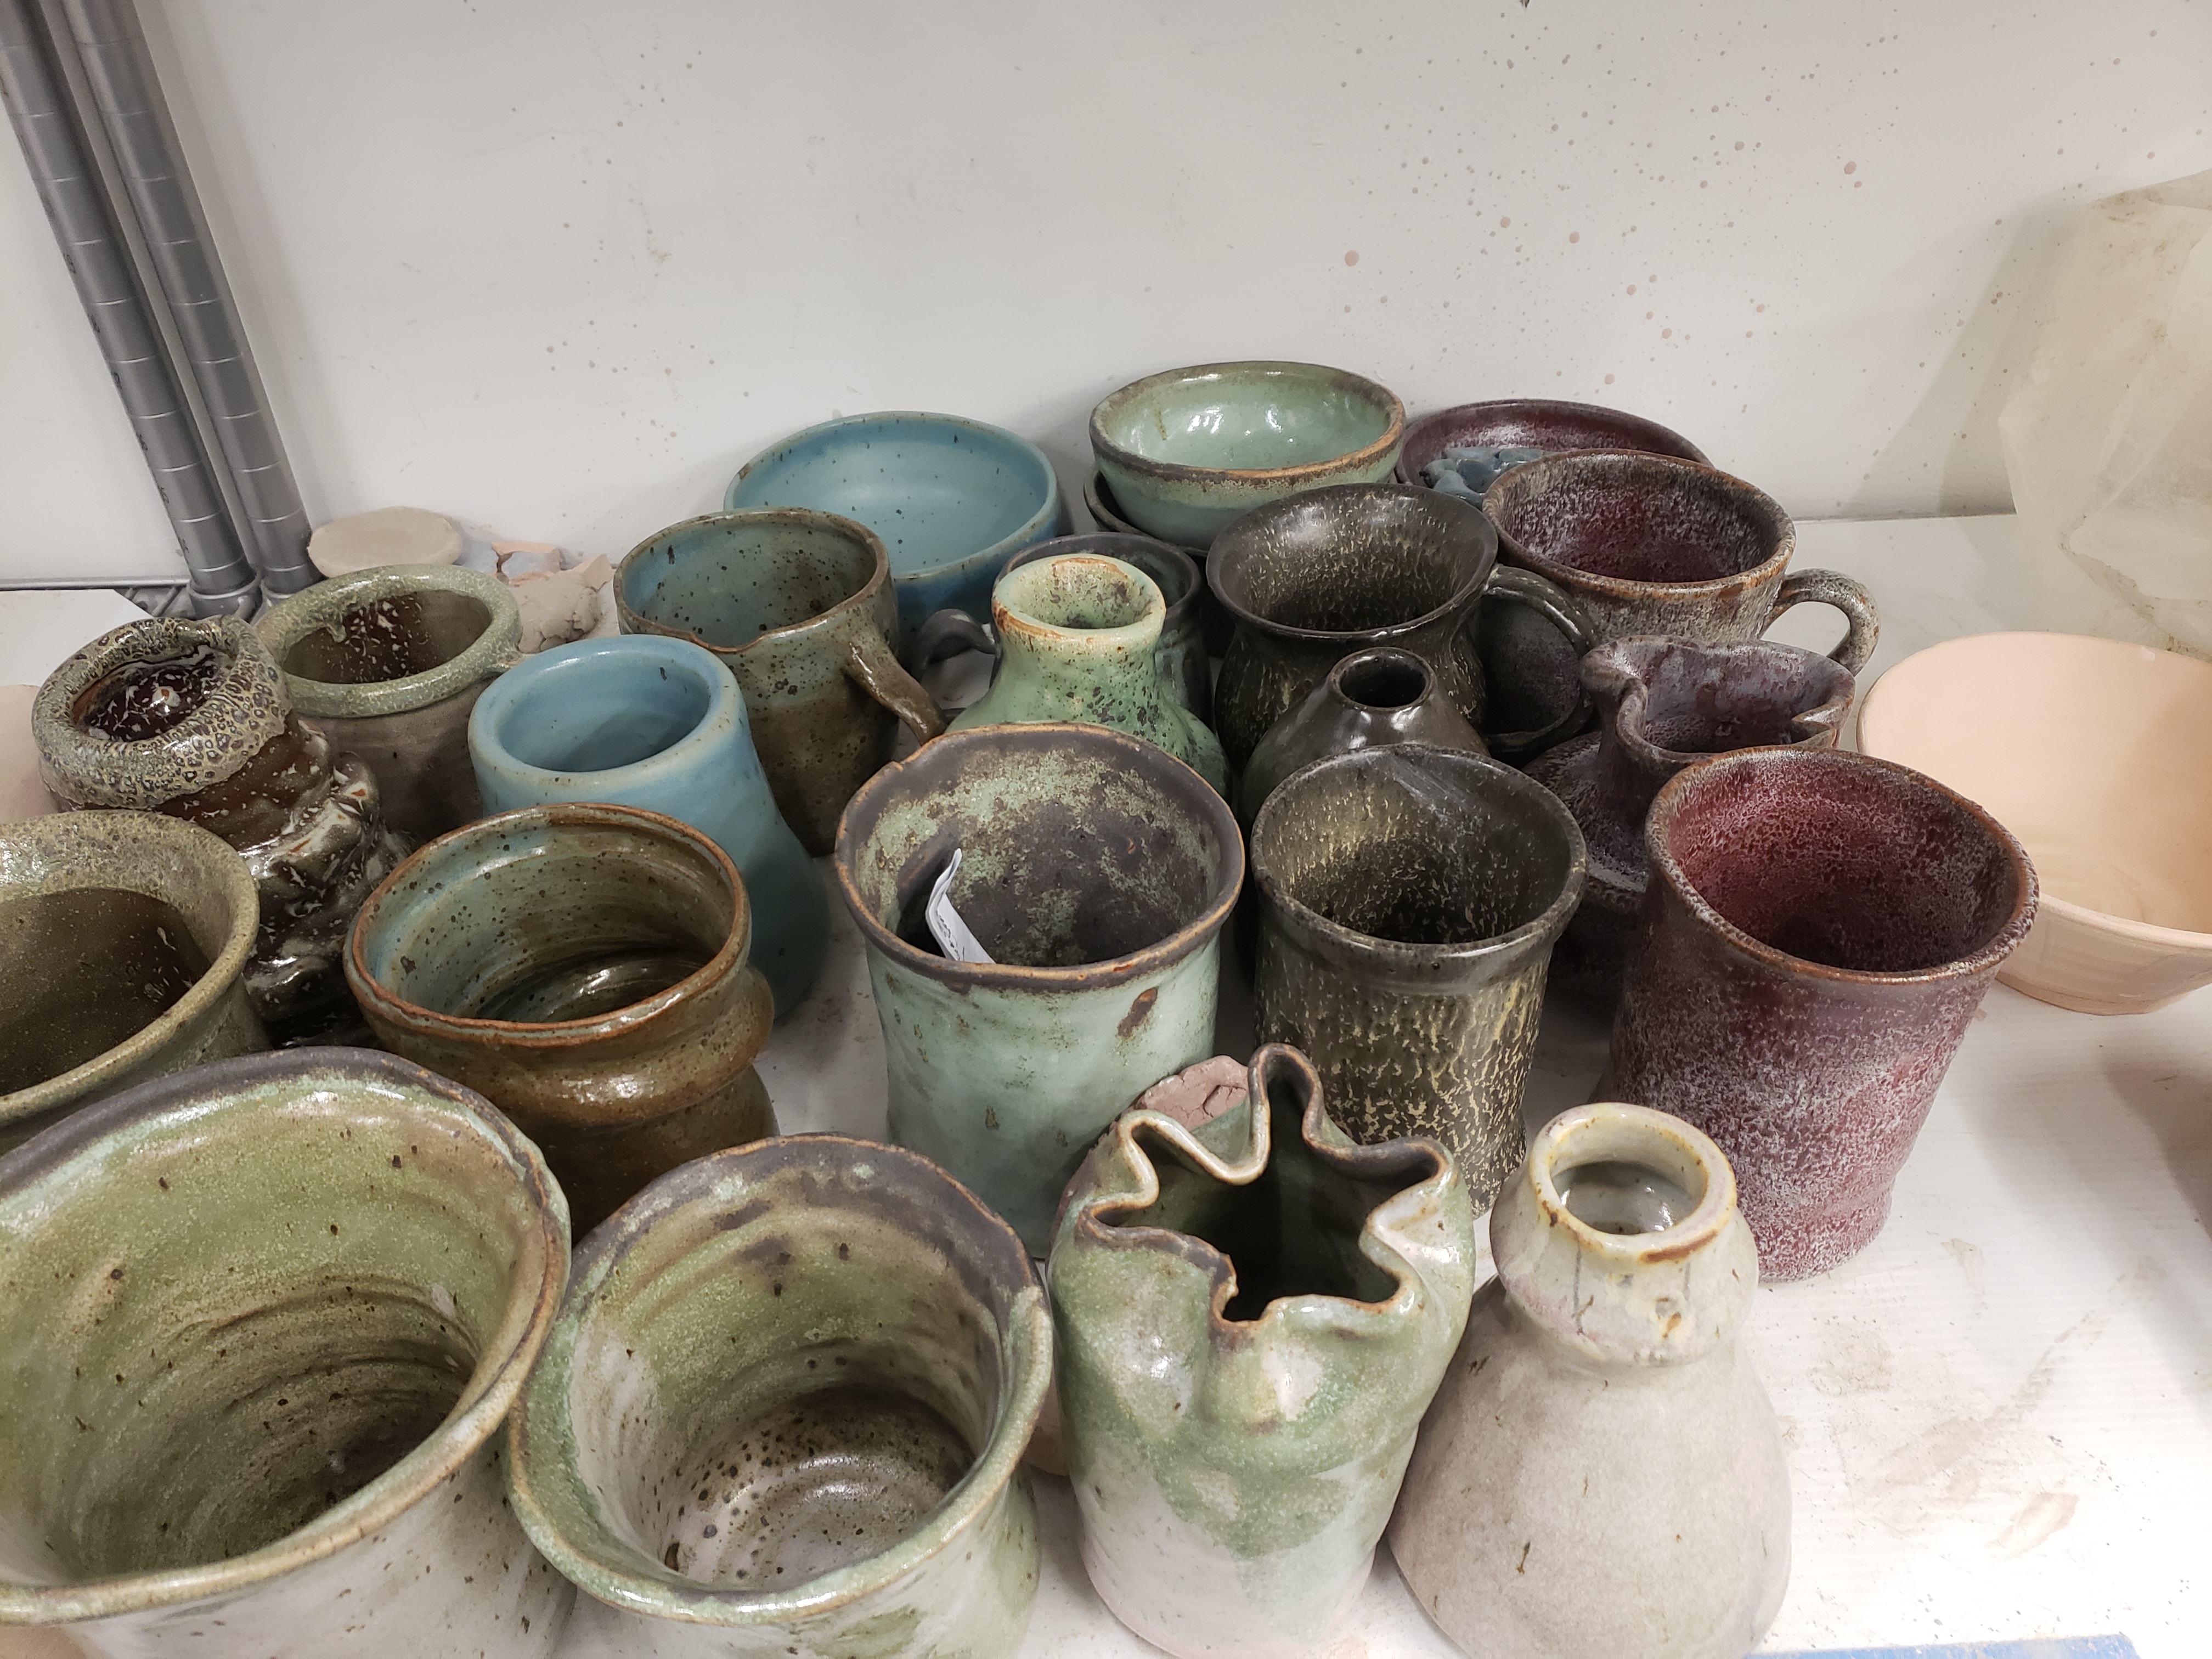
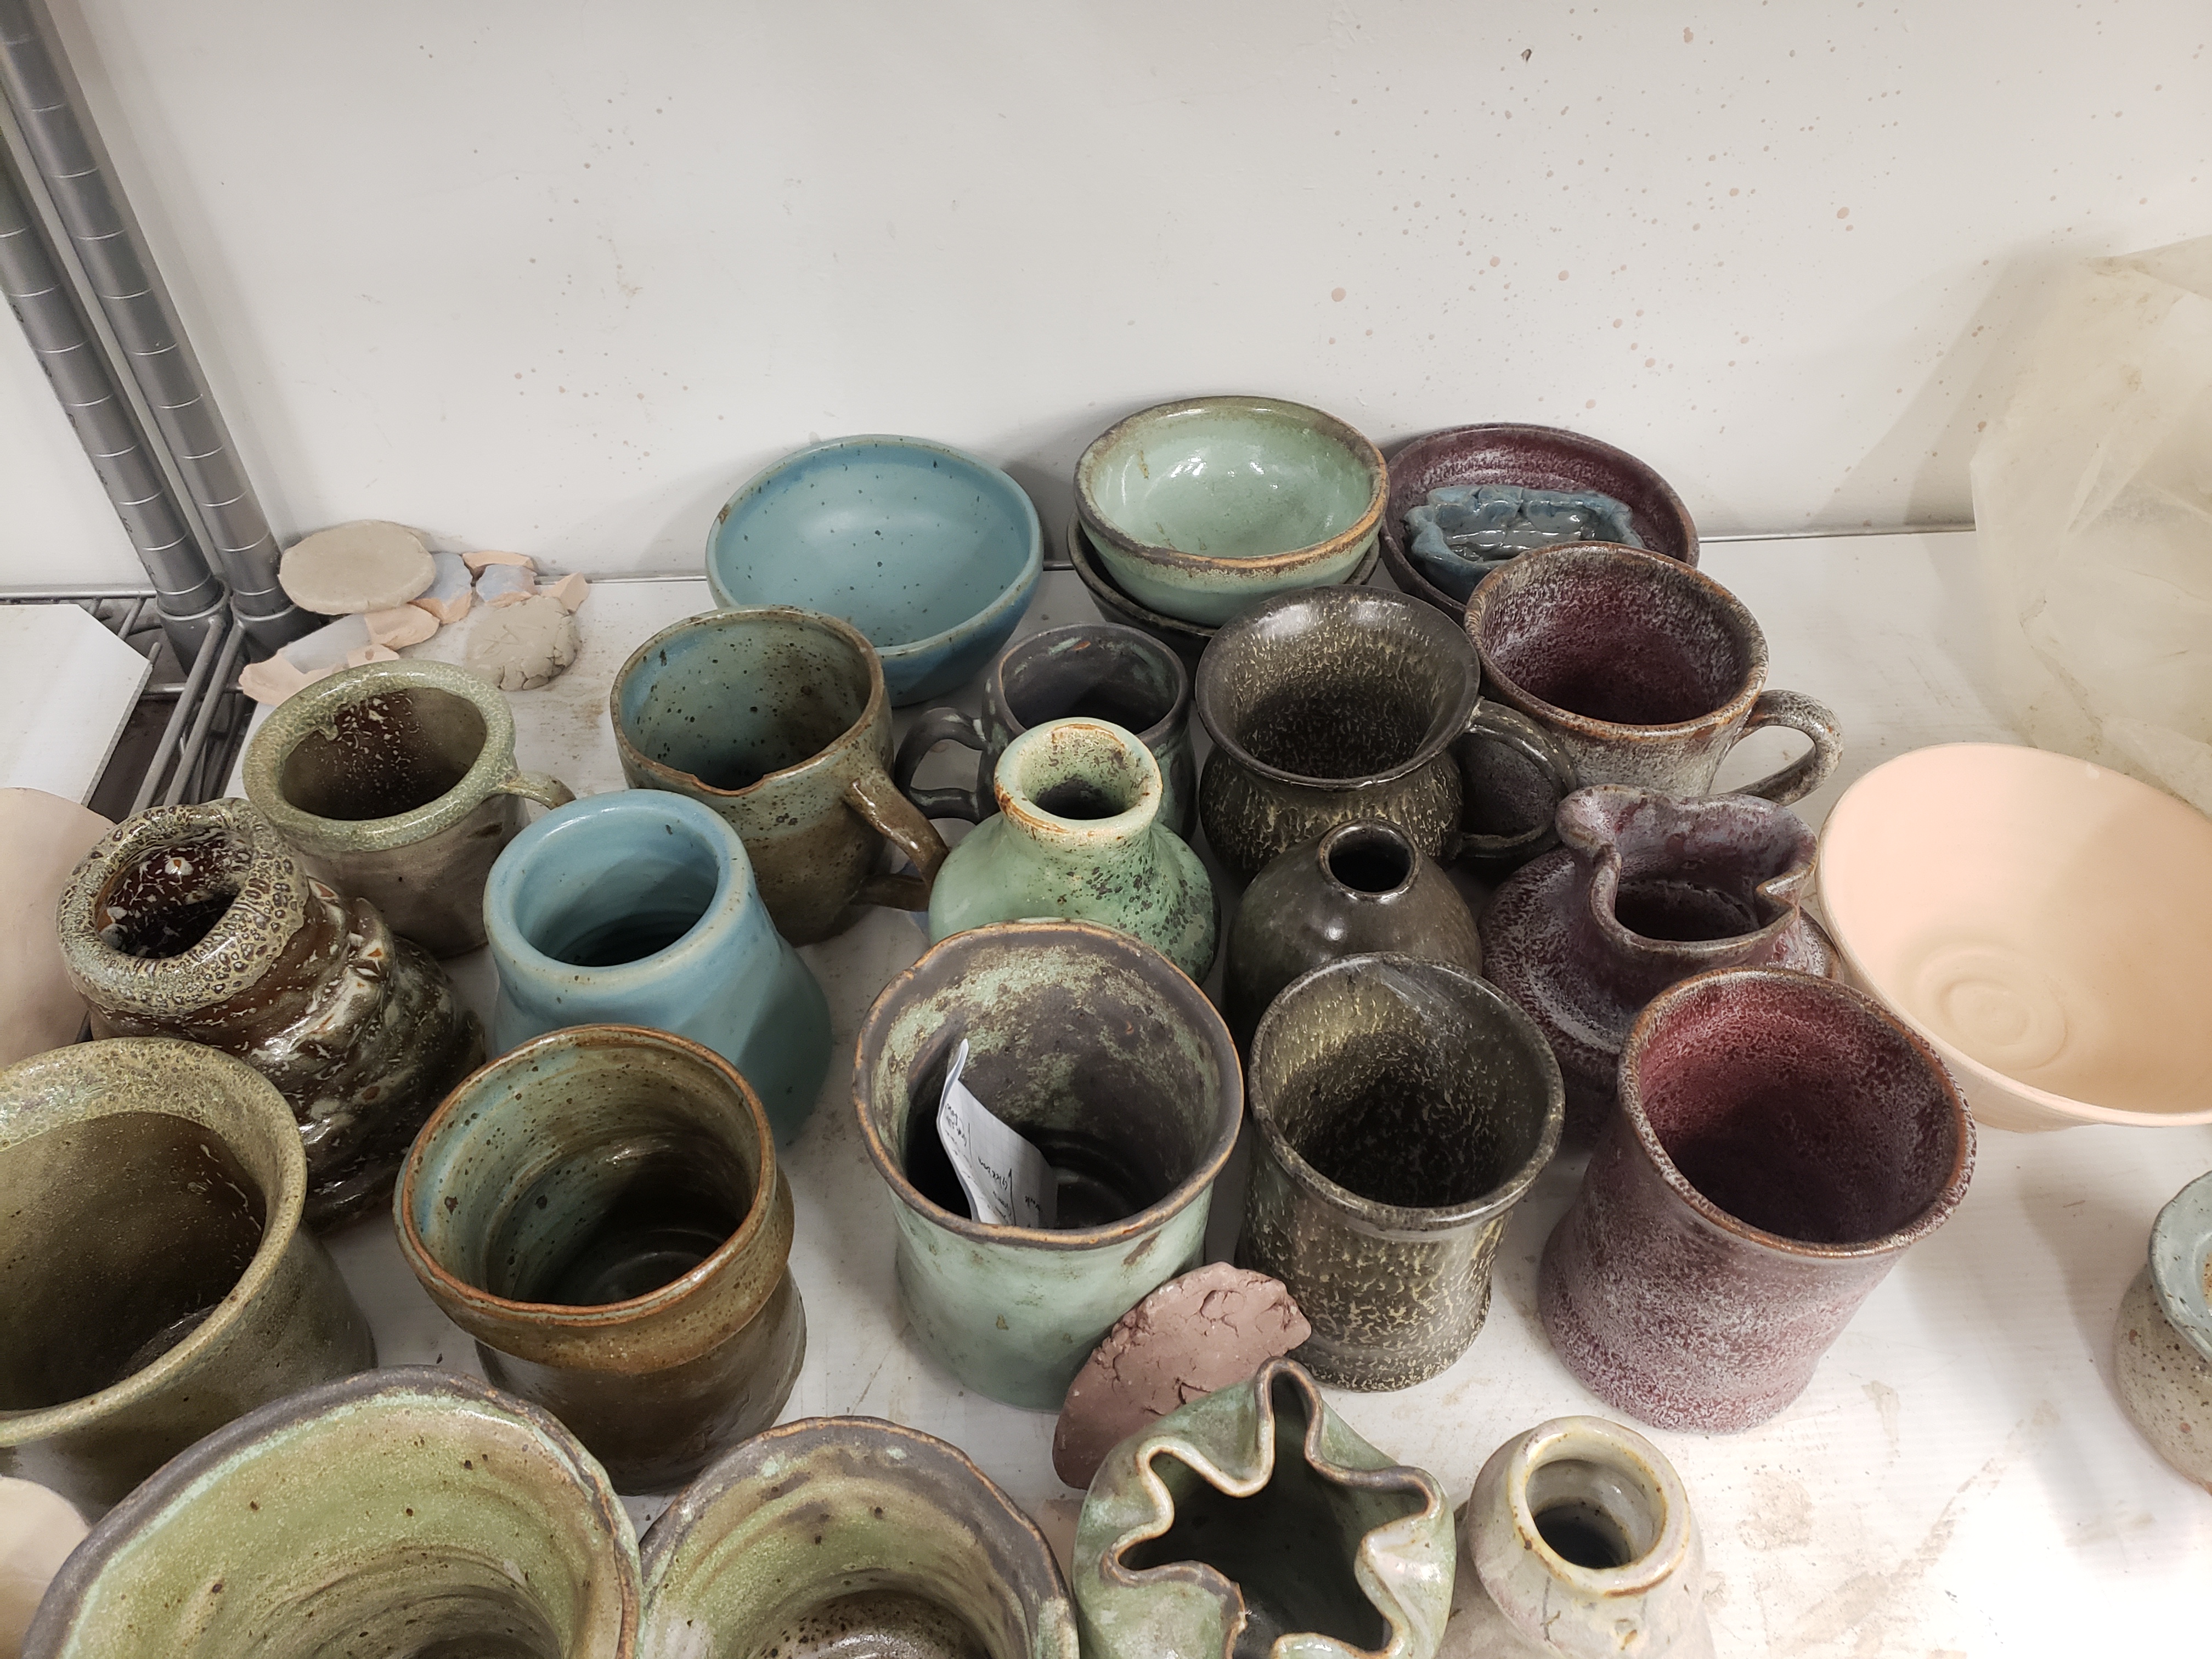
Well I took a ceramics class. Quite an enjoyable eperience. I got to make some cool stuff. All the assignments were prtty cookie cutter basic skill building. In the free time though I got to put together what I really wanted. And I made quite a few nice bonsai pots. you can see a few of them here... If I can find those pictures.

Image
Image
Image
Image
Image
Image
Image
Image

Aluminum Casting

Green sand casting is a casting method where you make a part then use a sand-clay mixture to make a mold of that part. The part is then removed from the mold and the mold is used to cast the desired material, in this case aluminum.

Motivation

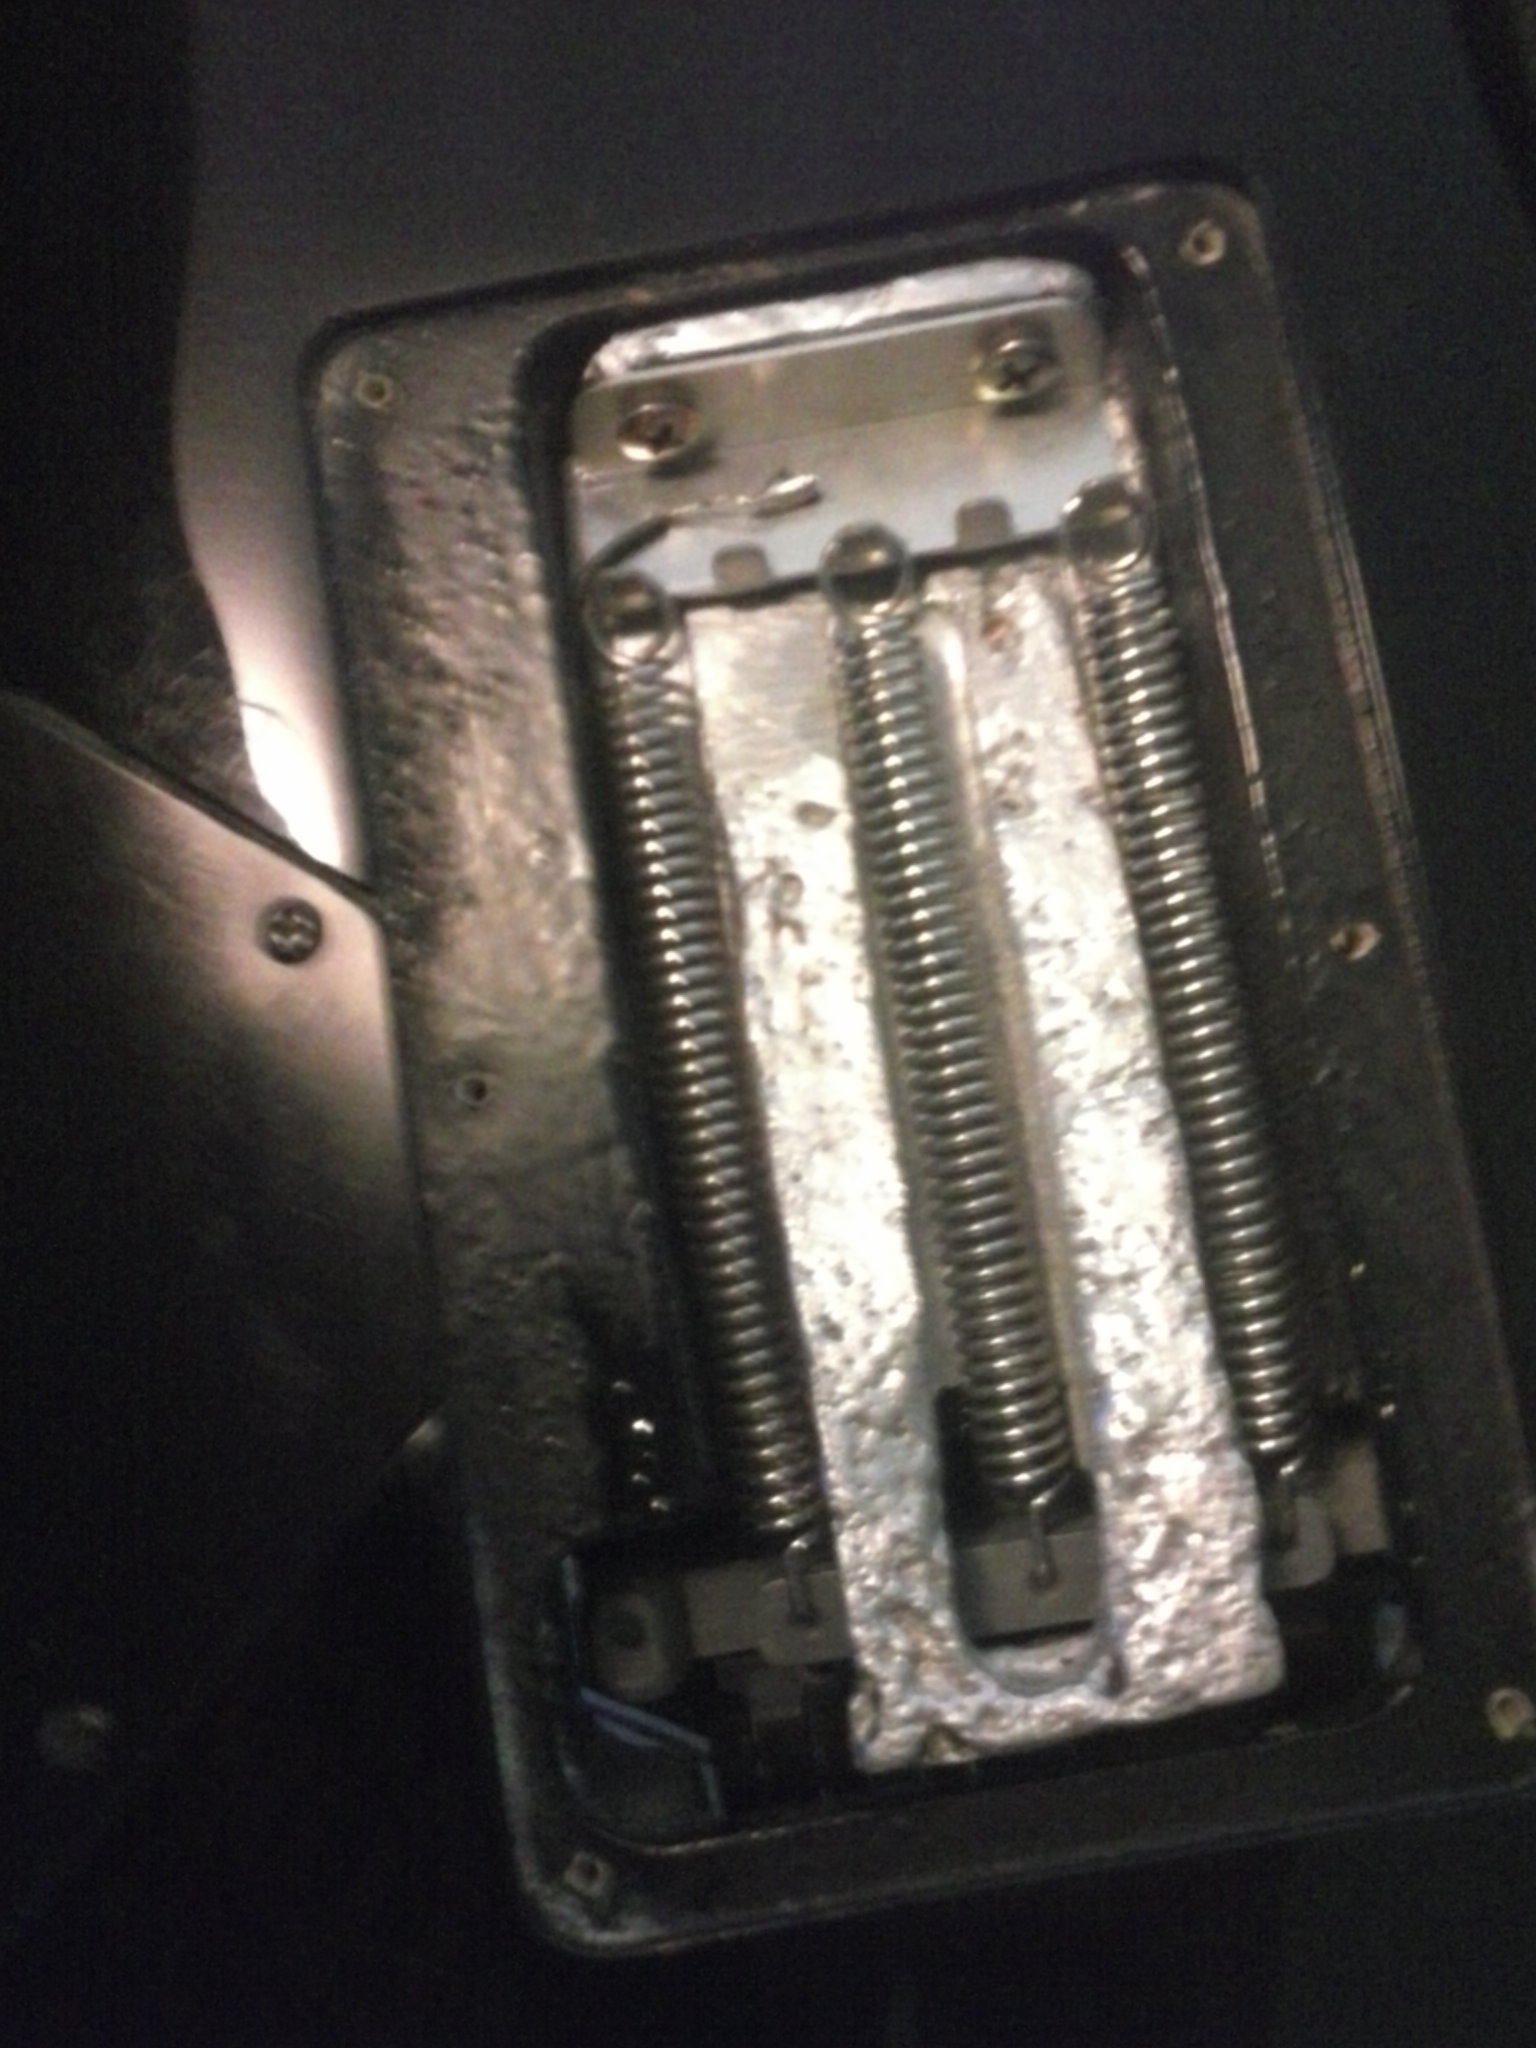
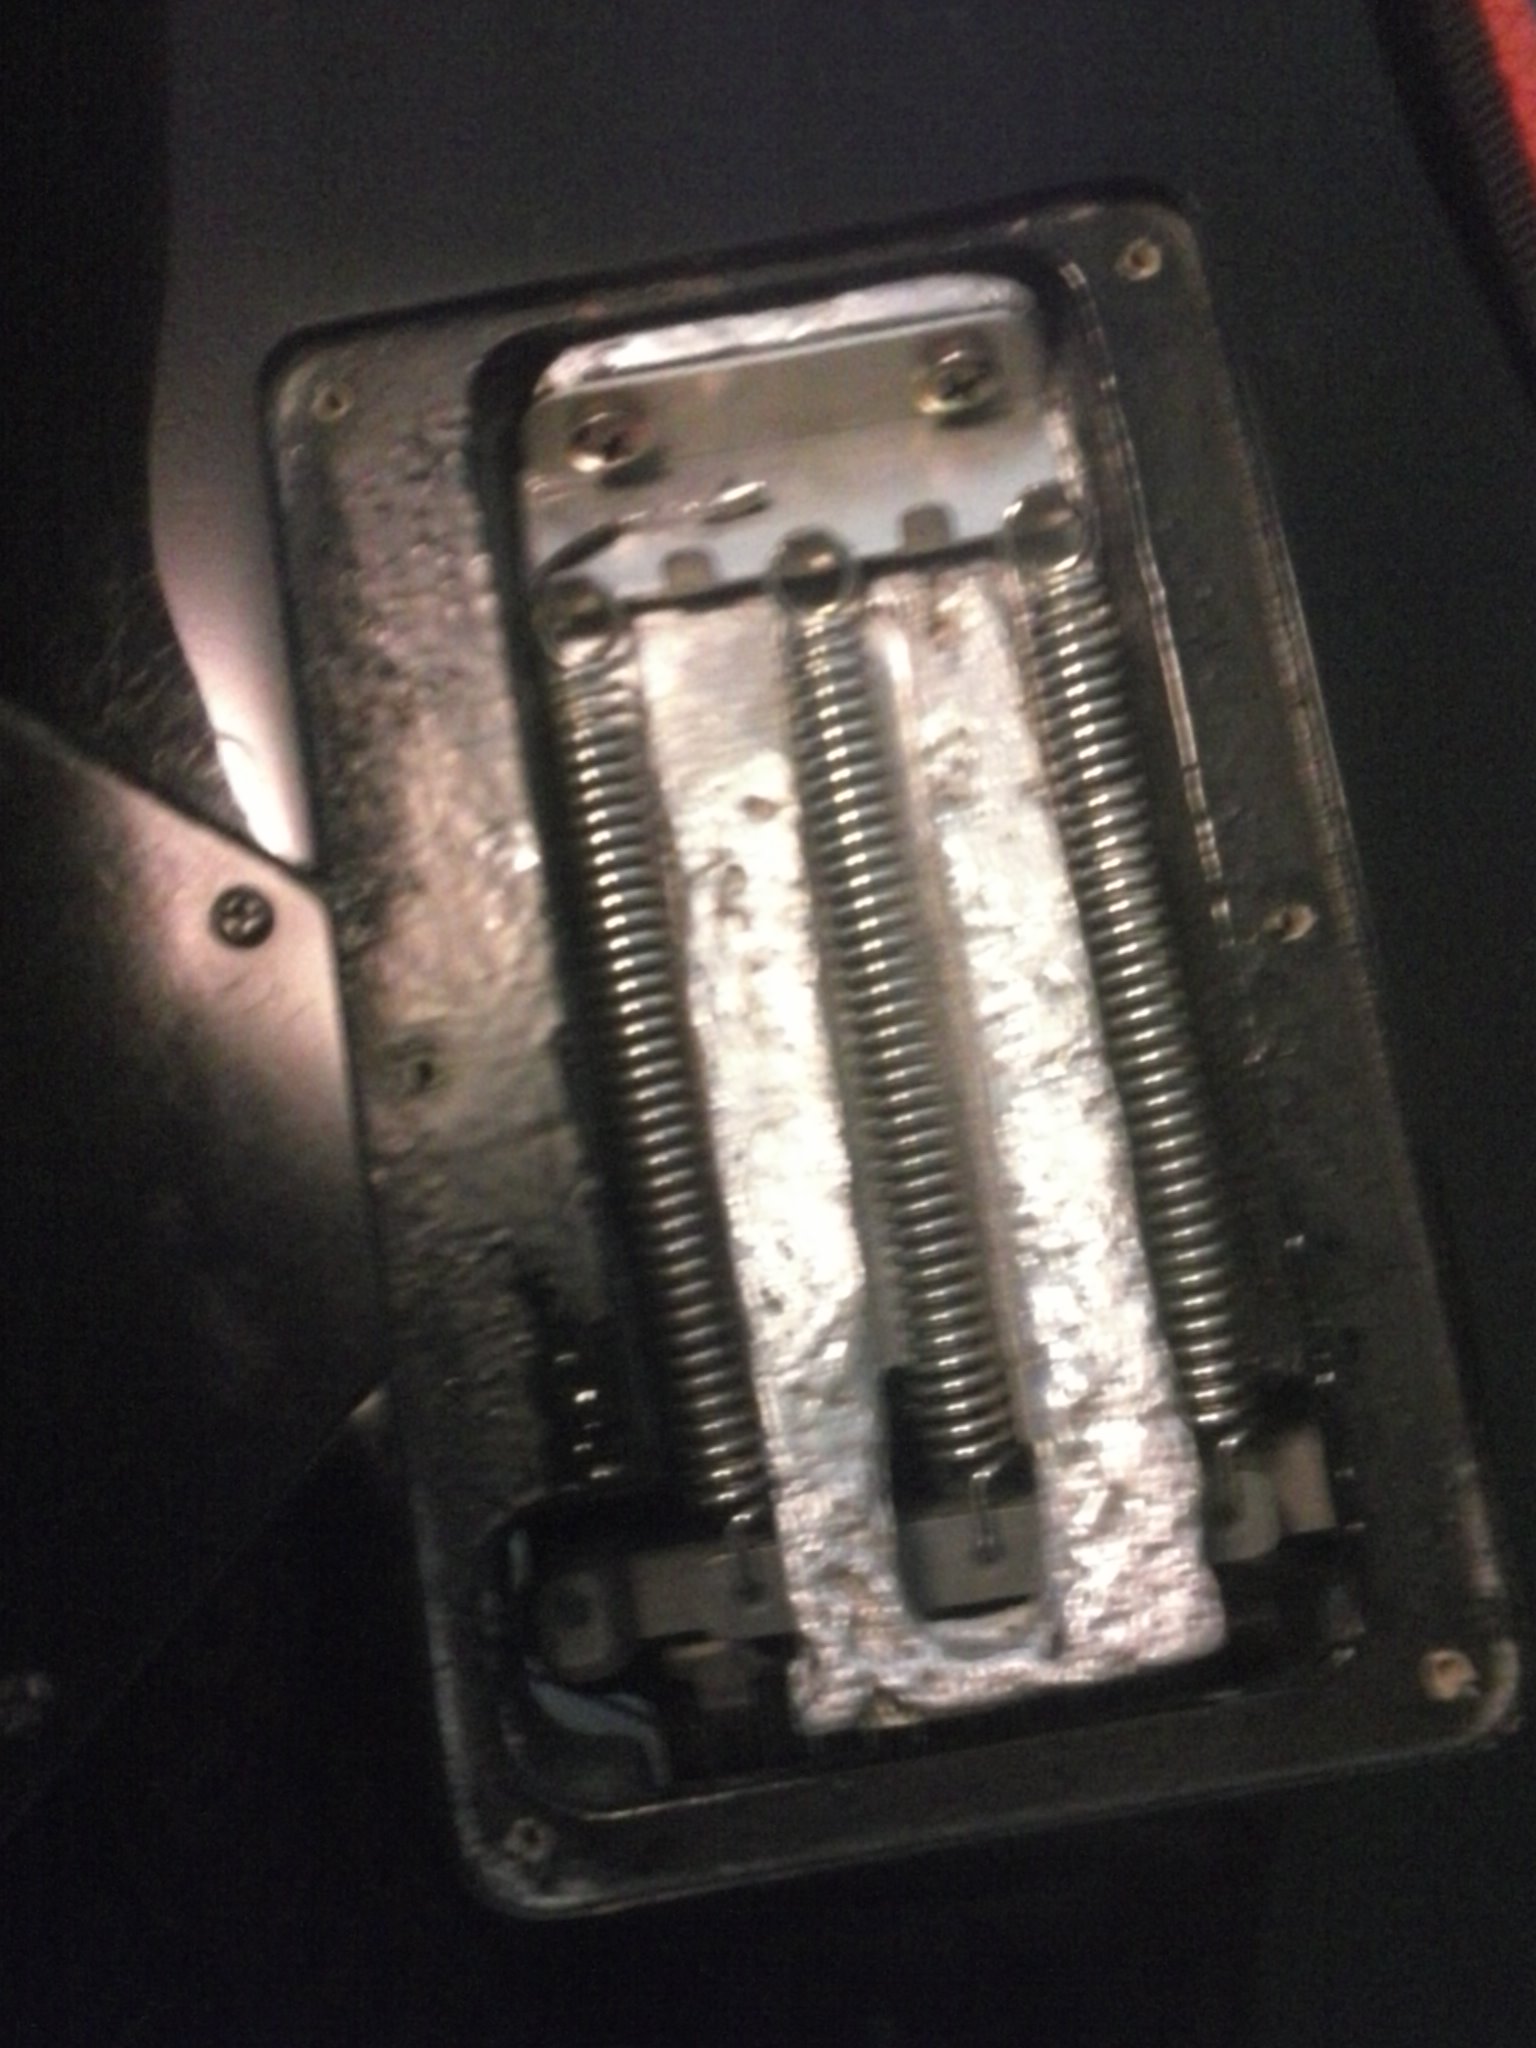
I wanted a part out of aluminum on my guitar to stop it from going out of tune as fast but still allow for the whammy bar to be used. So I designed a part and carved it out of some balsa wood.

Molding the Part

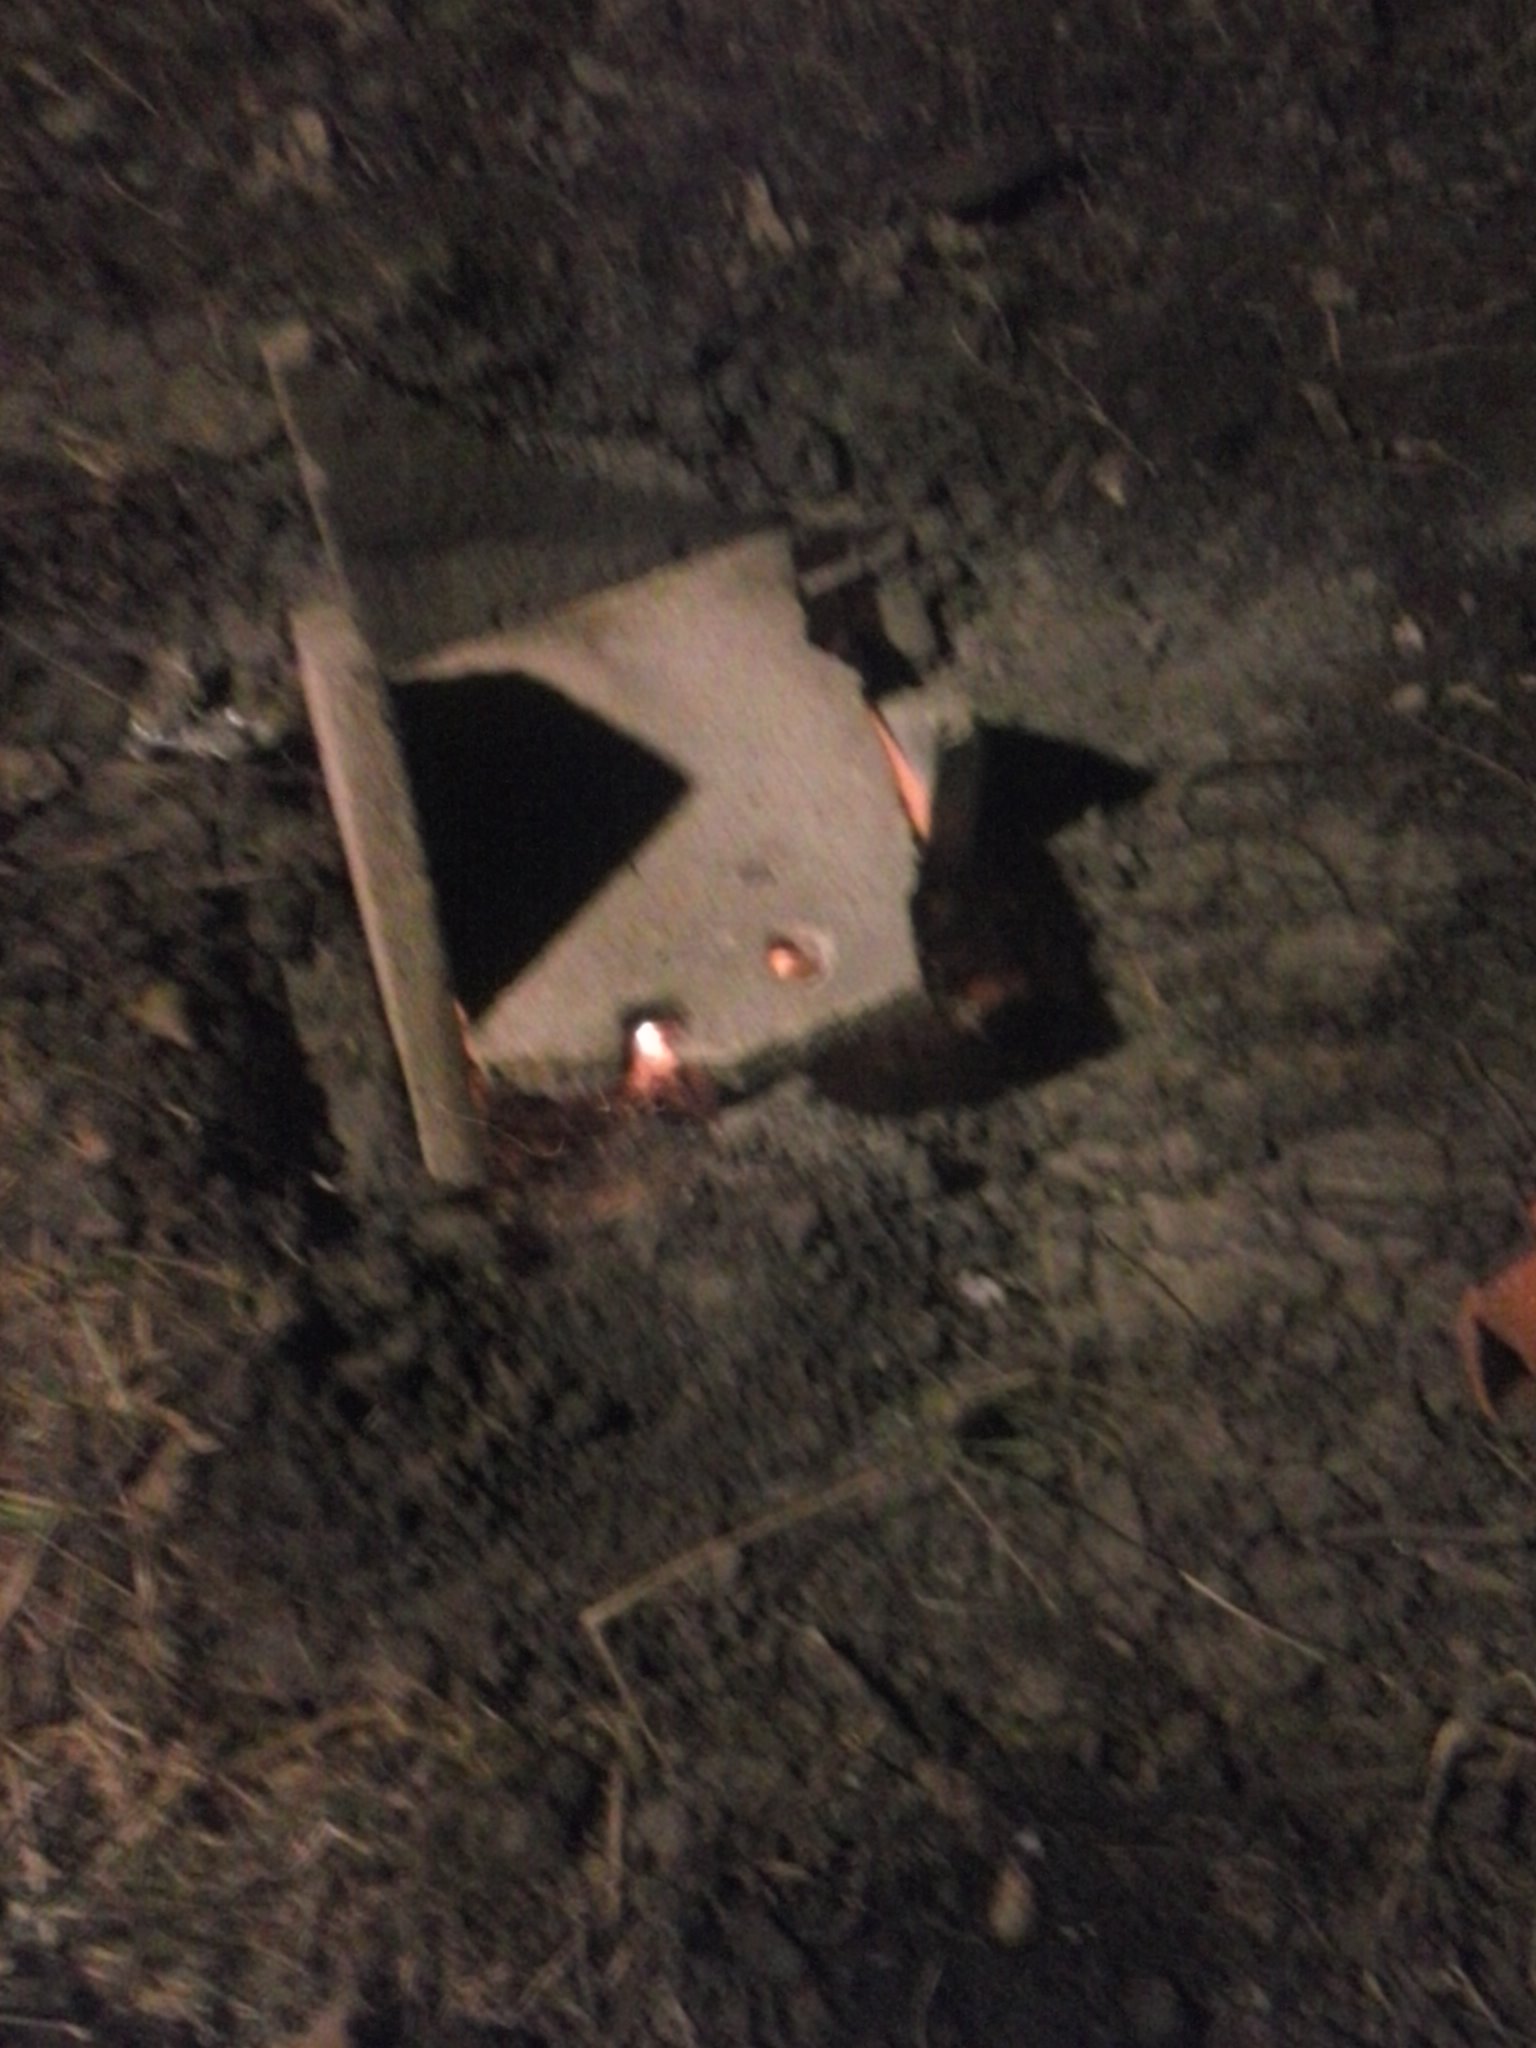
I used the green sand mixture in 2 halves to mold the part. I added some gates to let the aluminum in and out at the high parts.

Building the Forge

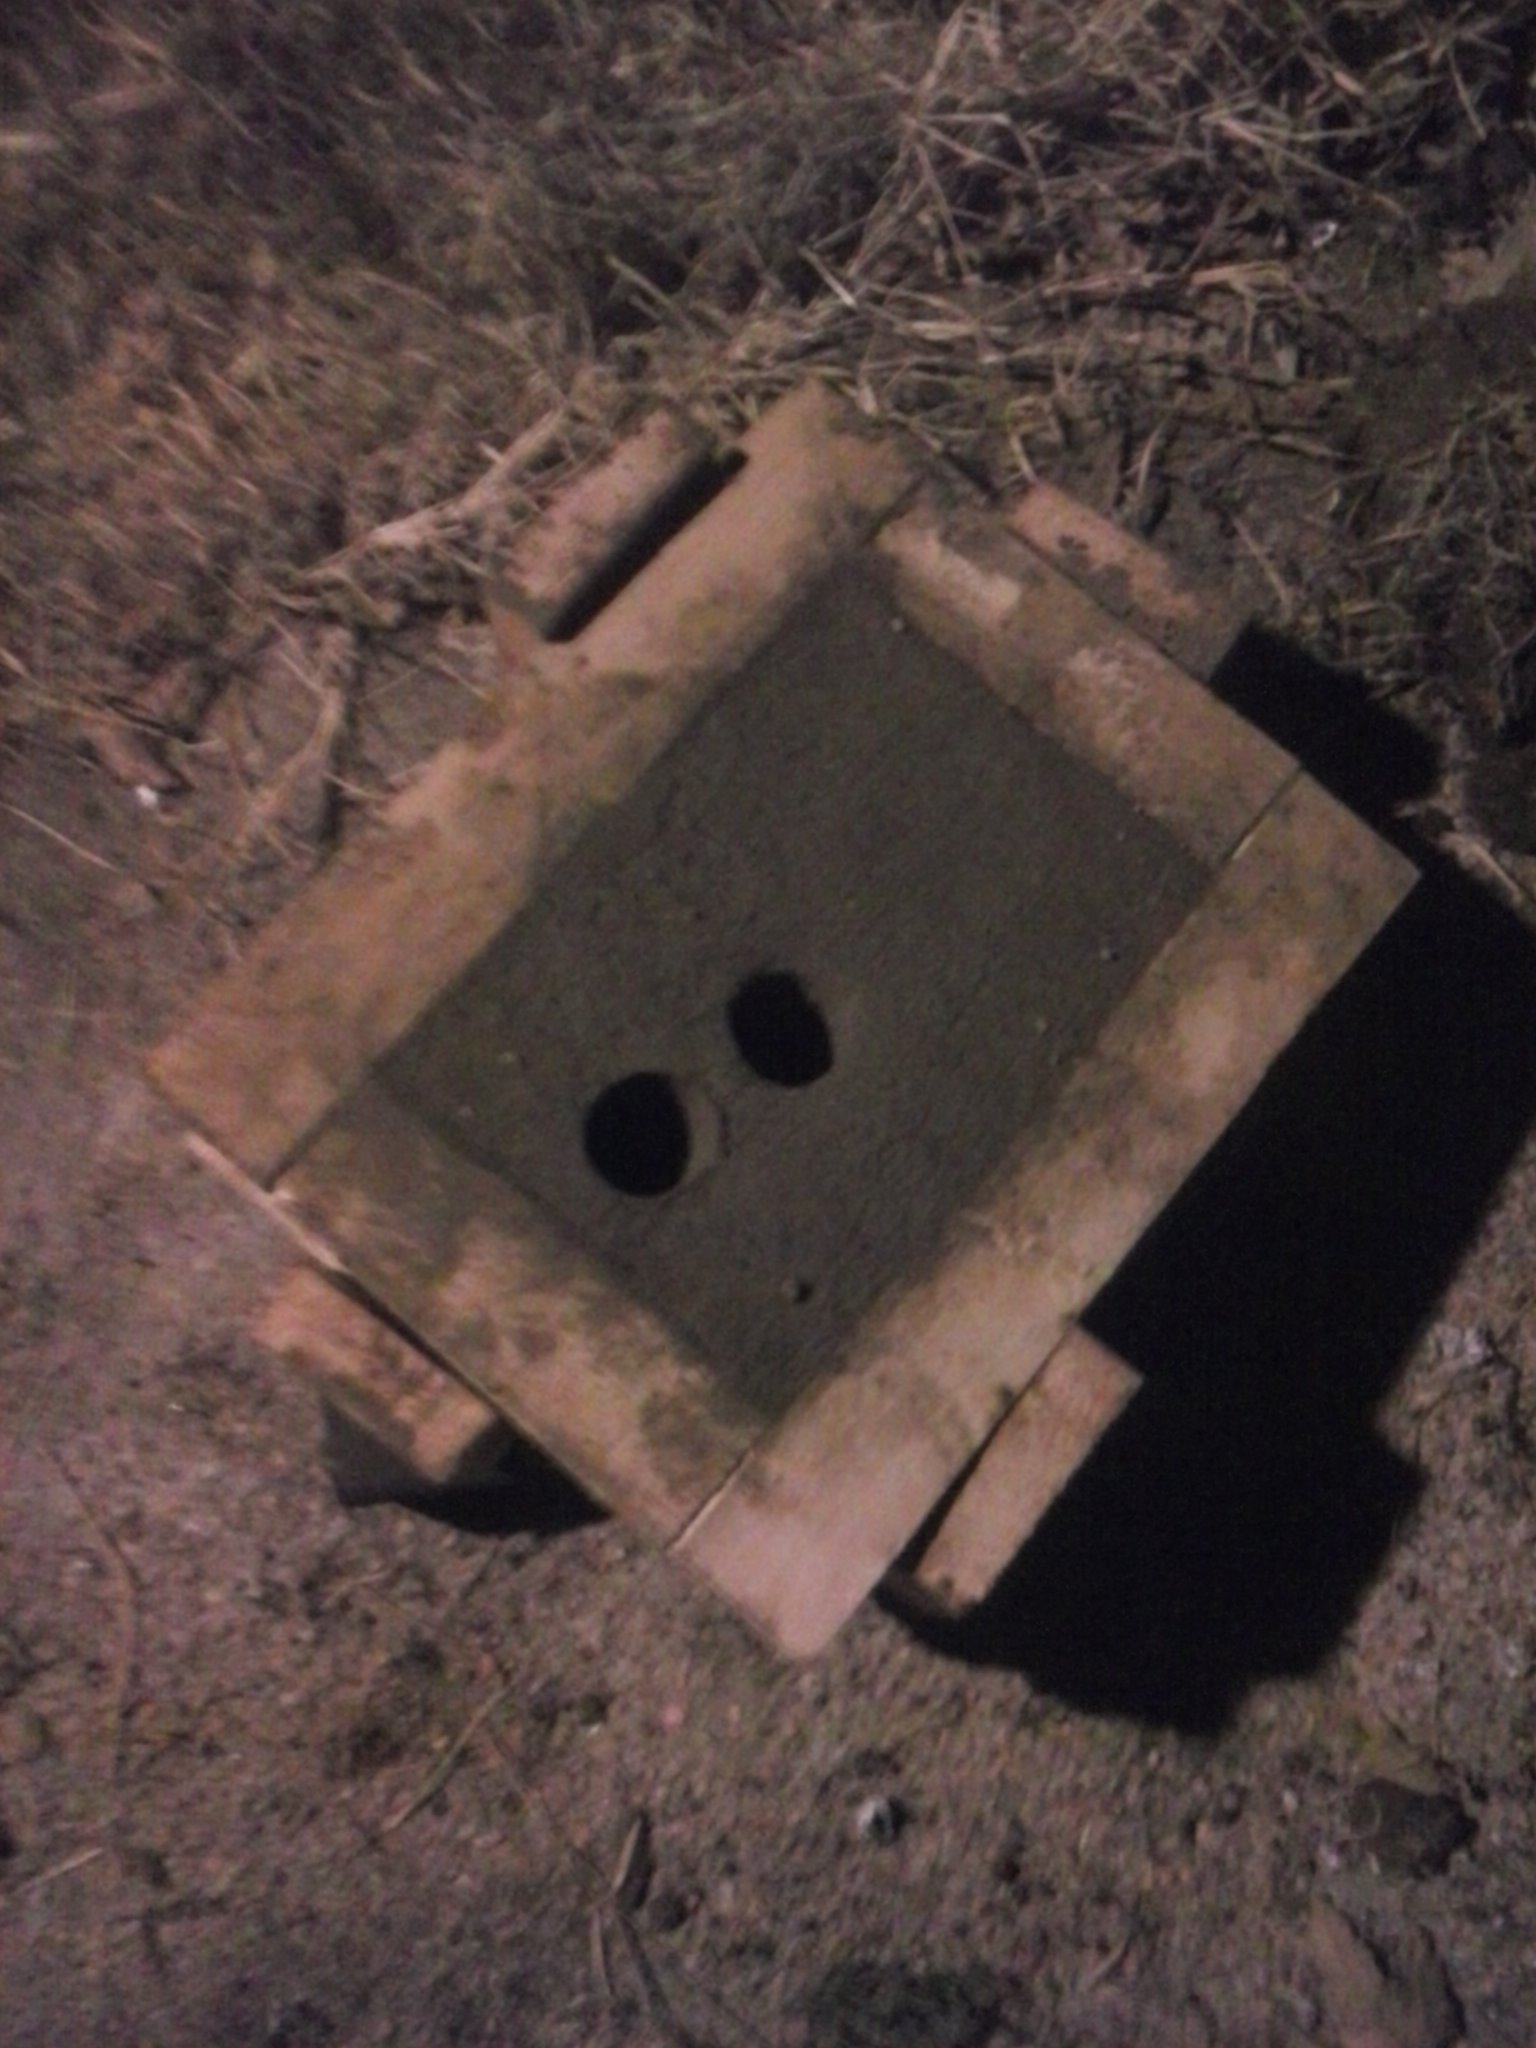
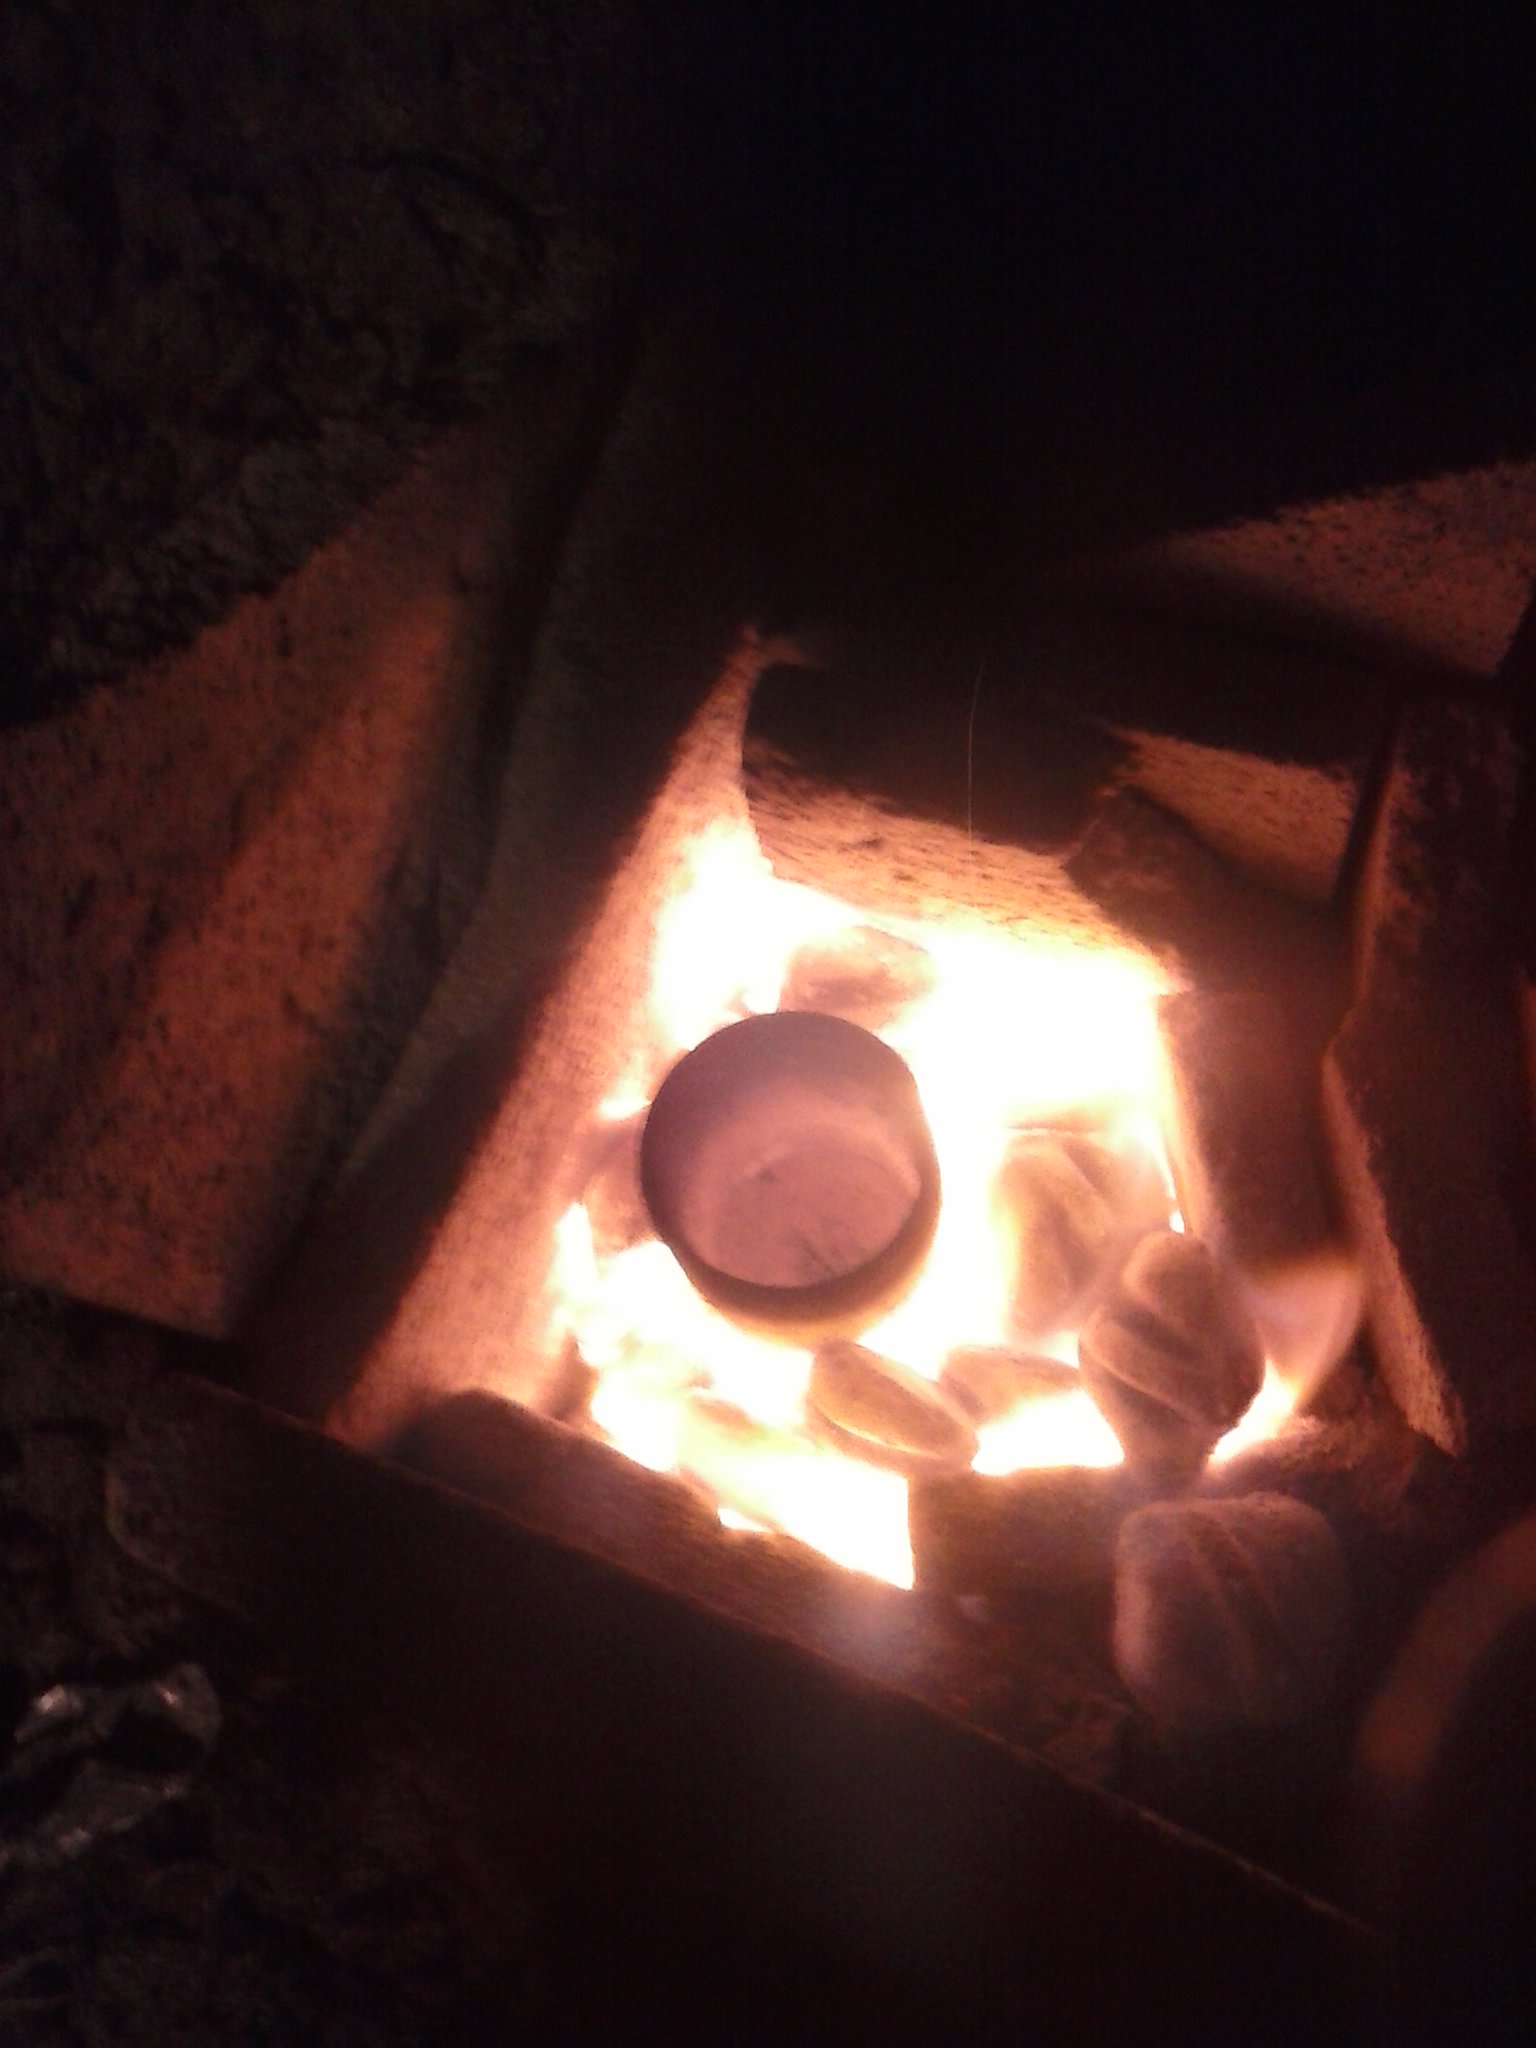
I set that asside and built the absolute jankiest hole in the ground forge you have ever seen. I had a steel crucible out of some pipe fittings and ran a tube to the bottom of the hole to connect a shop vac to.

Melting the Aluminum

I then filled the hole with charcoal and the crucible. I had some aluminum from cans and a rain gutter. I fired it up and started melting everything down. Occasionally I would add some borax flux and remove the draught.

Casting

Once everything was hot and I thought I had enough aluminum I brought the casting over. Not sure how it was done, but somehow I got the crucible out and filled up the mold.

Results

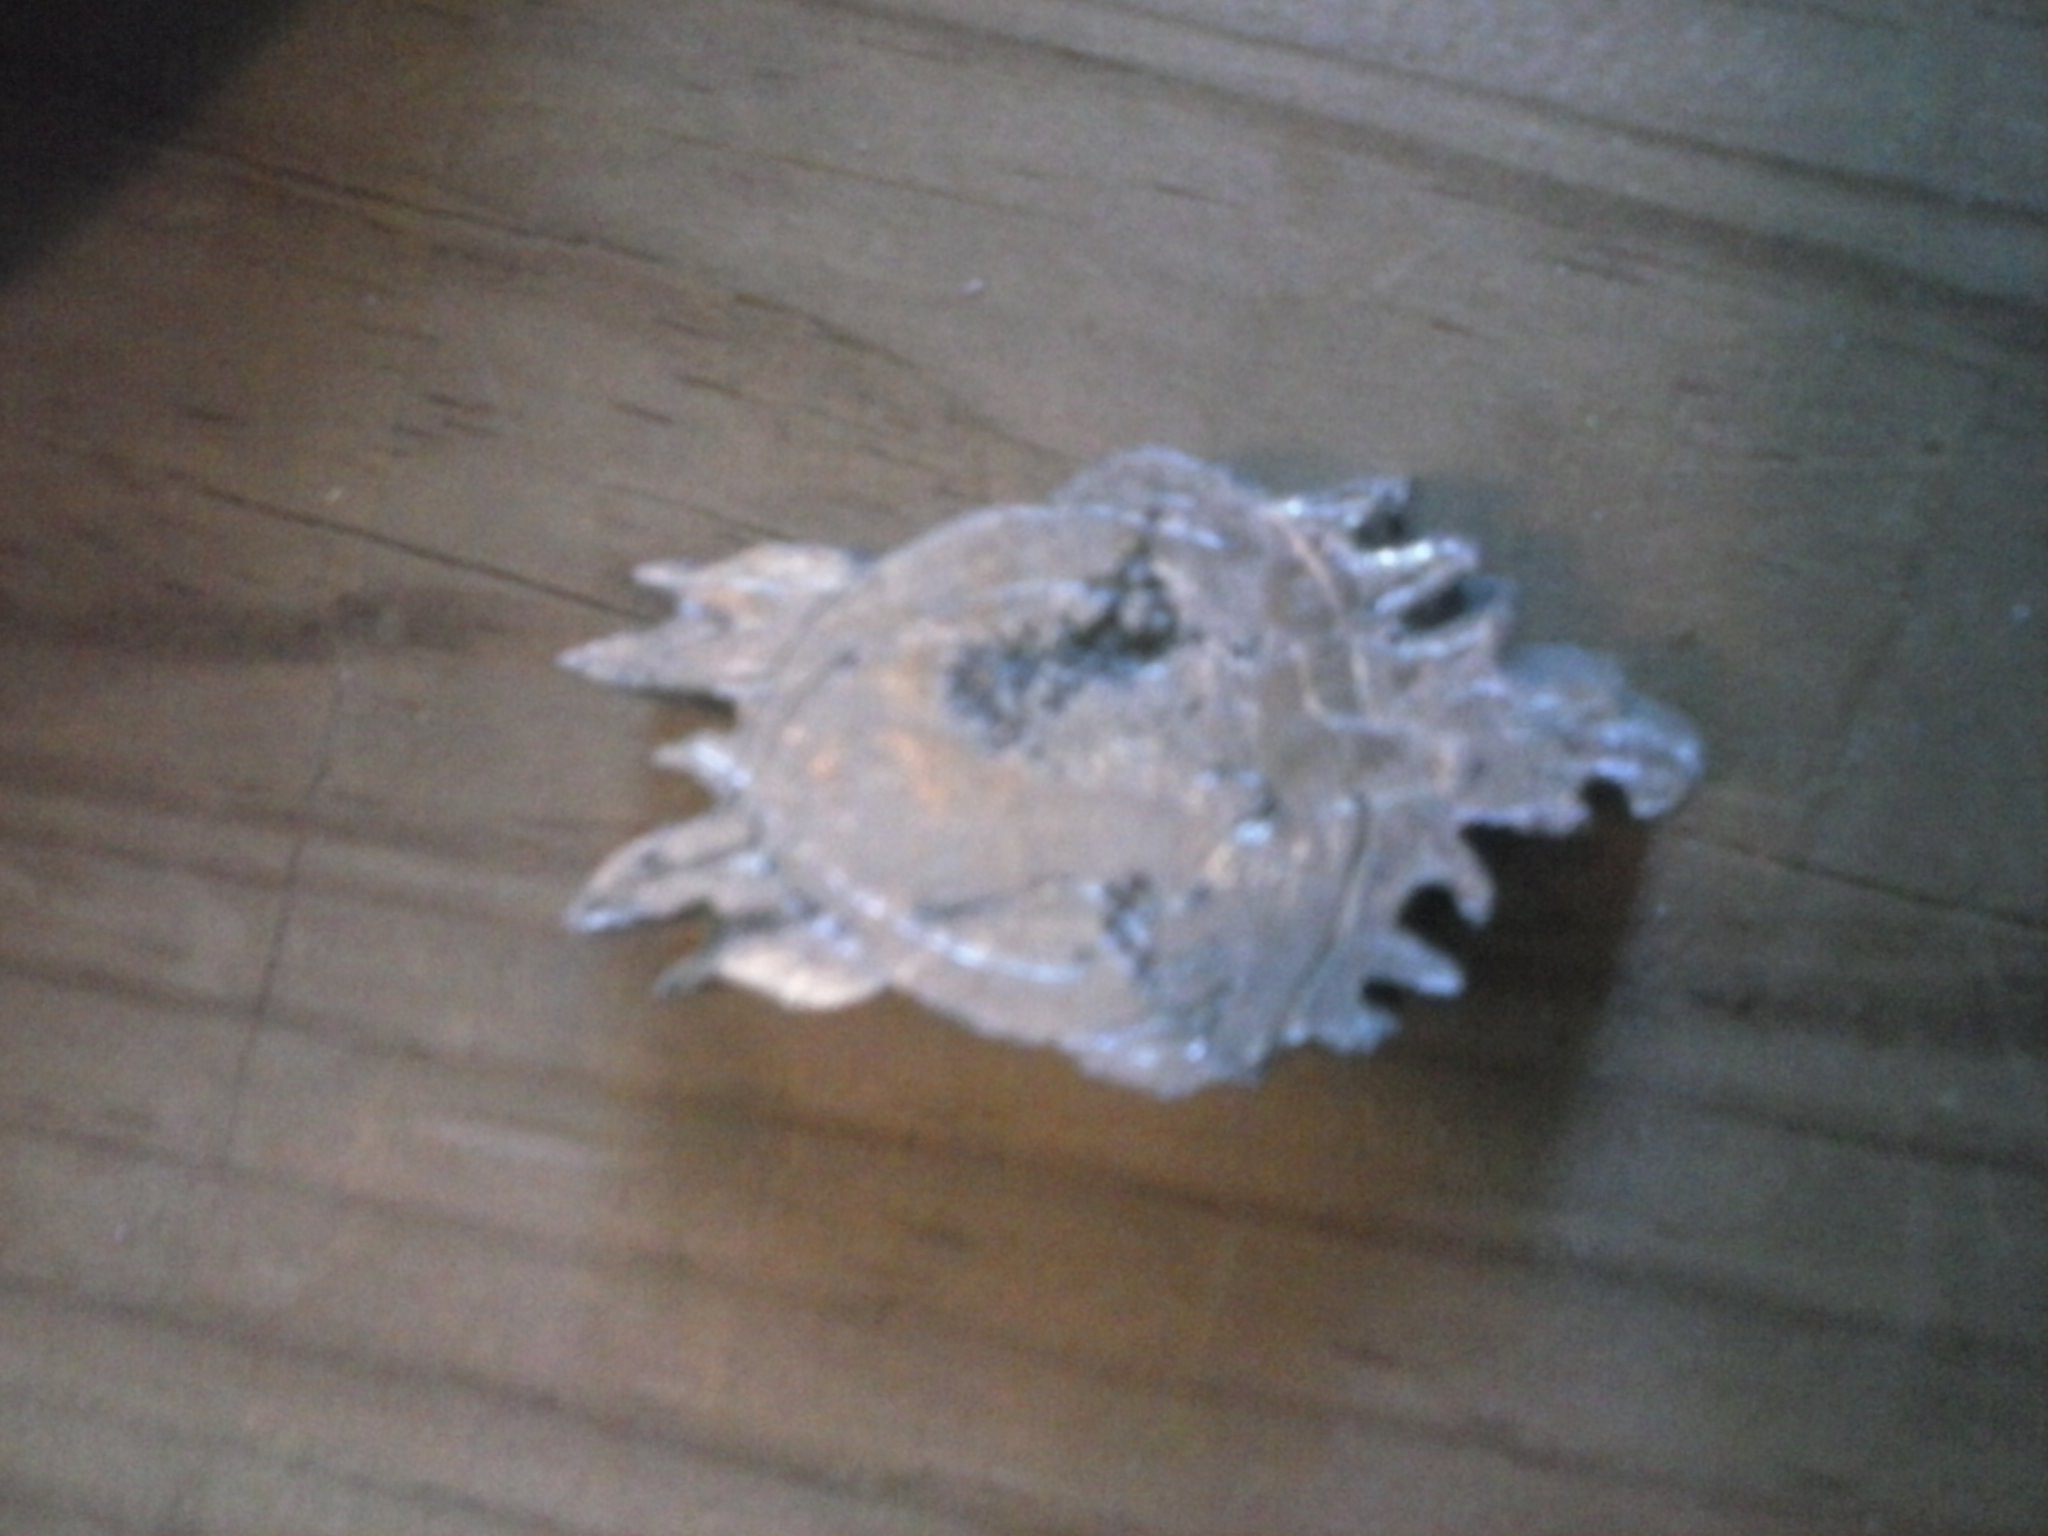
It didn't turn out great but it did do what I wanted it to. There was a little post-processing done on it to get final finish a bit better.

Finishing Touches

I drilled some holes and tried to file it down a bit. It was mostly to fit it cleanly into the back of my guitar without interfering with the whammy bar.

Lessons Learned

Really I should have added better gating because as you will see there are a lot of voids on the part.

Image
Image
Image
Image
Image

Aluminum Carving

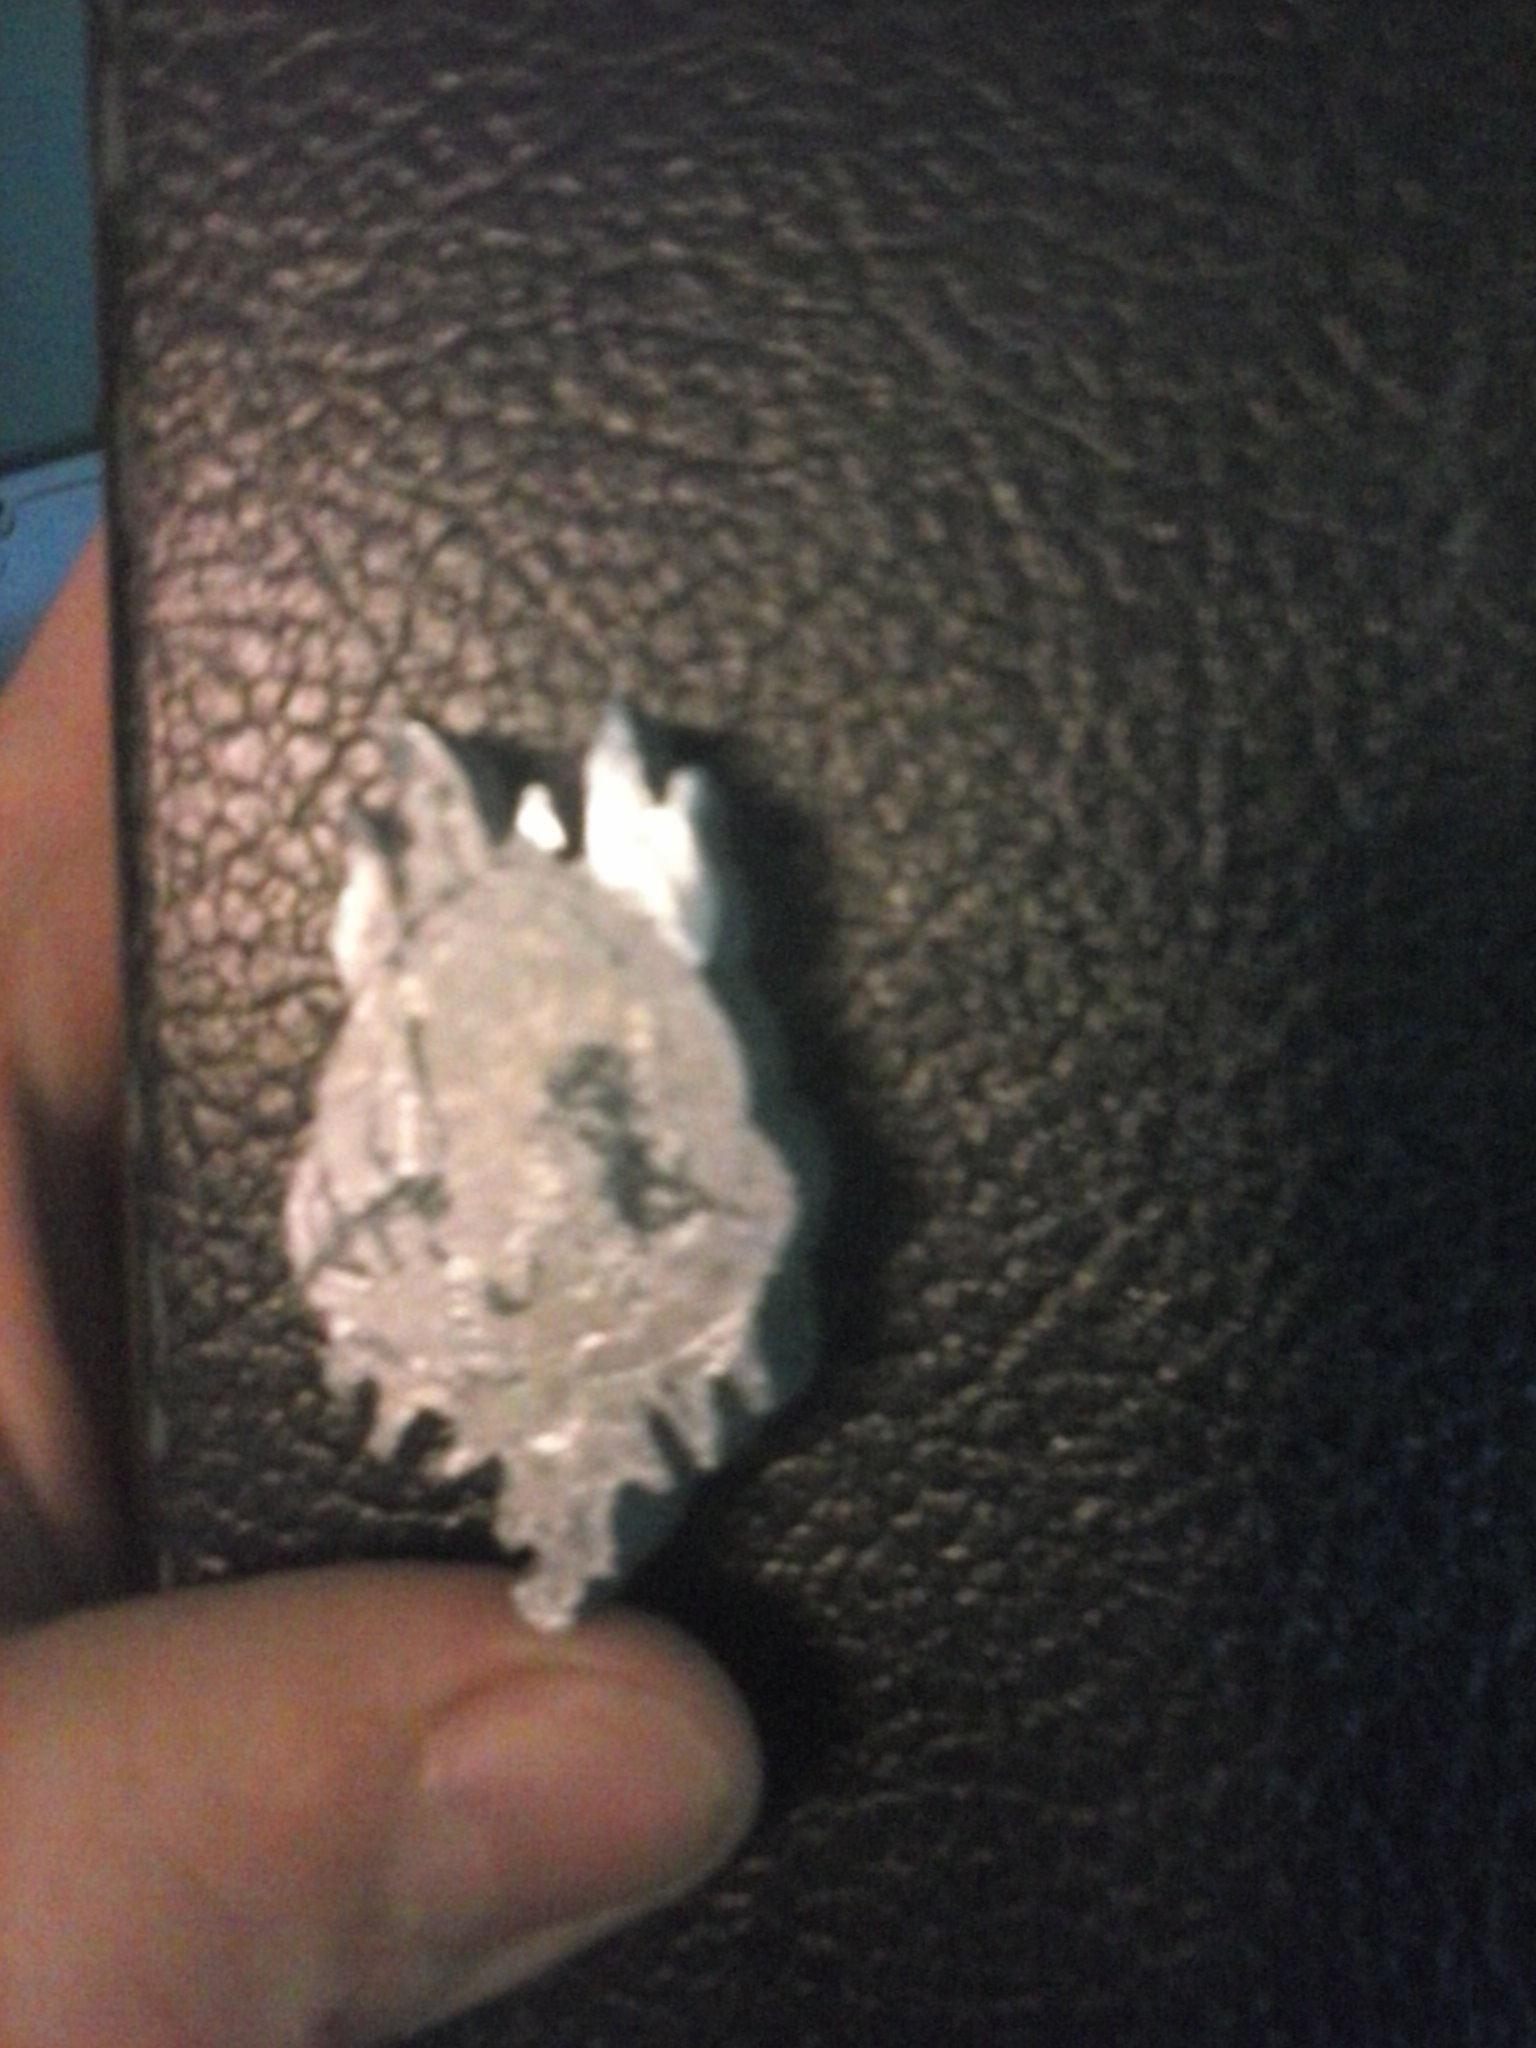
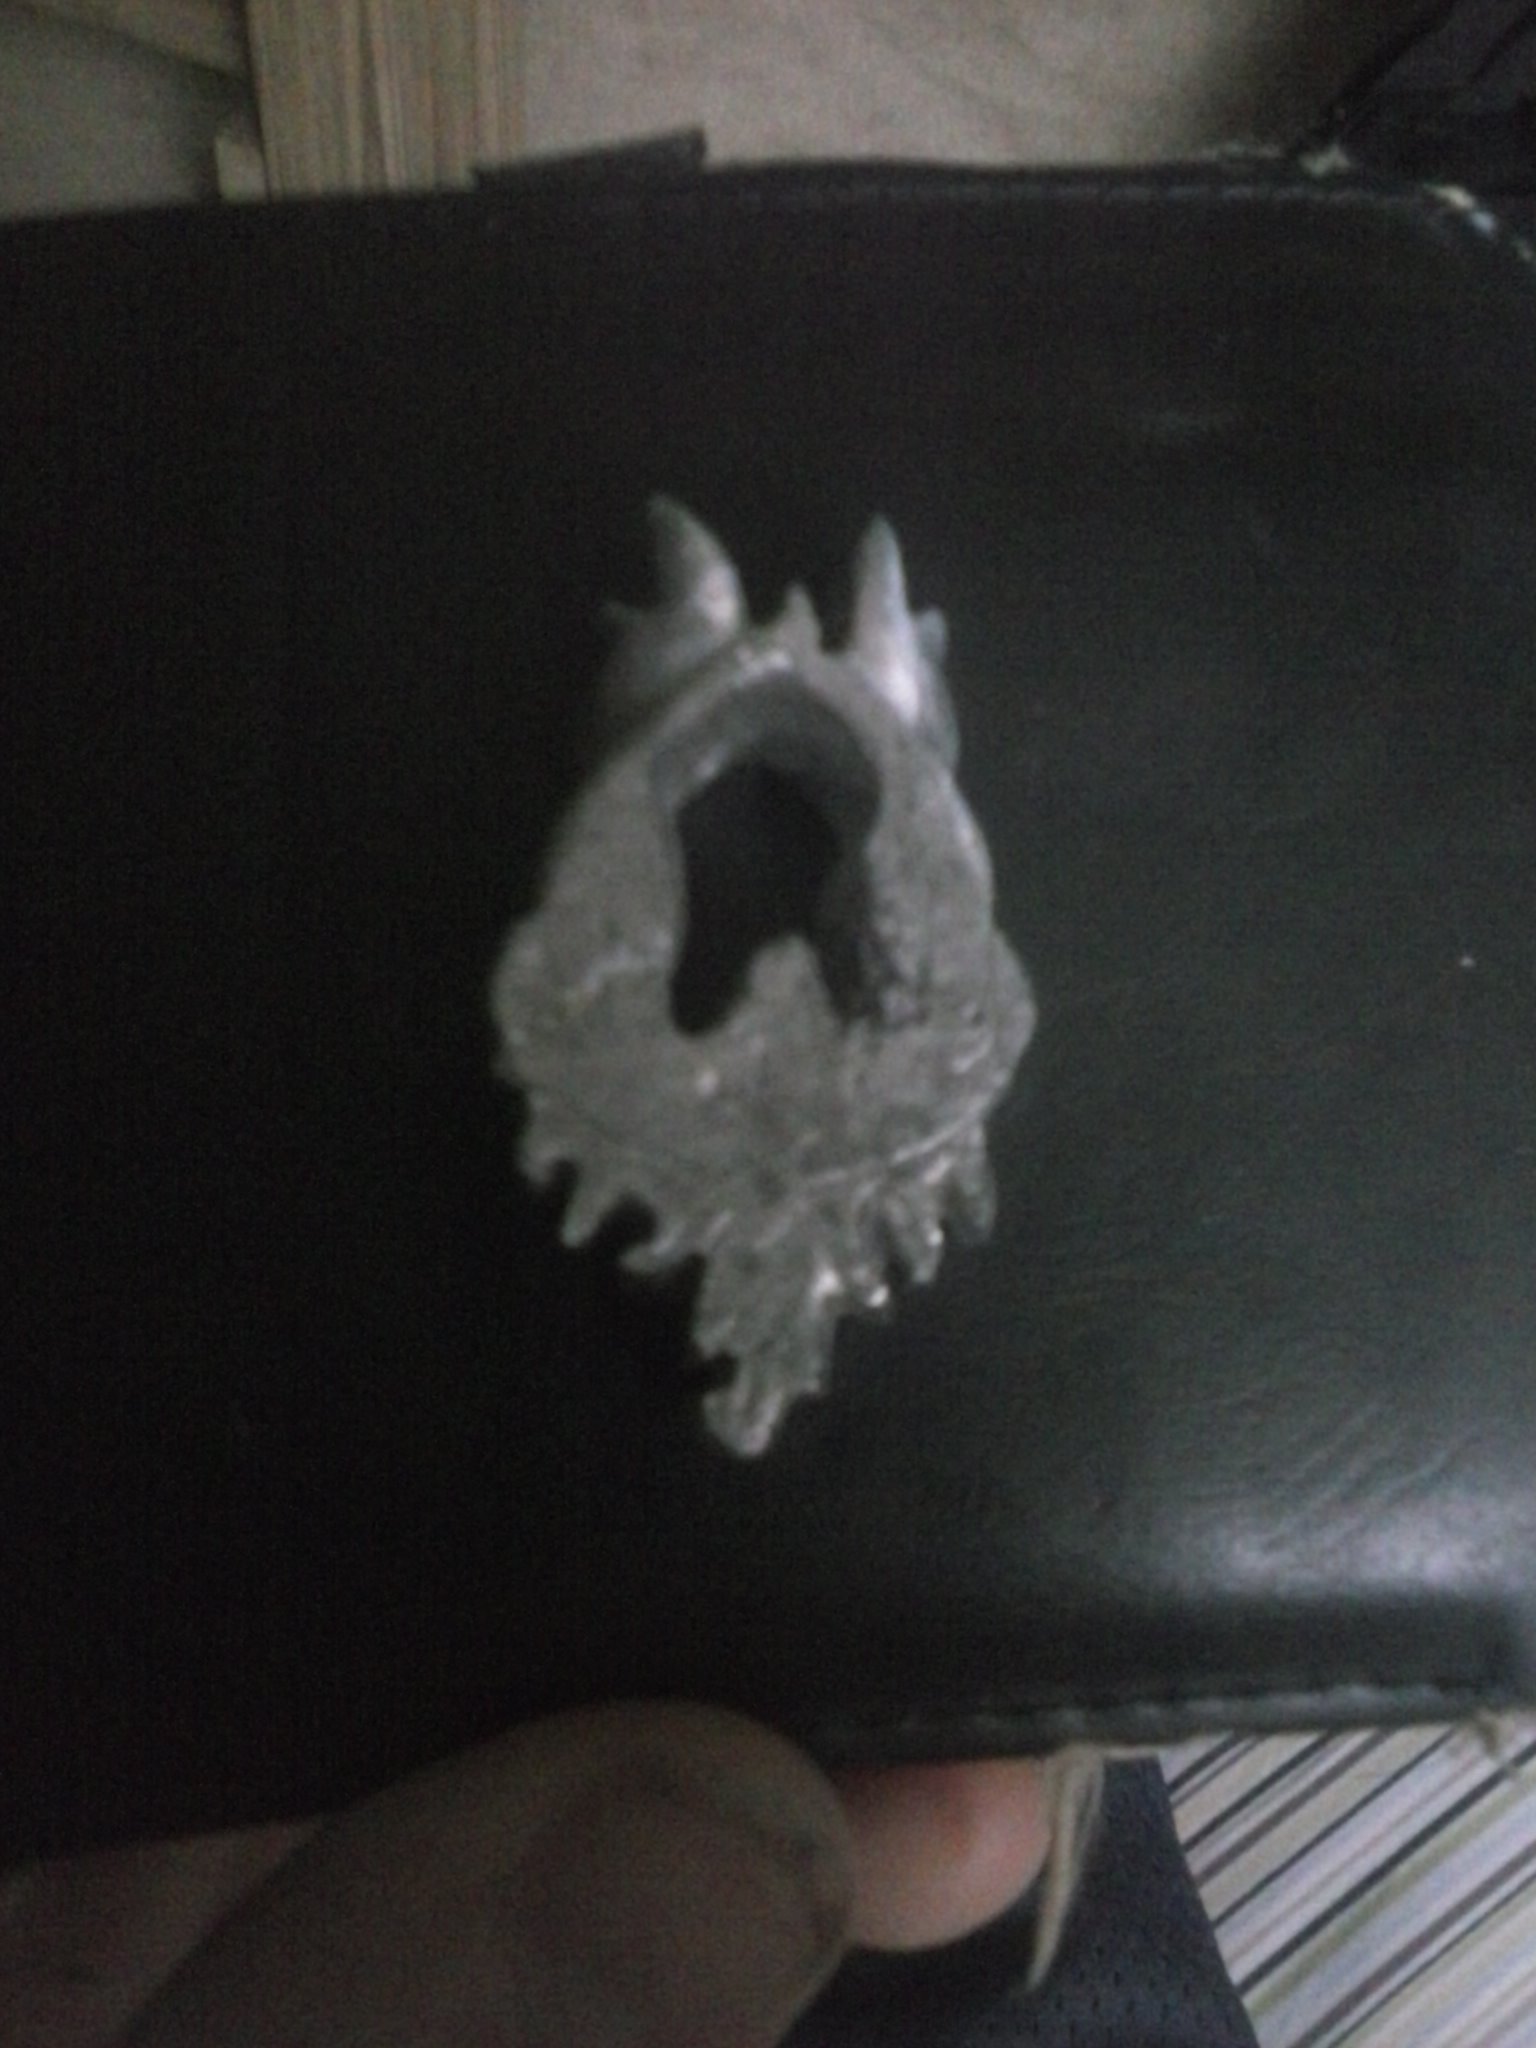
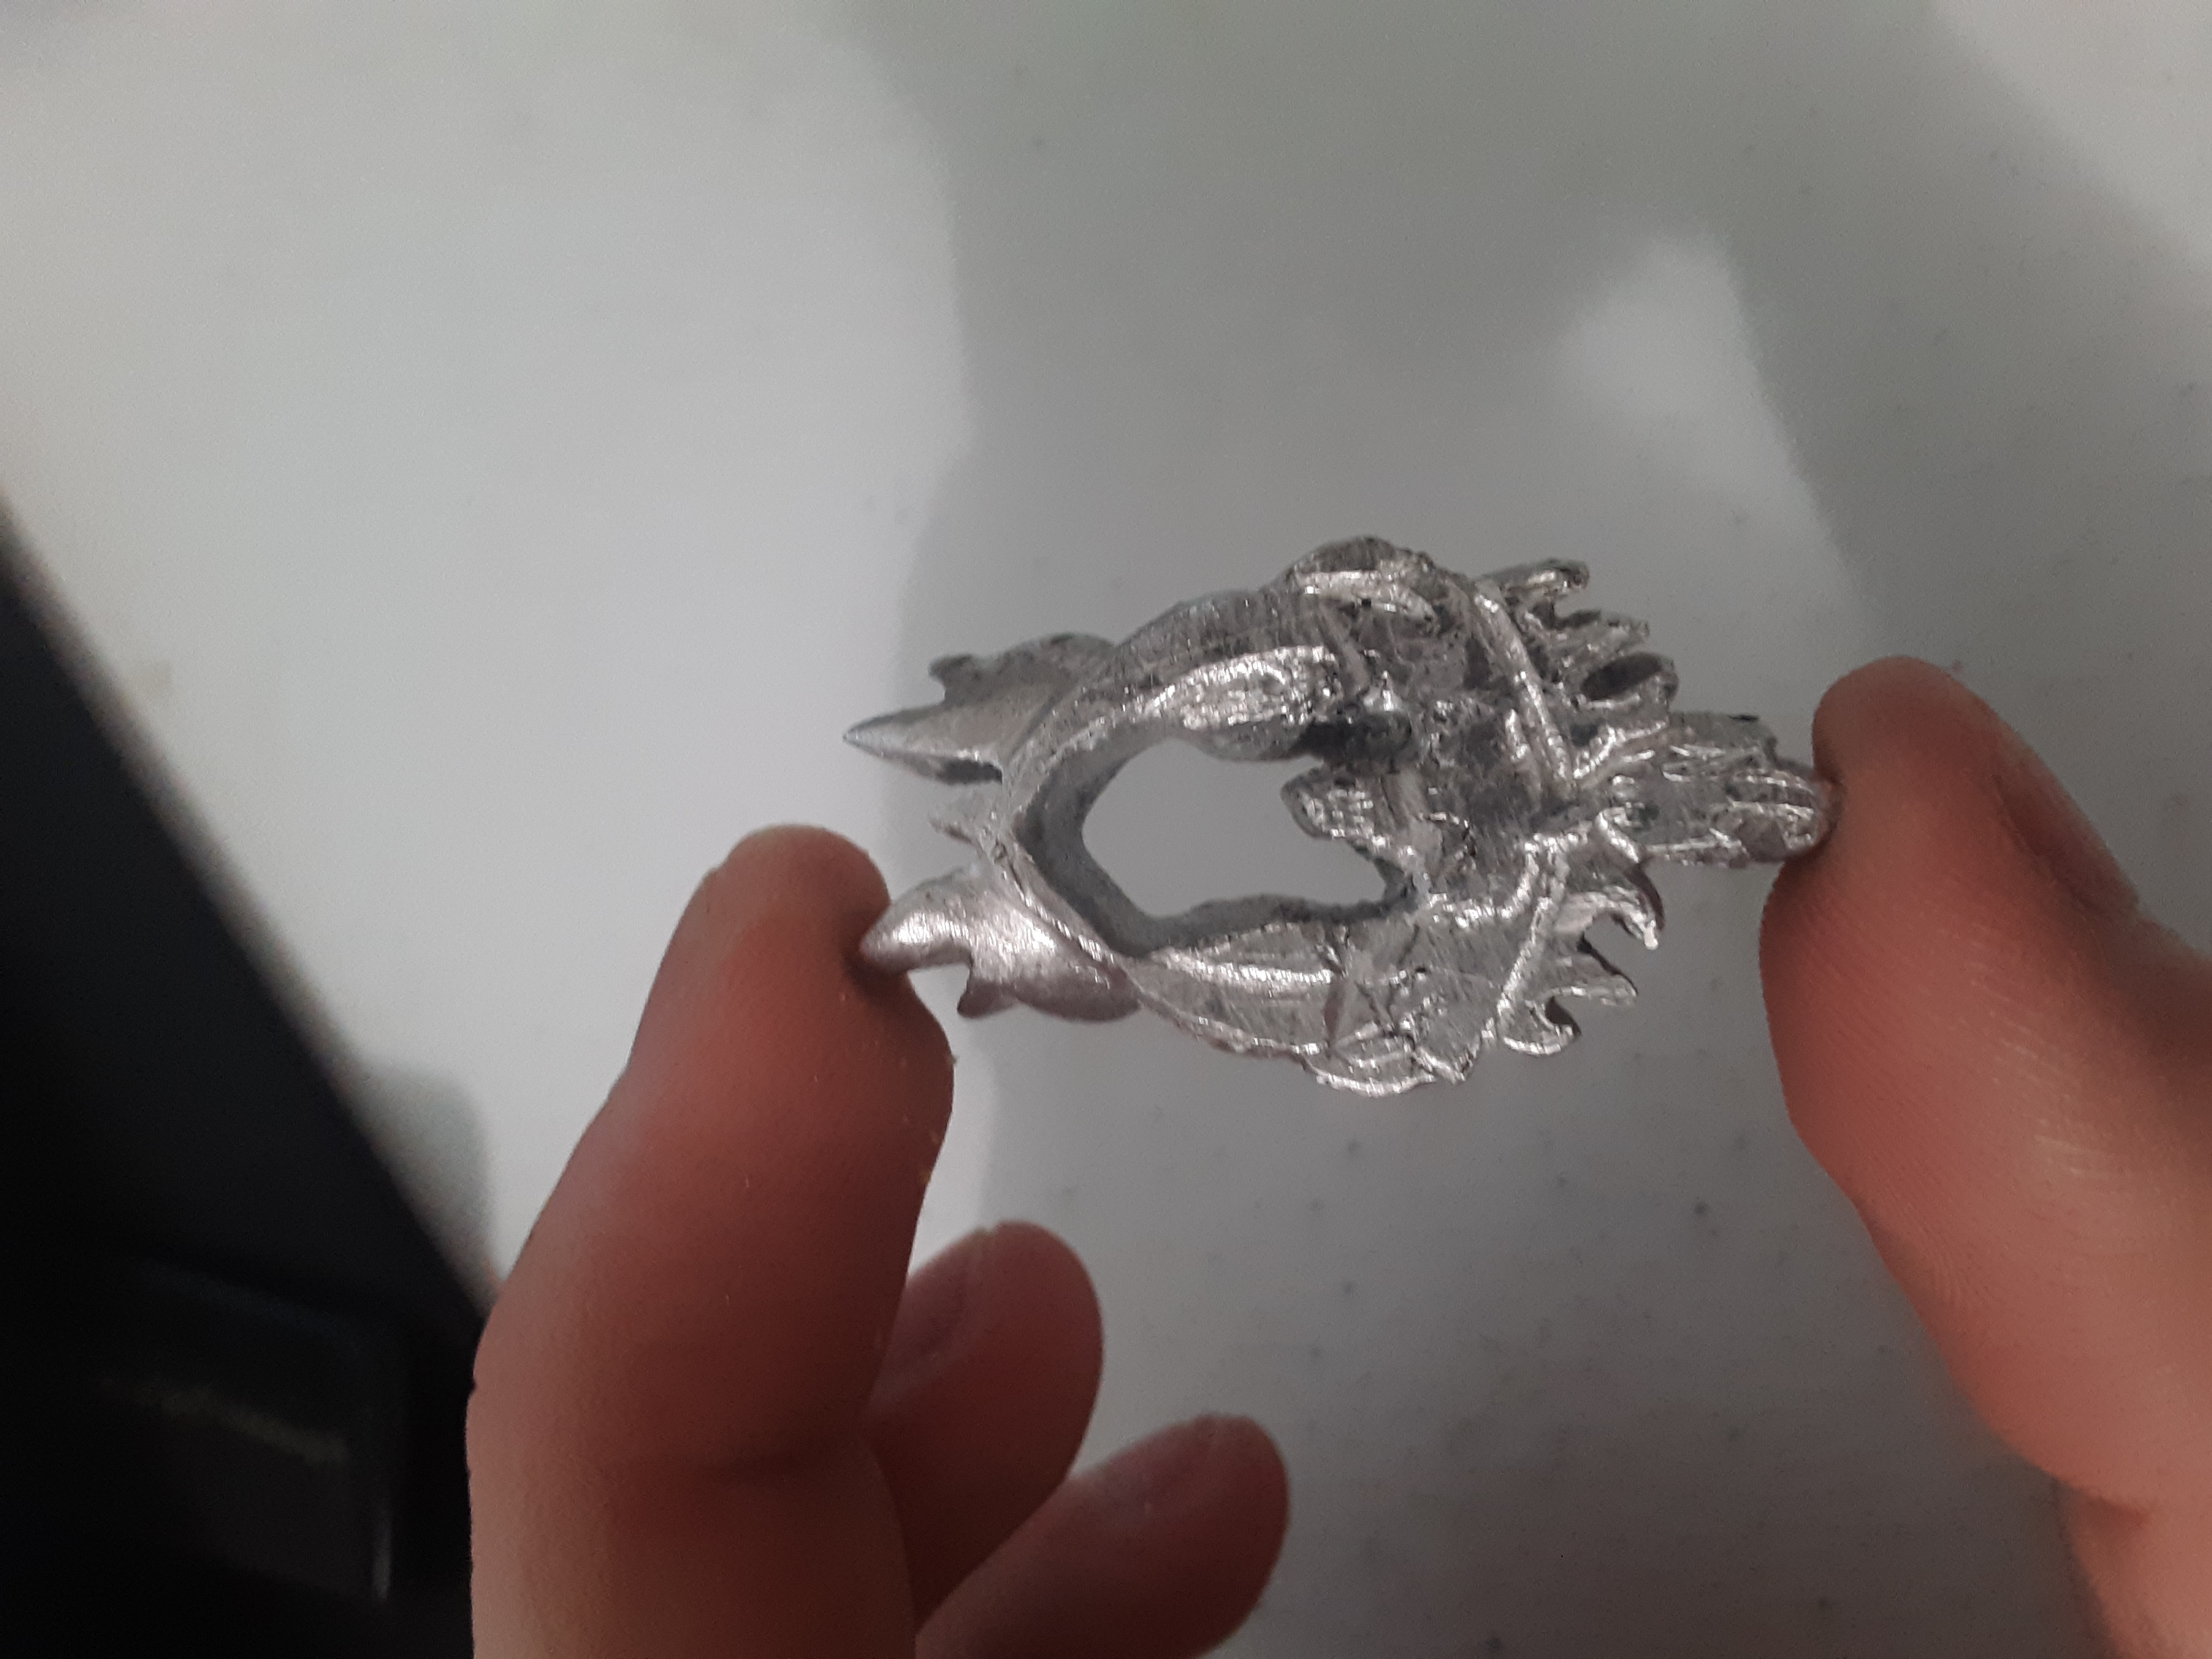
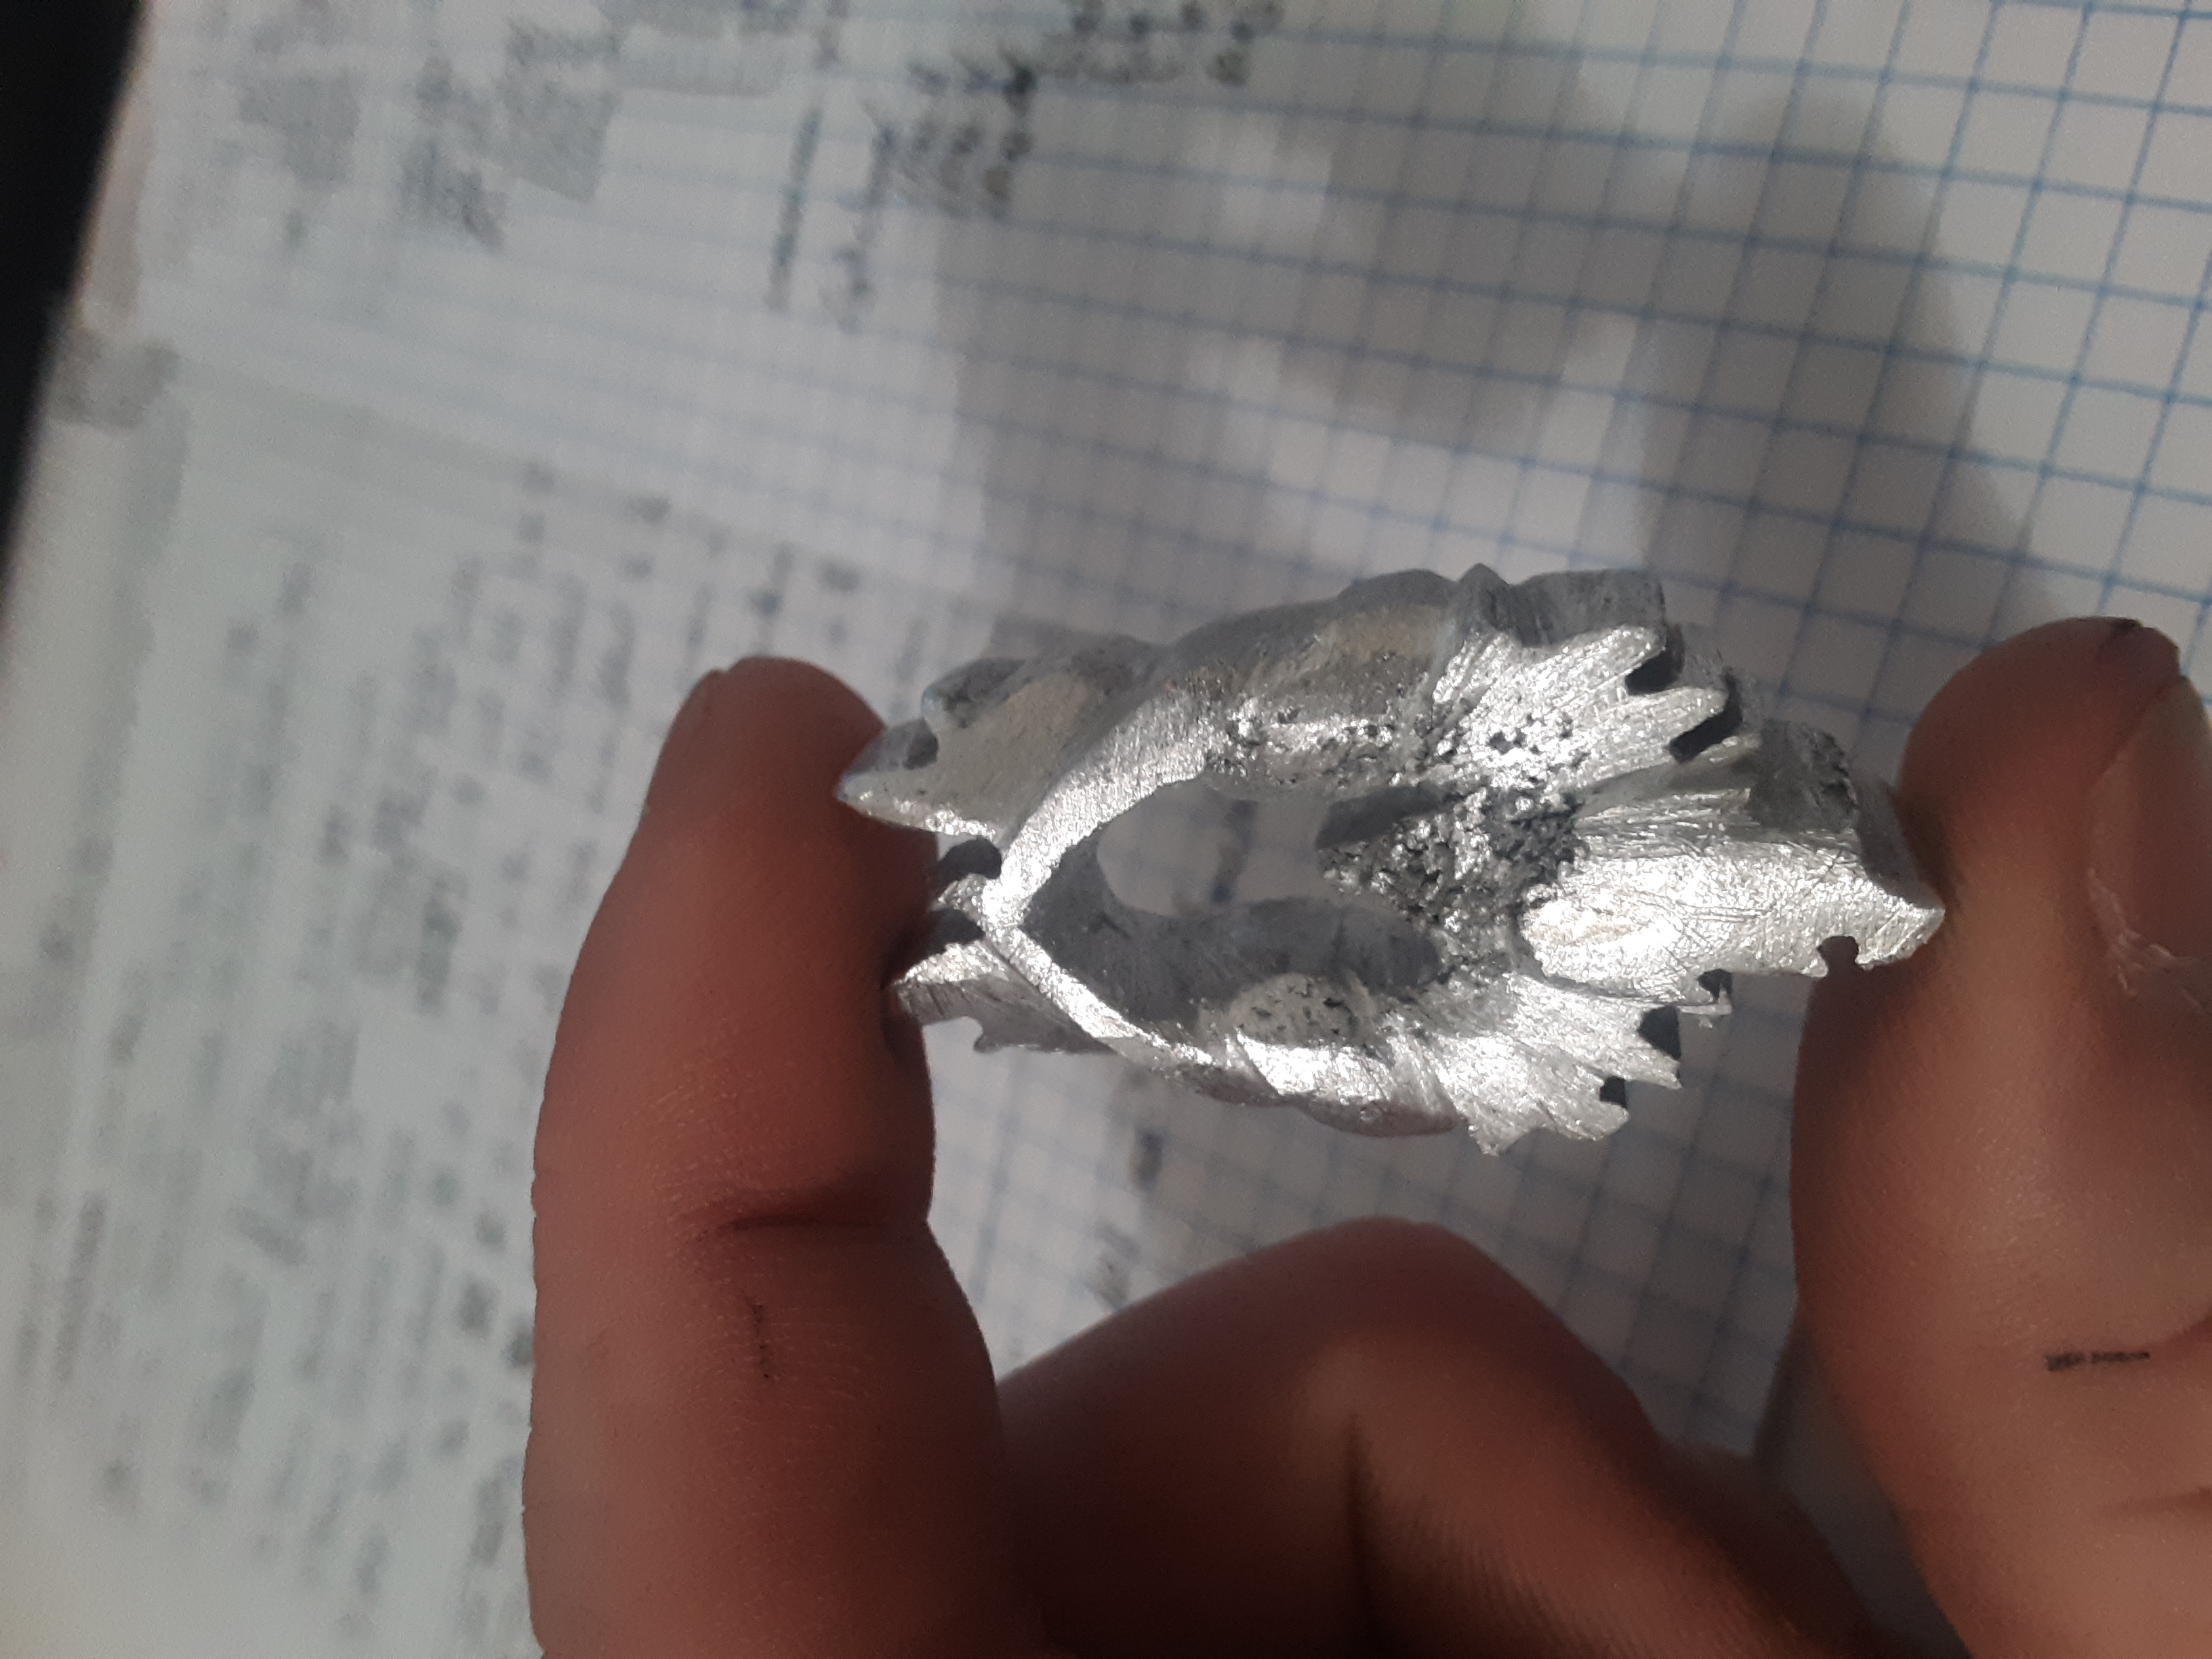
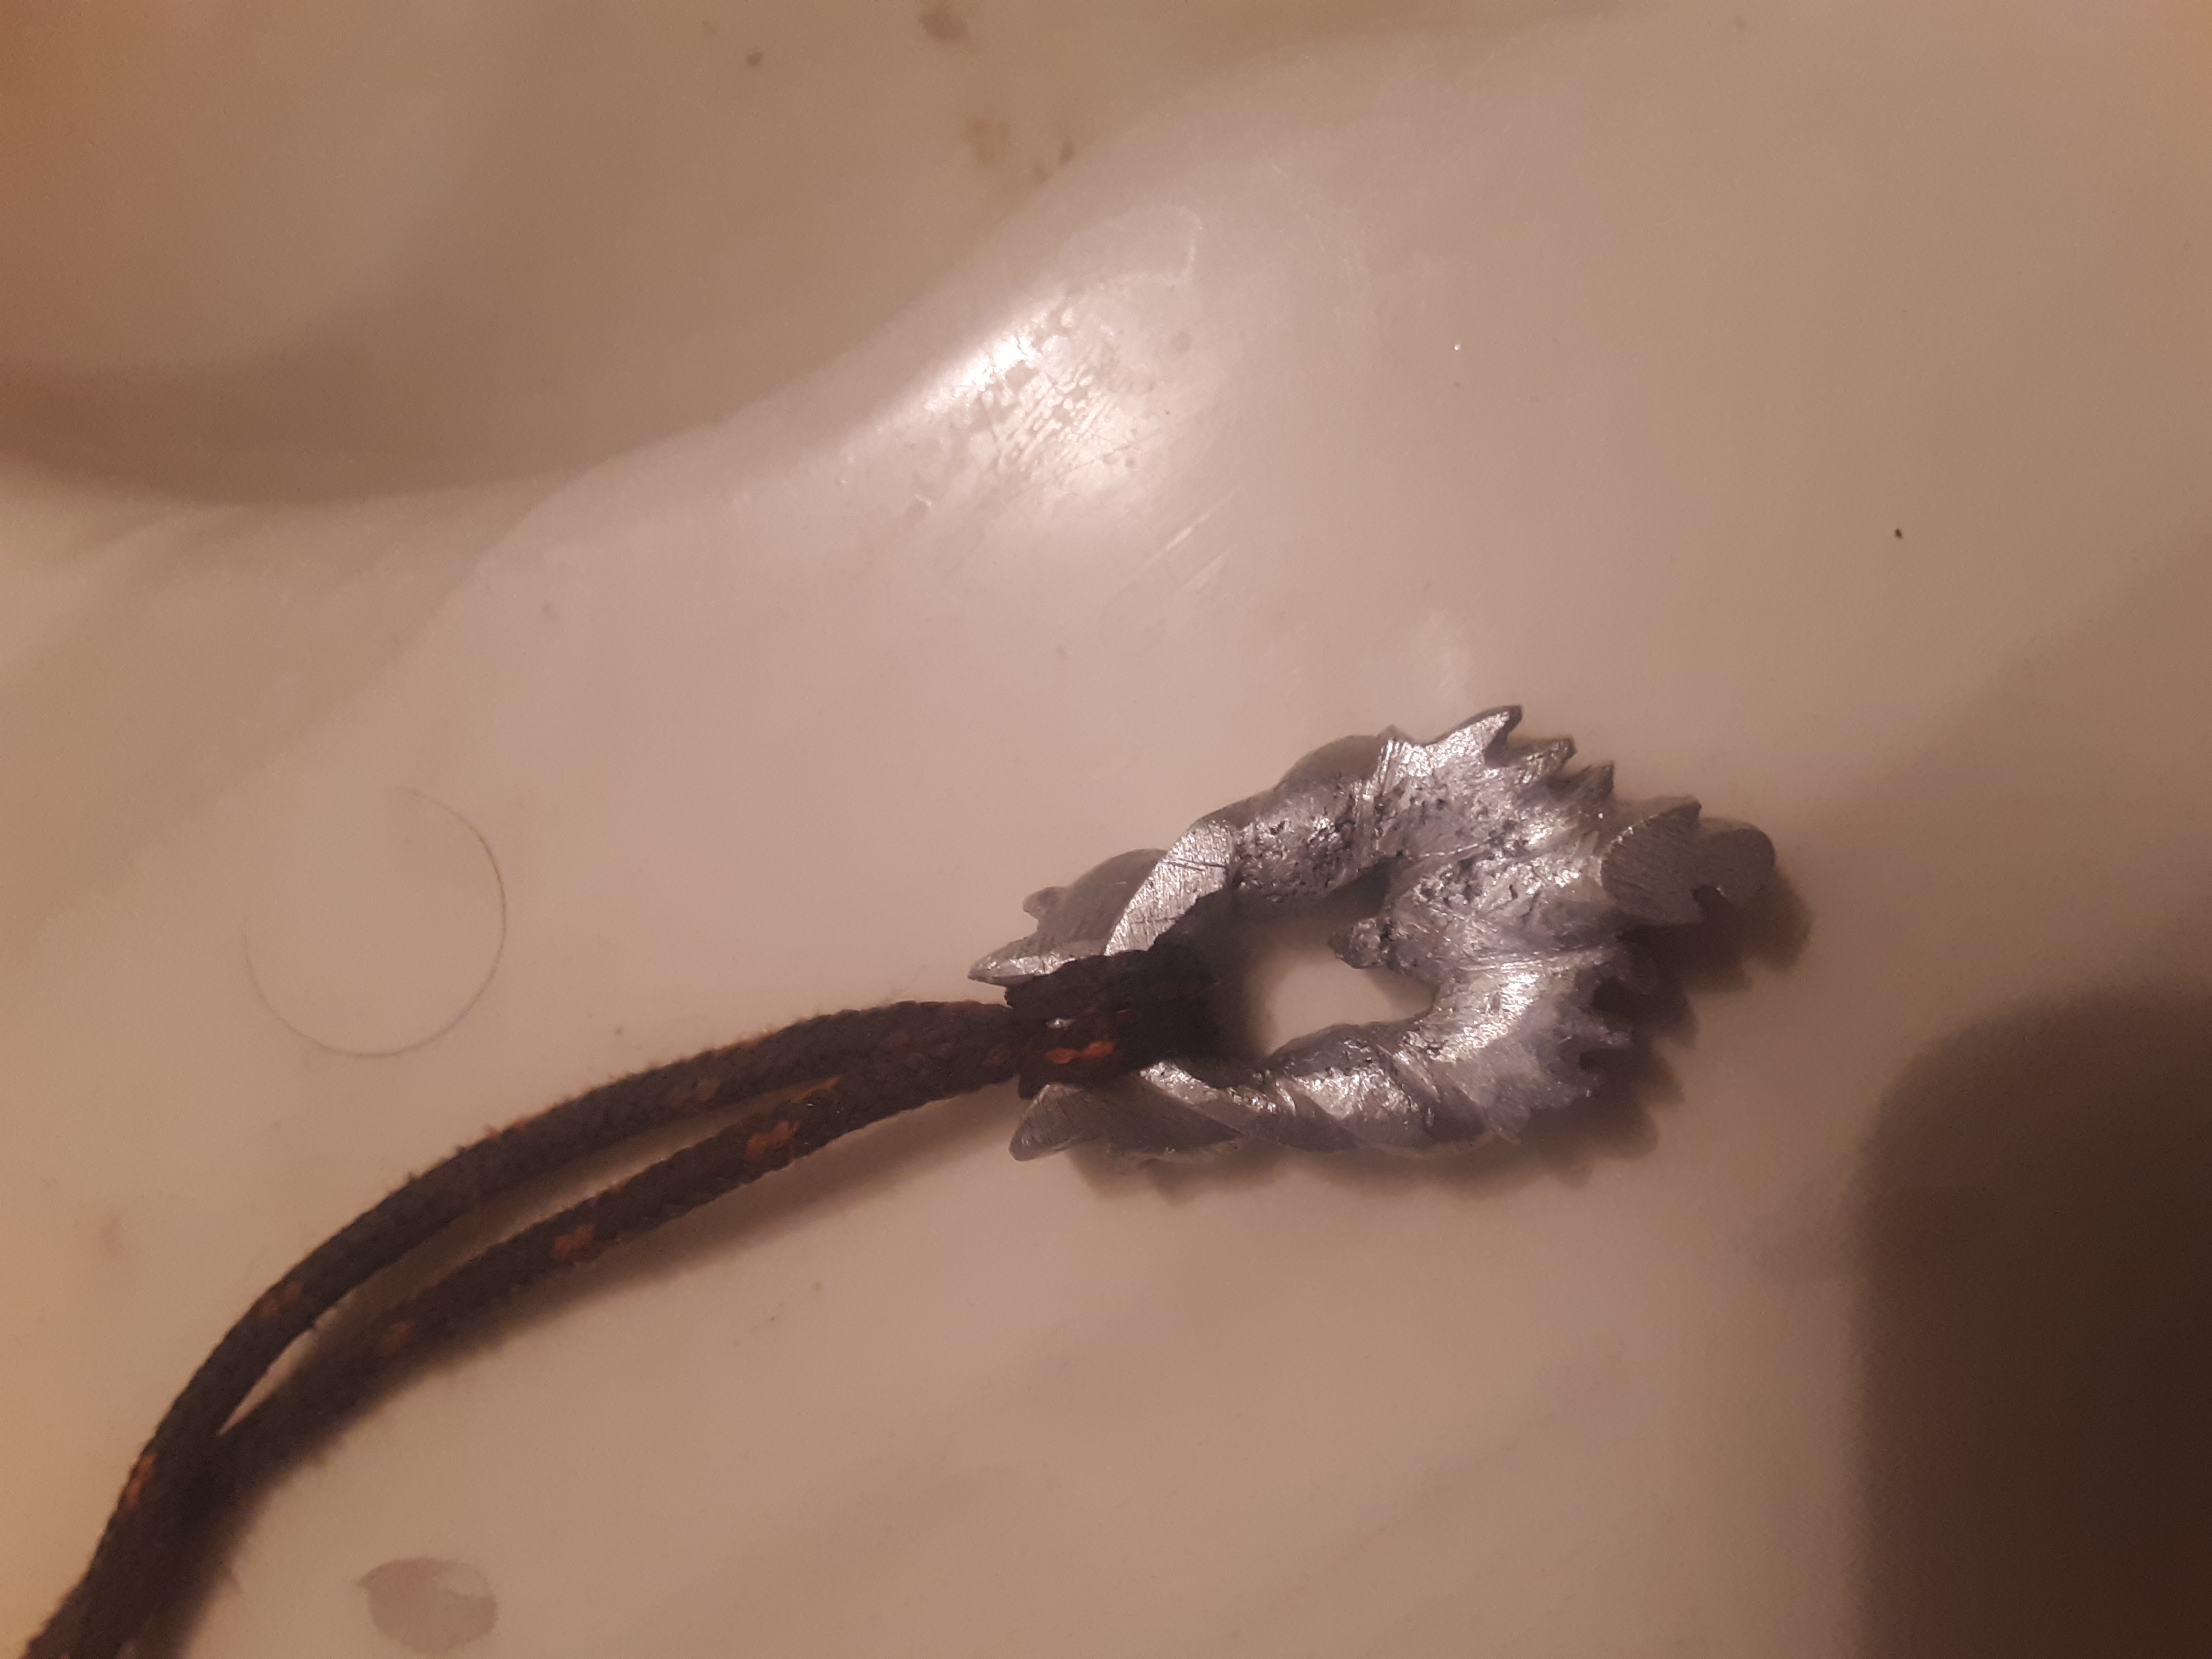
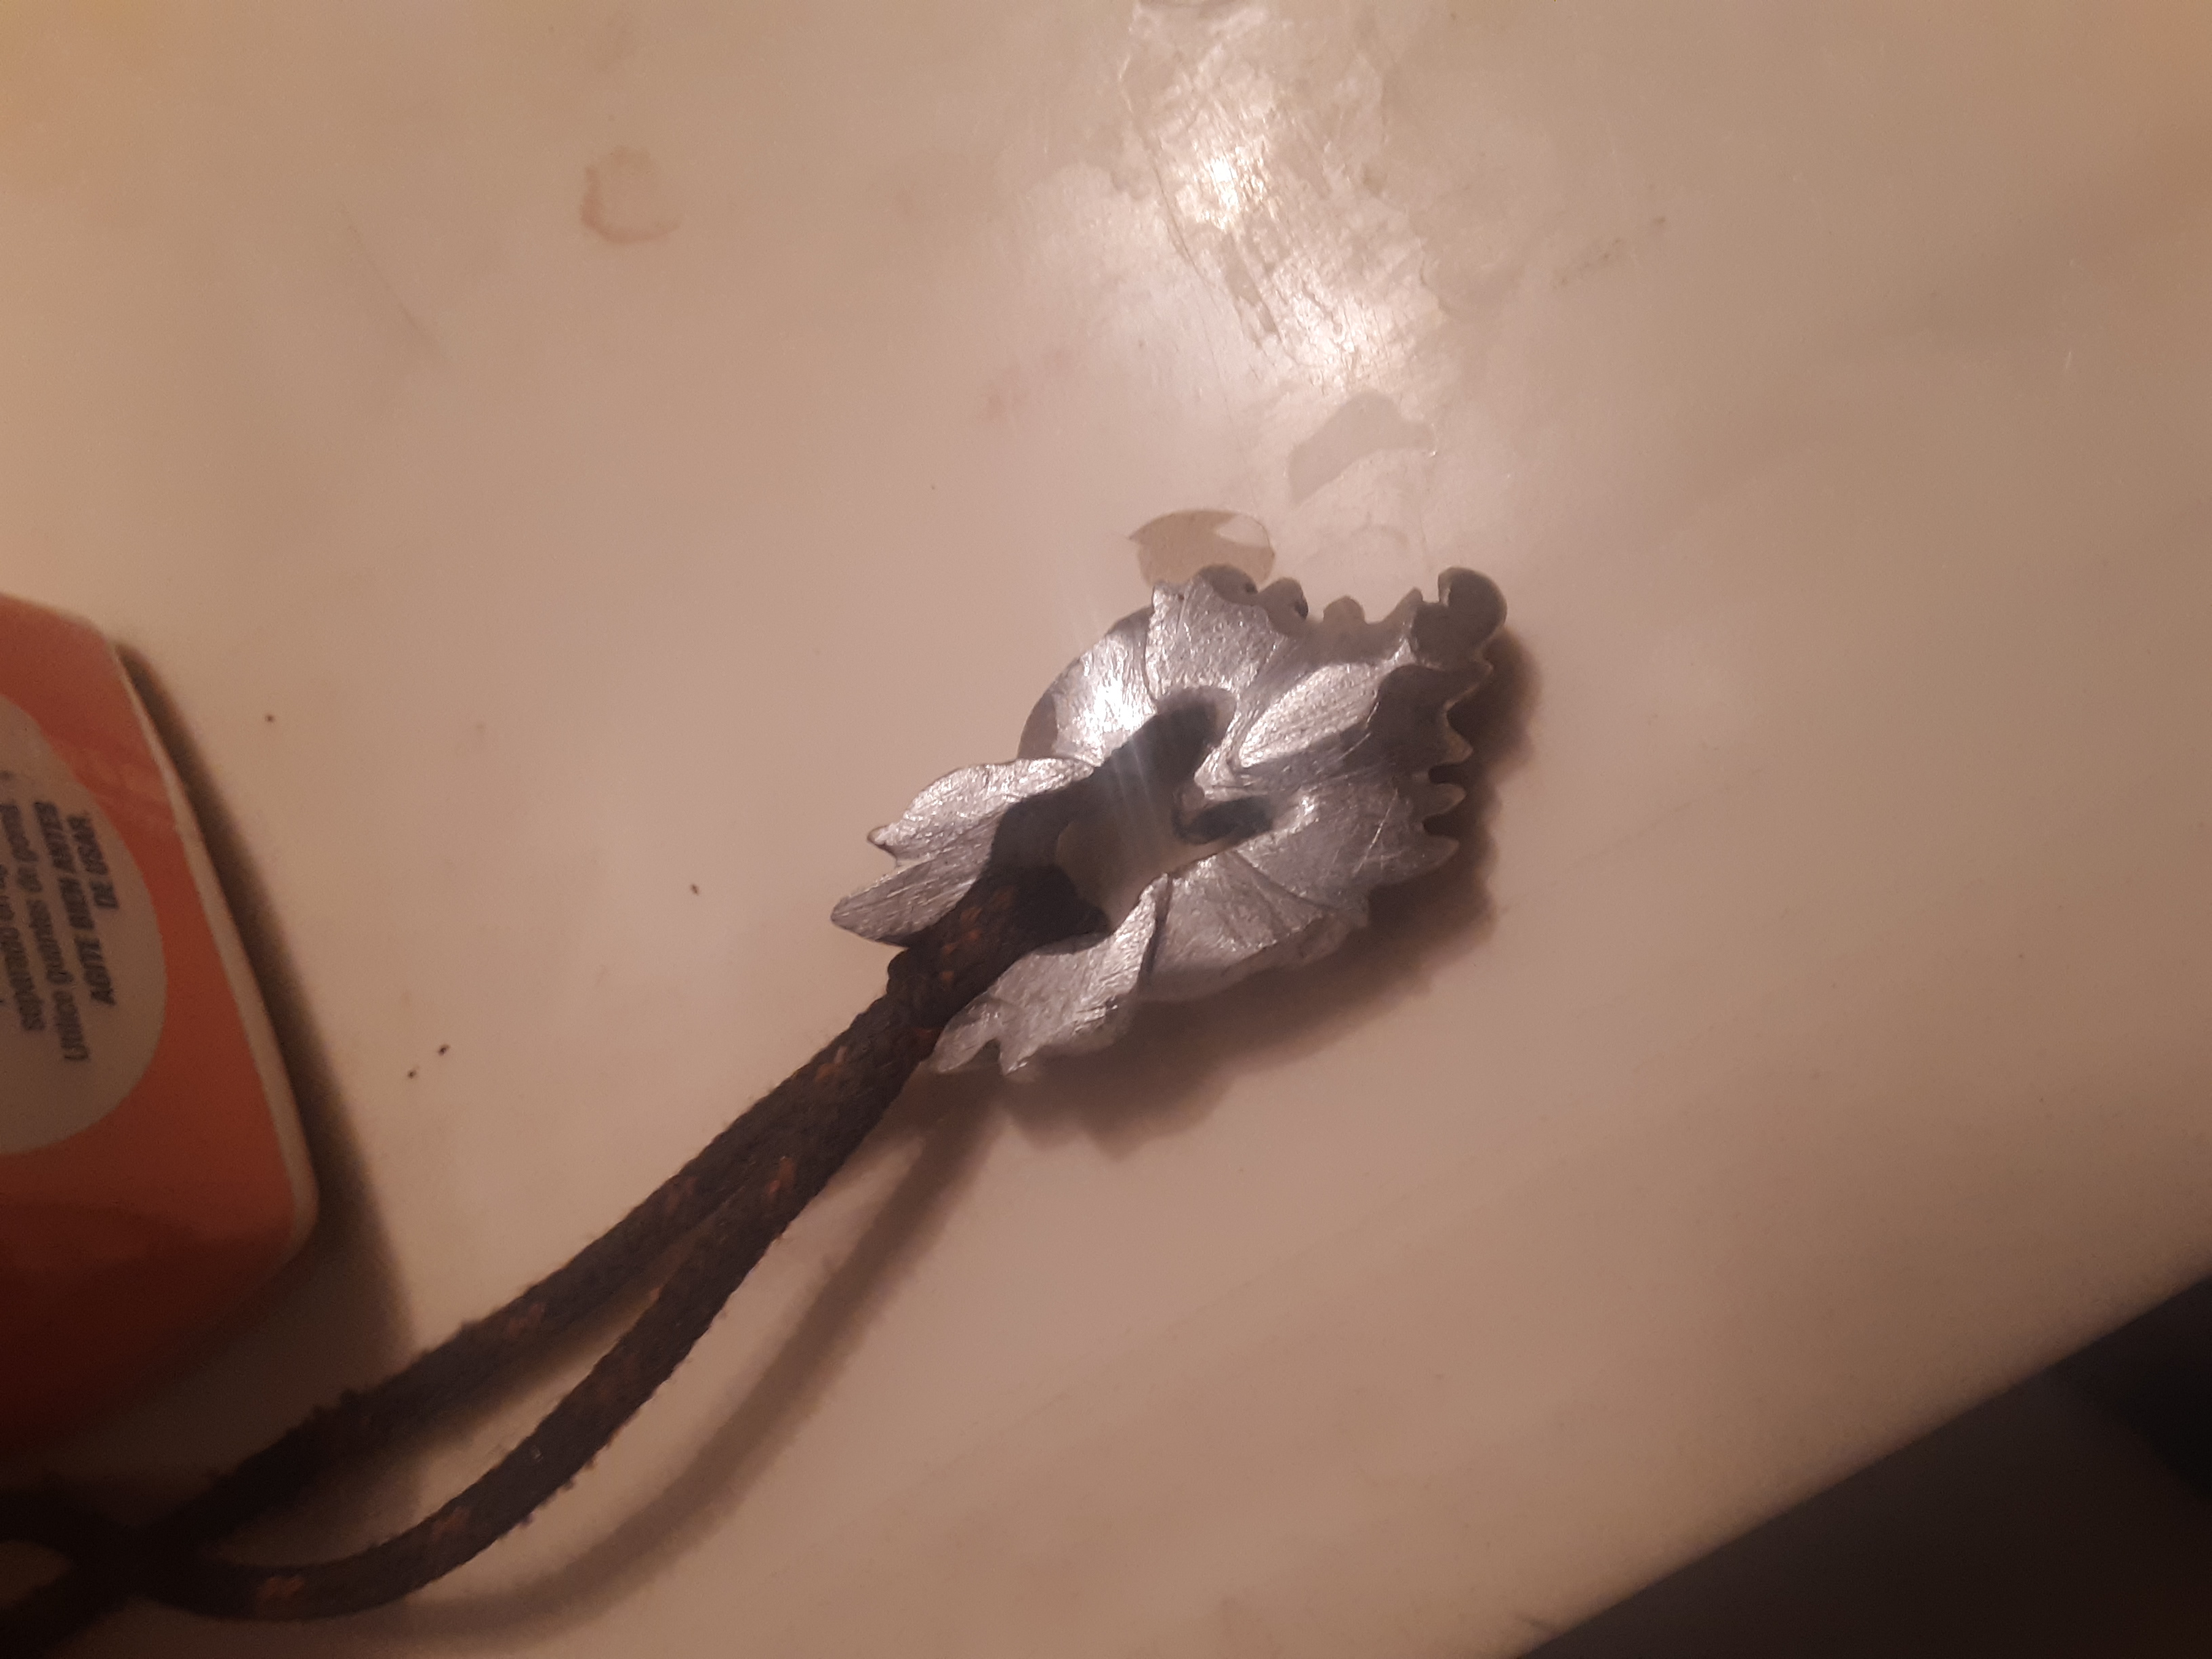
Soooo, did you look at the aluminum casting thing? I had some left over aluminum that I had poured out. I wanted a pendant and thought an aluminum one would be pretty neat.

I had a rough design and drew it onto the surface, then I cut the outside on a bandsaw. Then I indented the surface with a chisel. Most the work was done with a dremel, files and sandpaper. It took a very very long time.

Were is the finished picture... I'll need to add that later.

But it actually isn't done yet. I want to selectively anodize parts to color it red, orange, and silver. I'm just kind of lazy with electrochemical things.

Image
Image
Image
Image
Image
Image
Image

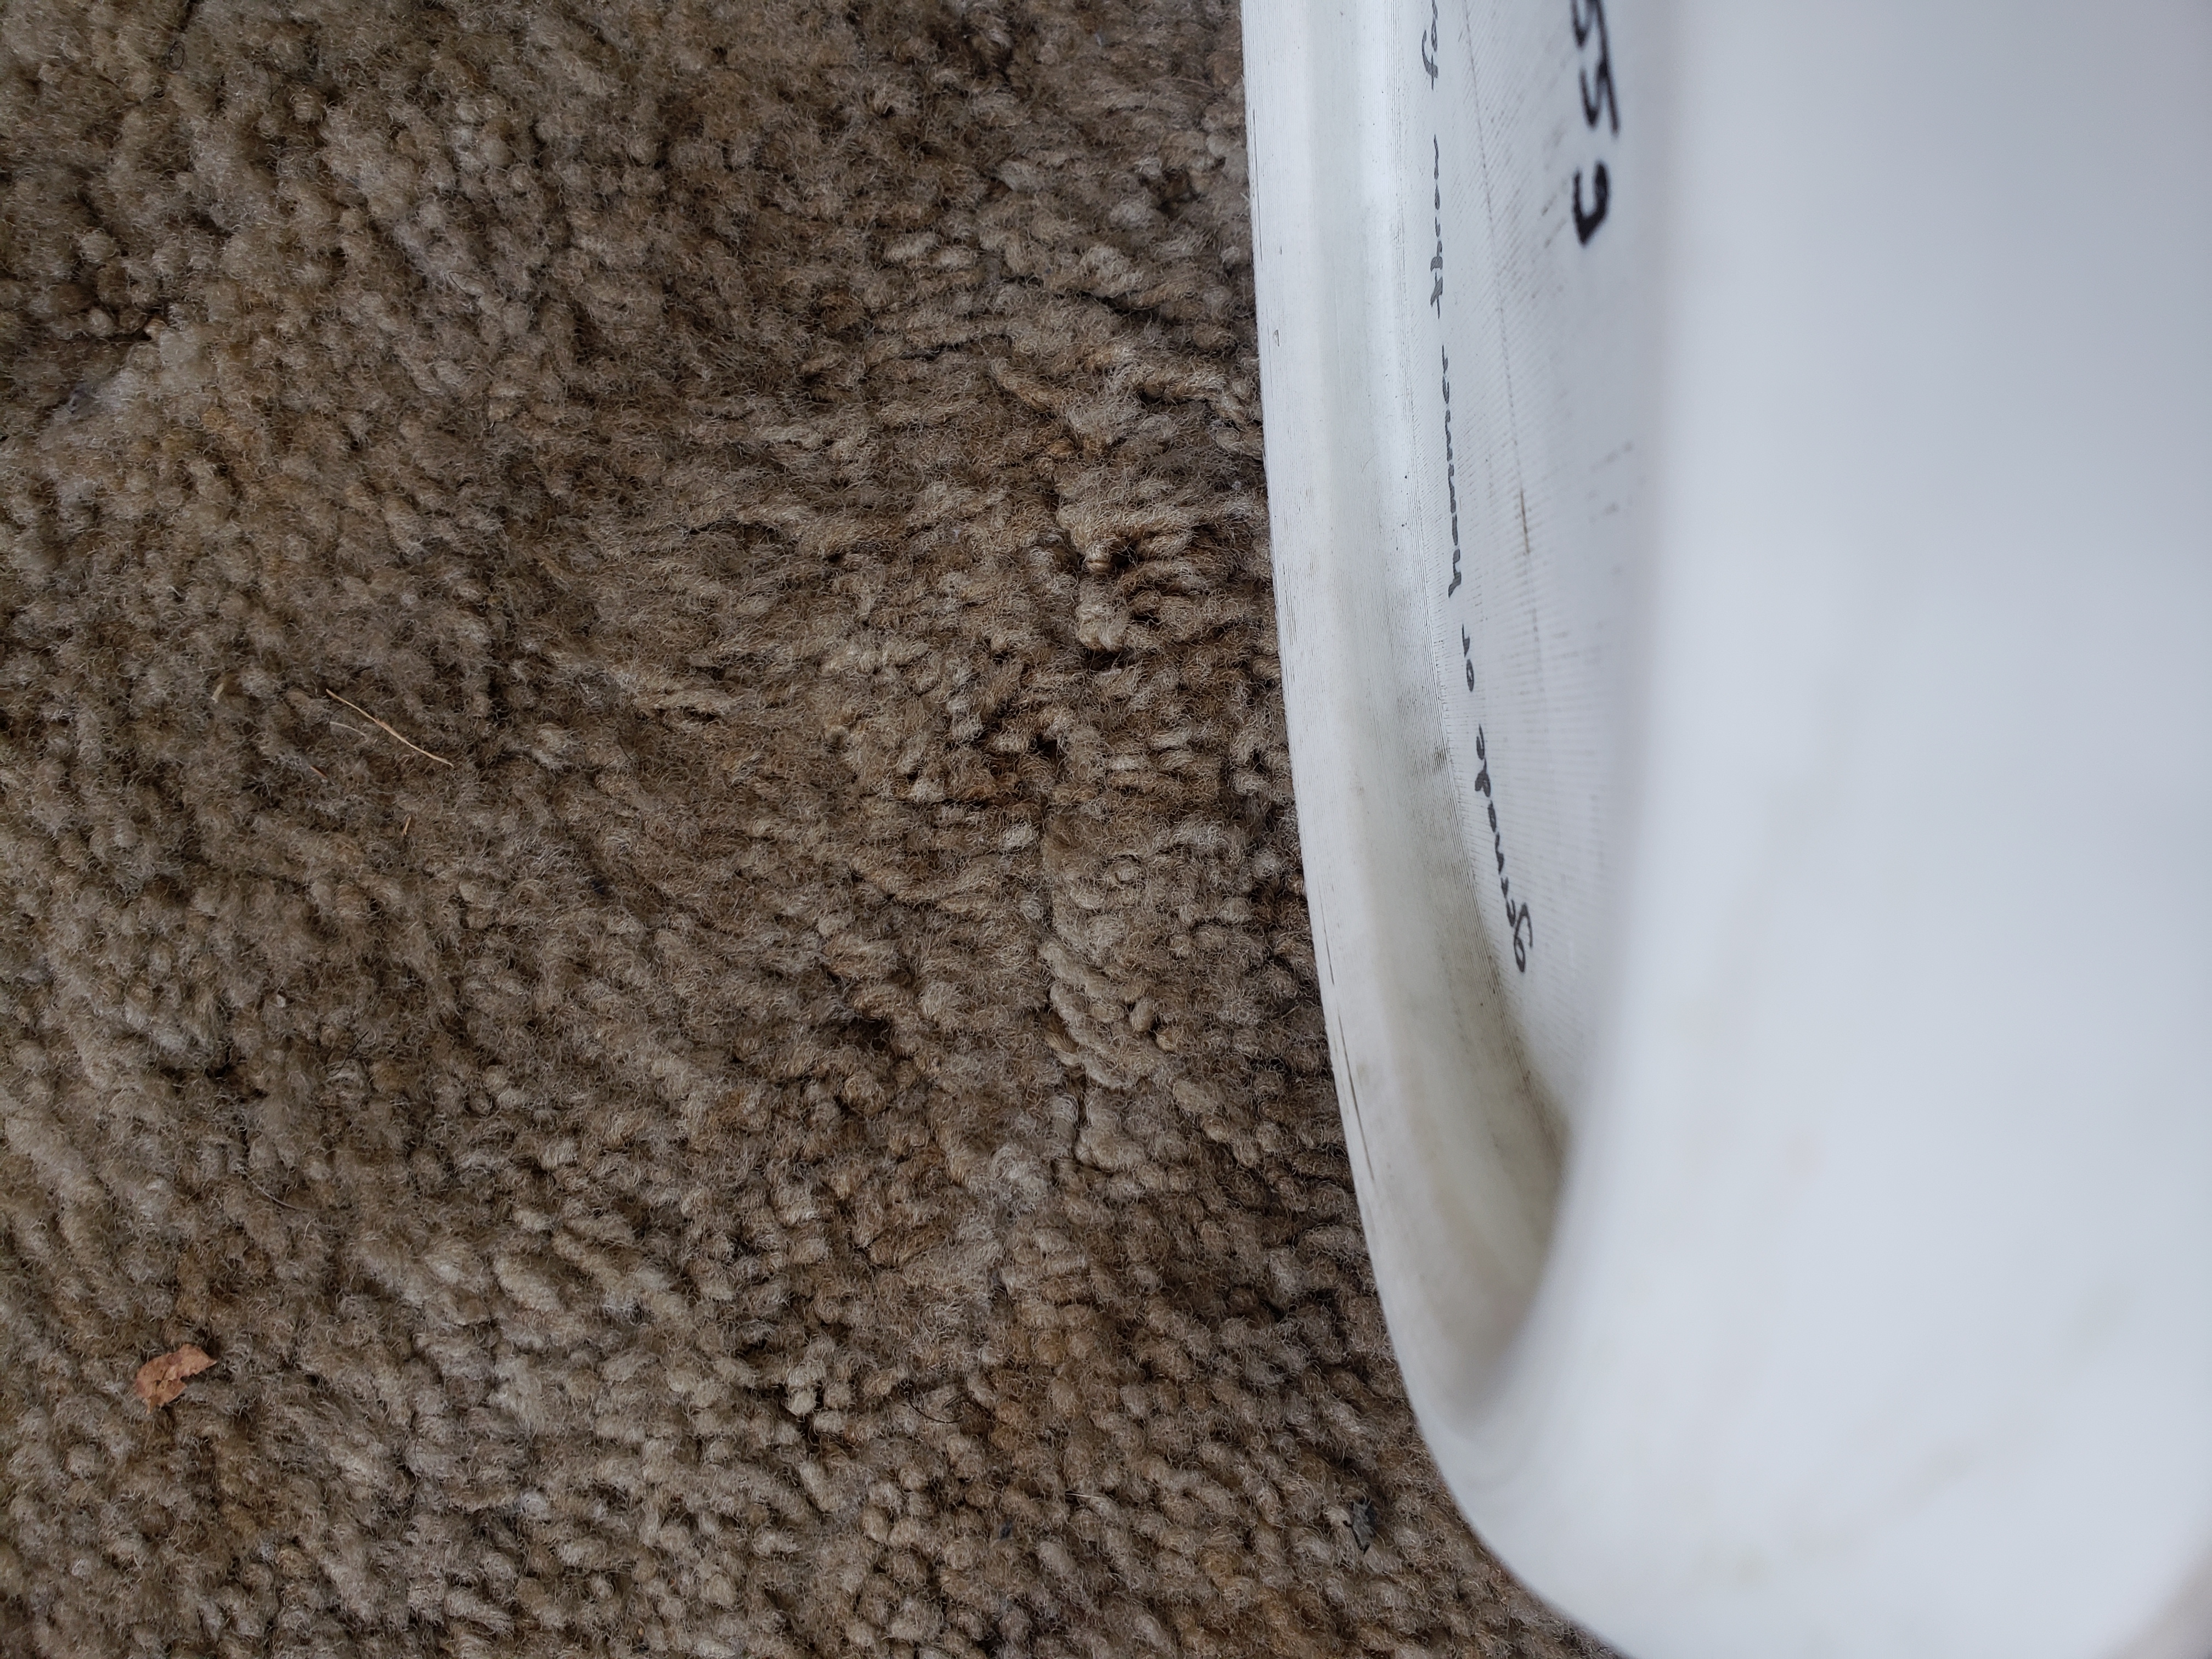
3D Printed Disc Golf

Have you ever thought: Man I would be better at discgolf if I made my own discs?

I hate to break it to you but the truth of the matter is that no amount of disc making will help your disc golf game...

However it is a fun one to bring up on the field.

Pfft, you buy discs, I only throw custom discs...

Are they better than the one I bought?

Well yes they are better that the ones you bought :') they have more love in them.

They just don't fly as far...

The Process

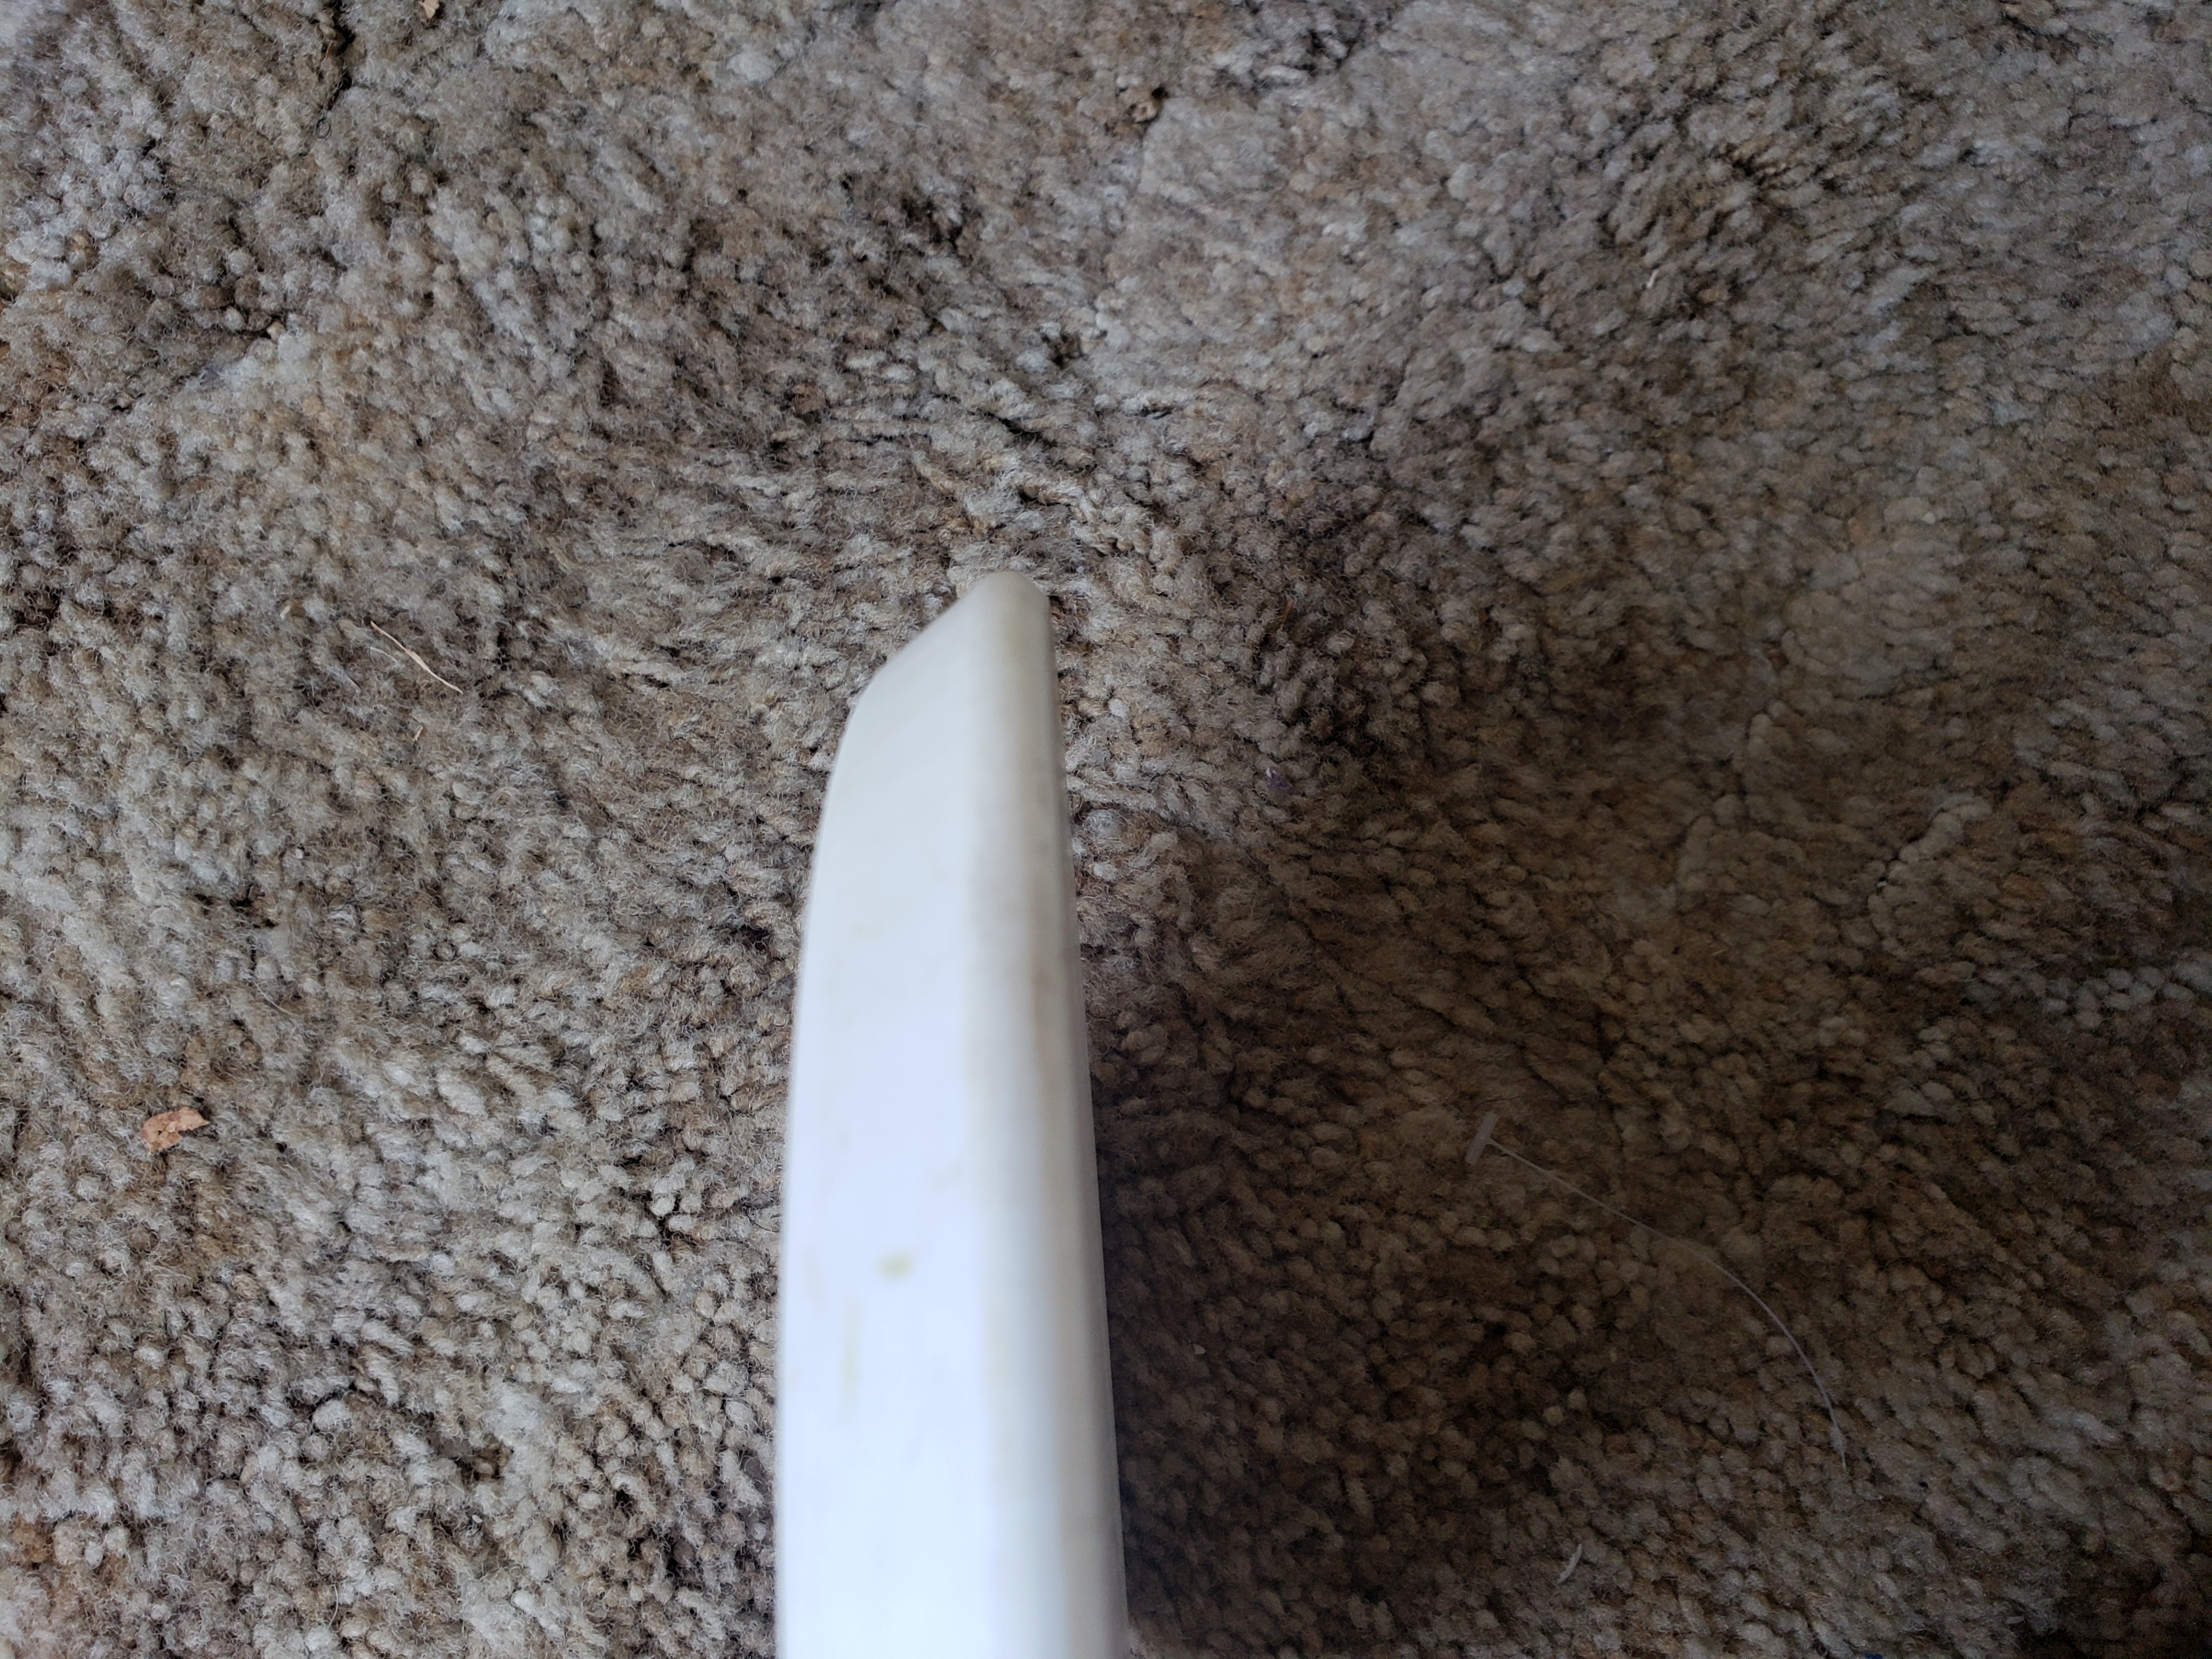
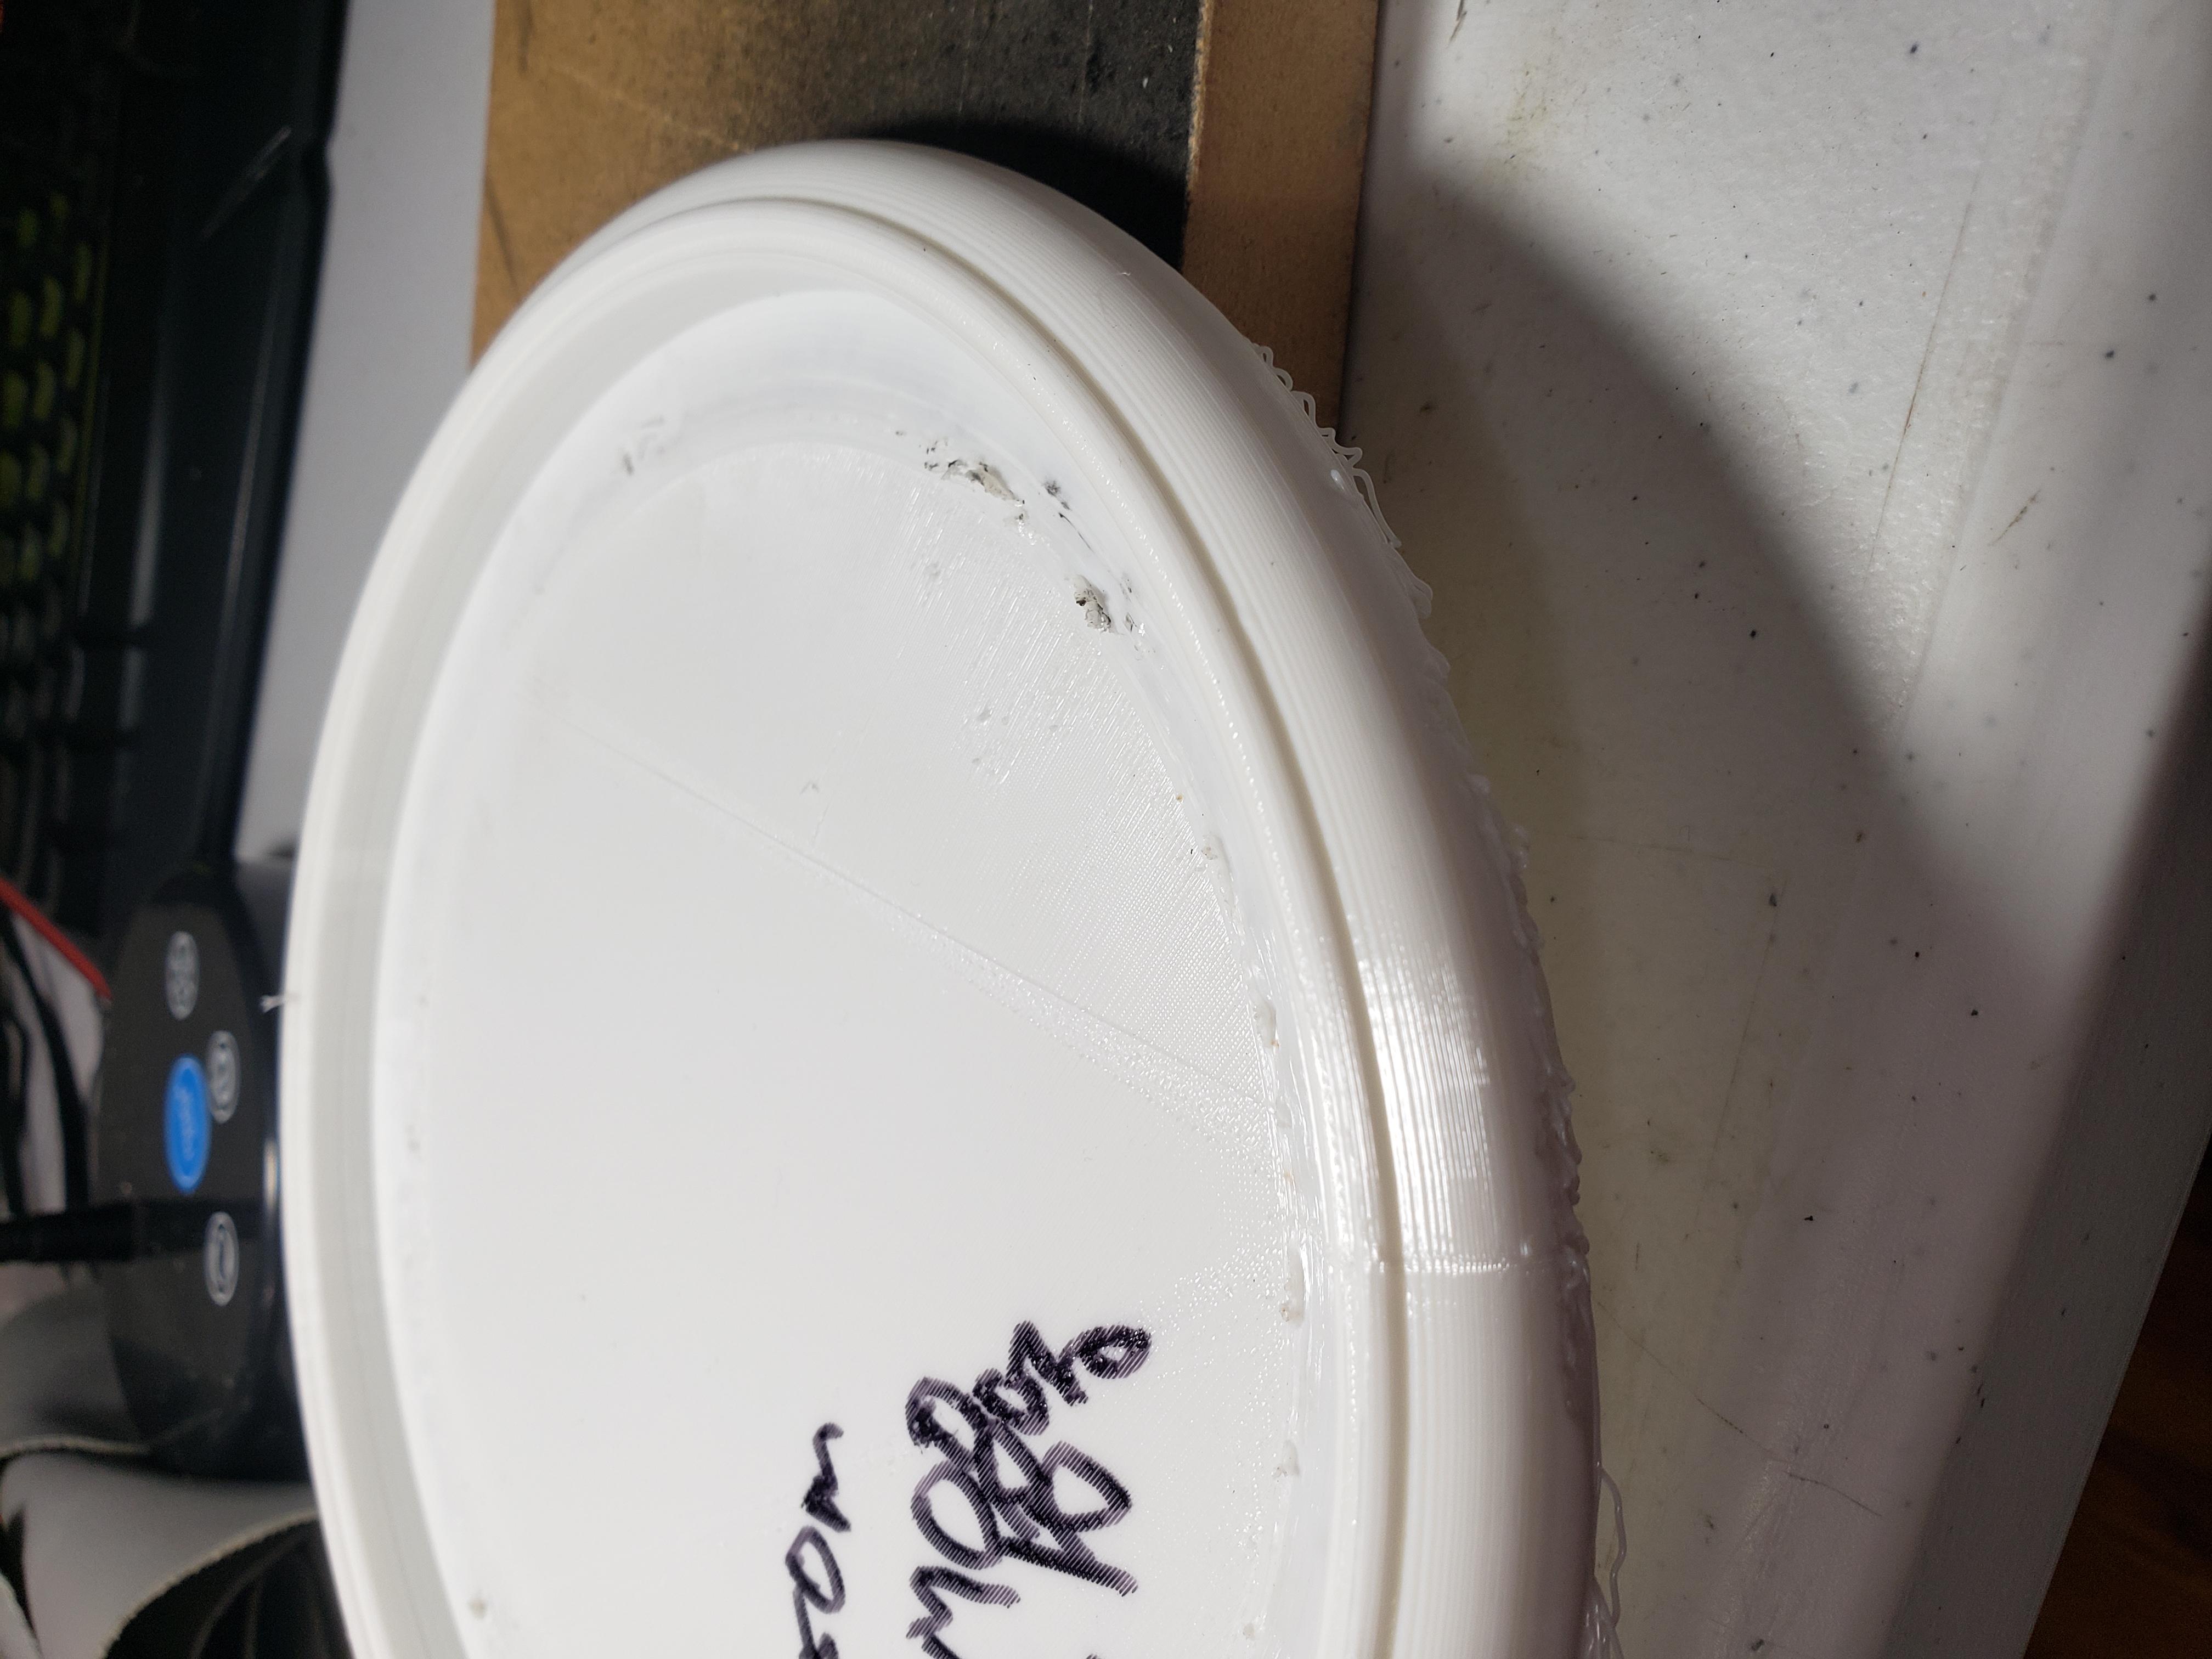
Anyways, you can print with TPU which is a soft, rubbery material.

It is a very good consistency for a disc, not perfect but good enough.

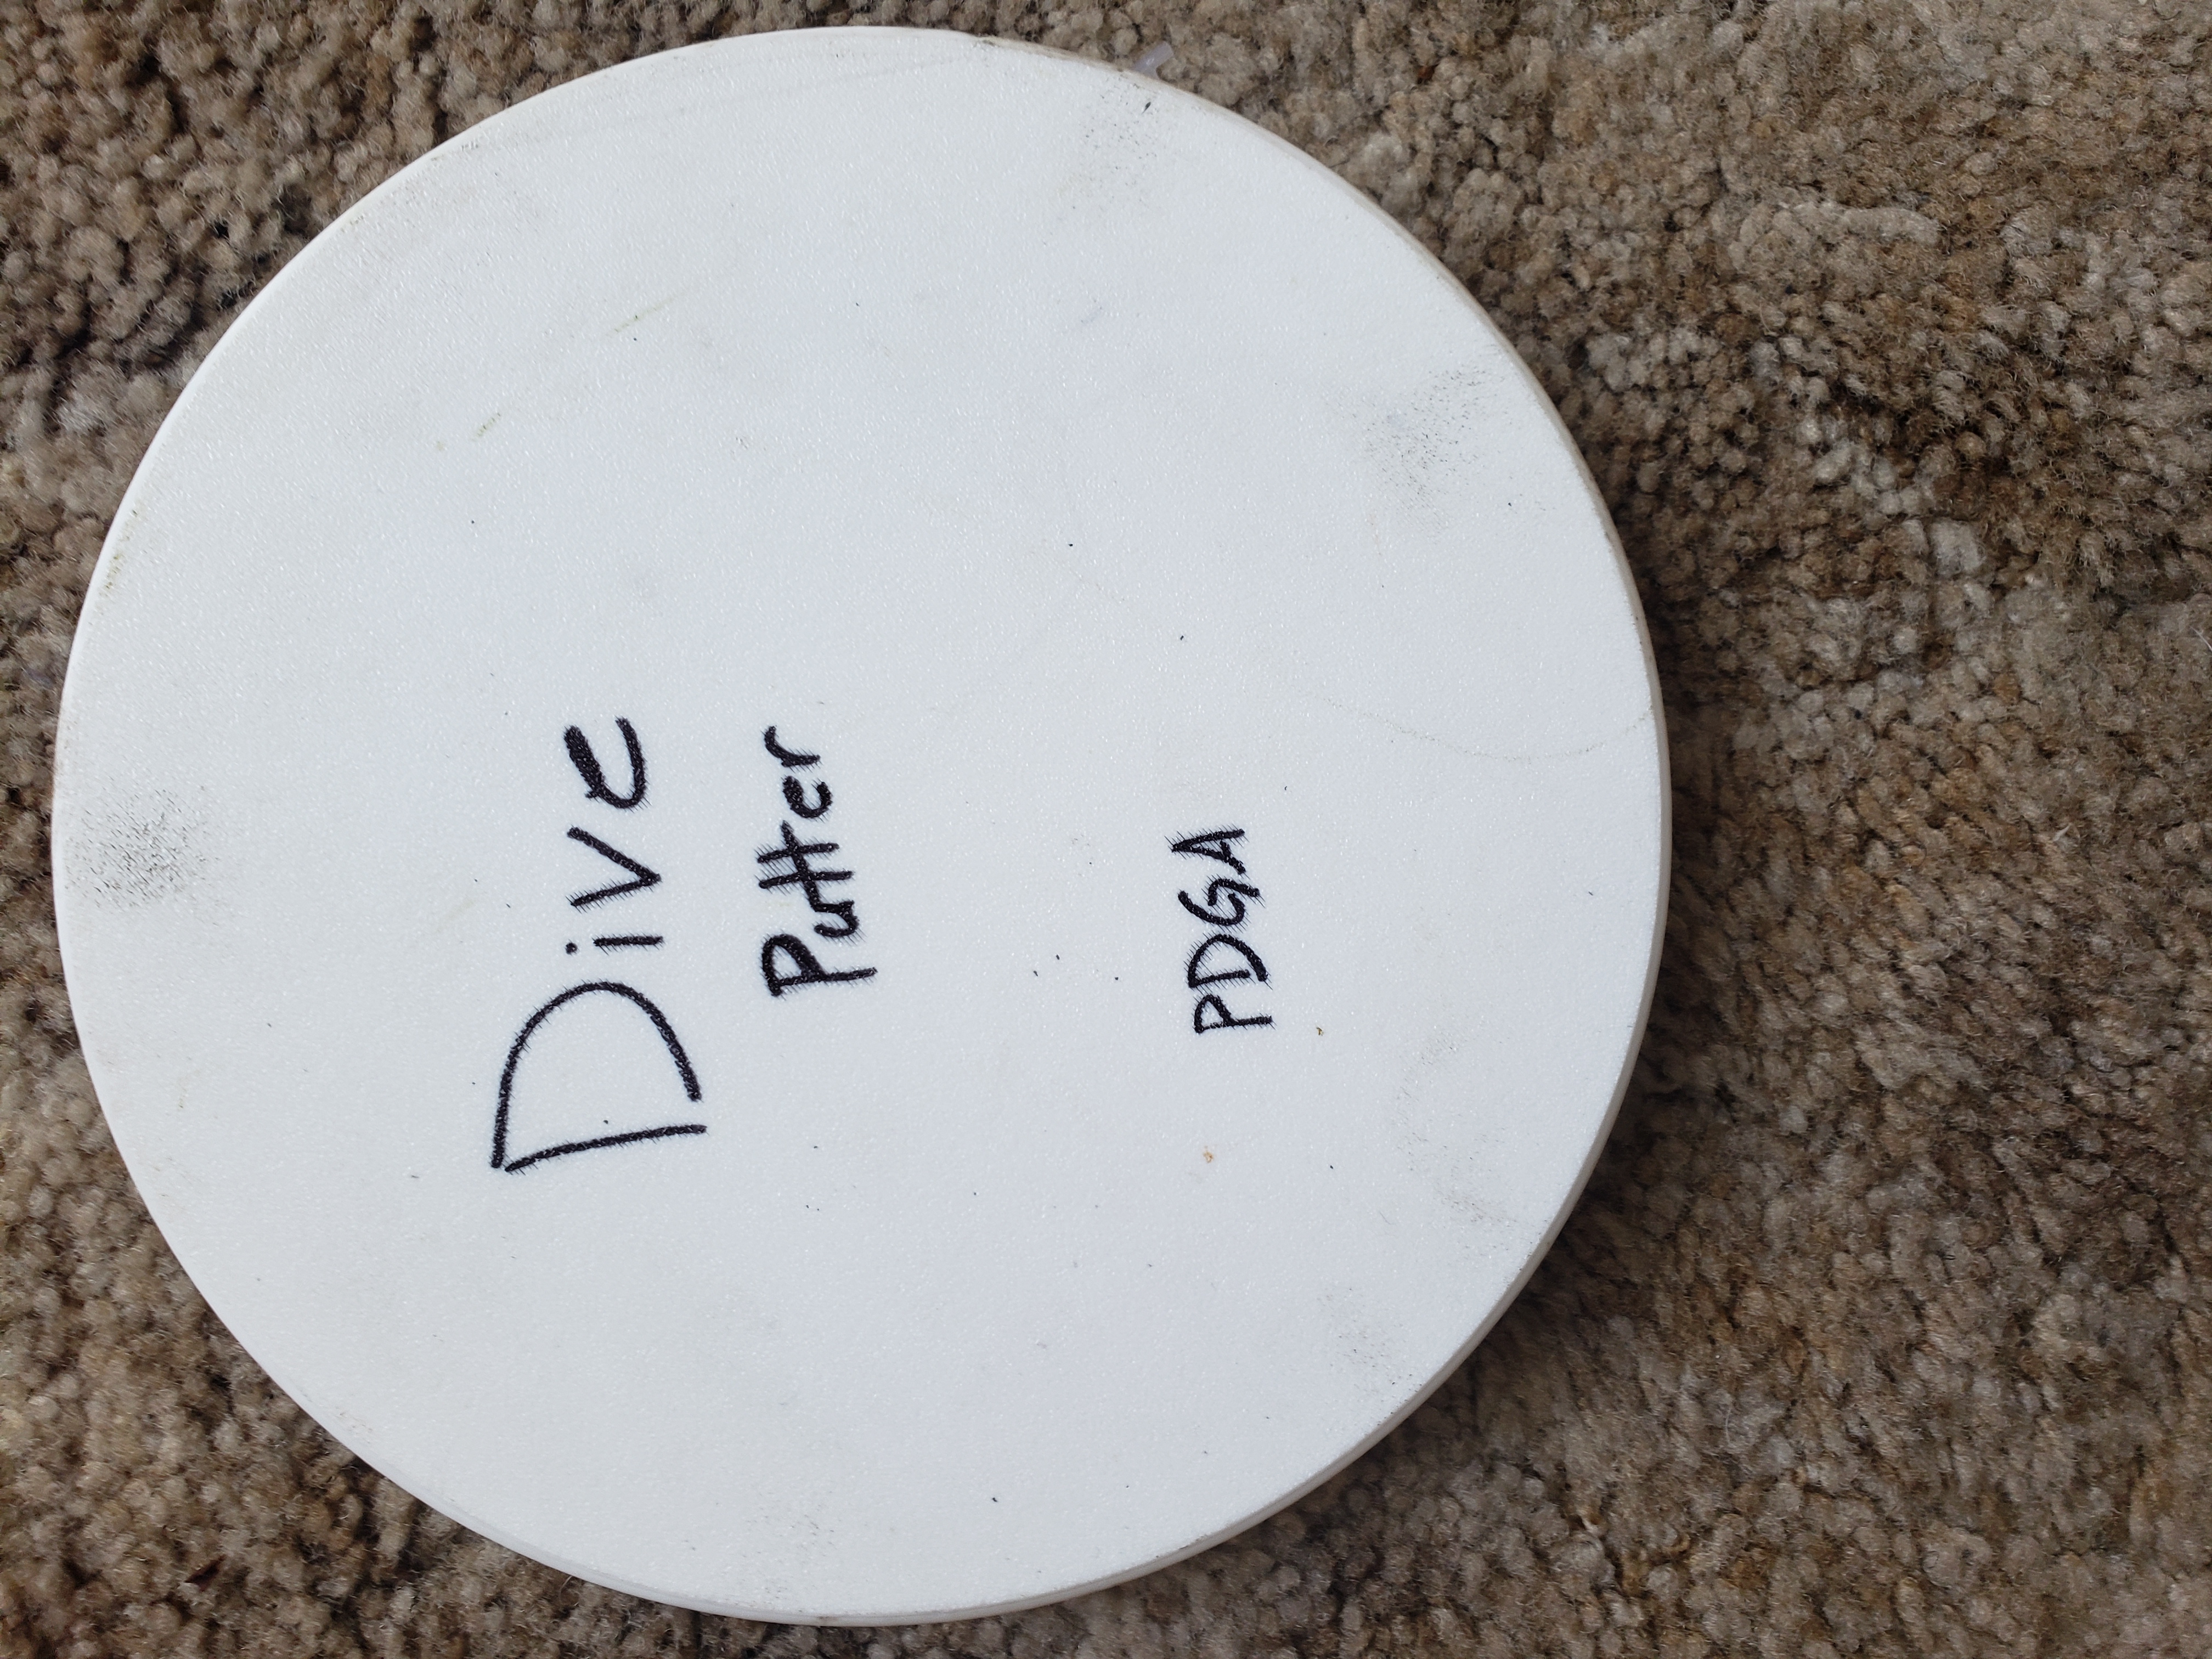
I modeled up some goofy discs to print and test.

None of them turned out very good, mostly due to them being strange shapes.

Results

See that It's PDGA badged, not approved. someone just wrote it on there, that makes it legal in tournaments I think.

Image
Image
Image
Image

3D Pressure Sensing Hotend

Adding a pressure sensing element inside a 3d printing hotend would allow for direct feedback on extrusion allowing for a closed loop control system.

How It Works

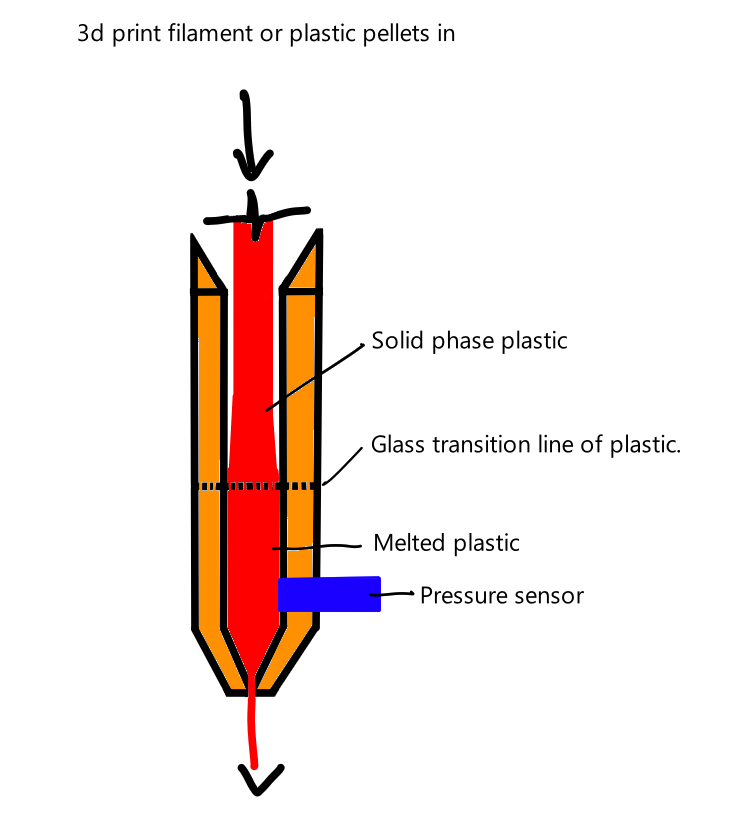
By adding a pressure sensor after the glass transition zone of the hotend where the plastic is molten we can measure the backpressure.

Benefits and Applications

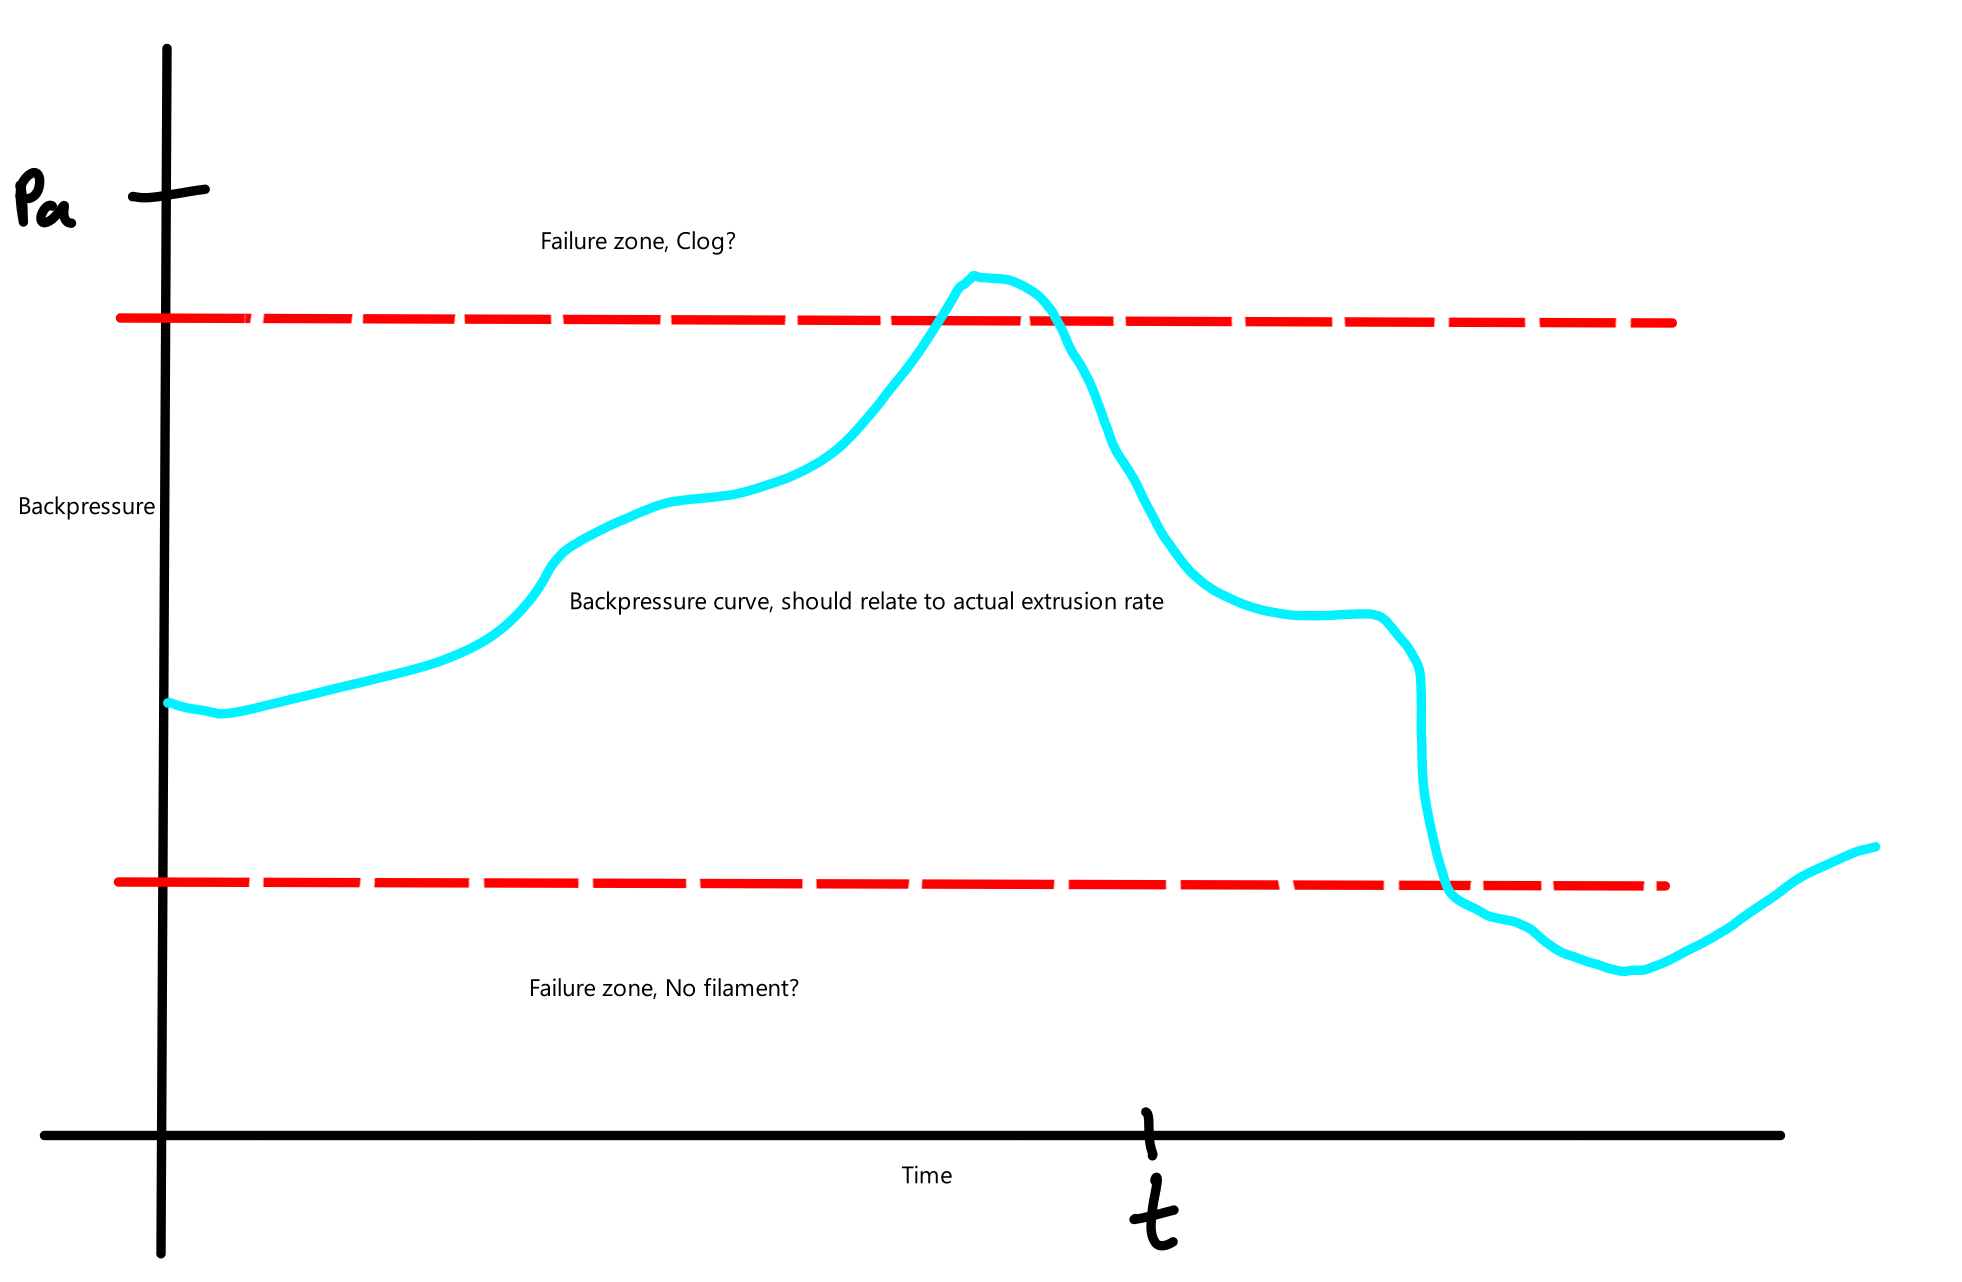
The backpressure could be monitored by the 3d printer controller to determine several failures during printing(no plastic, hotend clog/too rapid extrusion rate, etc).

The backpressure should correlate directly with volume of extrusion when keeping the melt zone temp constant.

A 3d print controller could dynamically change actual speeds and feeds of the machine during printing for faster, more consistent, and higher quality prints.

The system could be used in specialty extruders like pellet extruders or extremely large volume extruder heat zone to much more accurately and directly control extrusion (helpful for retractions and hops to make sure non-desired plastic extrusion is controlled).

Implementation

A ring piezo around the perimiter of the extruder or a pressure sensor to one side of the hot end would allow for measuring pressure from a voltage.

Challenges

There's undoubtable some issues in size and induced turbulence from having an additional thing in the hotend, but I think they could all be easily overcome.

Image
Image

SPE3D Printing

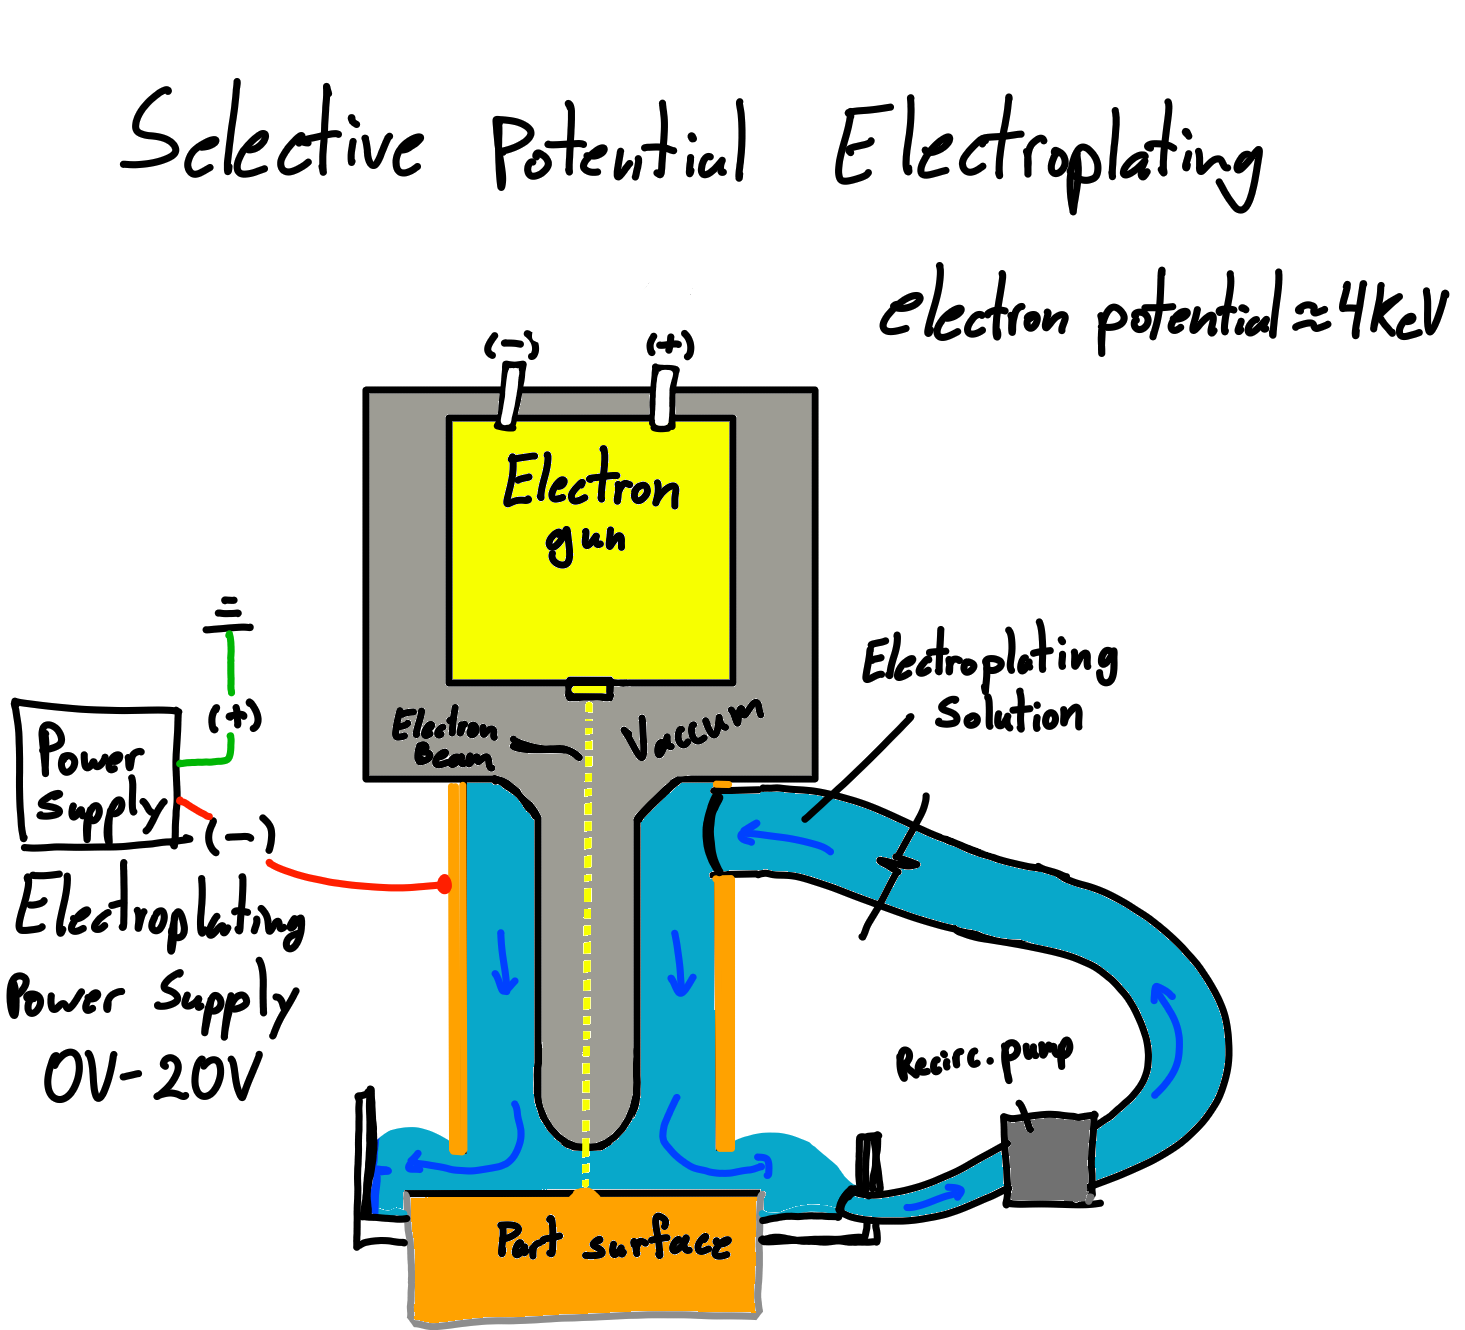
I'm thinking of calling this Selective Potential Electroplate 3D printing SPE3D printing lmao... I find that very amusing.

The Problem with Metal 3D Printing

One of the biggest issues that I see with 3d printing metal is that the required cooling is very challenging. There are many ways to heat something up enough to combine them but to cool them down quickly enough to maintain high dimensional accuracy is an issue. Instead lets consider electroplating, it is used in some 3dprinting designs so it is a possibility. Electroplating occurring in water should make things a bit easier to control heat and accuracy. But the trade-off I think is that it is hard to get high printing rates, I'll leave that for future consideration.

Electron Gun Approach

The idea is to use an electron gun to place electron on any surface and cause electroplating to occur there at that site. The electrons thus create a potential around where they are hitting and should cause plating to occur there. With a low amperage and well defined focal point this should have exceptional accuracy. By turning up the amperage of the electron gun there should be a much higher deposition rate over a bit larger area.

Electron Energy Requirements

The electrons will need to have a speed of about 4KeV to drill through the designated area of vacuum chamber wall and get through the electroplating solution and reach a surface. Through thickness of vacuum chamber glass and electroplating solution there should be a distance of ~2mm. This is because the approximate loss of energy of the electrons is ~1.6MeV/cm. Roughly the same loss through the applicable material choices here.

X-ray Generation Concerns

There is the issue of X-ray generation. I'm not super versed here but X-ray generation, I believe, is higher for electron interactions with heaver atoms. Going though water should not be terrible, but hitting the plating surface will generate quite a few so proper sheilding would be required.

For the 4KeV X-rays generated should be absorbed to ~90% with just 2.3cm of copper or 23cm of water. The addition of sheilding in the machine enclosure should bring any X-rays to acceptable levels. X-ray generation will be linked to print speed/amount.

Vacuum Chamber Considerations

Using the electron beam to drill a hole through the vacuum chamber and prime the electron path would require that the chamber be continuously vacuumed down. Would there be problems still? very probably.

Open Questions

Should the electrons be focused at the vacuum chamber surface or the surface of the part? I guess it greatly depends on the resolution that is required, the focal length of the electron beam, and how well the vacuum pump is able to take care of ingressing water/ contaminates... I do not know, it might just need to be done and evaluated at that point. Being able to scan across the part would also be really nice since it is an electron beam and relatively easy to steer, but we run into issues with needing a vacuum over the whole area which removes the possibility of electroplating solution... One thing at a time.

Image

Metropolis FEA

Metropolis-Hastings Optimization on Mesh

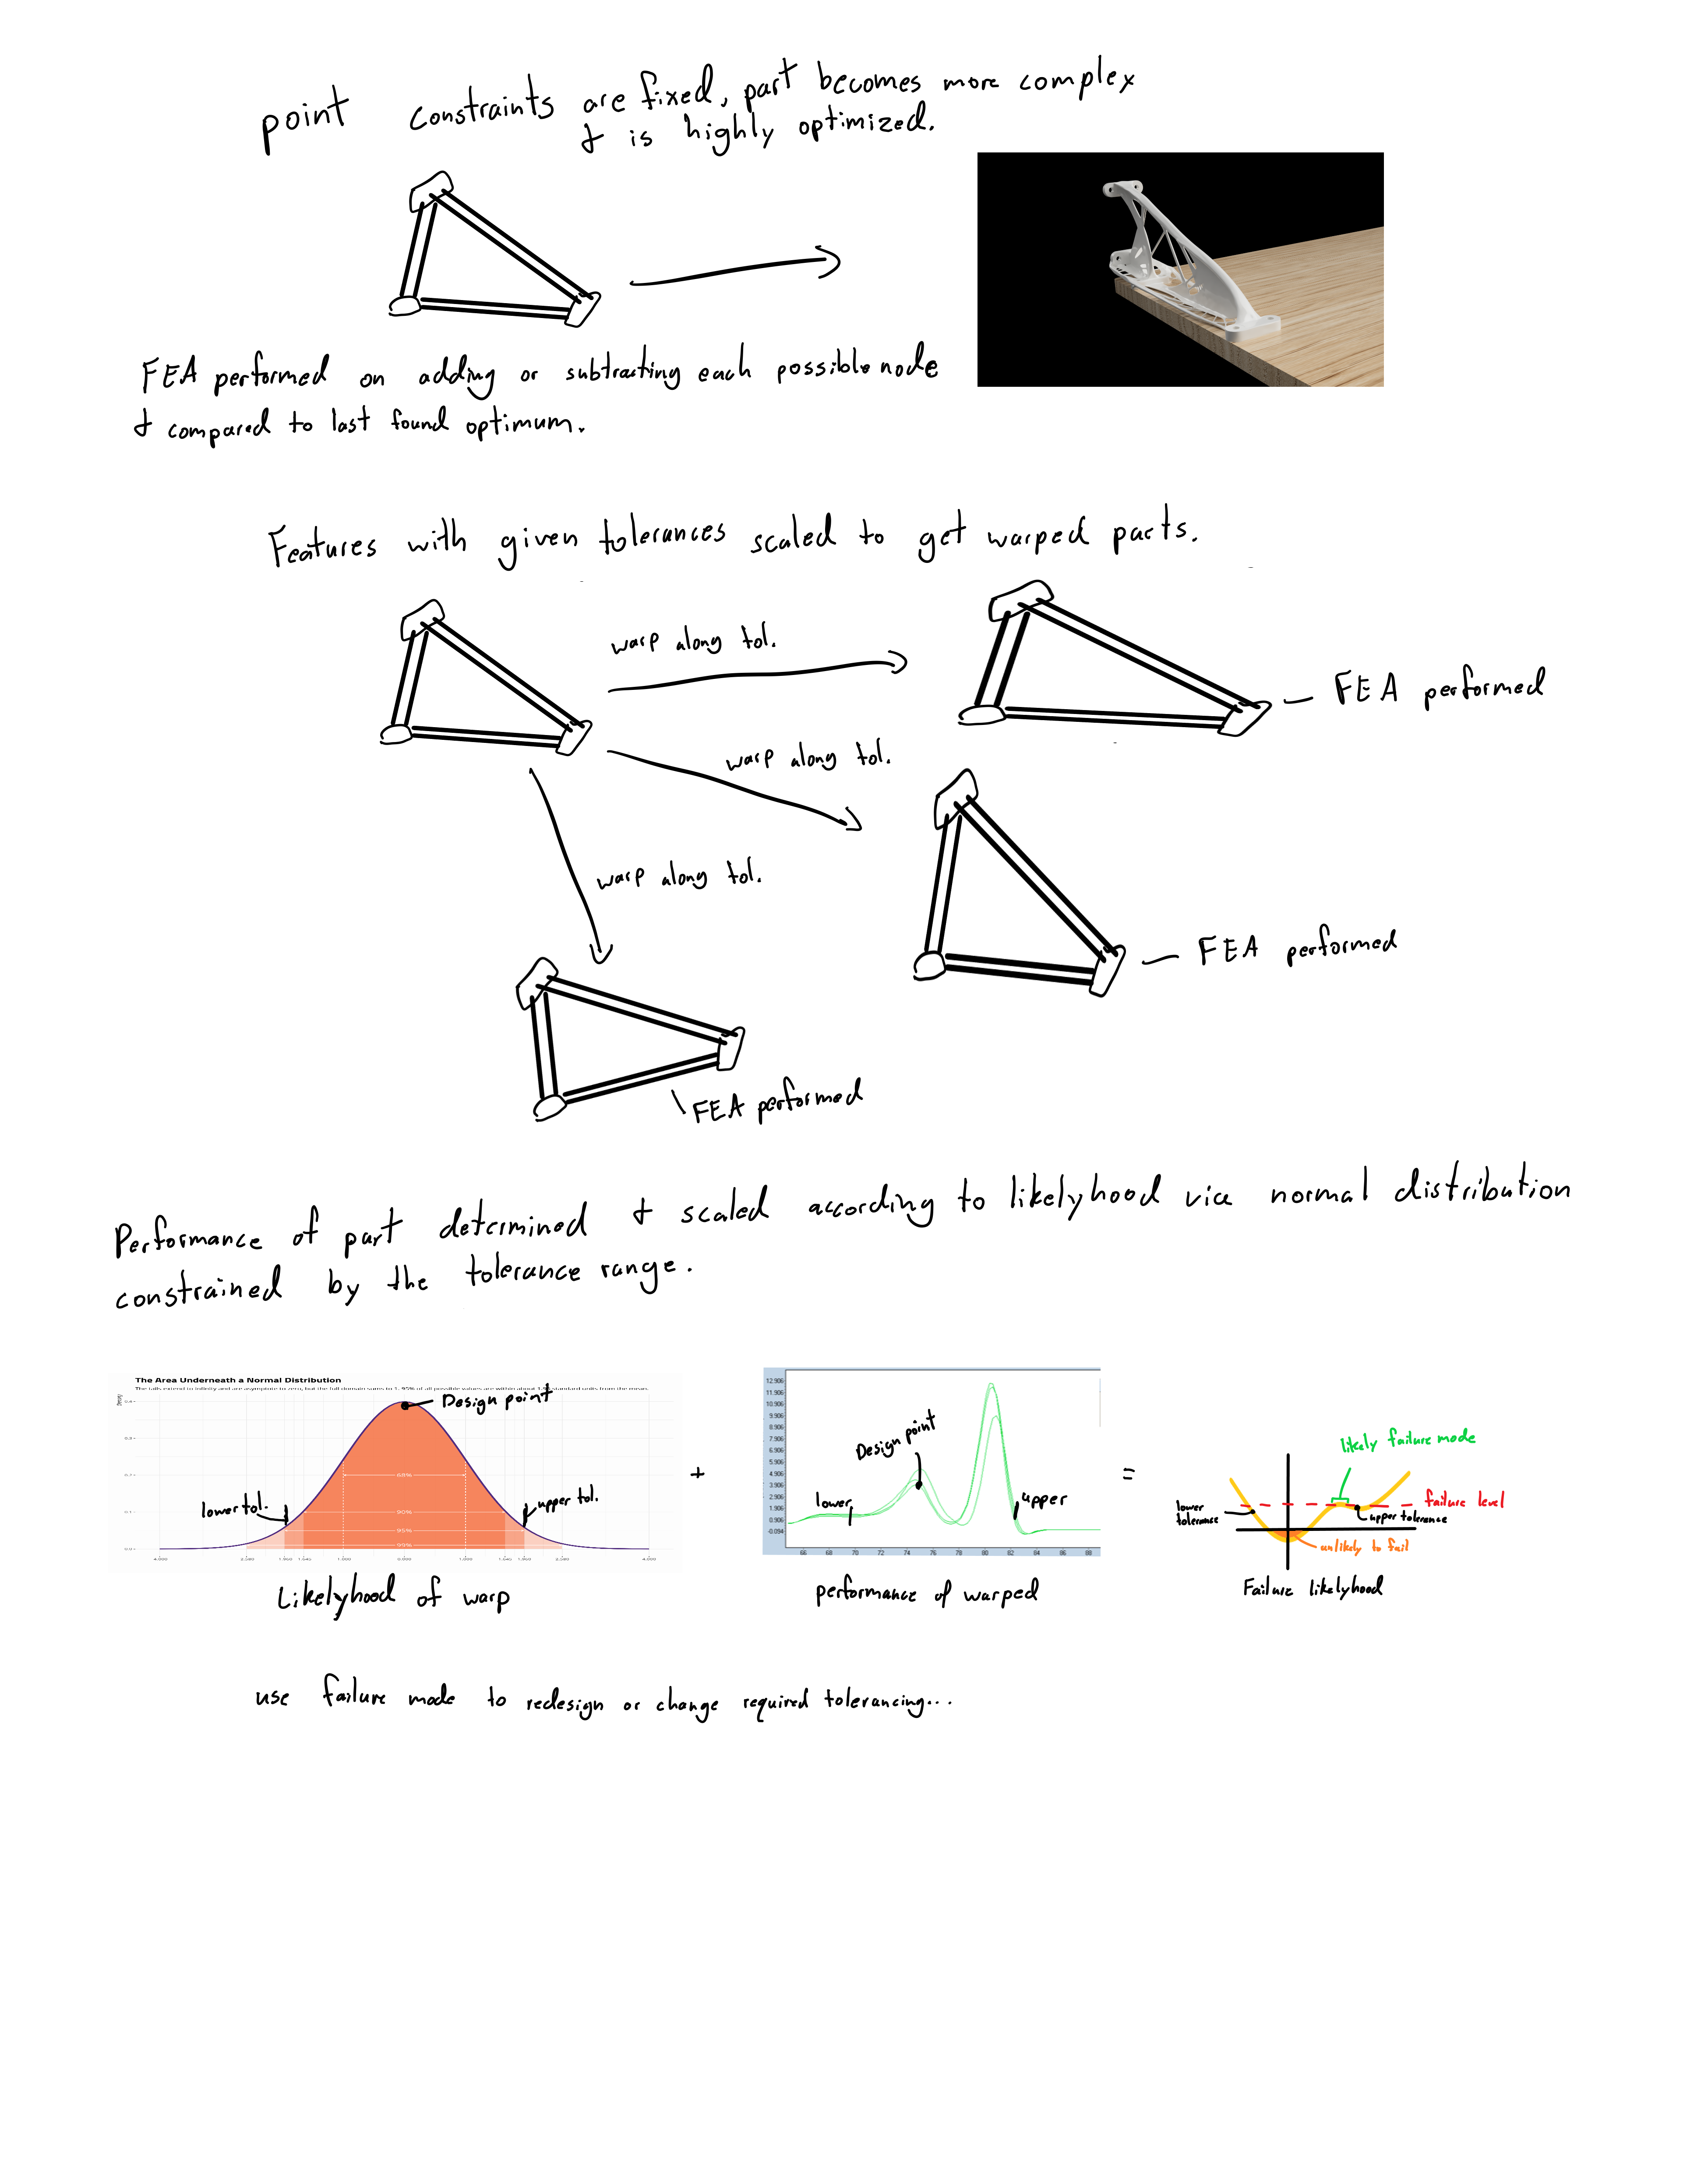
An idea I've been stewings over for a little bit is: when doing a Finite Element Analysis you perform a metropolis-Hastingsoptimization on the mesh of a part. This can be done on an initial mesh and then nearby nodes can be turned on and off and evaluated for if it fits your desired parameter or function. This relies on doing a lot of matrix operations and comparing quickly so it would be nice to get this graphically accelerated. Might look into doing this and applying it to a system in FreeCAD. So setting it up in python with numpies to do the calculations. This is interesting but not out of the realm of what others have done in the past.

Tolerance-Based Shape Iteration

The other idea that is somewhat more intersting for me is that: You iterate the shape of a part over the tolerances that are applied in a 3d model. So instead of seeing an idealized FEA system we can see a distibution of expected outcomes. This is very important for verifying that manufactured parts all meet the desired specs. The challenge for this would be getting the tolerances matched to faces, for adding or removing nodes to the FEA model. We can also somewhat give a normal distribution of expected values.

Assembly Applications

These single part simulations are only somewhat intersting. The real interesting thing would be using this for generating information on assemblies, like an extended version of tolerance analysis. You could evaluate Interference and if they can be forced to assemble if deformed slightly. the constraints for the simulation would be pulled from the assembly constraints.

It might be an interesting idea to explore, Might be able to open up tolerances or lower requirements by getting a more exact idea of the things capabilities.

Is this just normal Tolerance Analysis? or is it more useful than that? I don't do TA much so I don't have a great sense for this.

Image

Electric Motorcycle

Lets talk about an Electric Motorcycle.
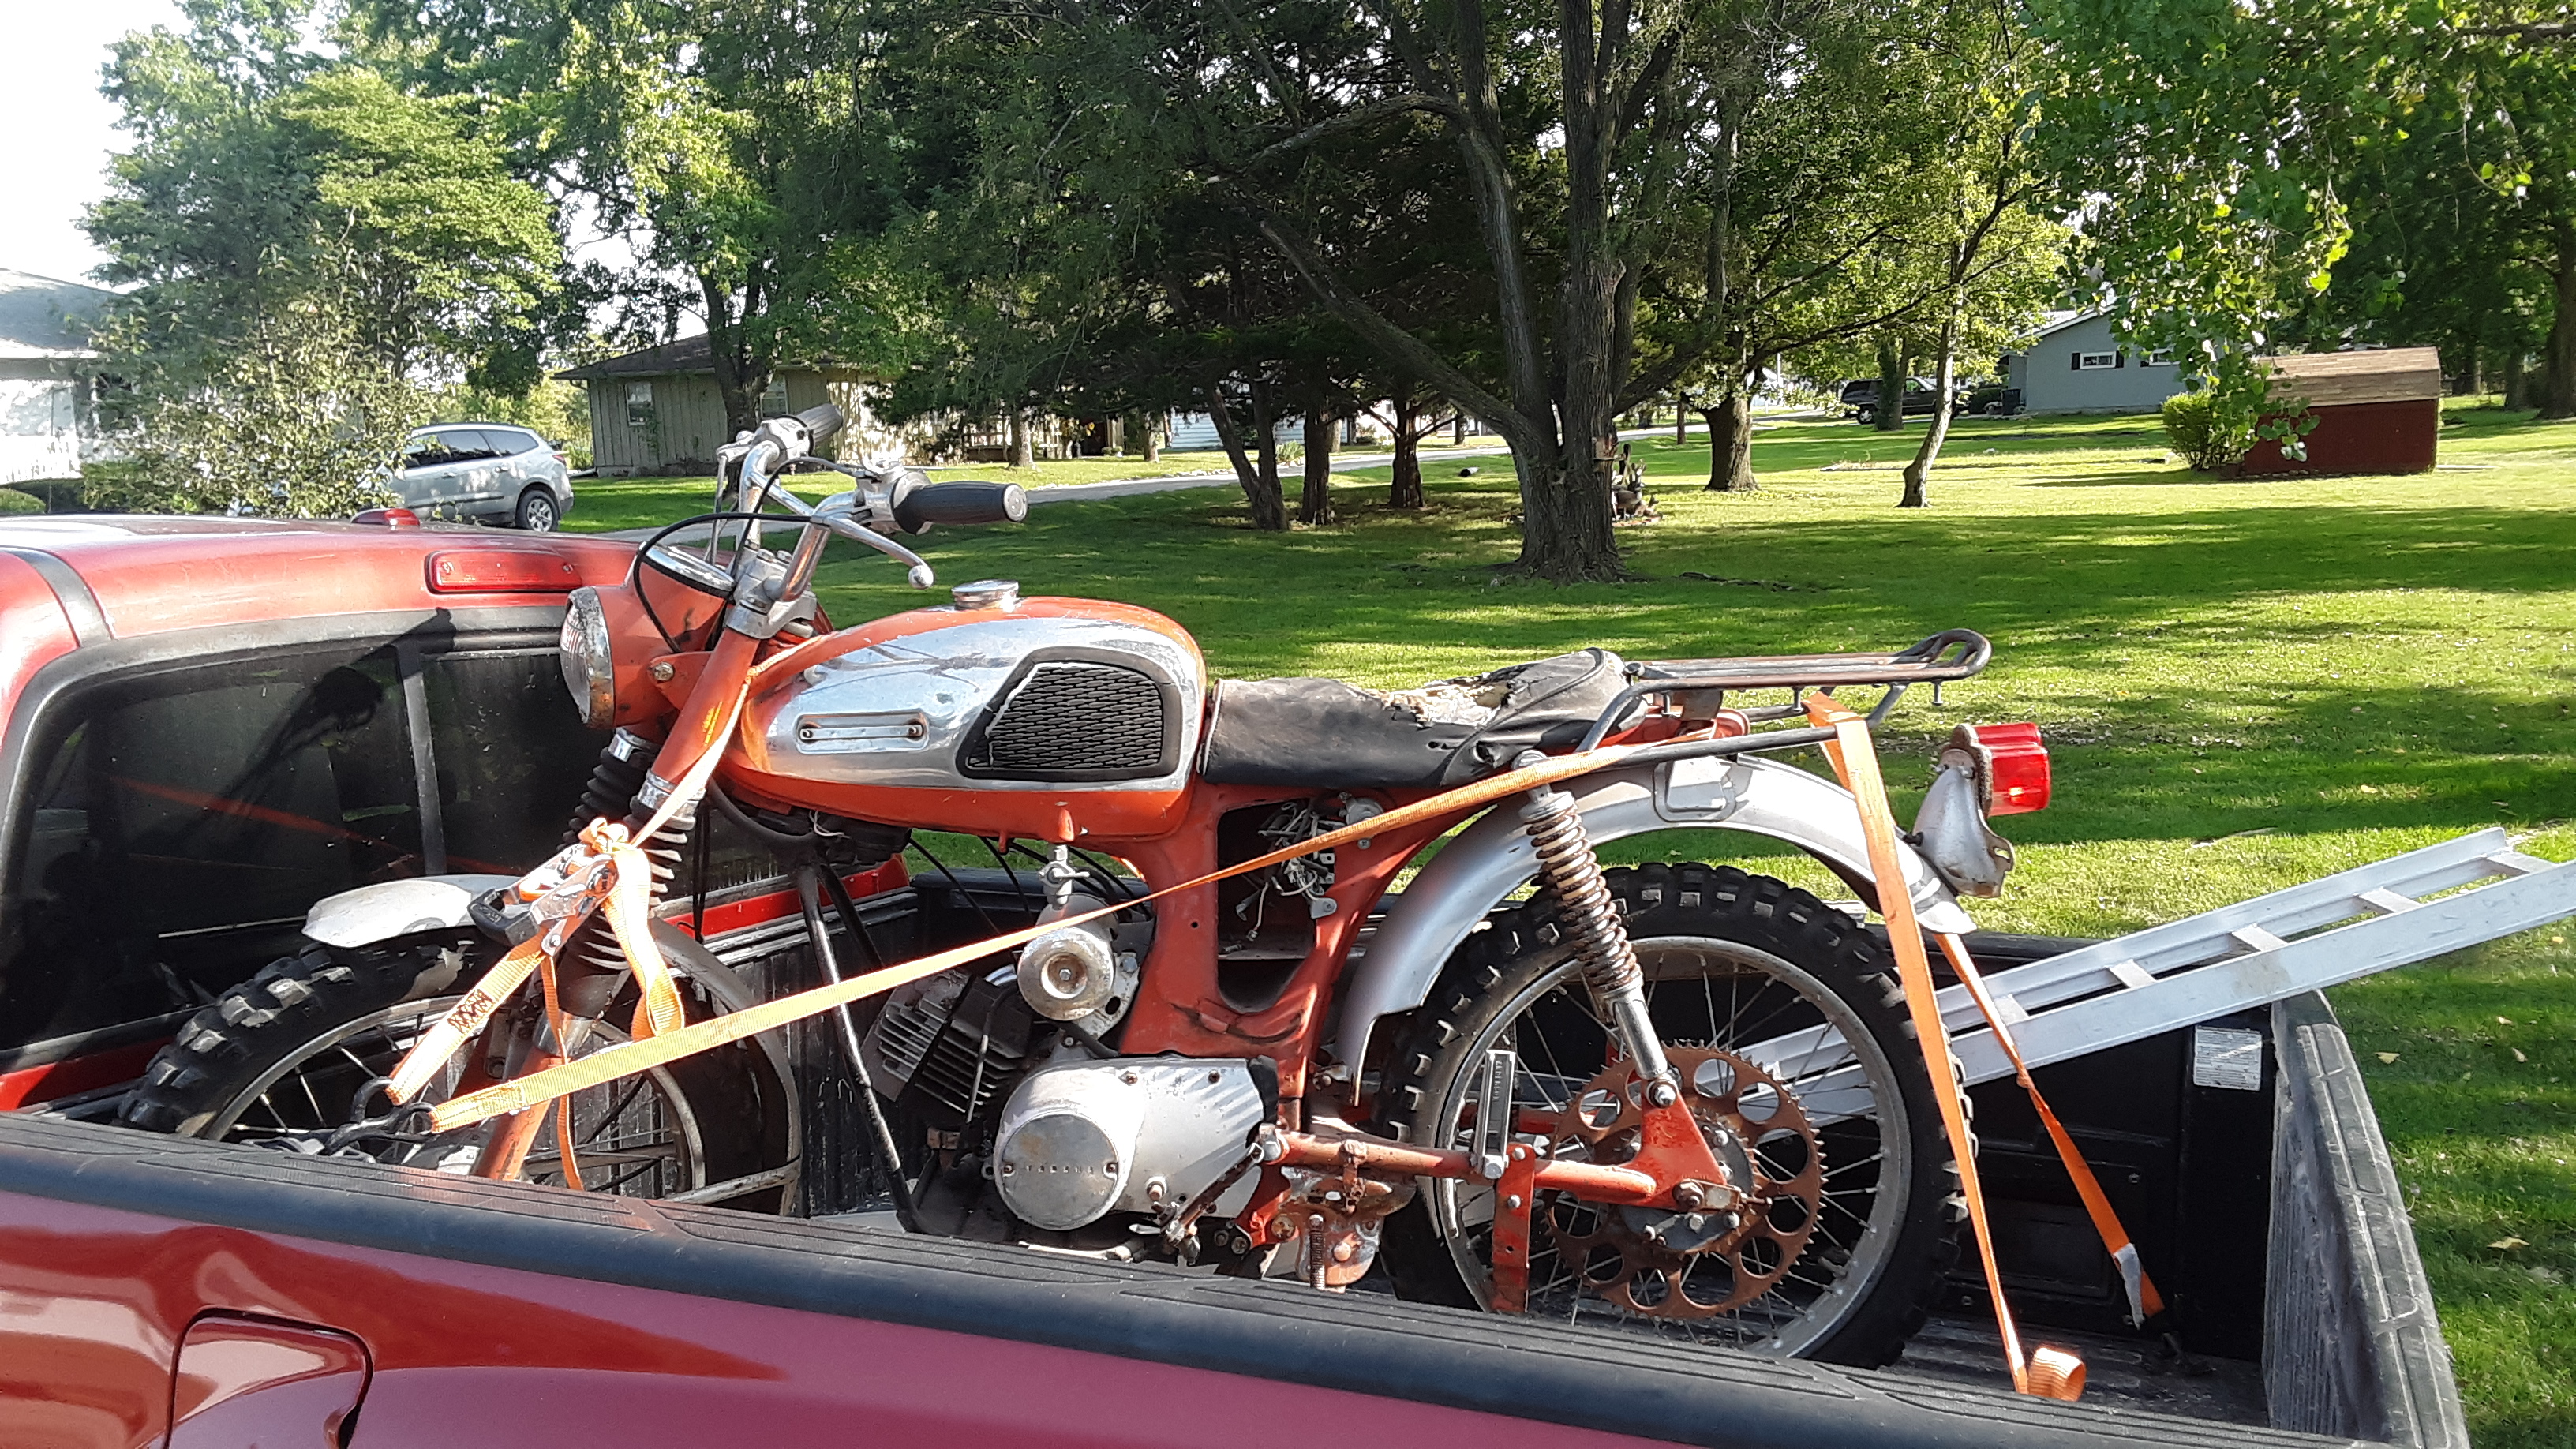
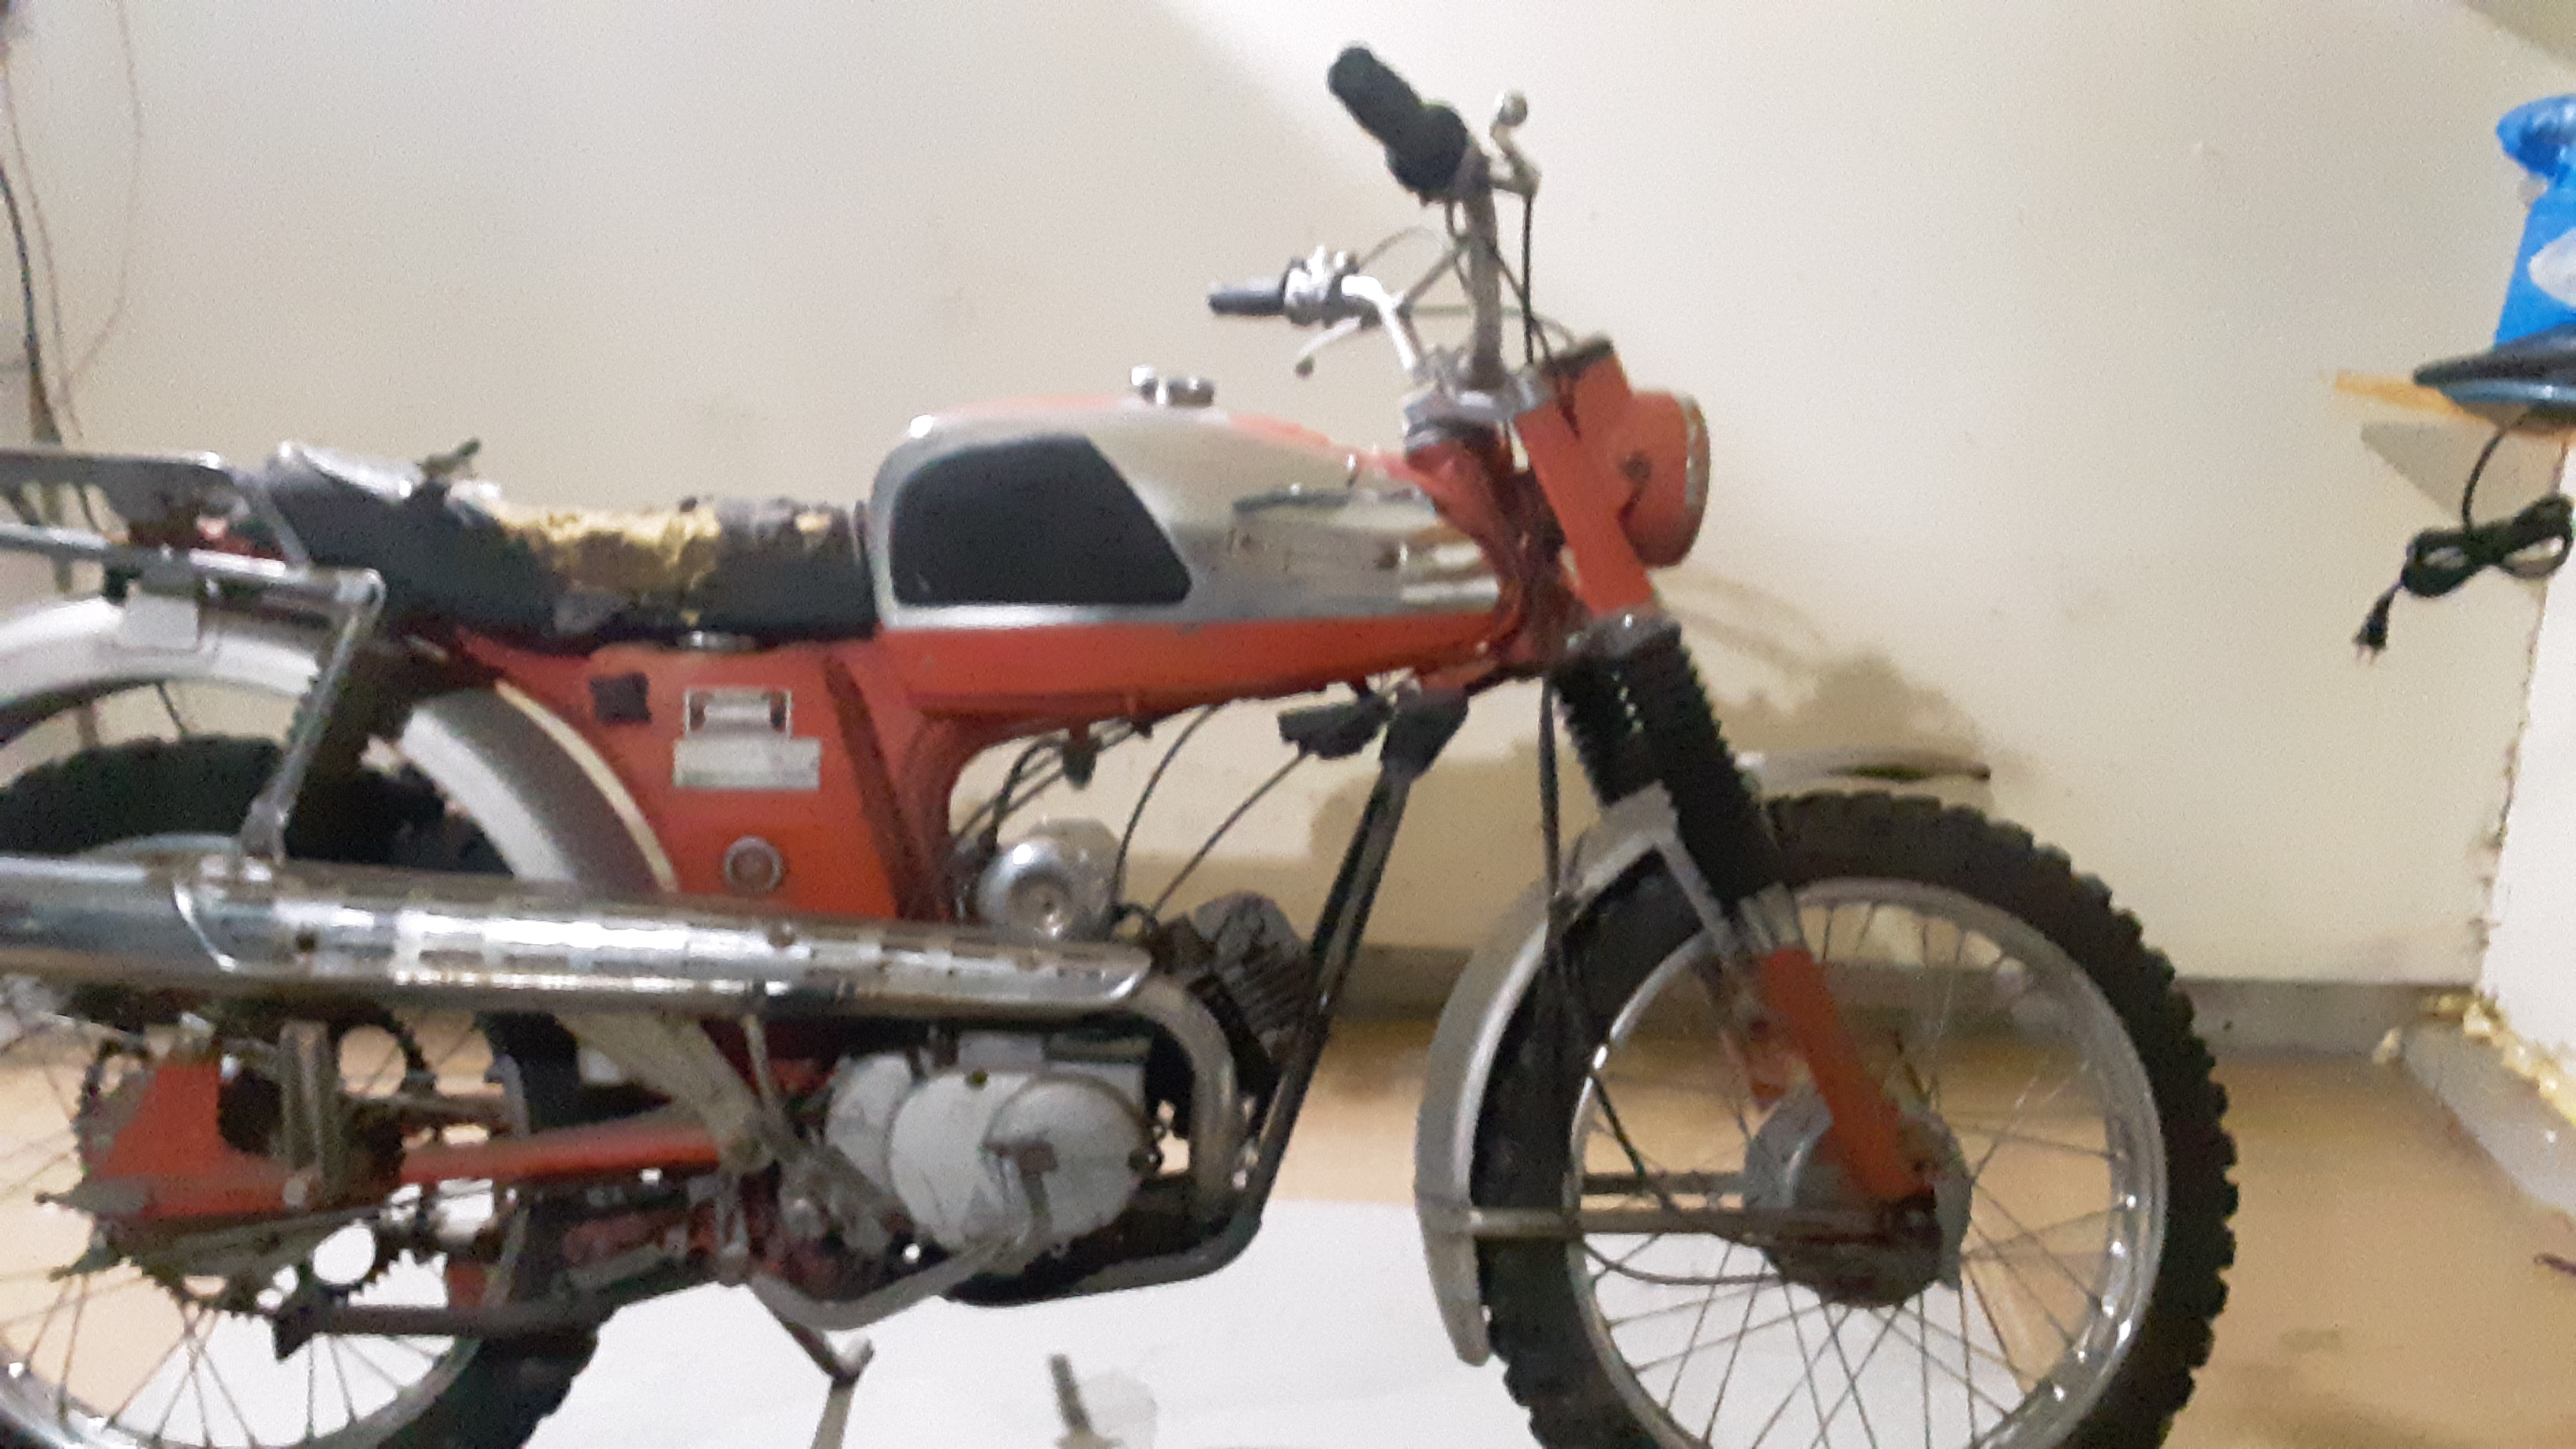
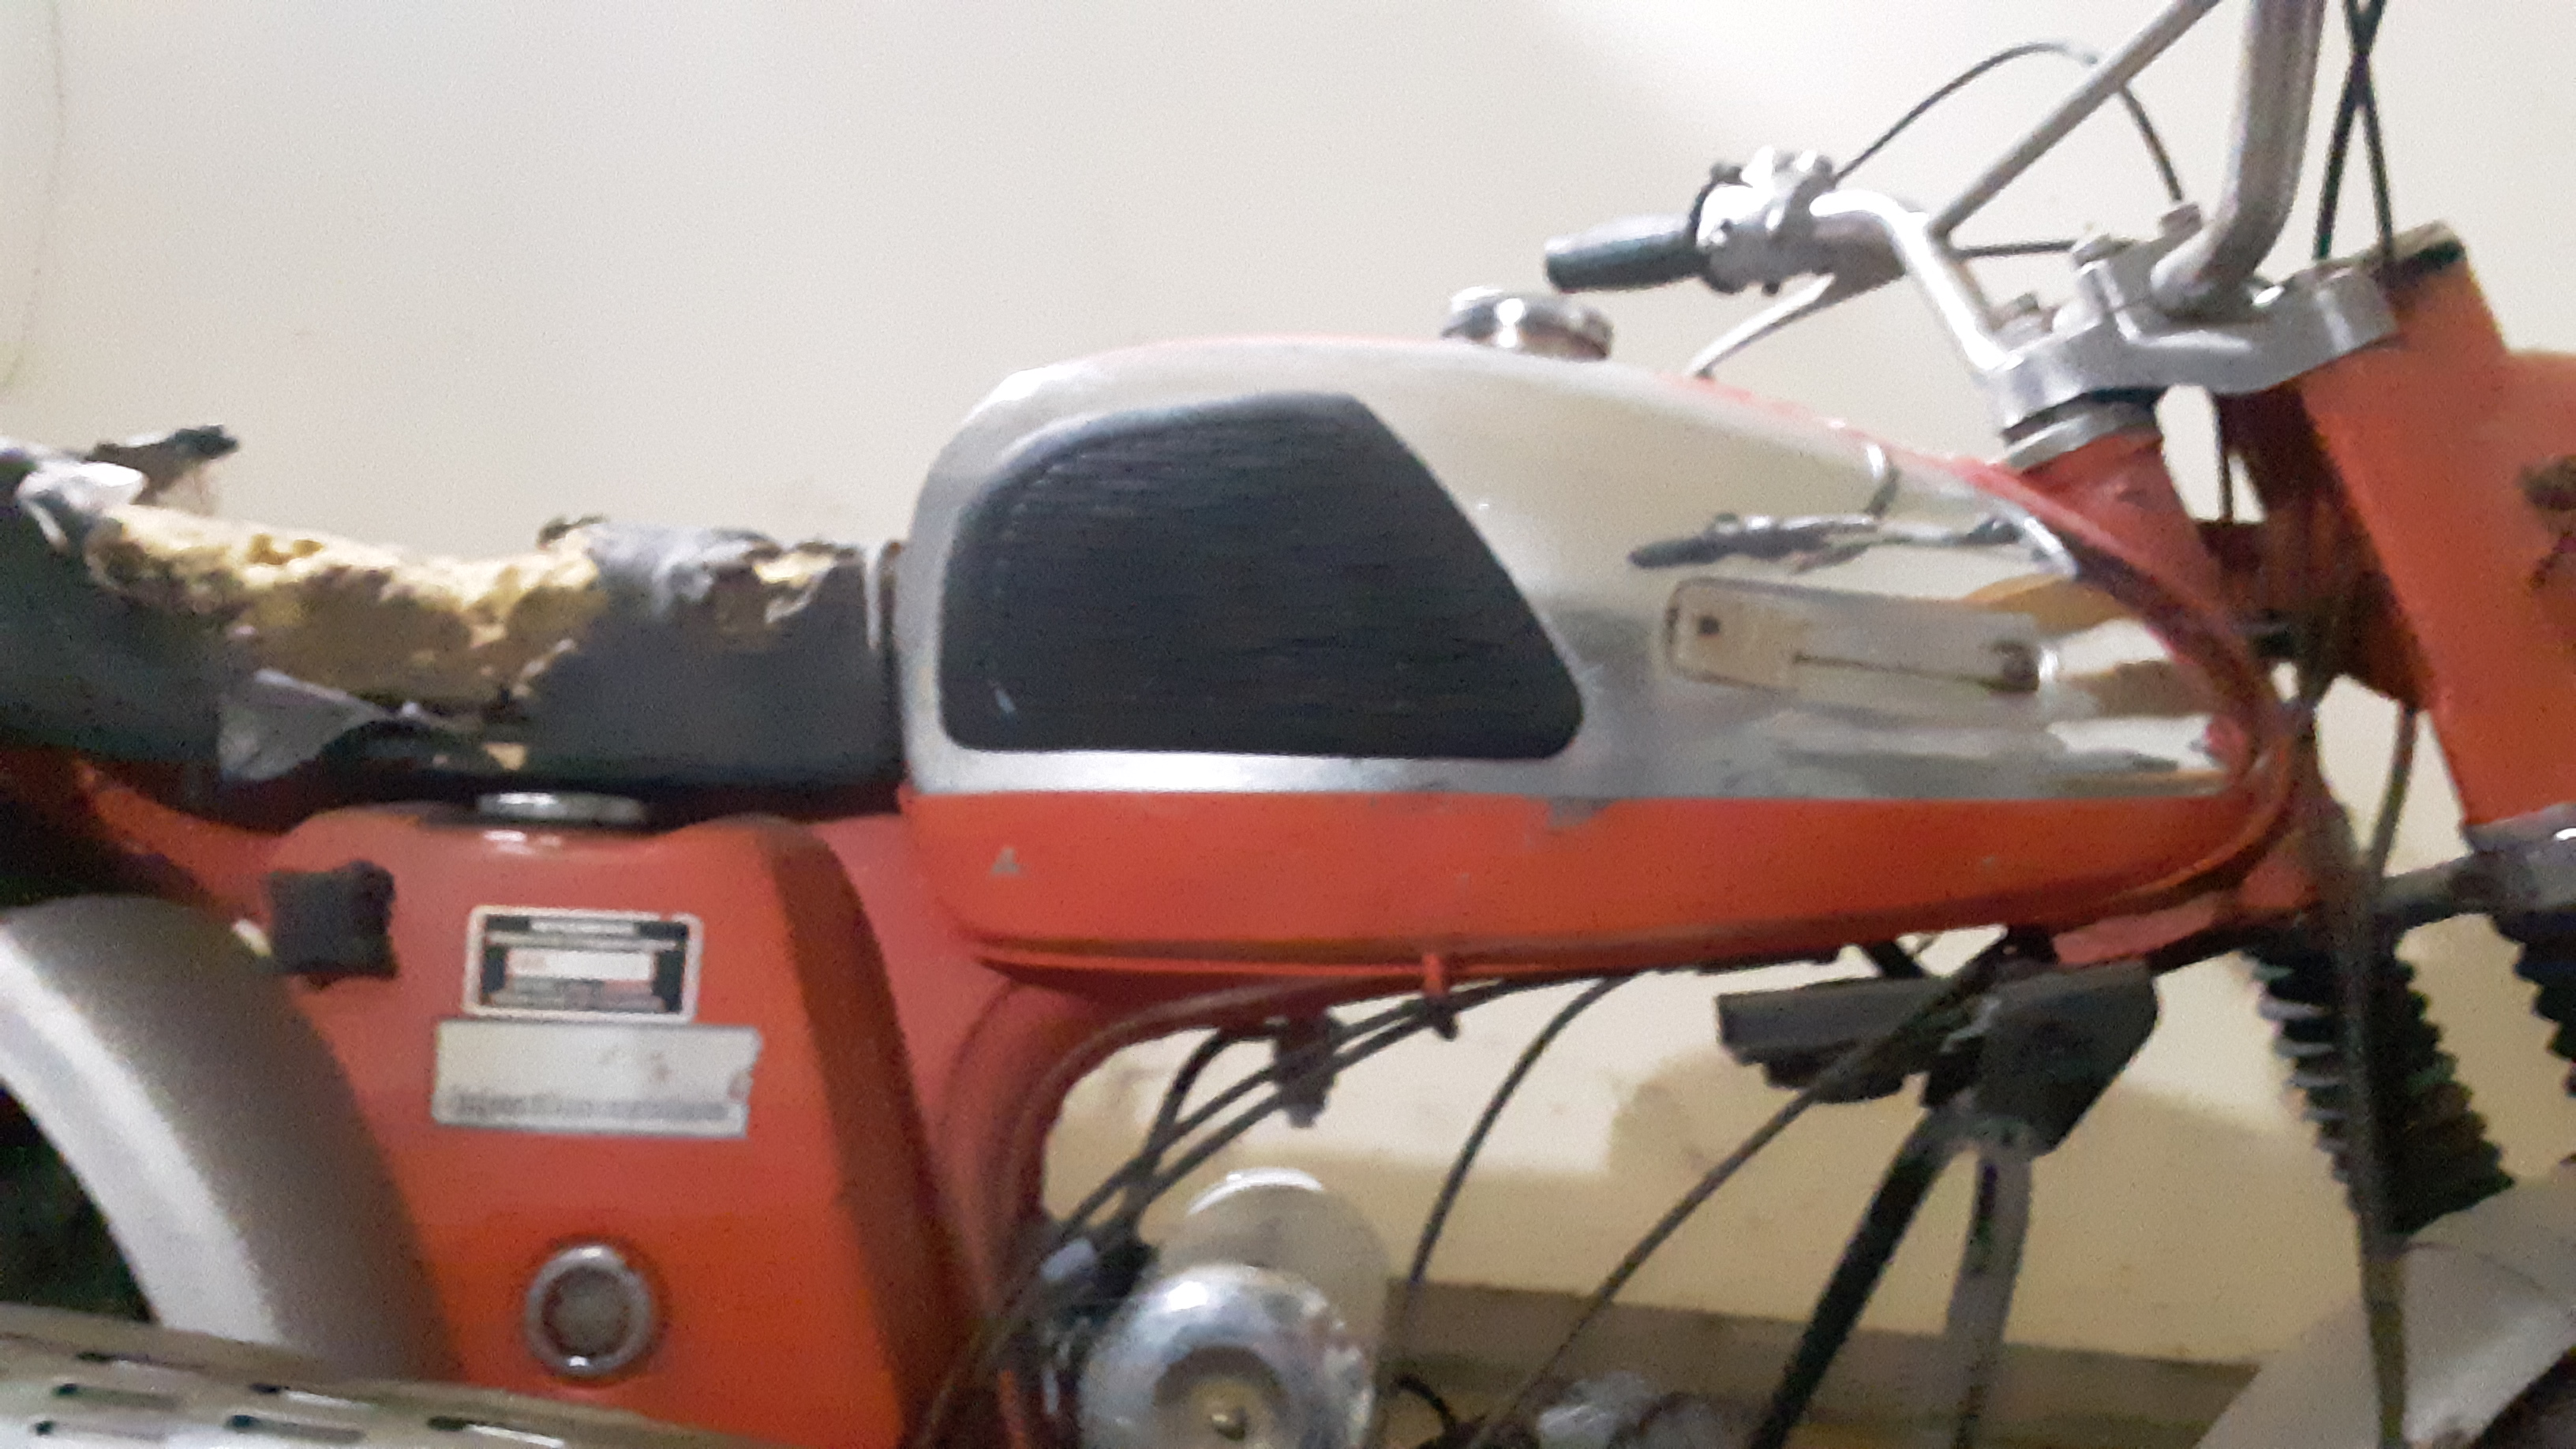
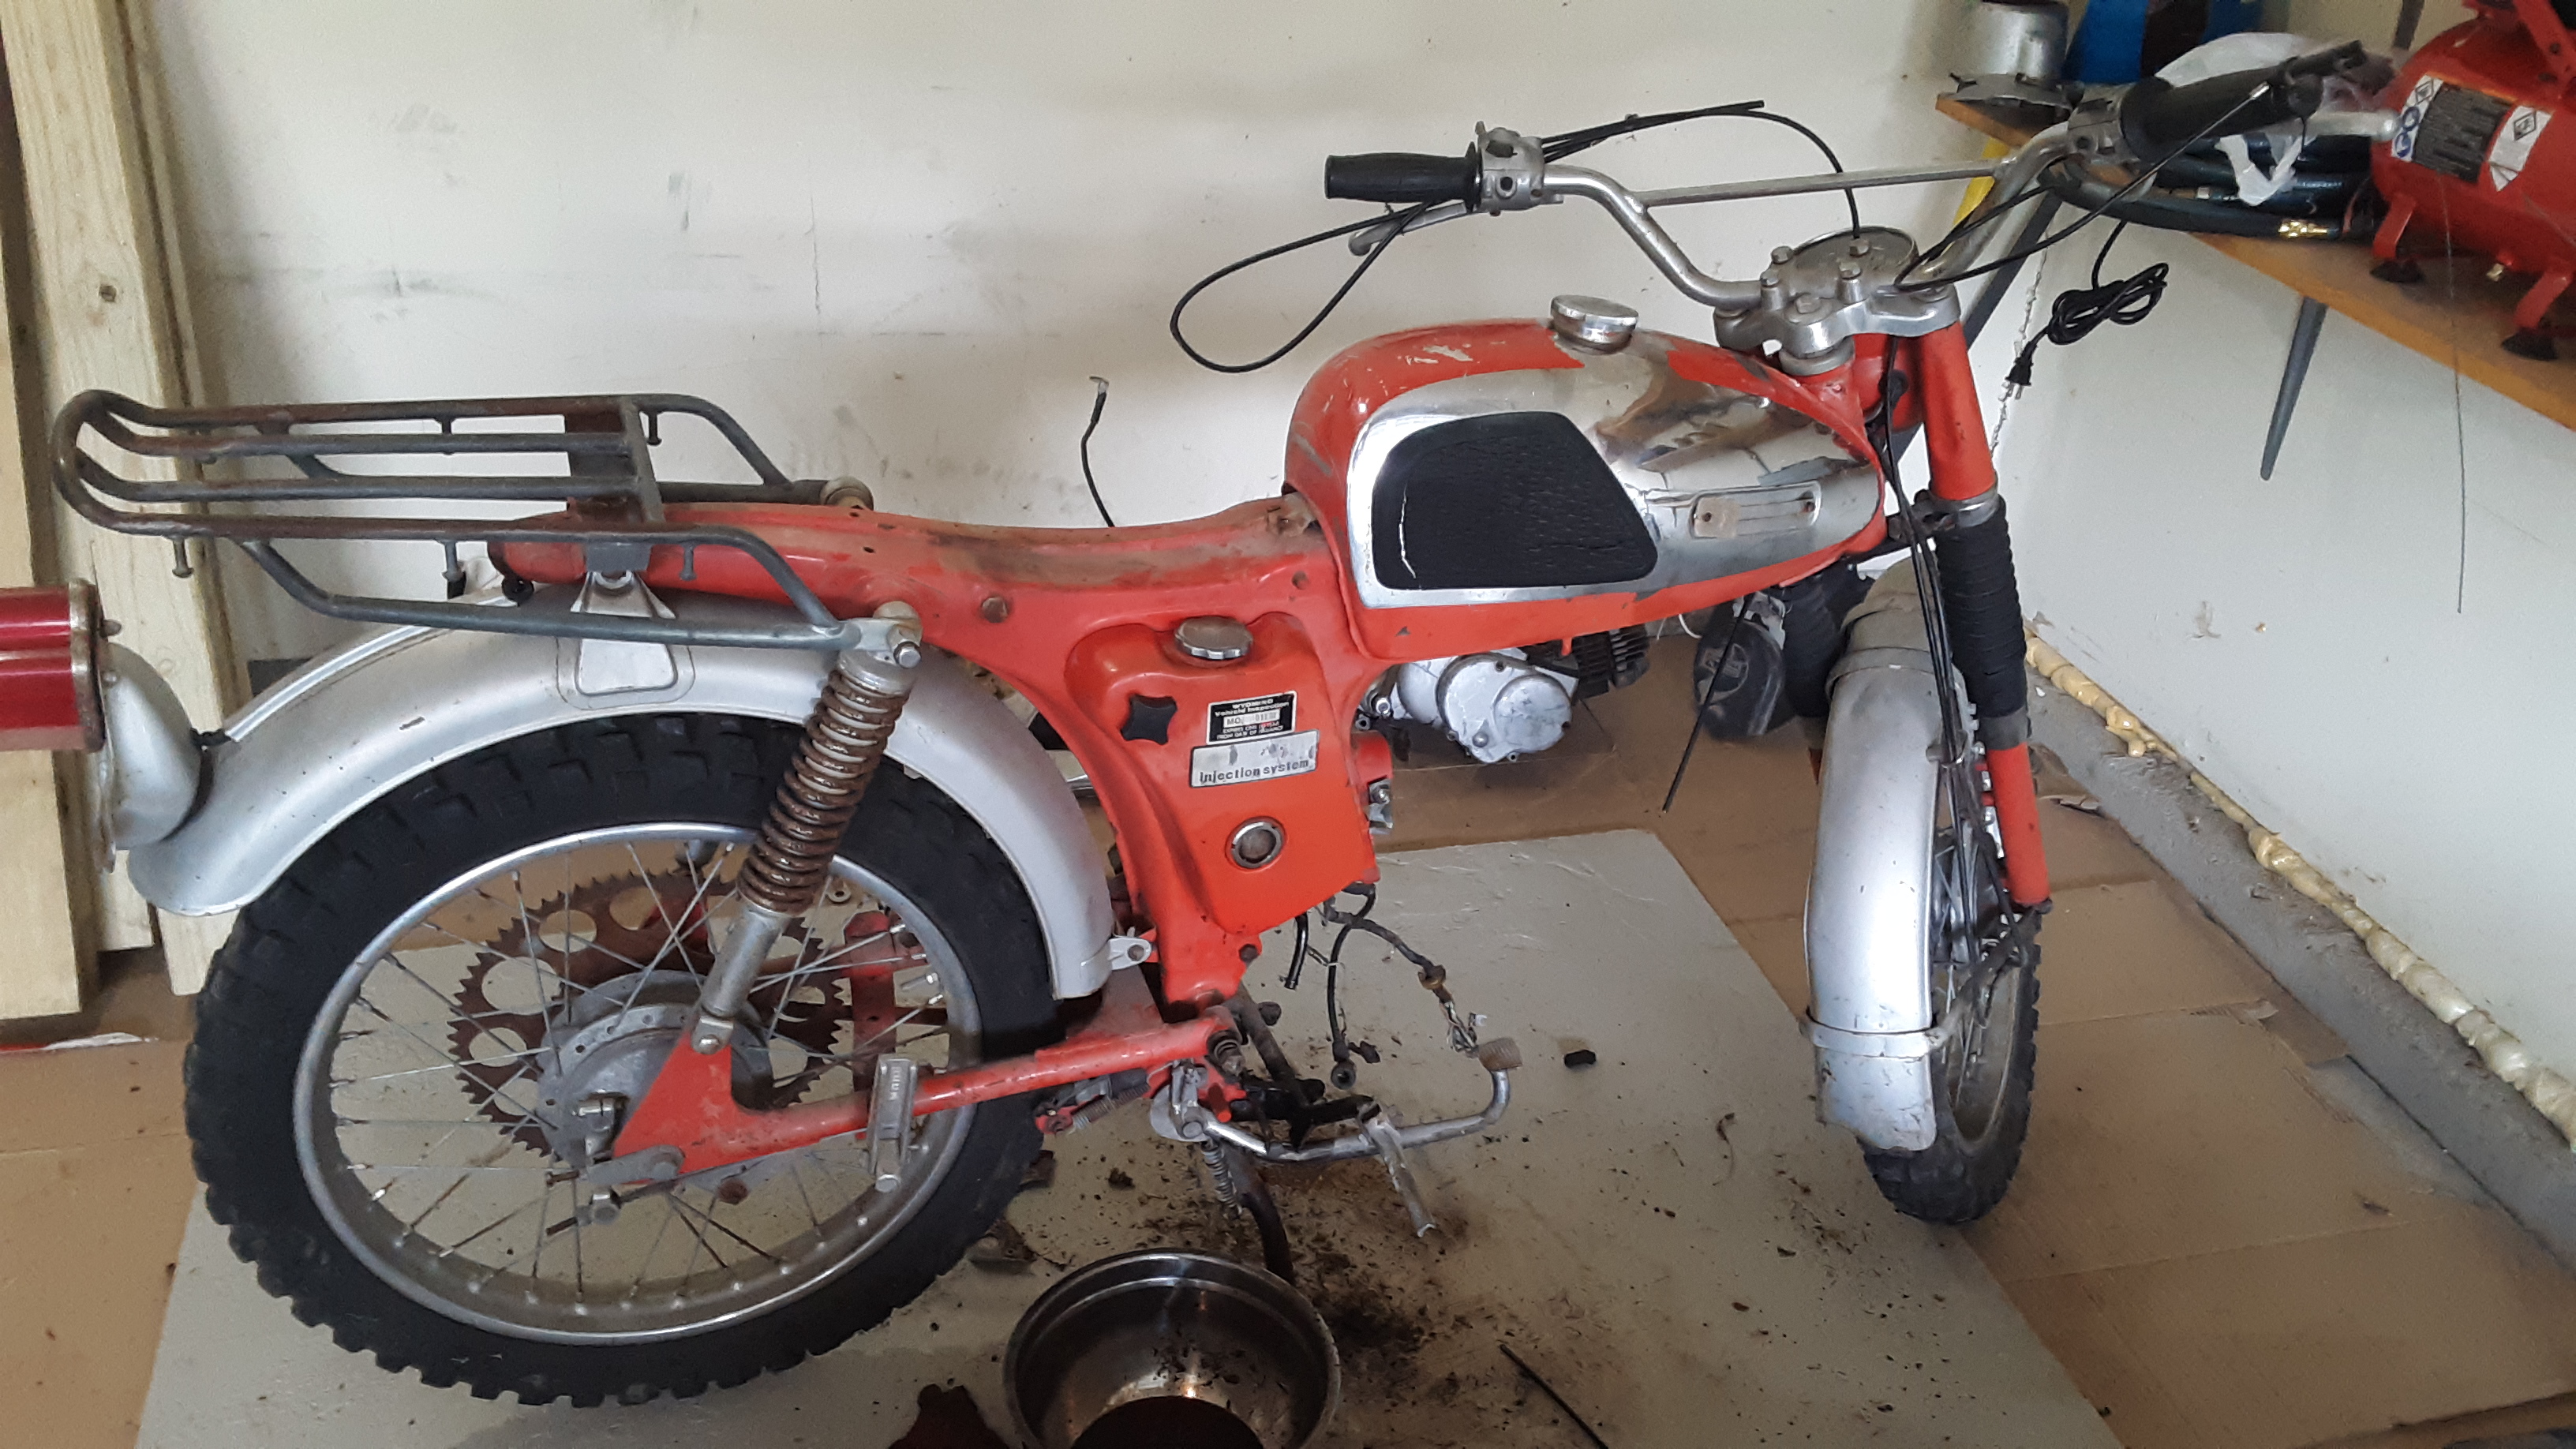
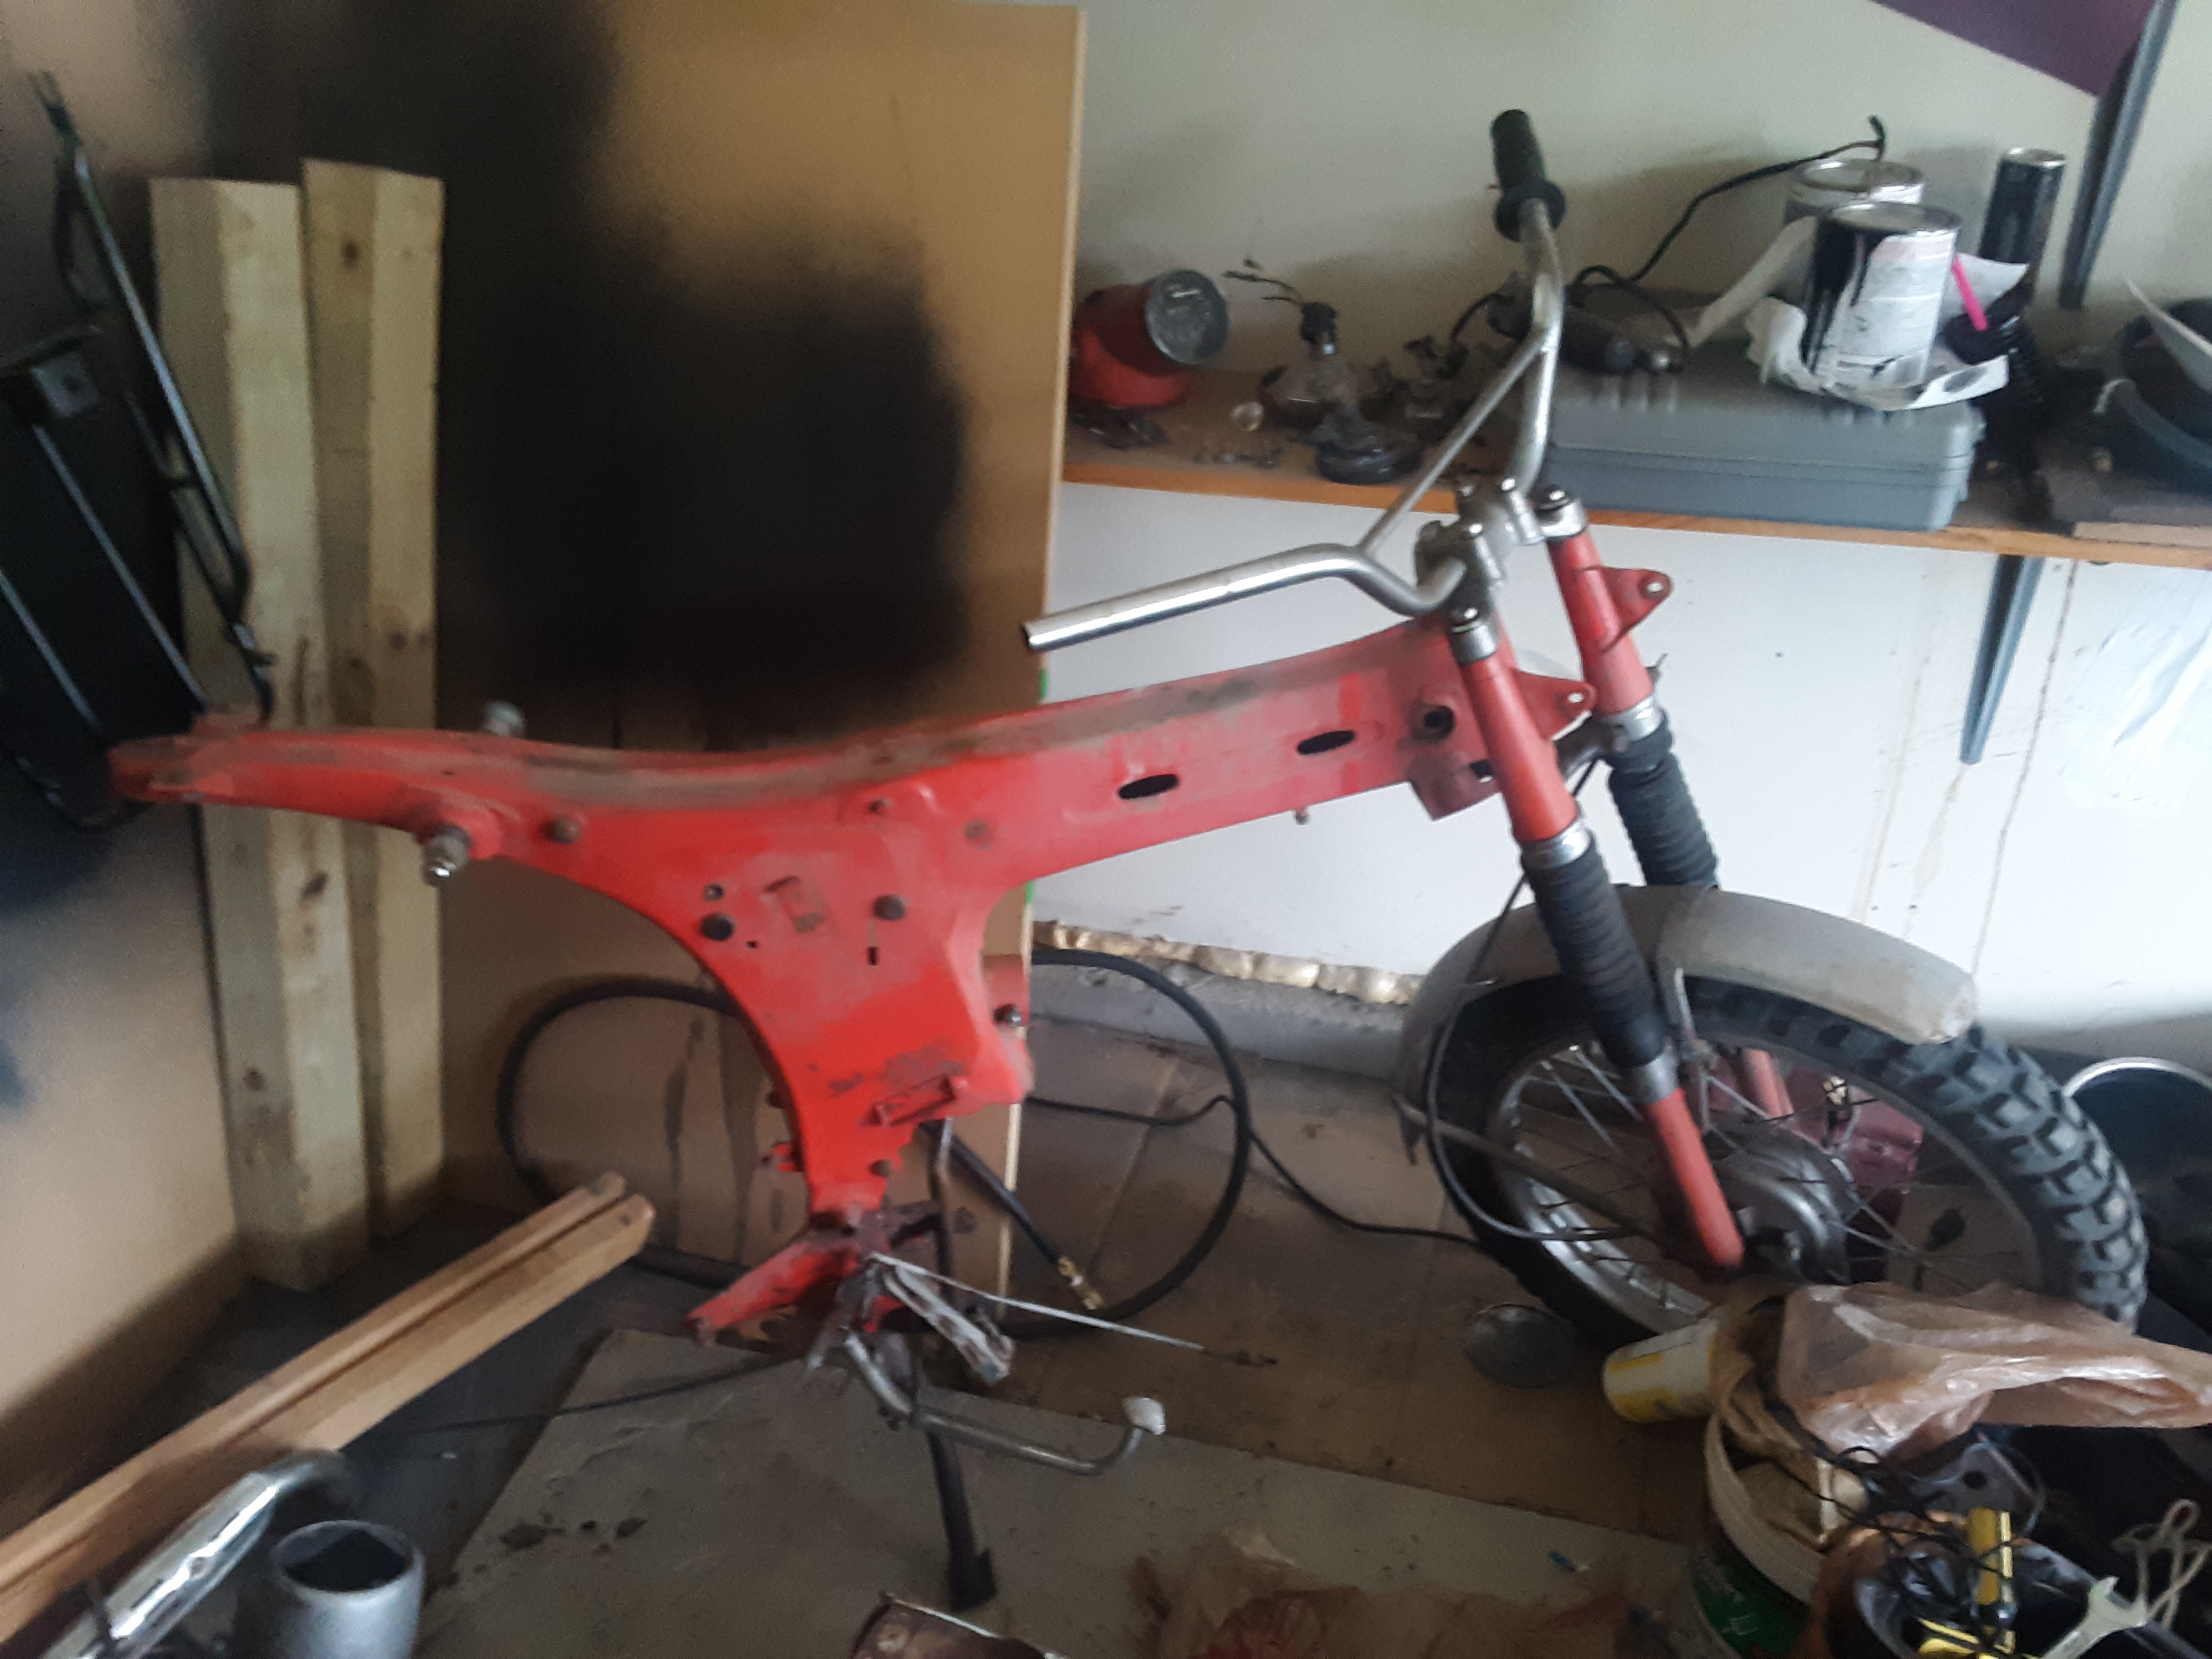
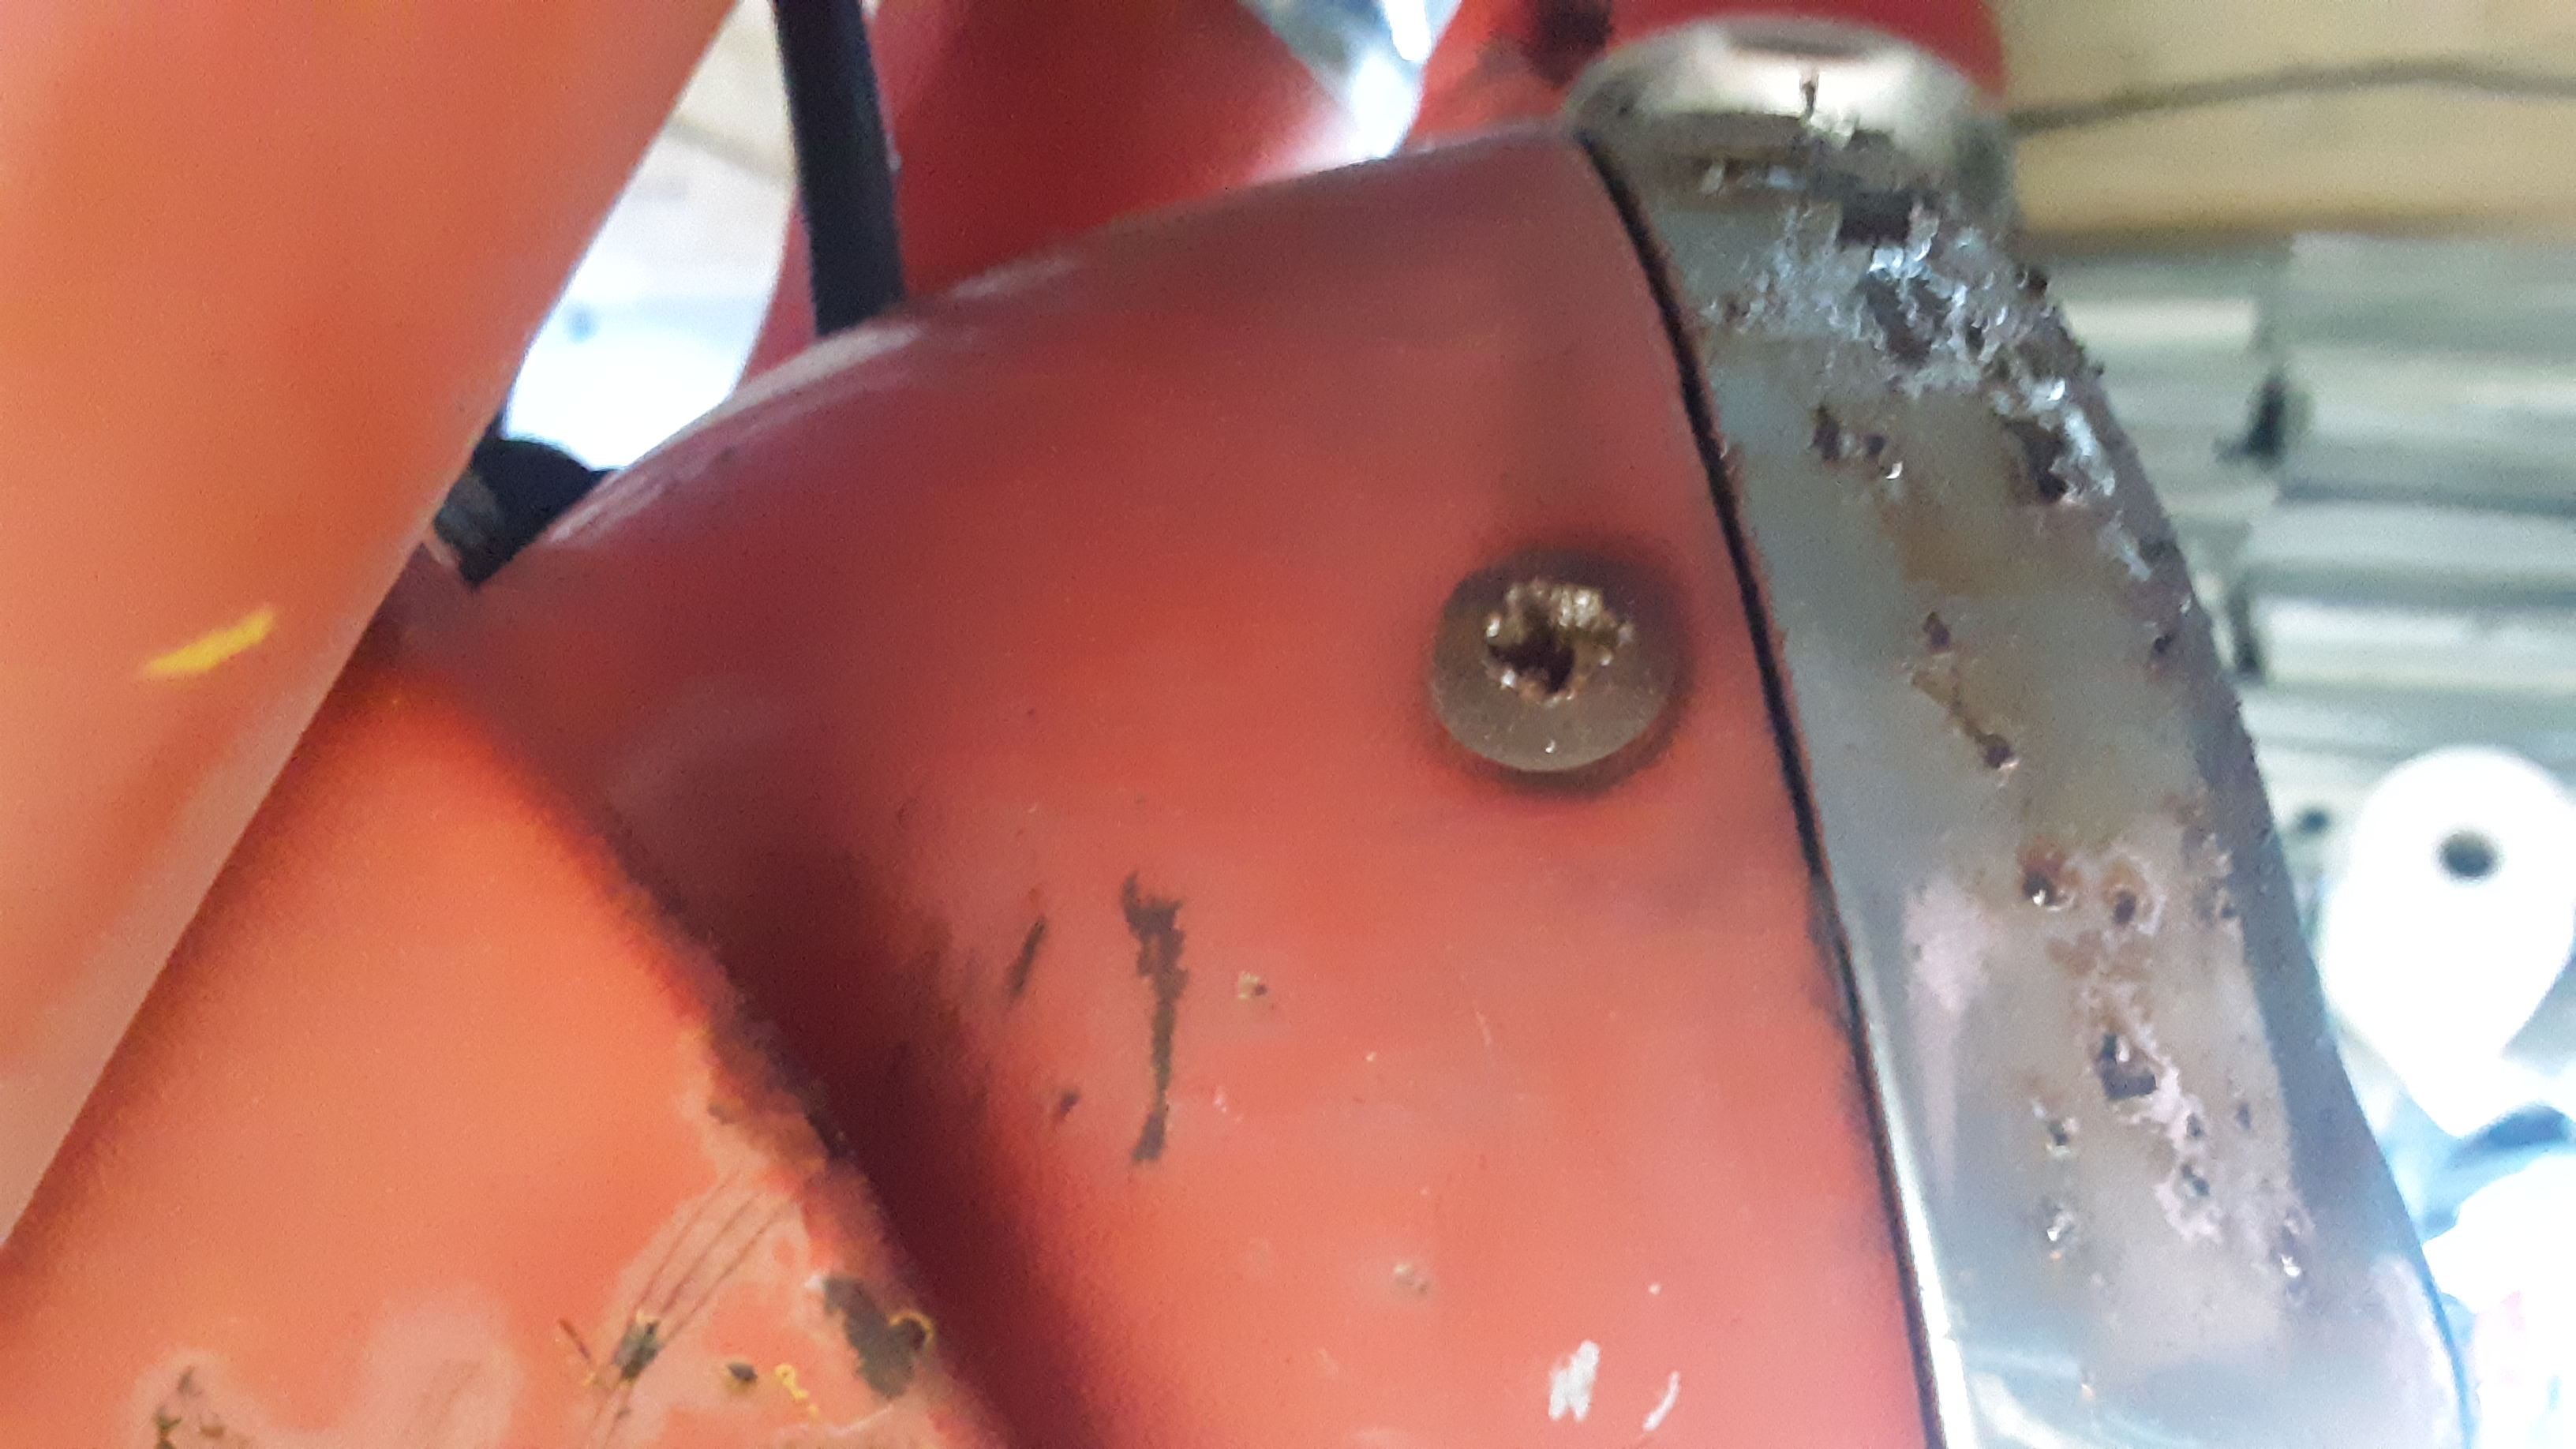
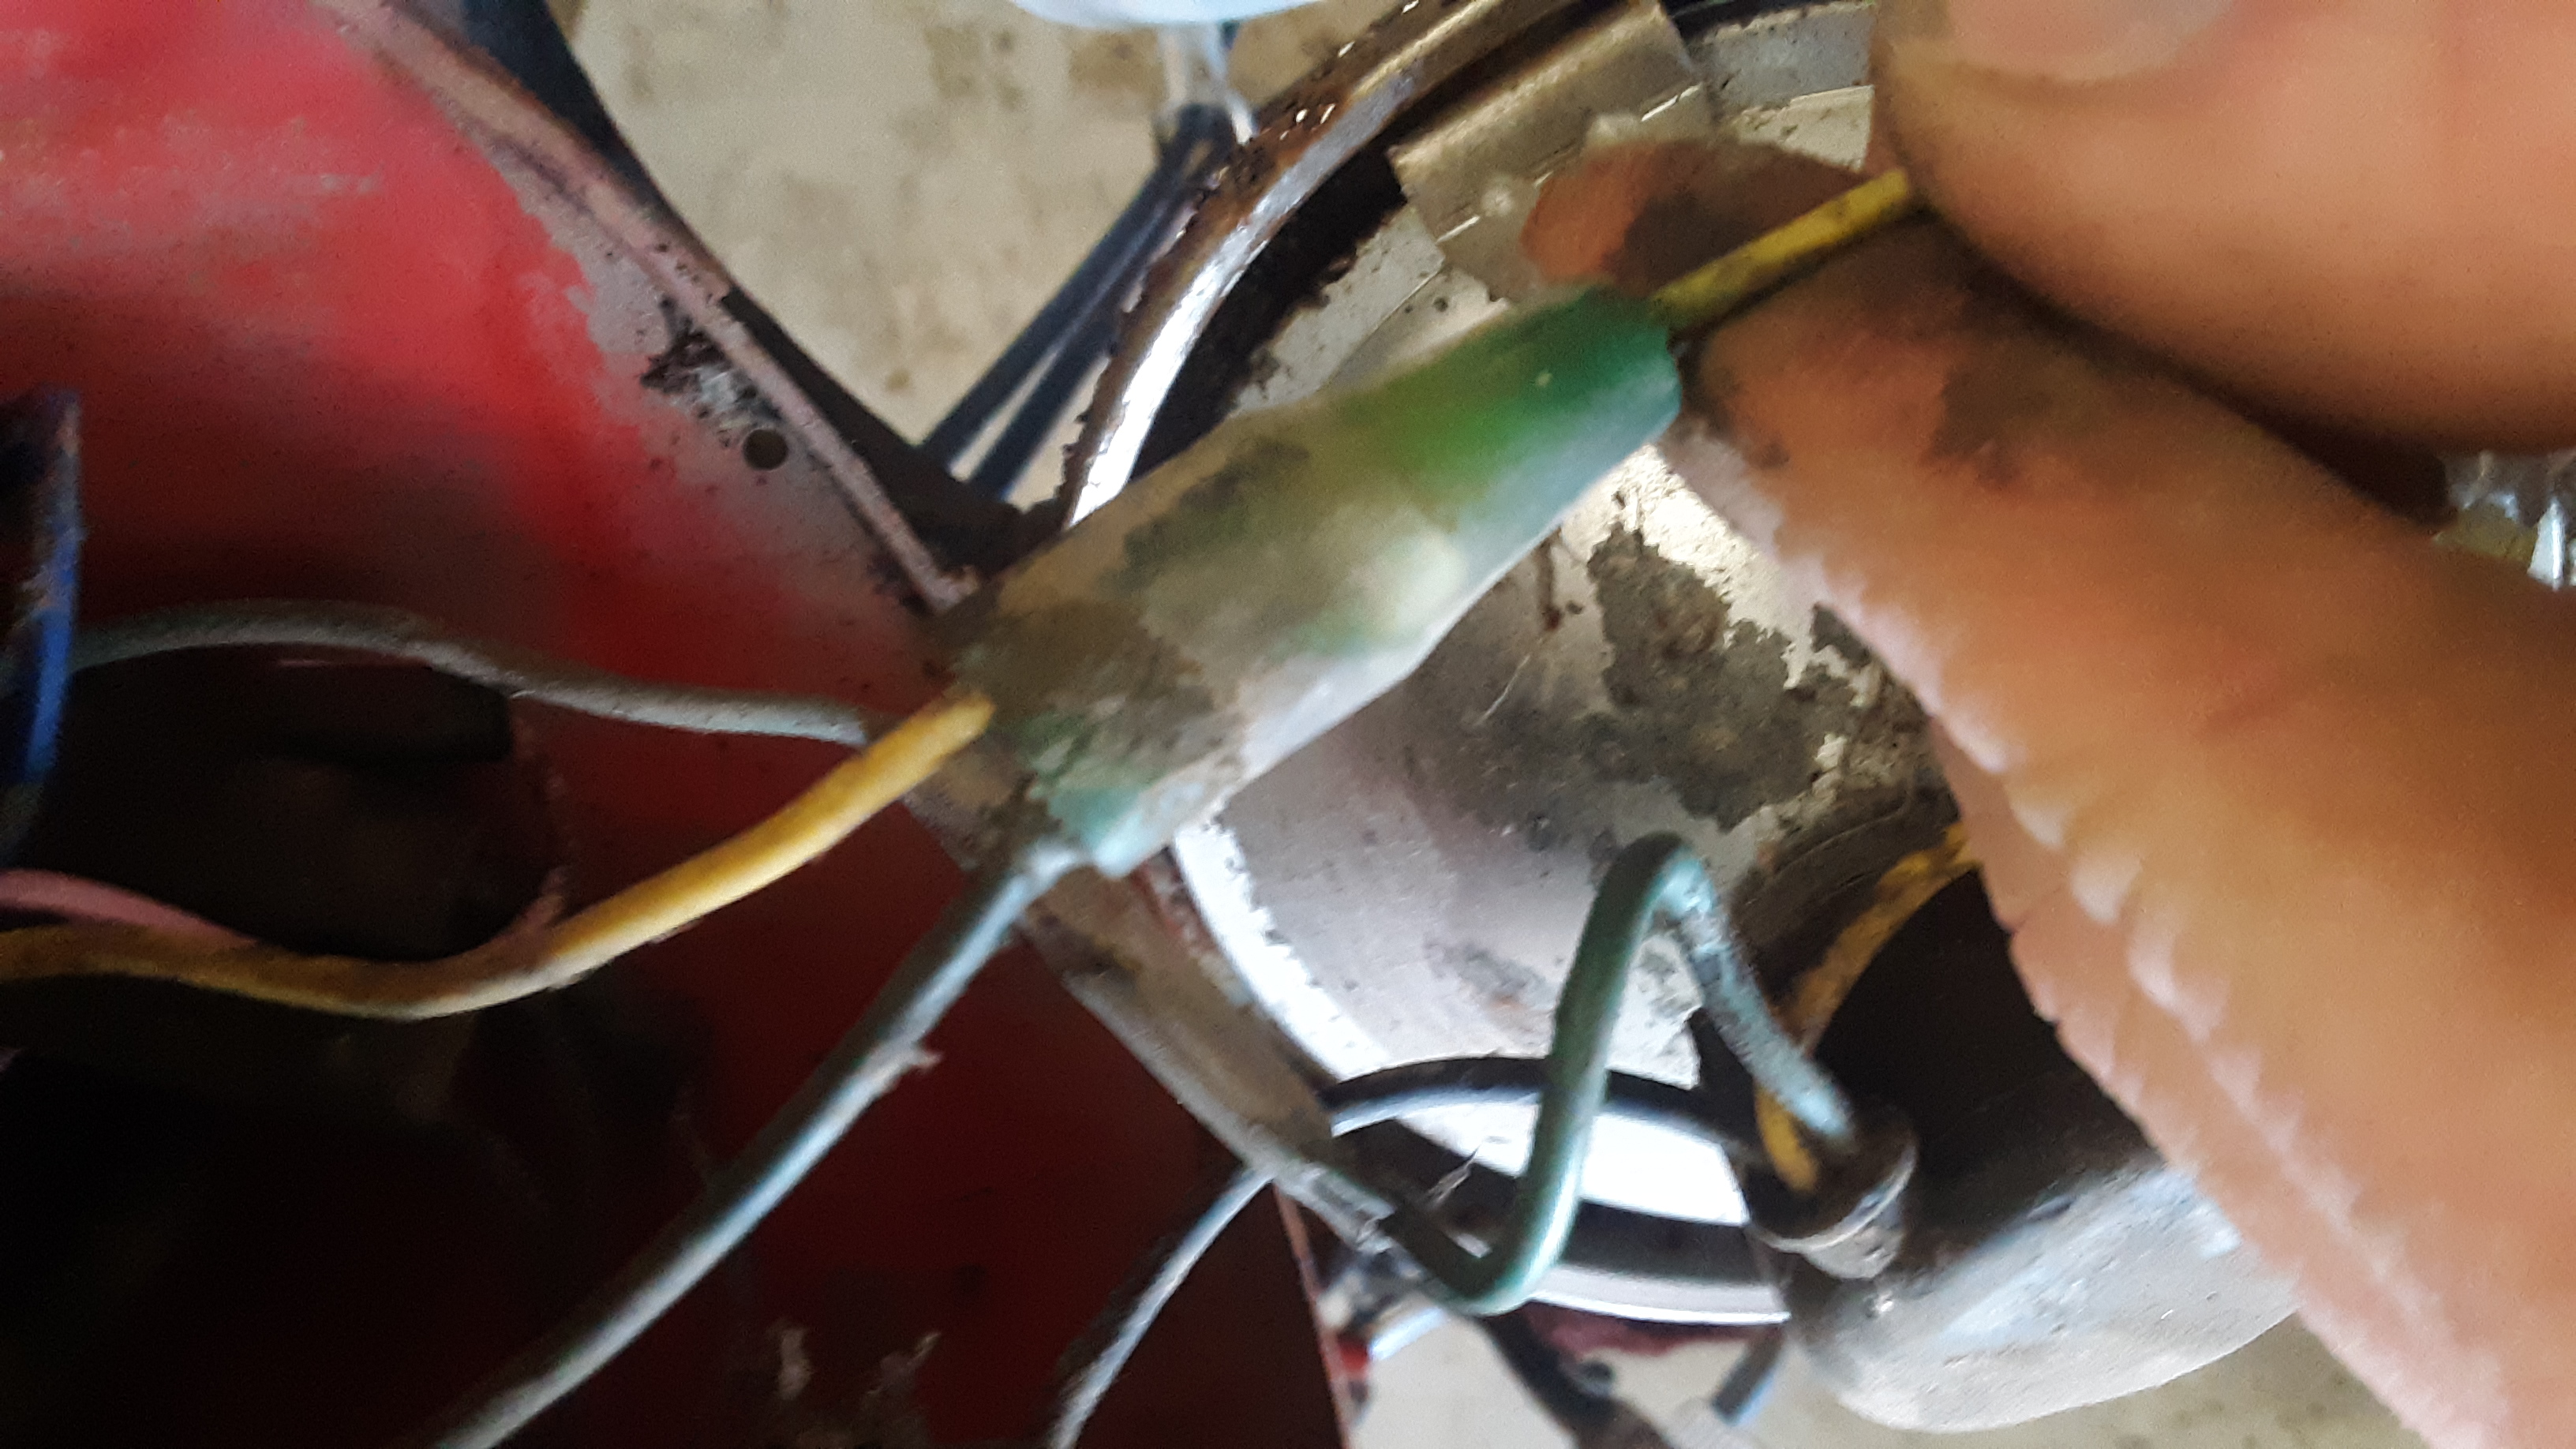
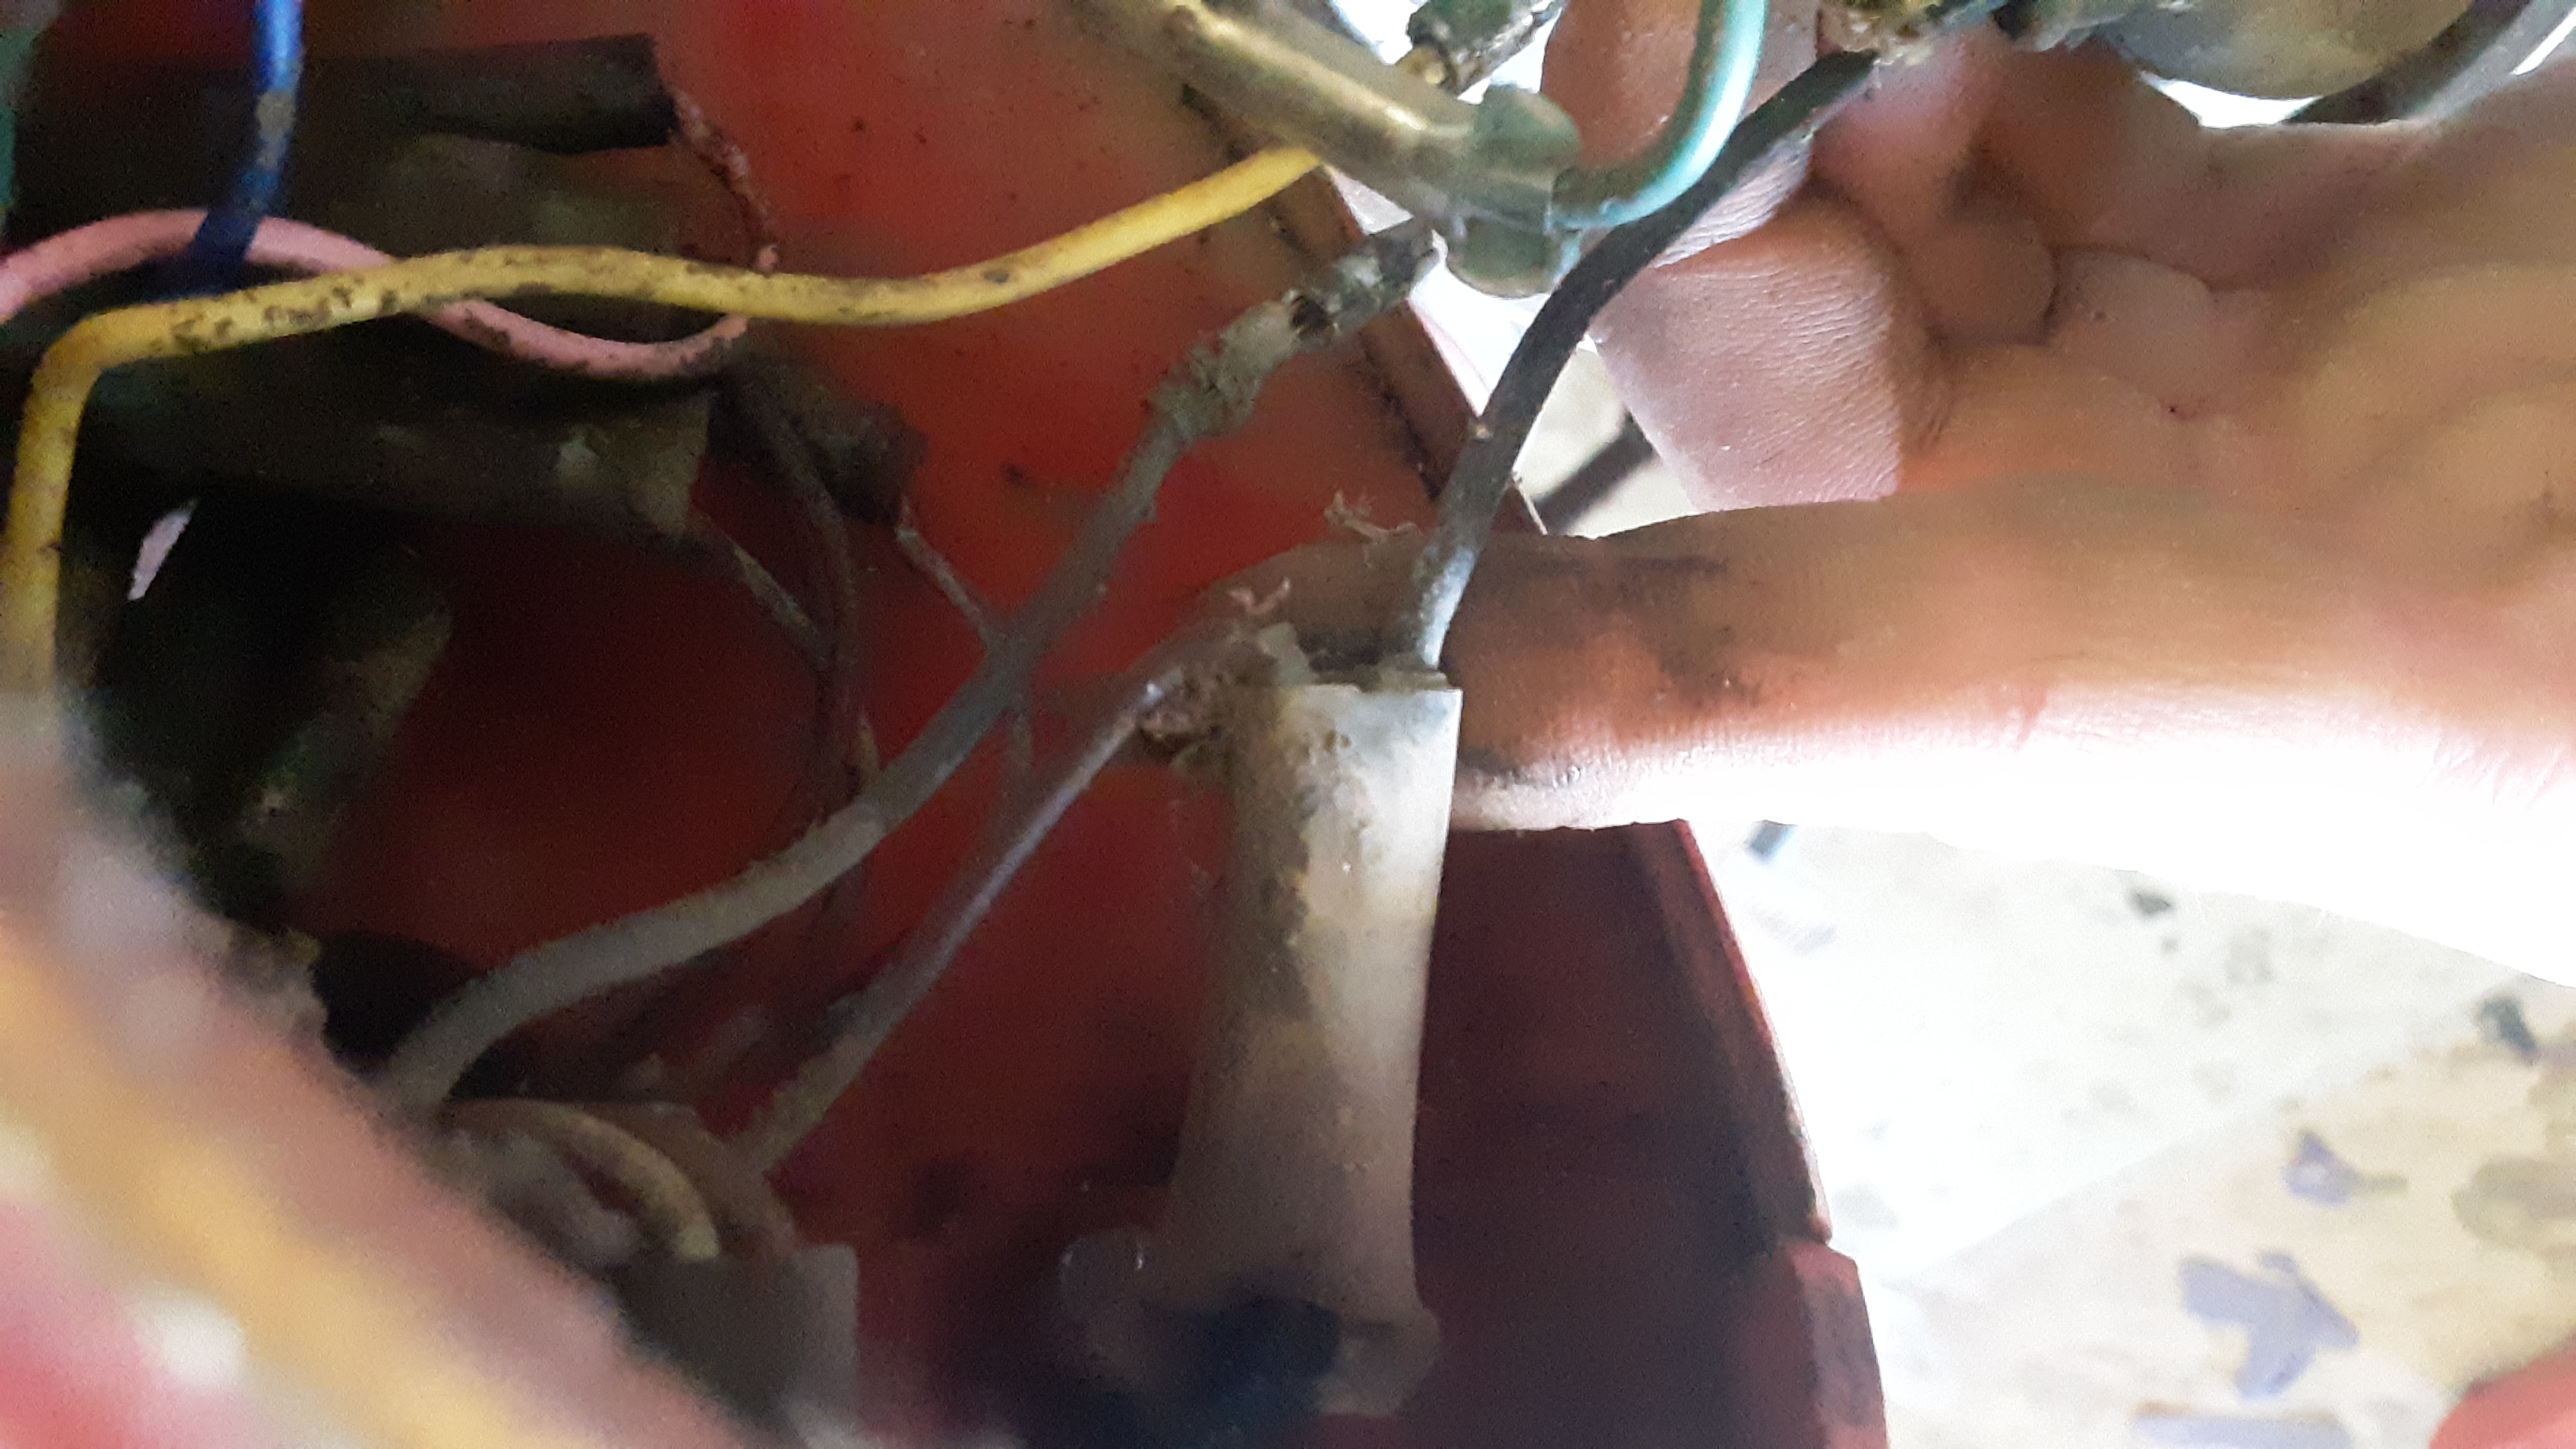
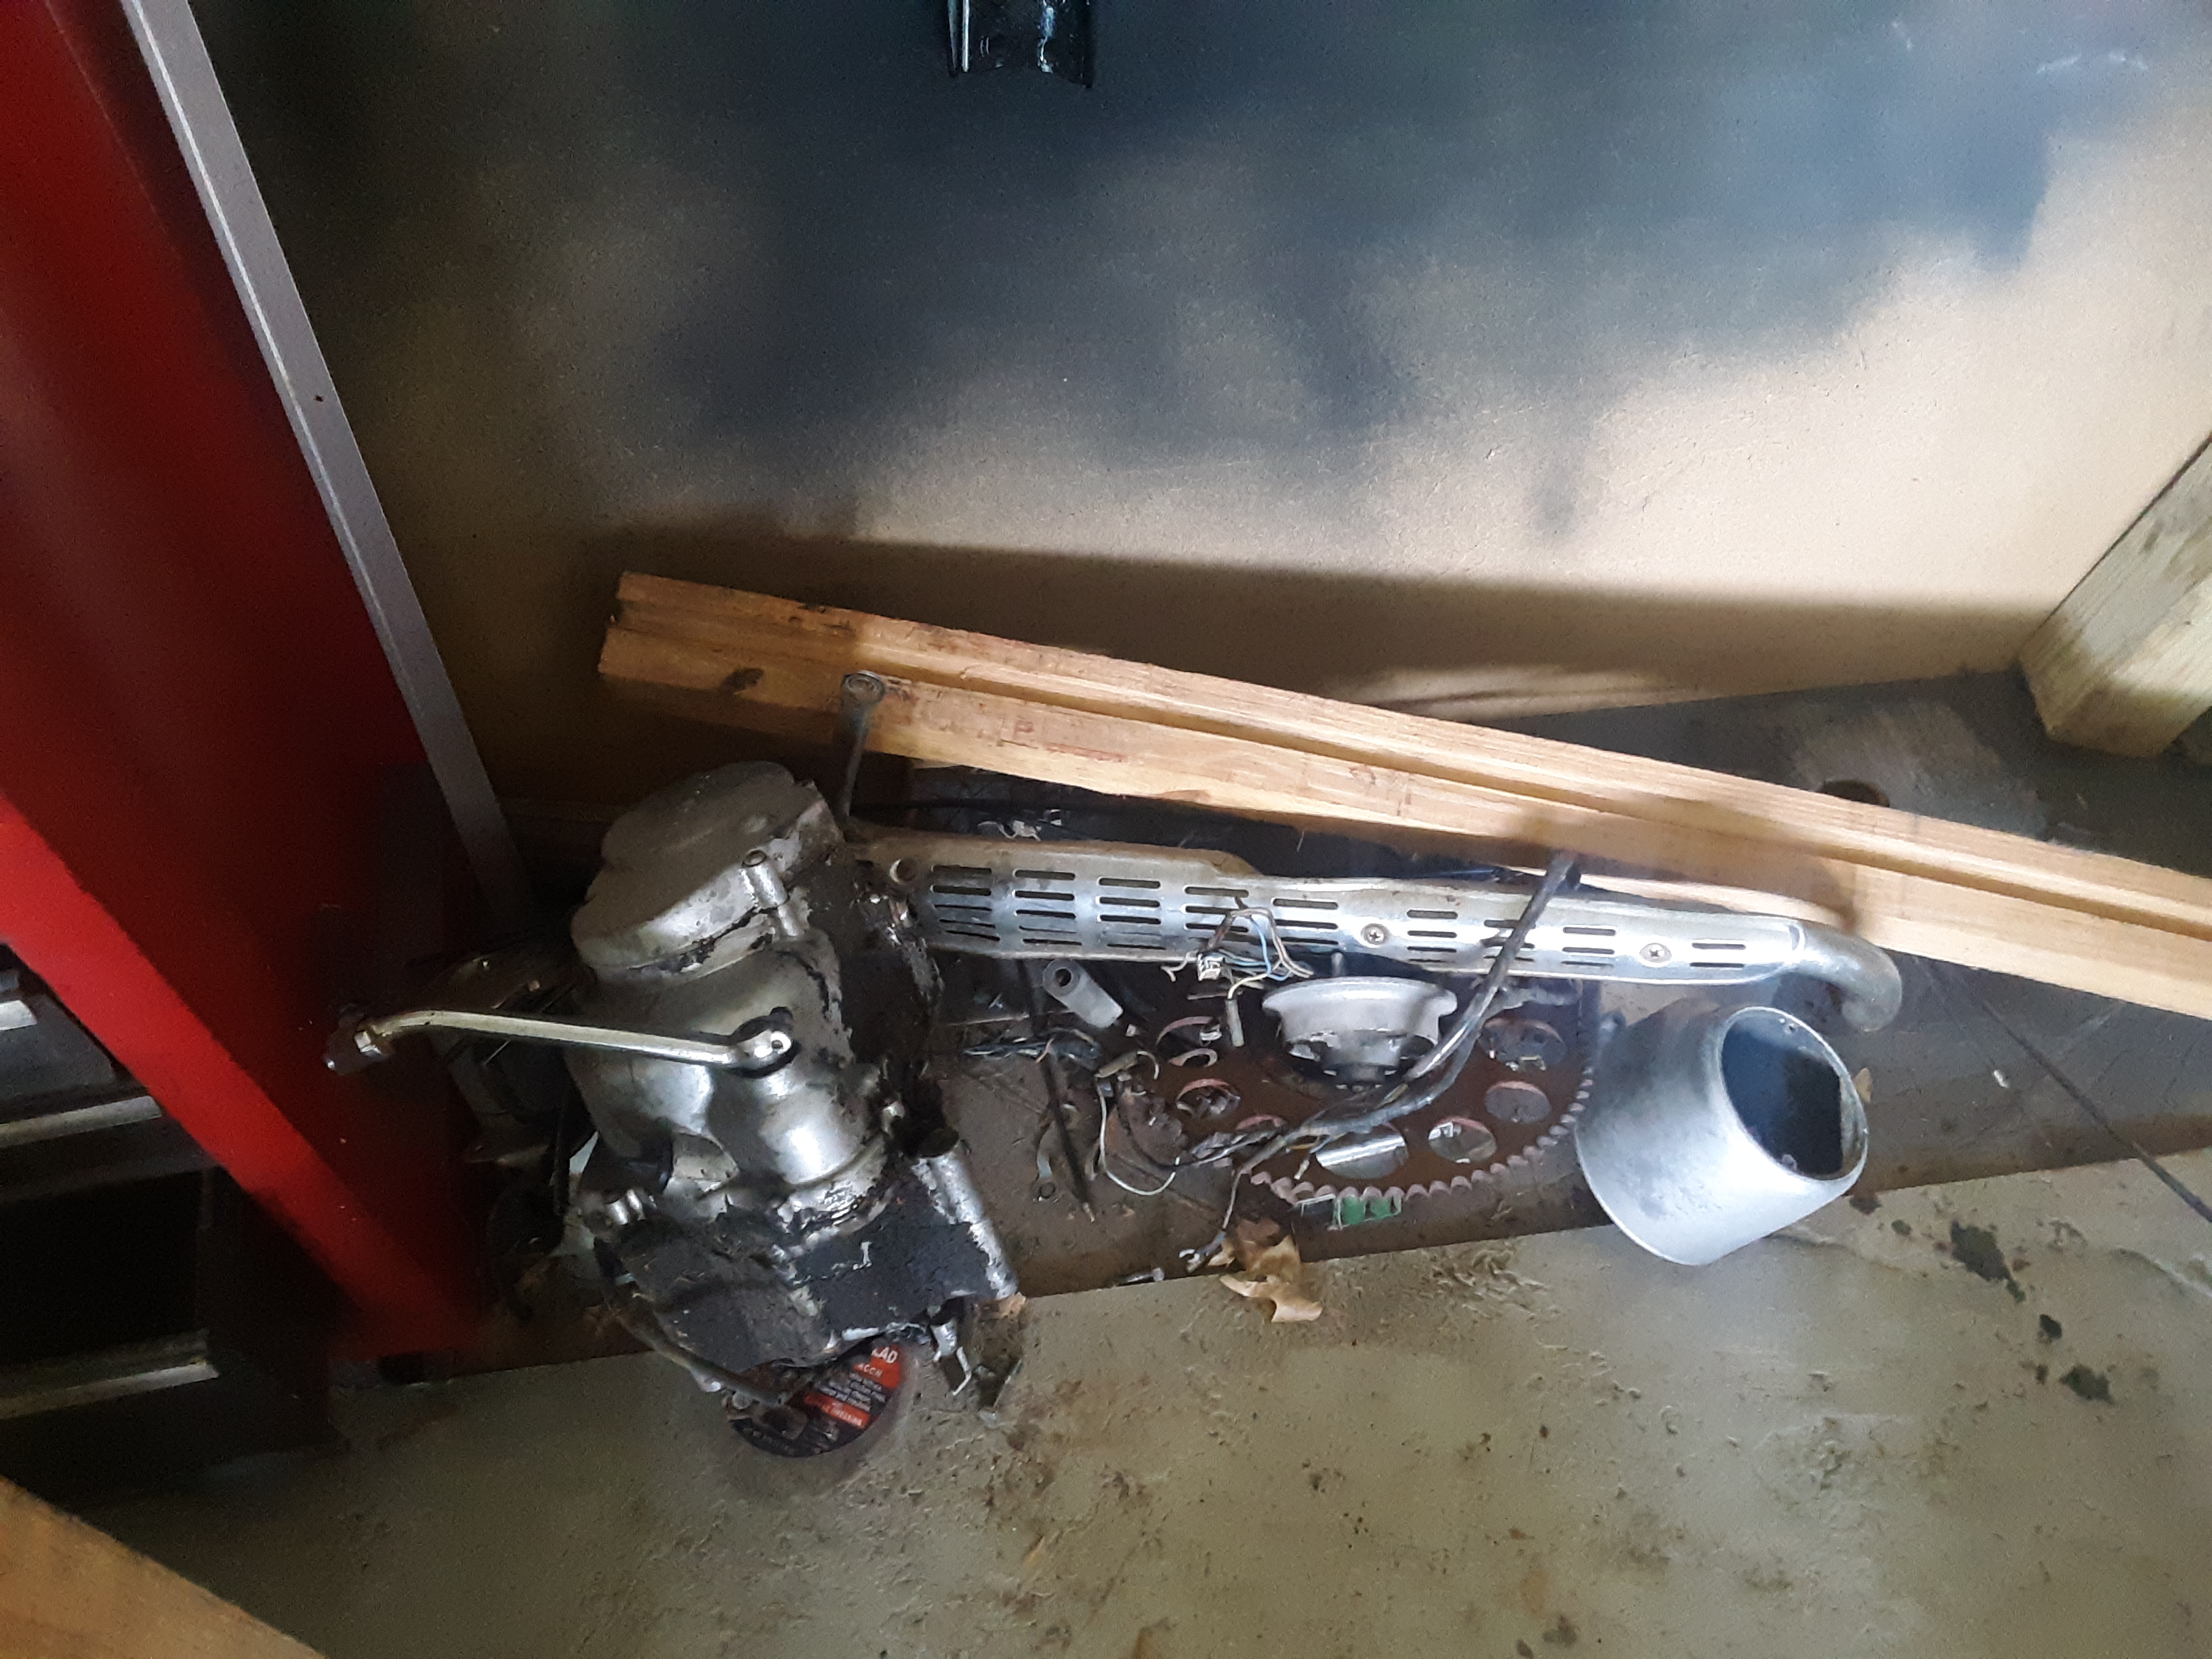
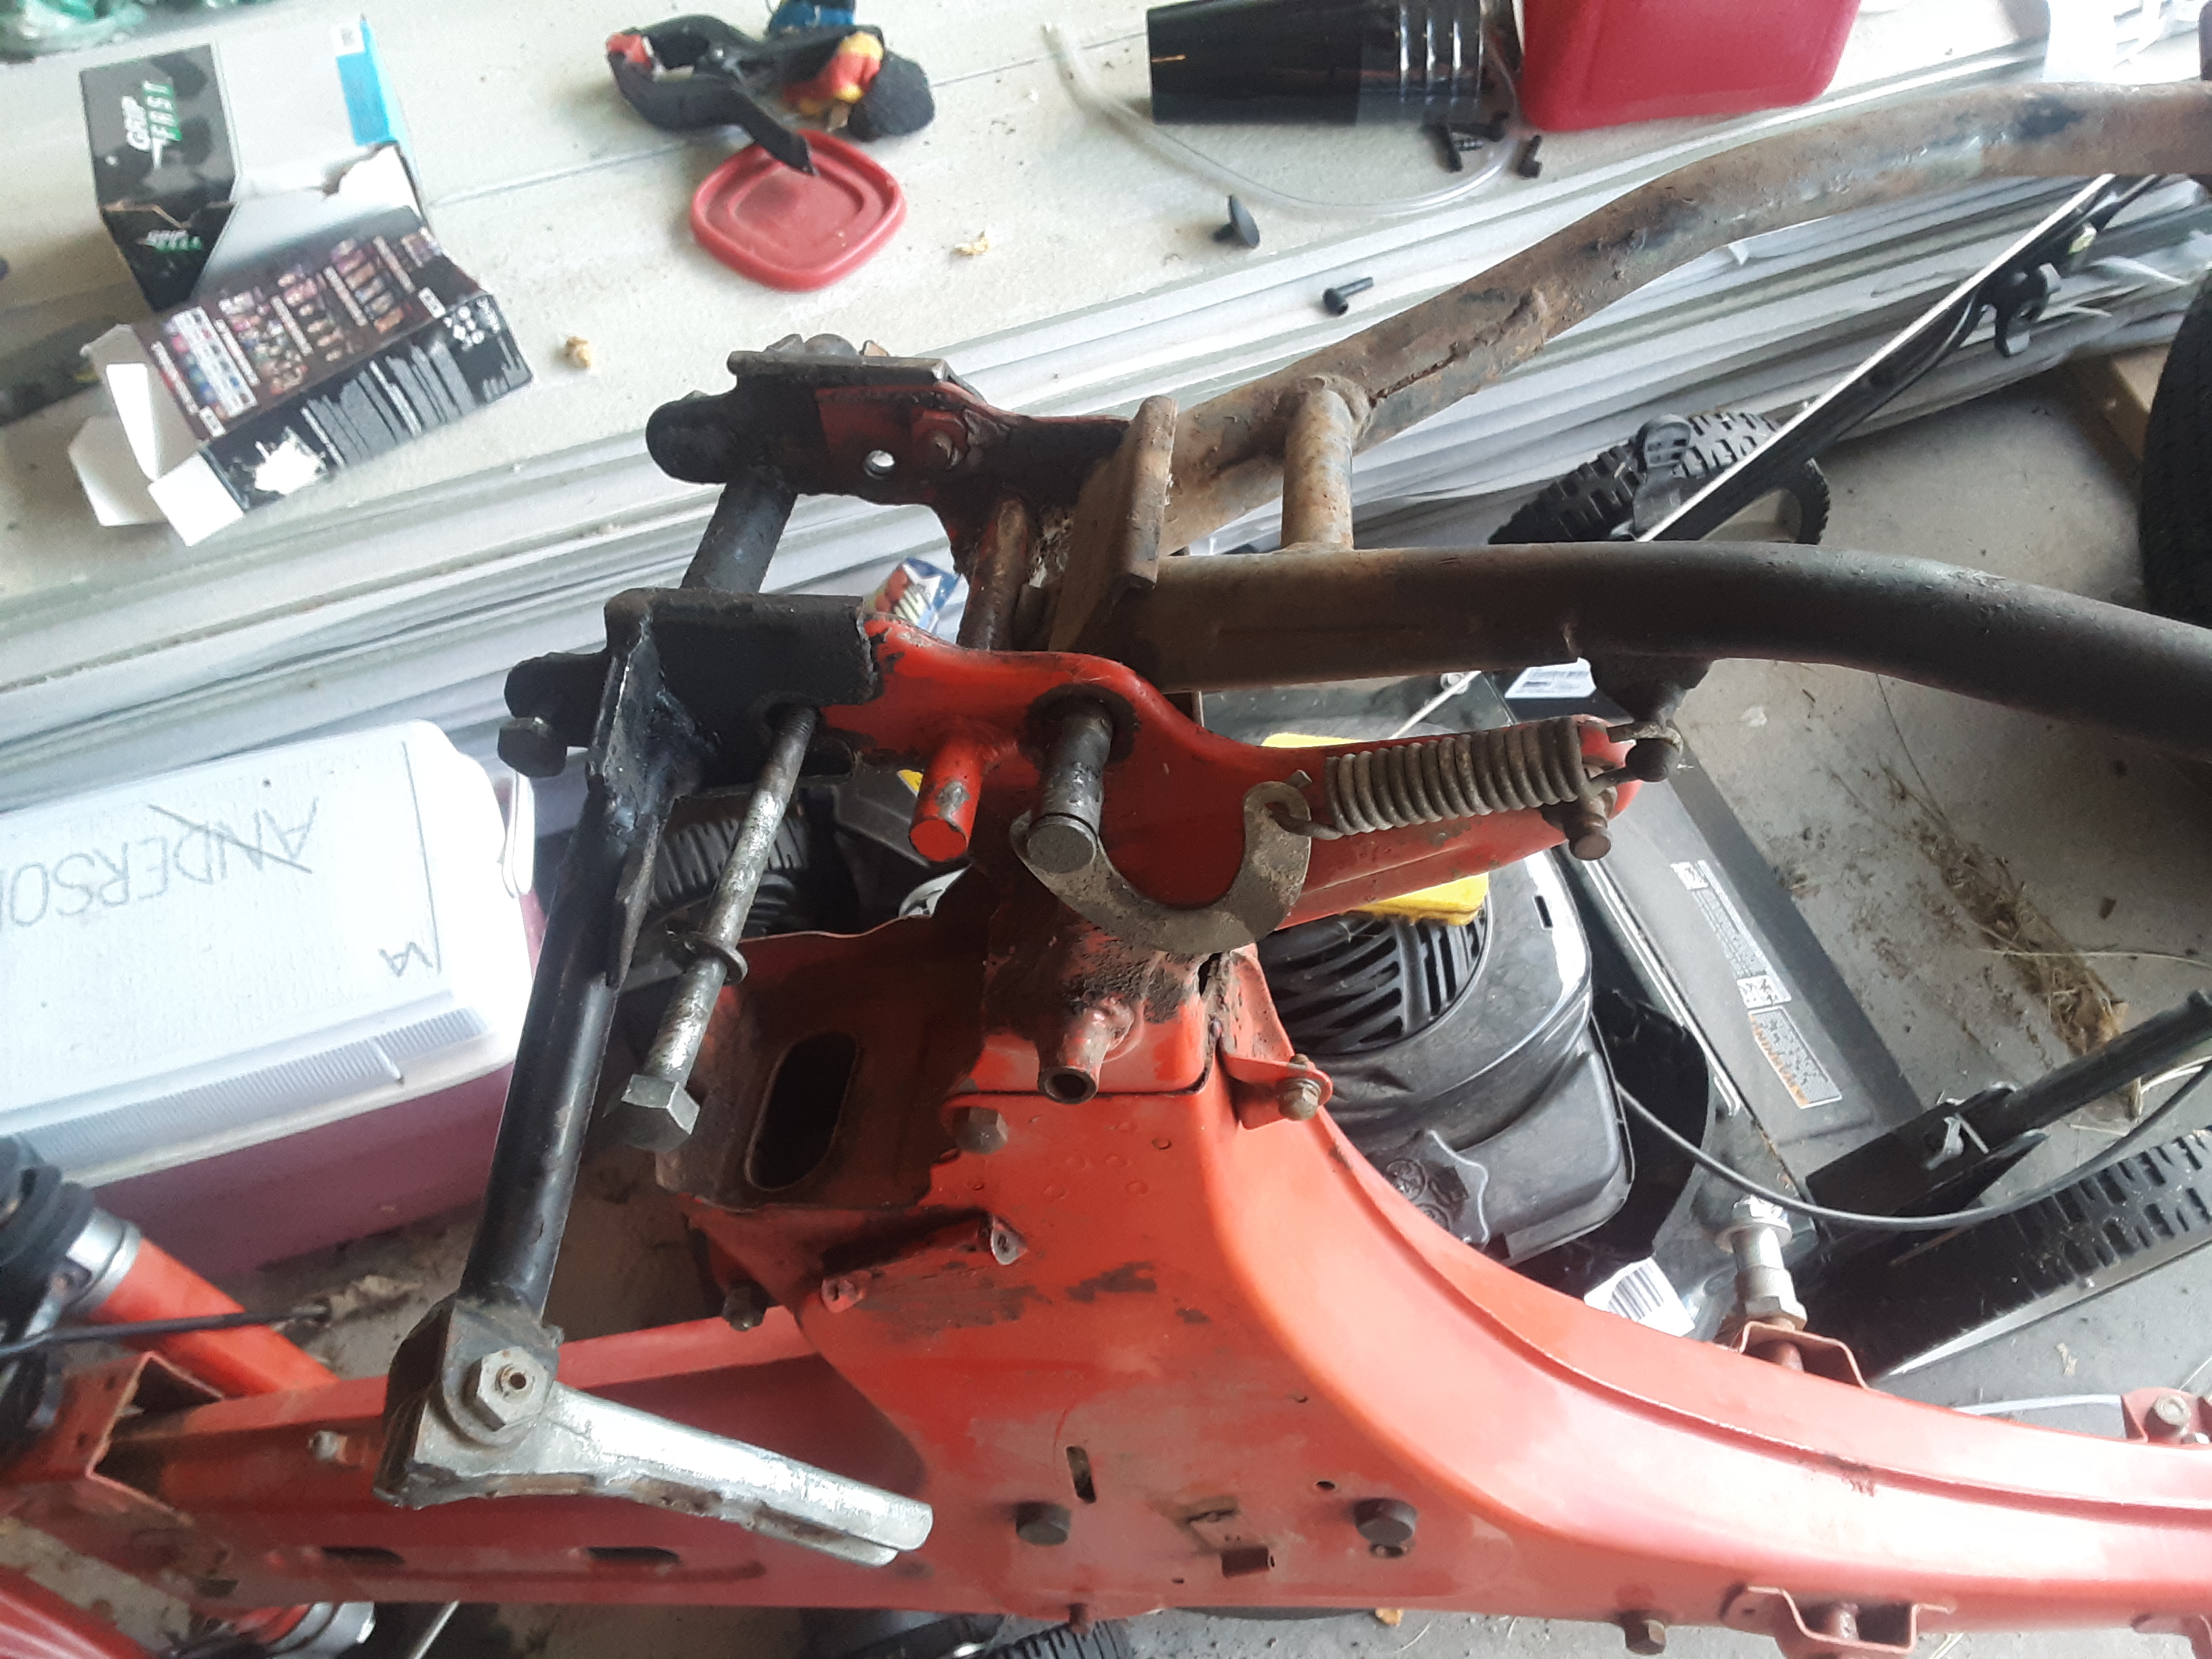
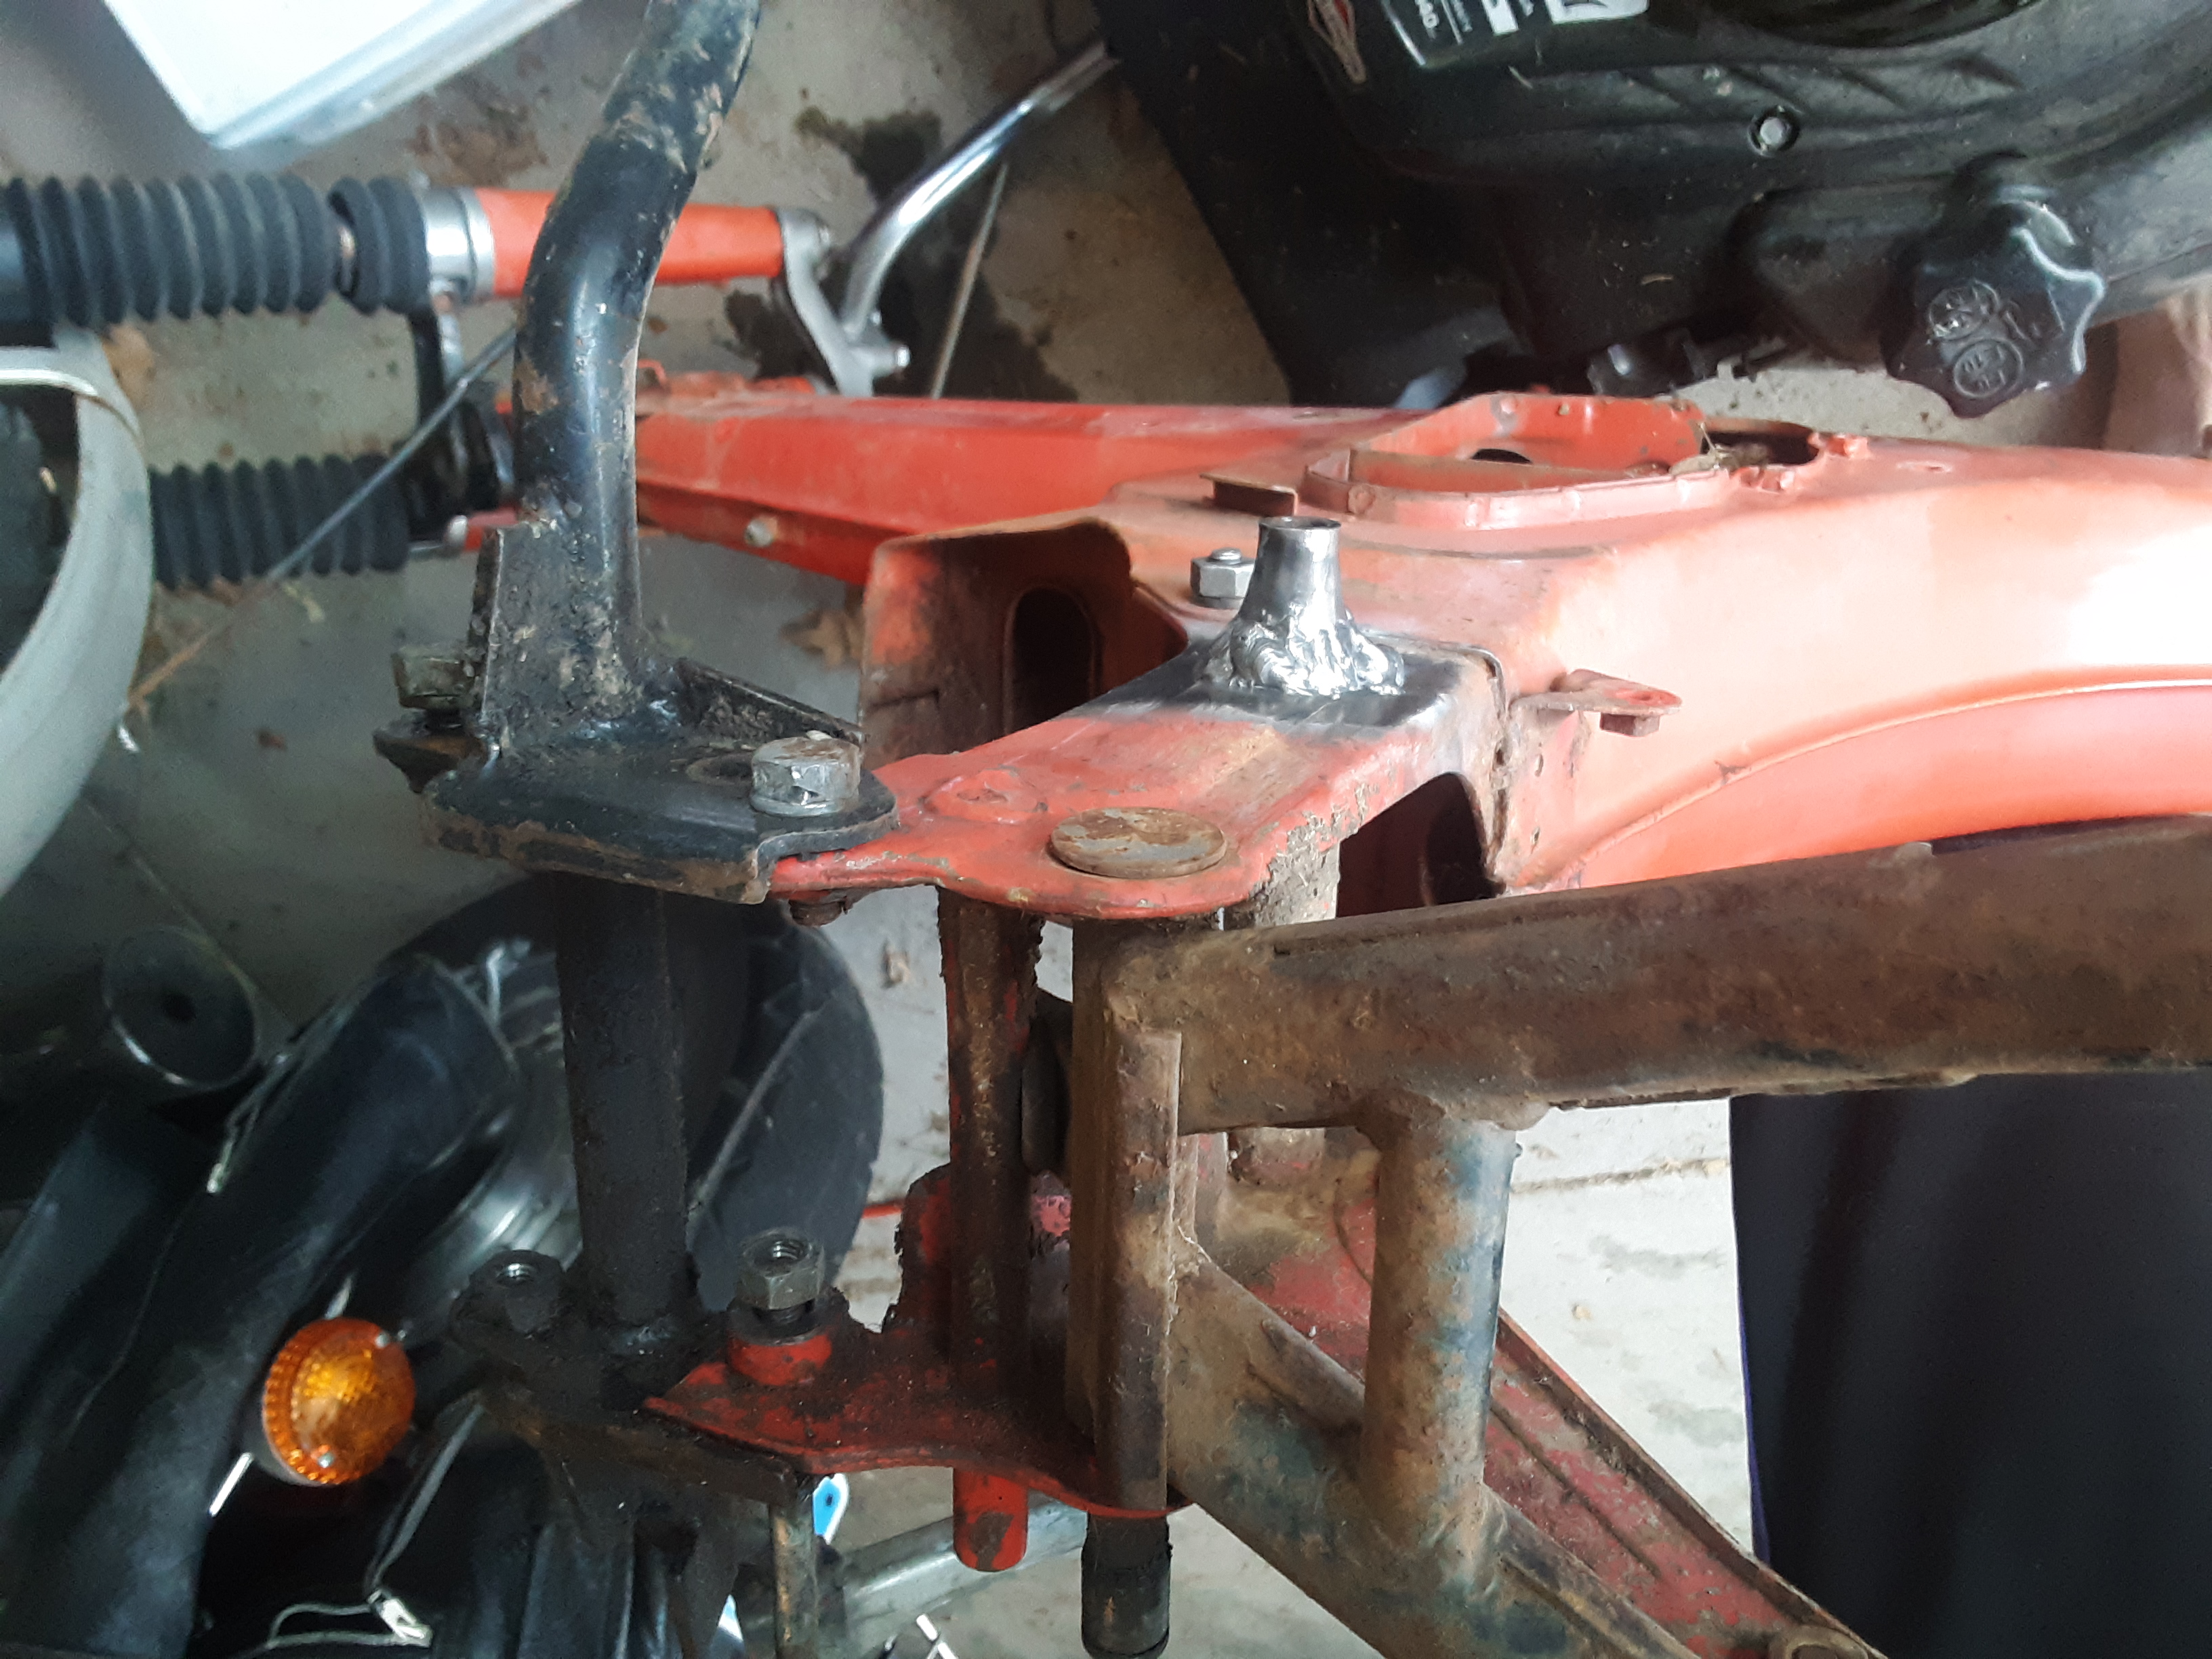
I picked up a 1967 honda cafe racer that had a seized engine. This was perfect because I didn't want to destroy a perfectly good working motorcycle. I also didn't want to build my own frame and select all the parts myself. The selection of an existing motorcycle saved me a lot of time in that regard.
The Plan

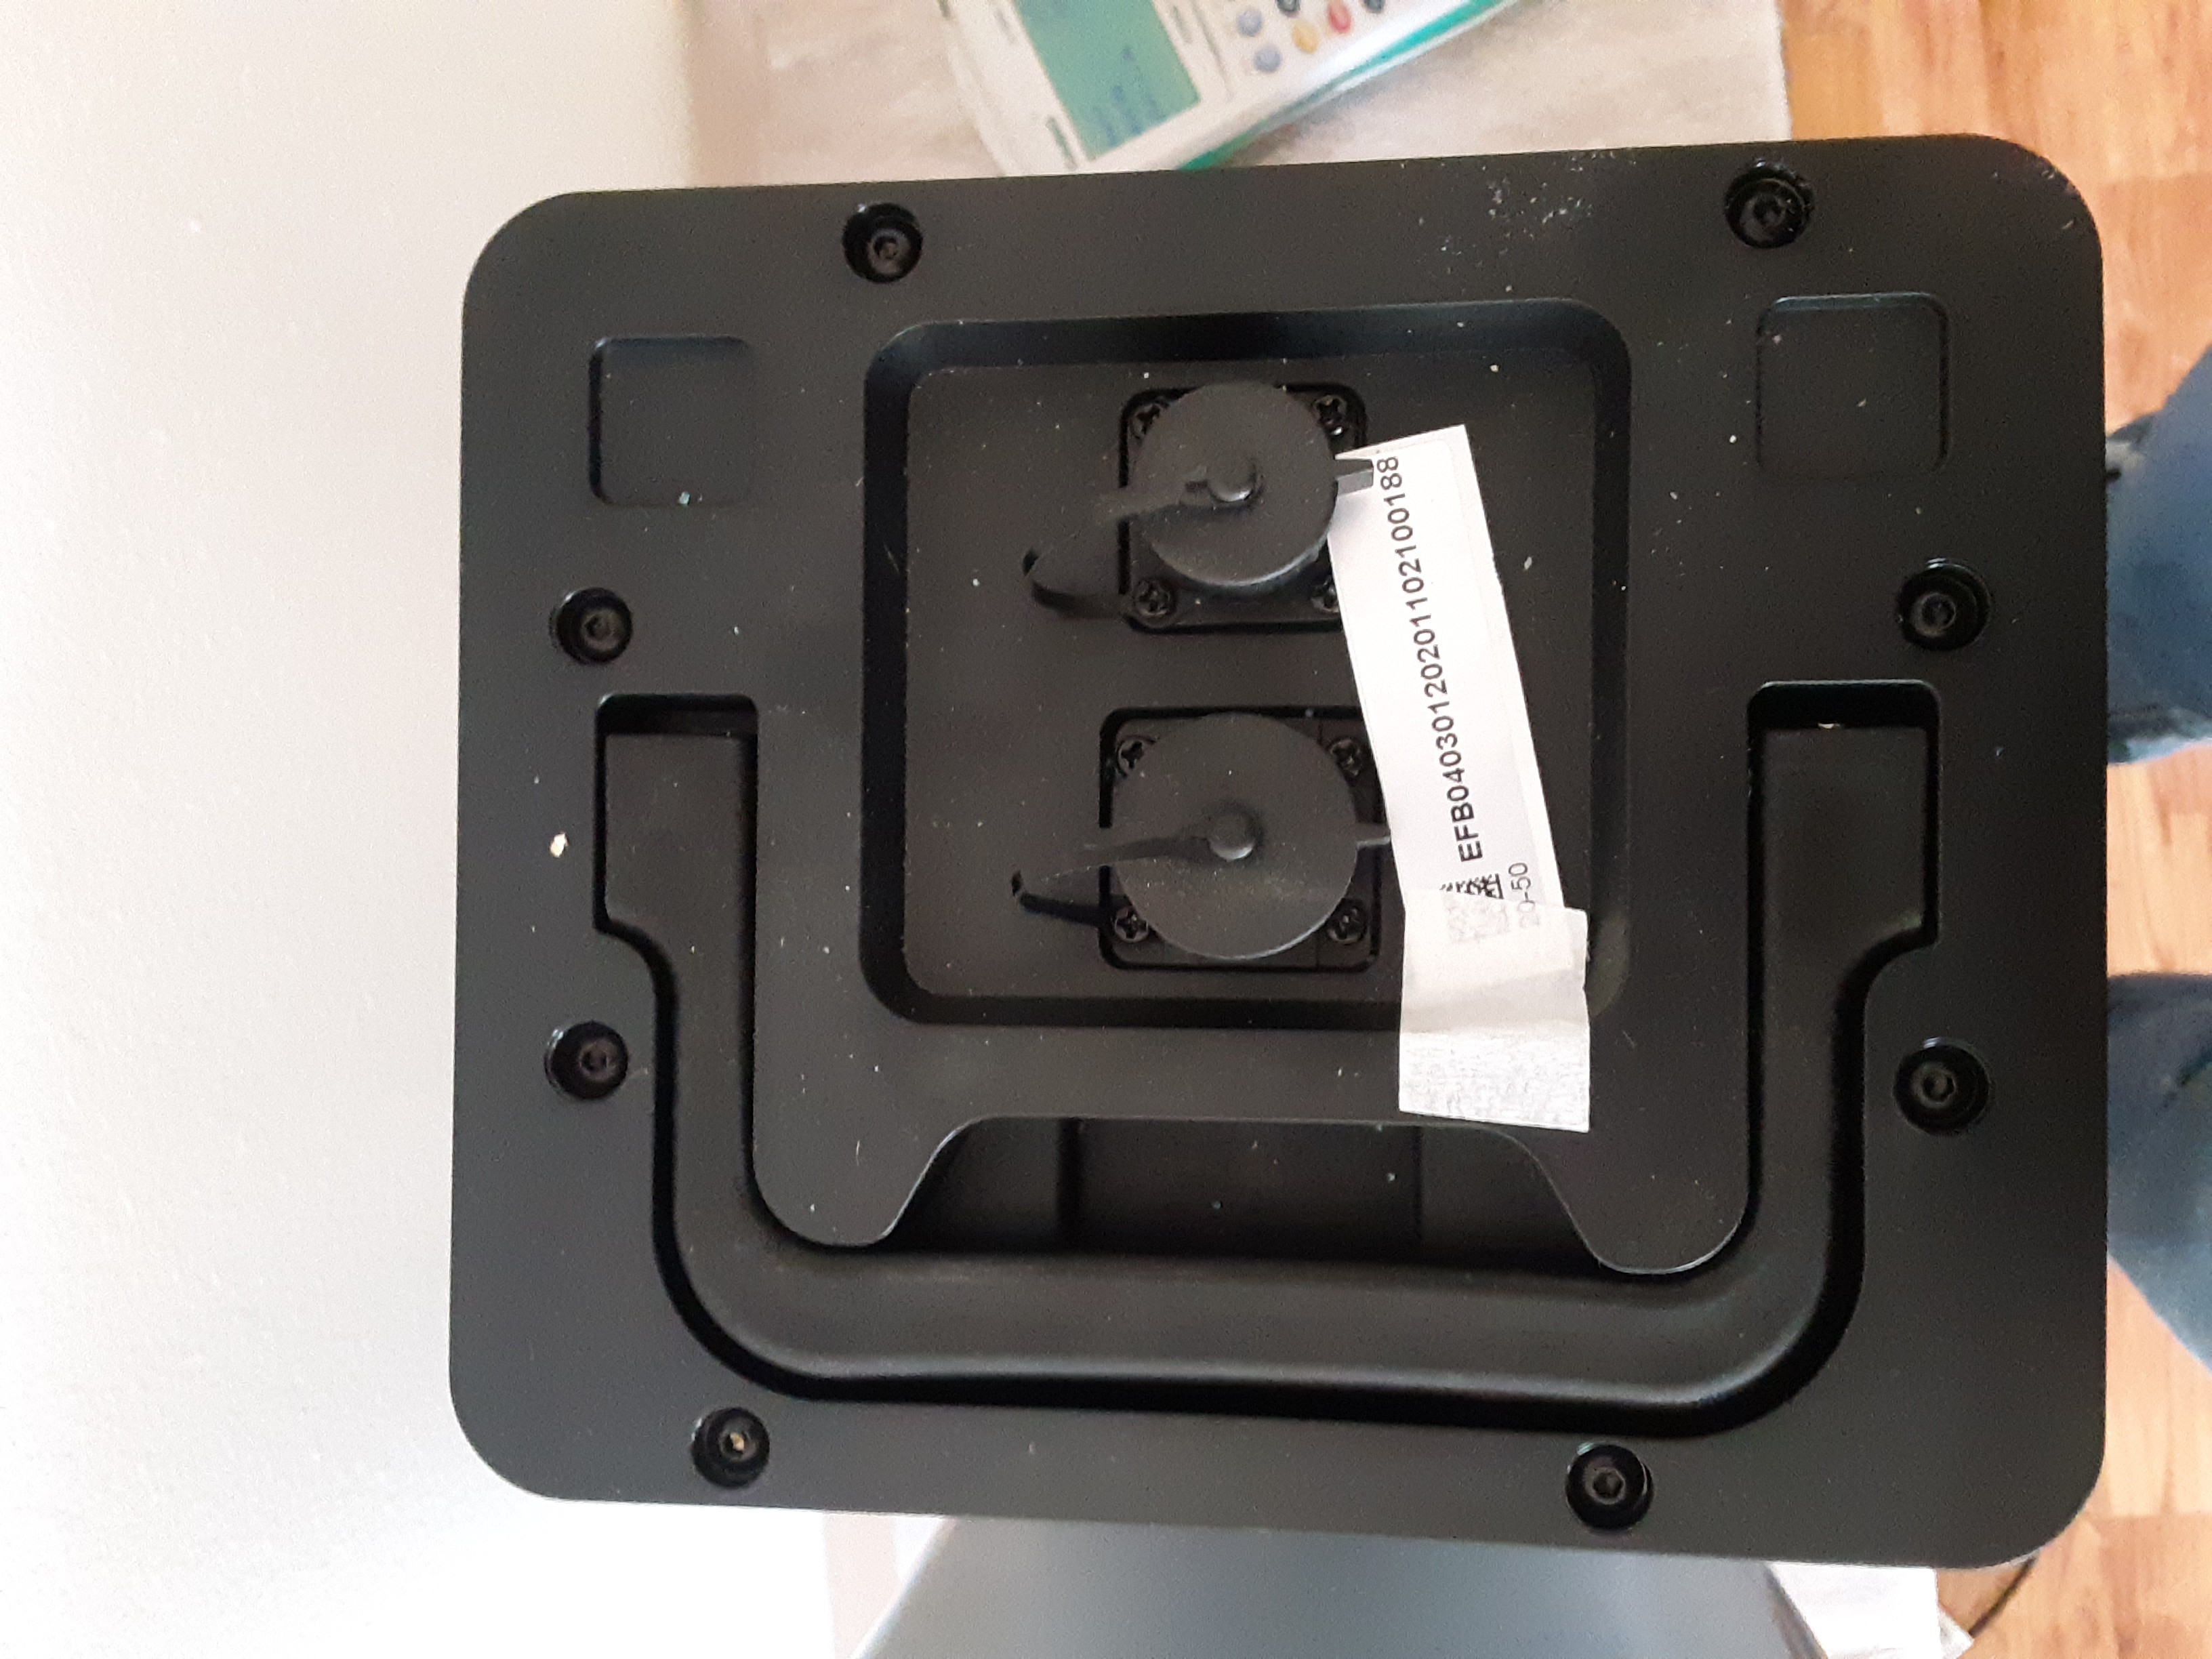
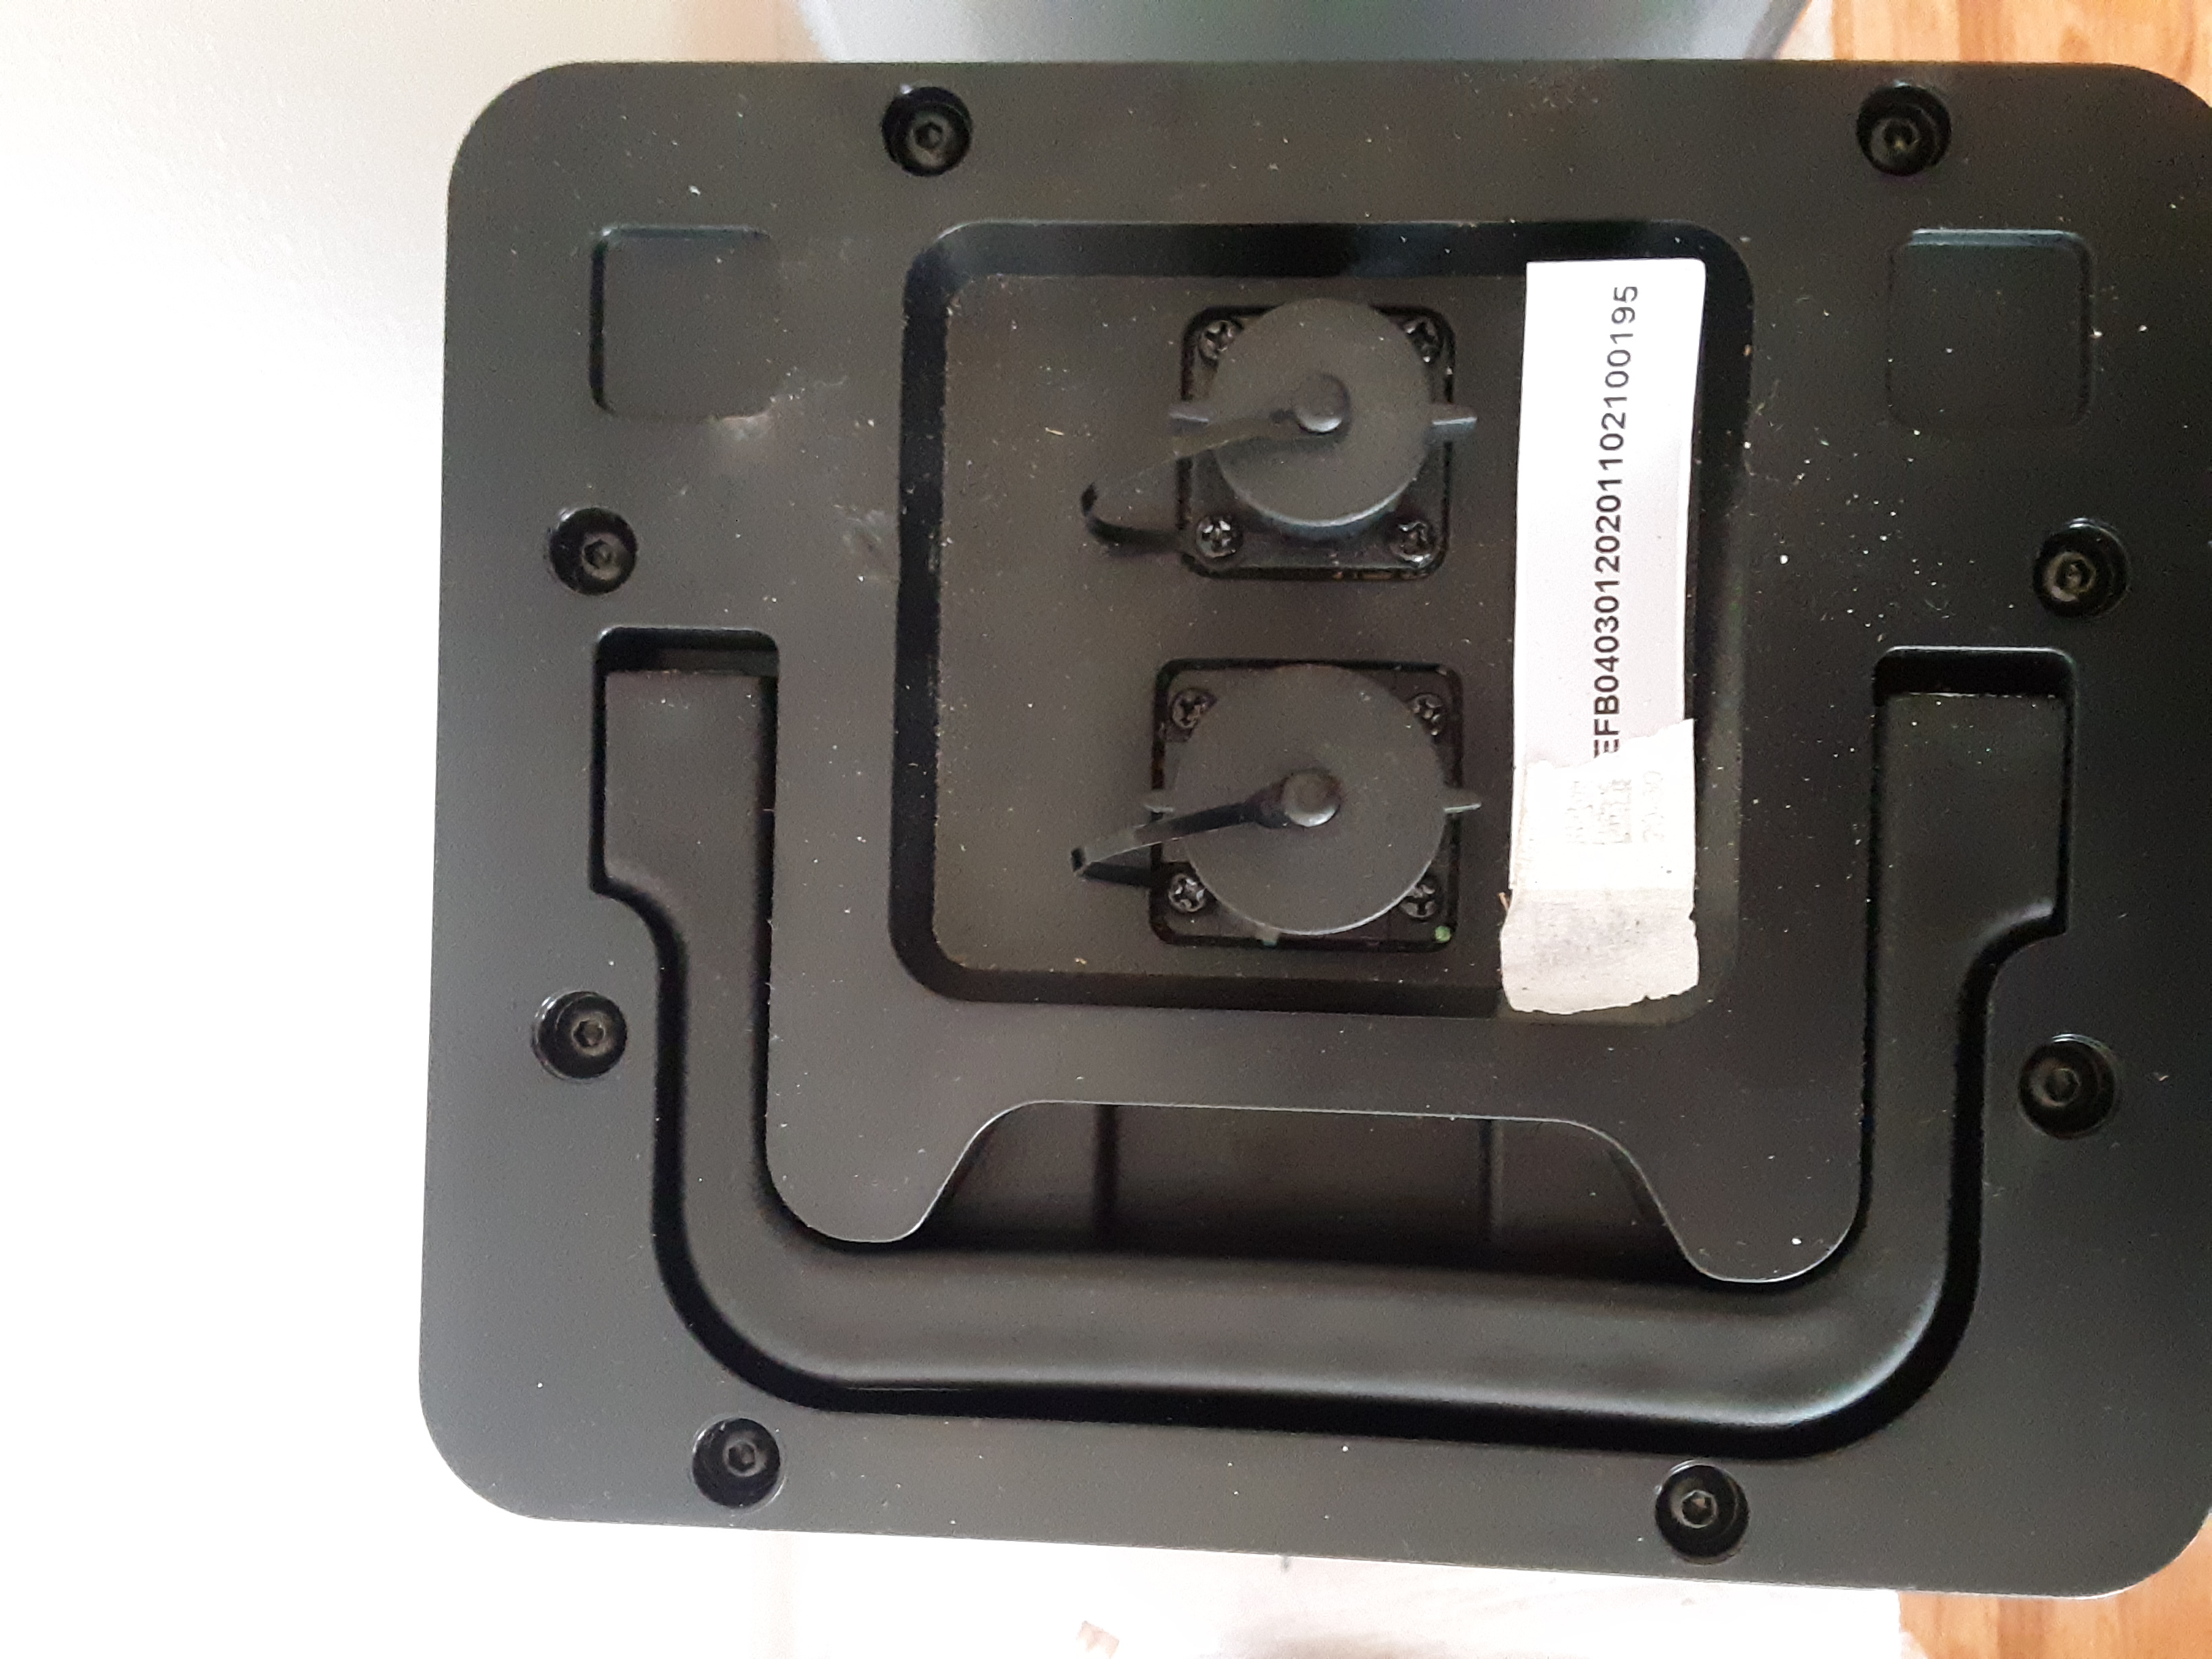
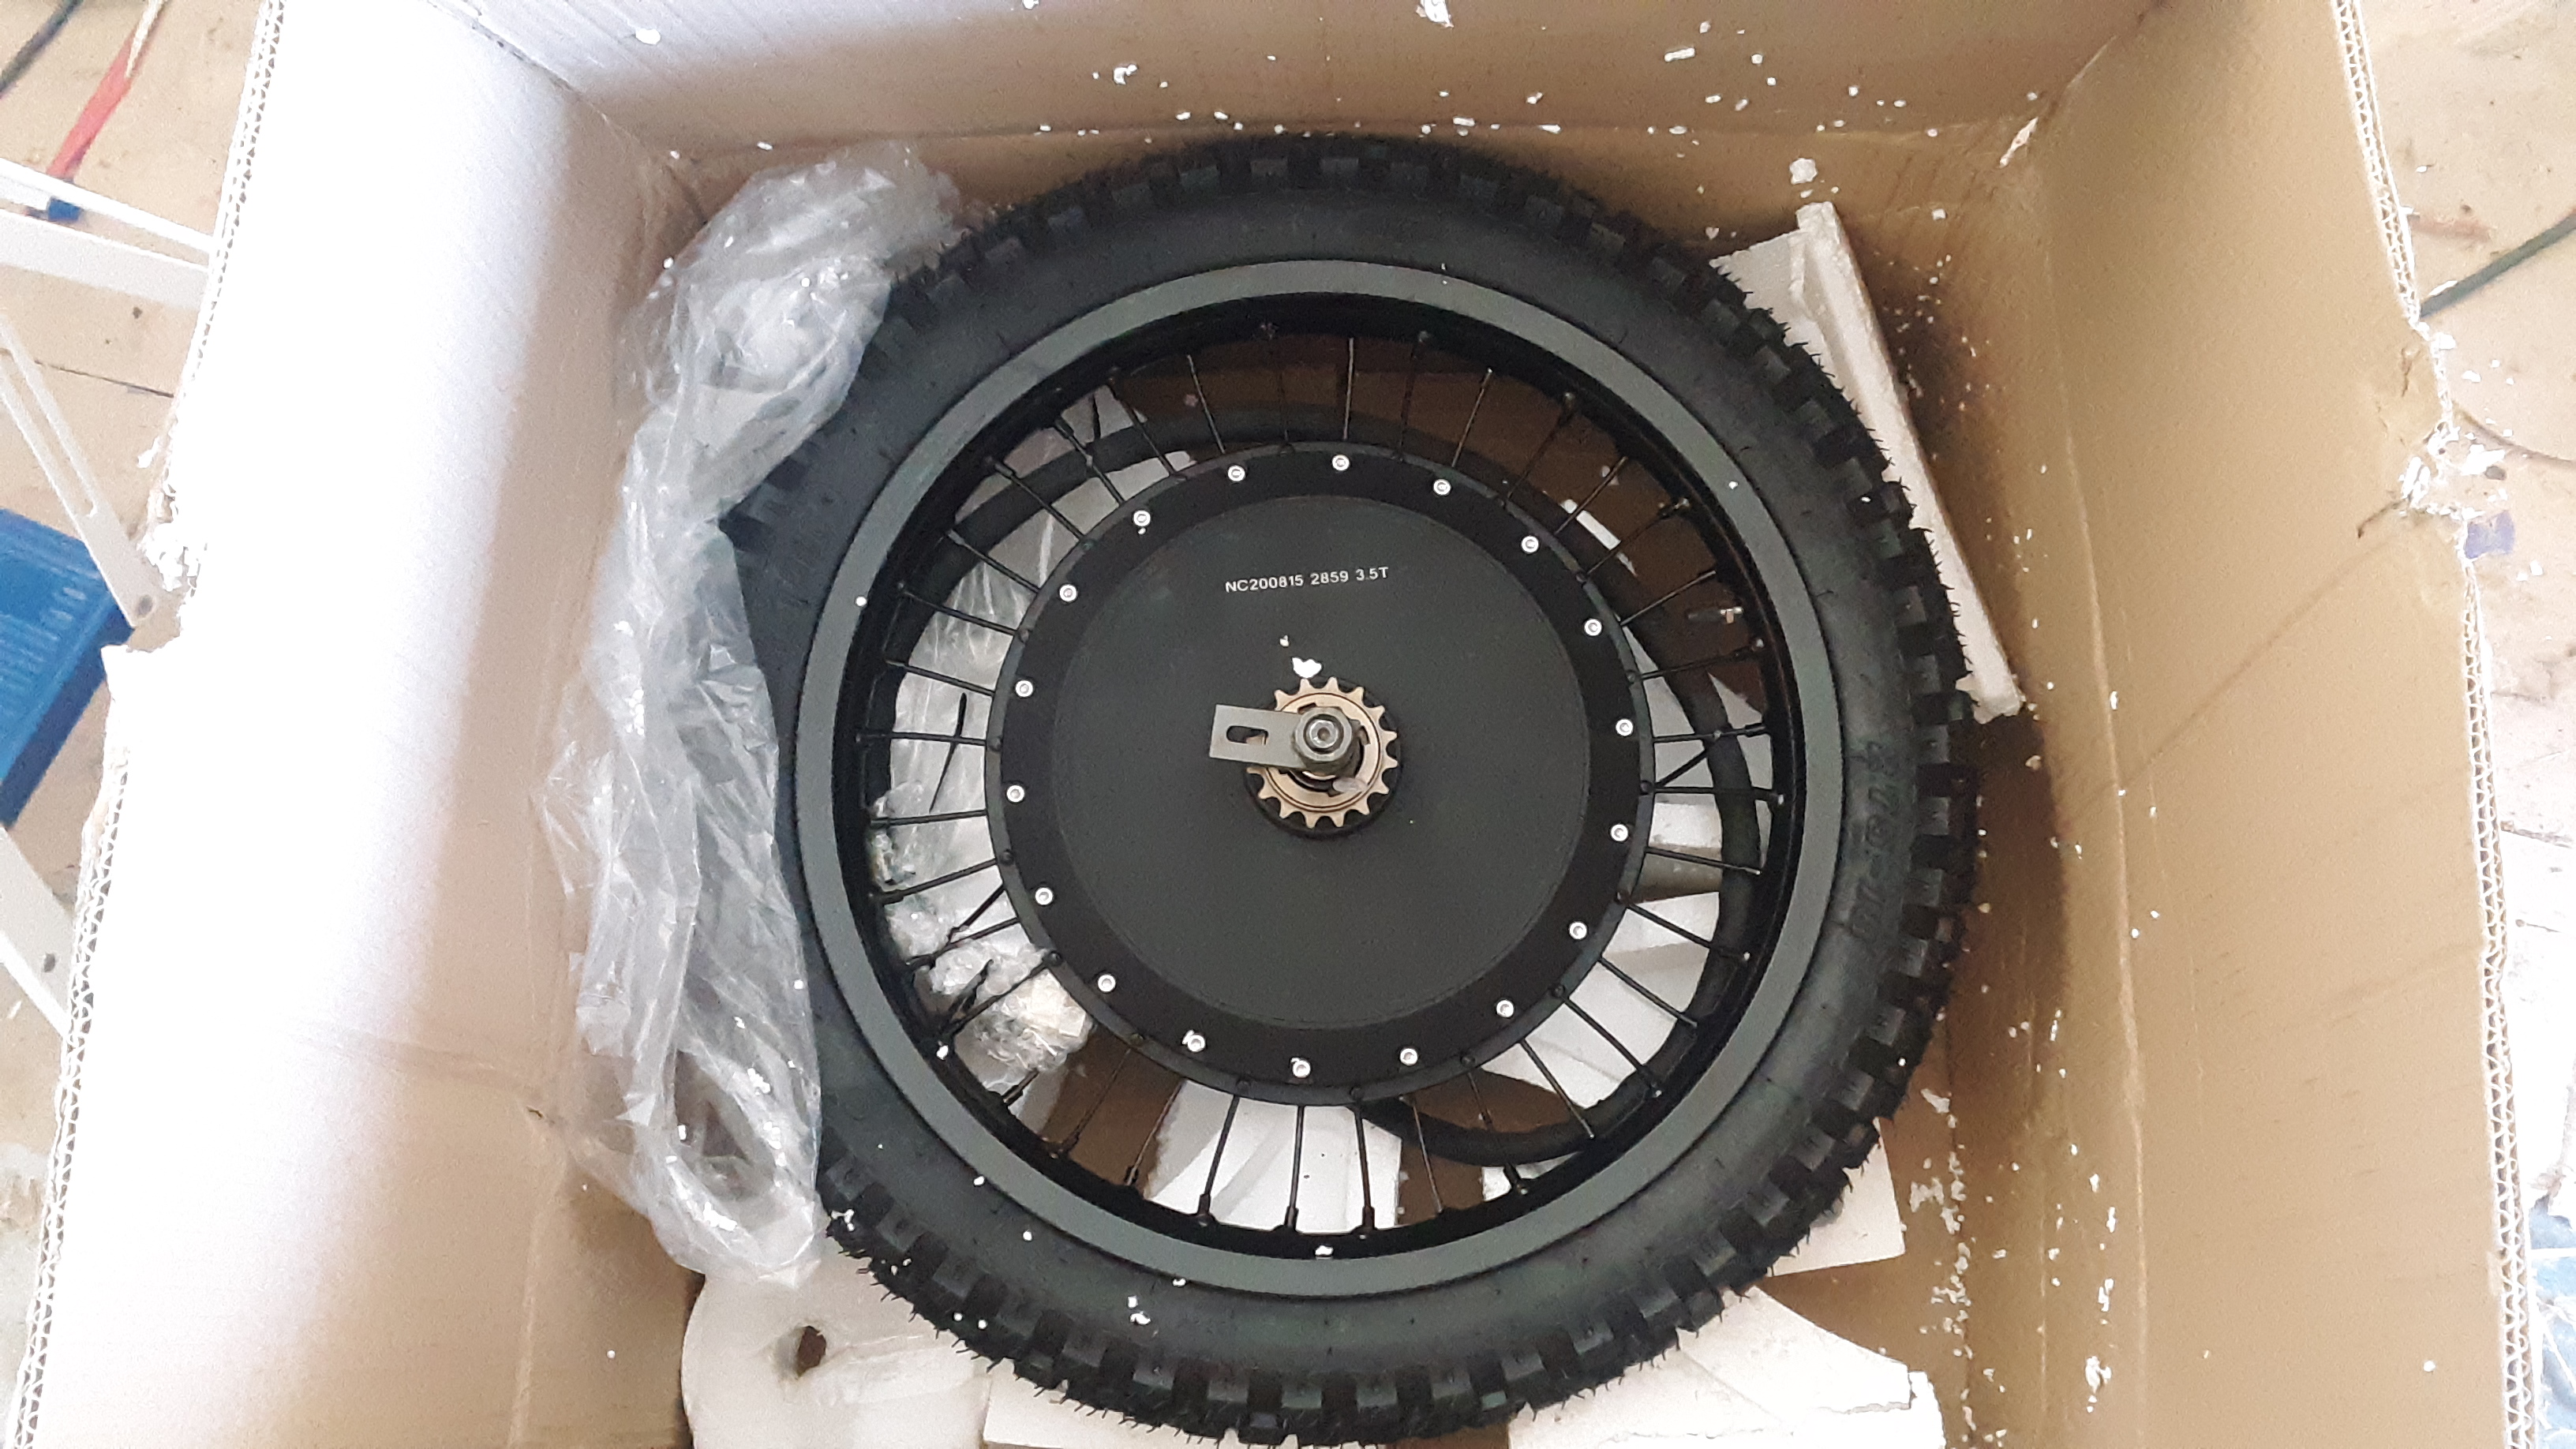
The plan for the motorcycle is to use a hub motor and motor controller. This would also save me some time and effort since my electrical design skills are still relatively novice. To feed this beast I ordered two battery packs.

Challenges

The challenge with these batteries is that I need to take them apart to see how the battery controller works. This is because the battery requires a signal to activate the power terminals.

Progress So Far

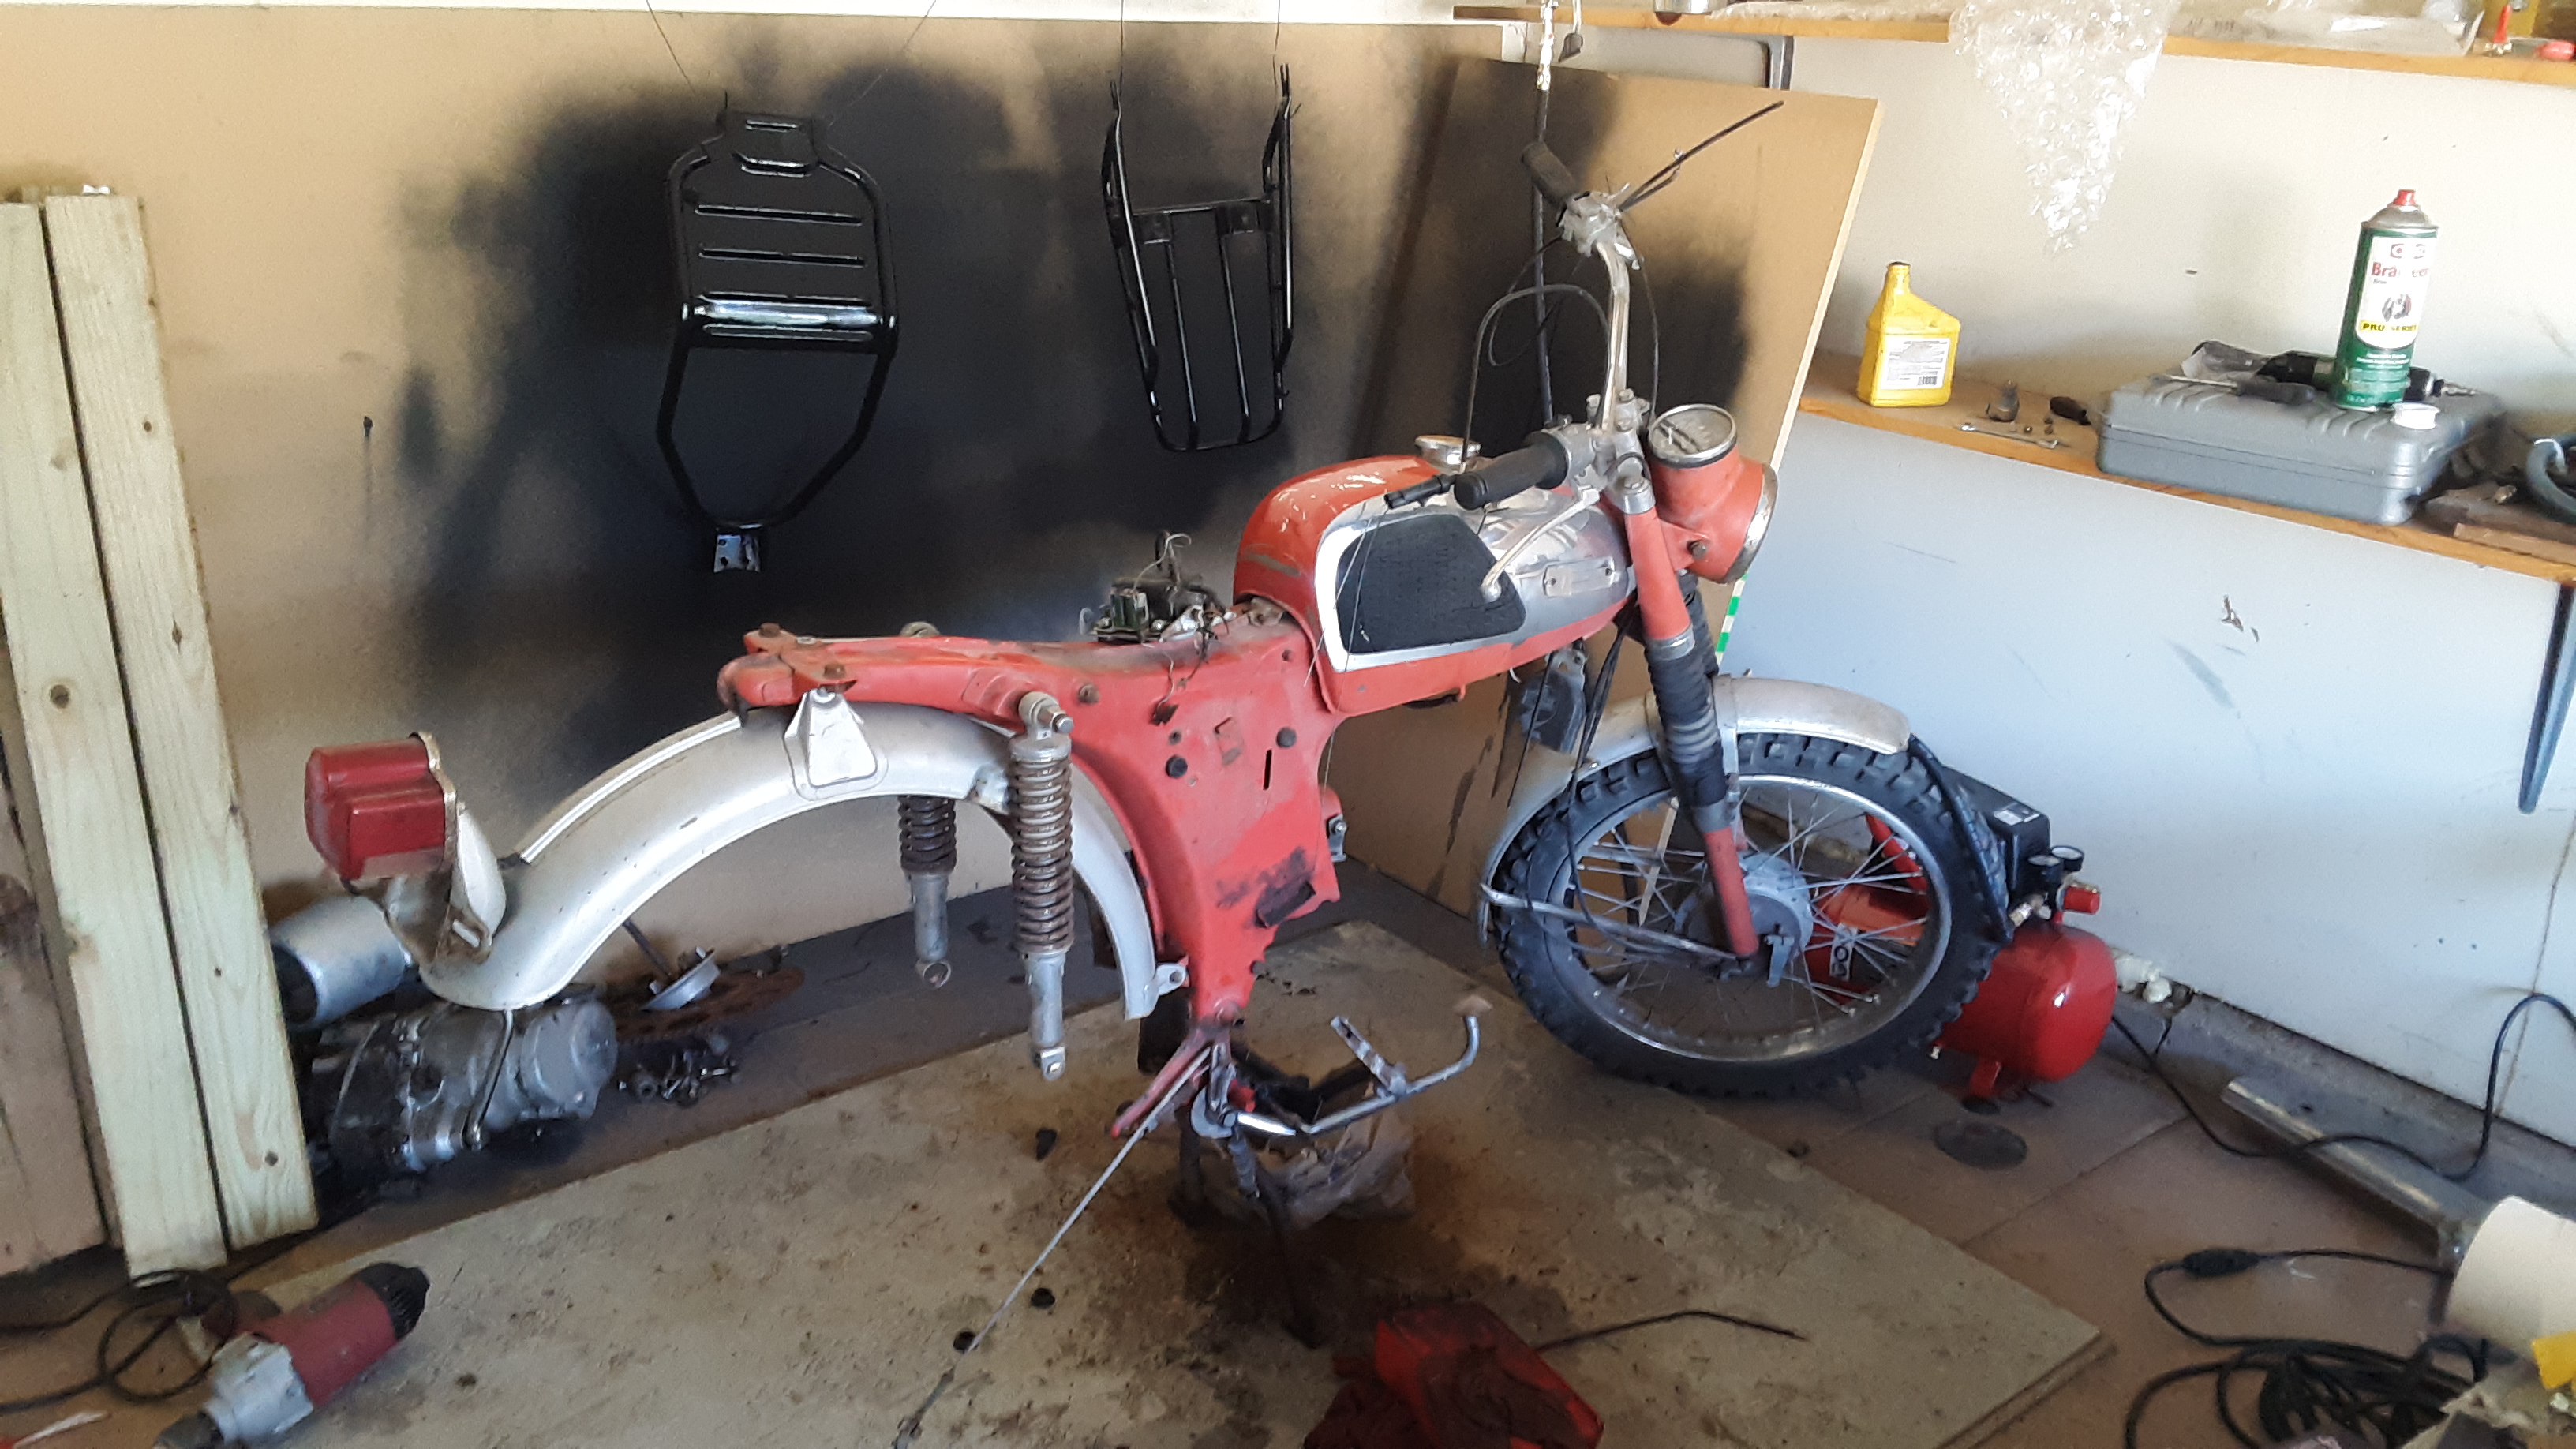
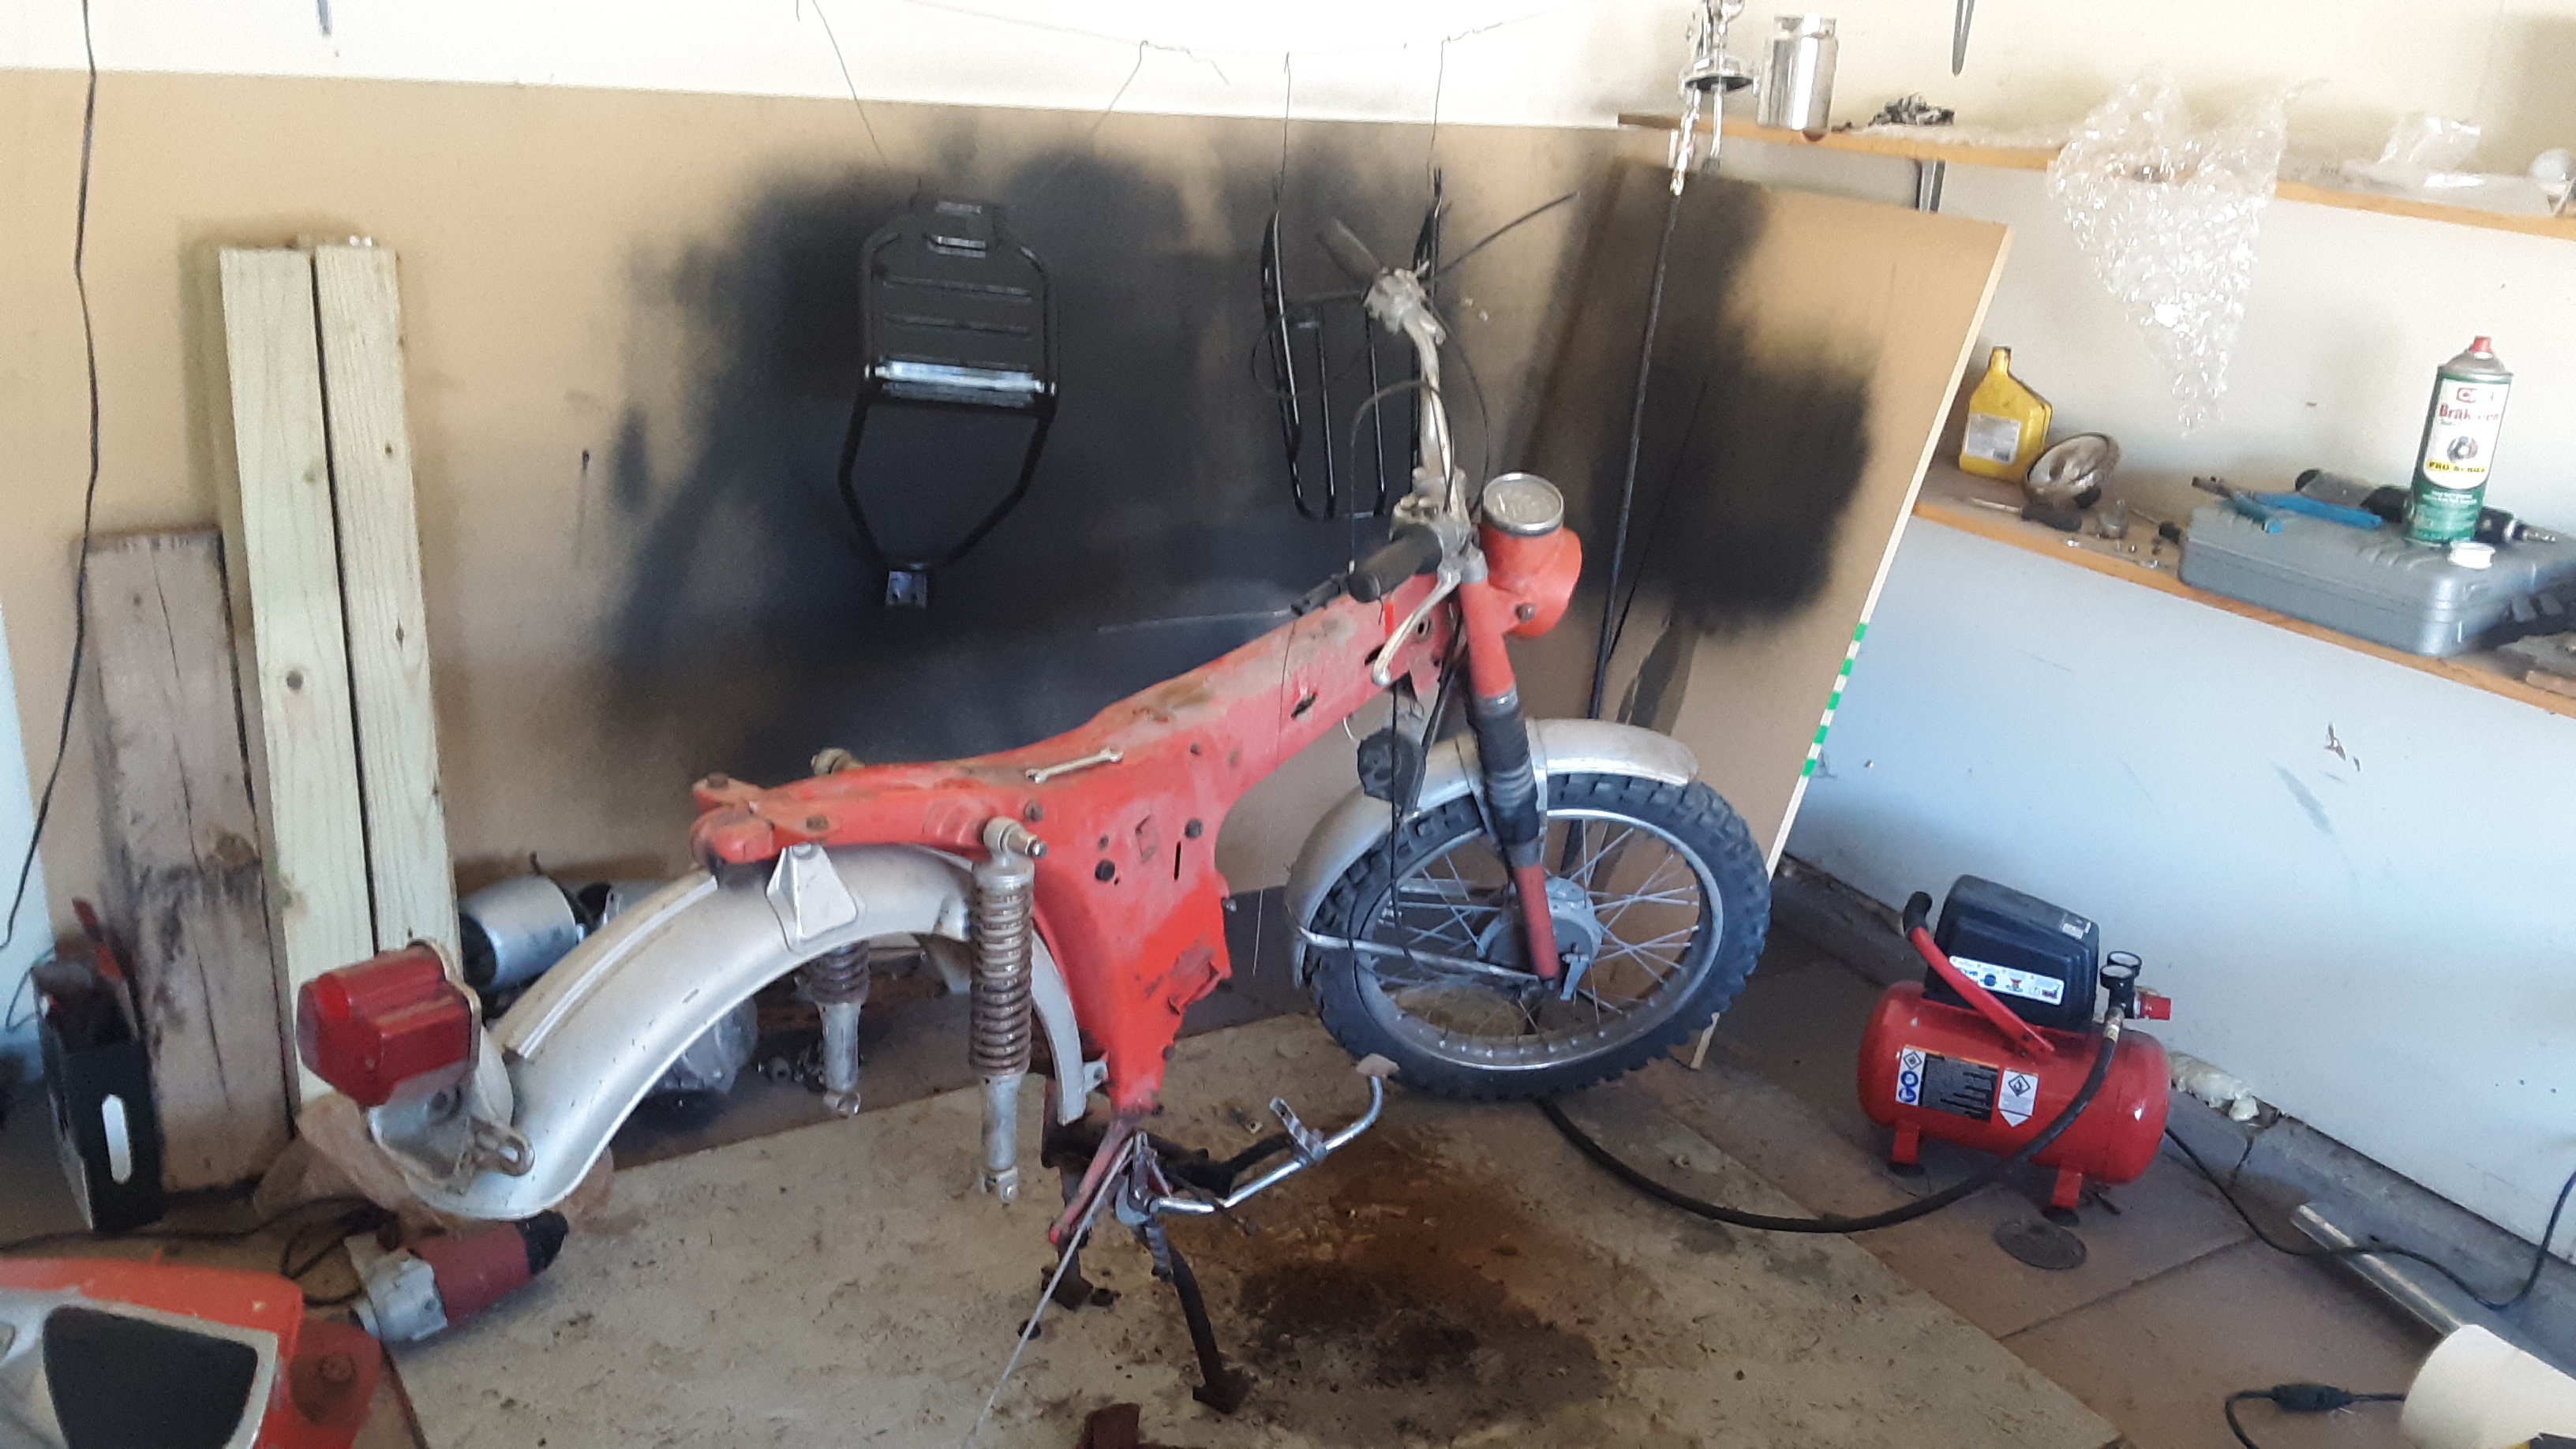
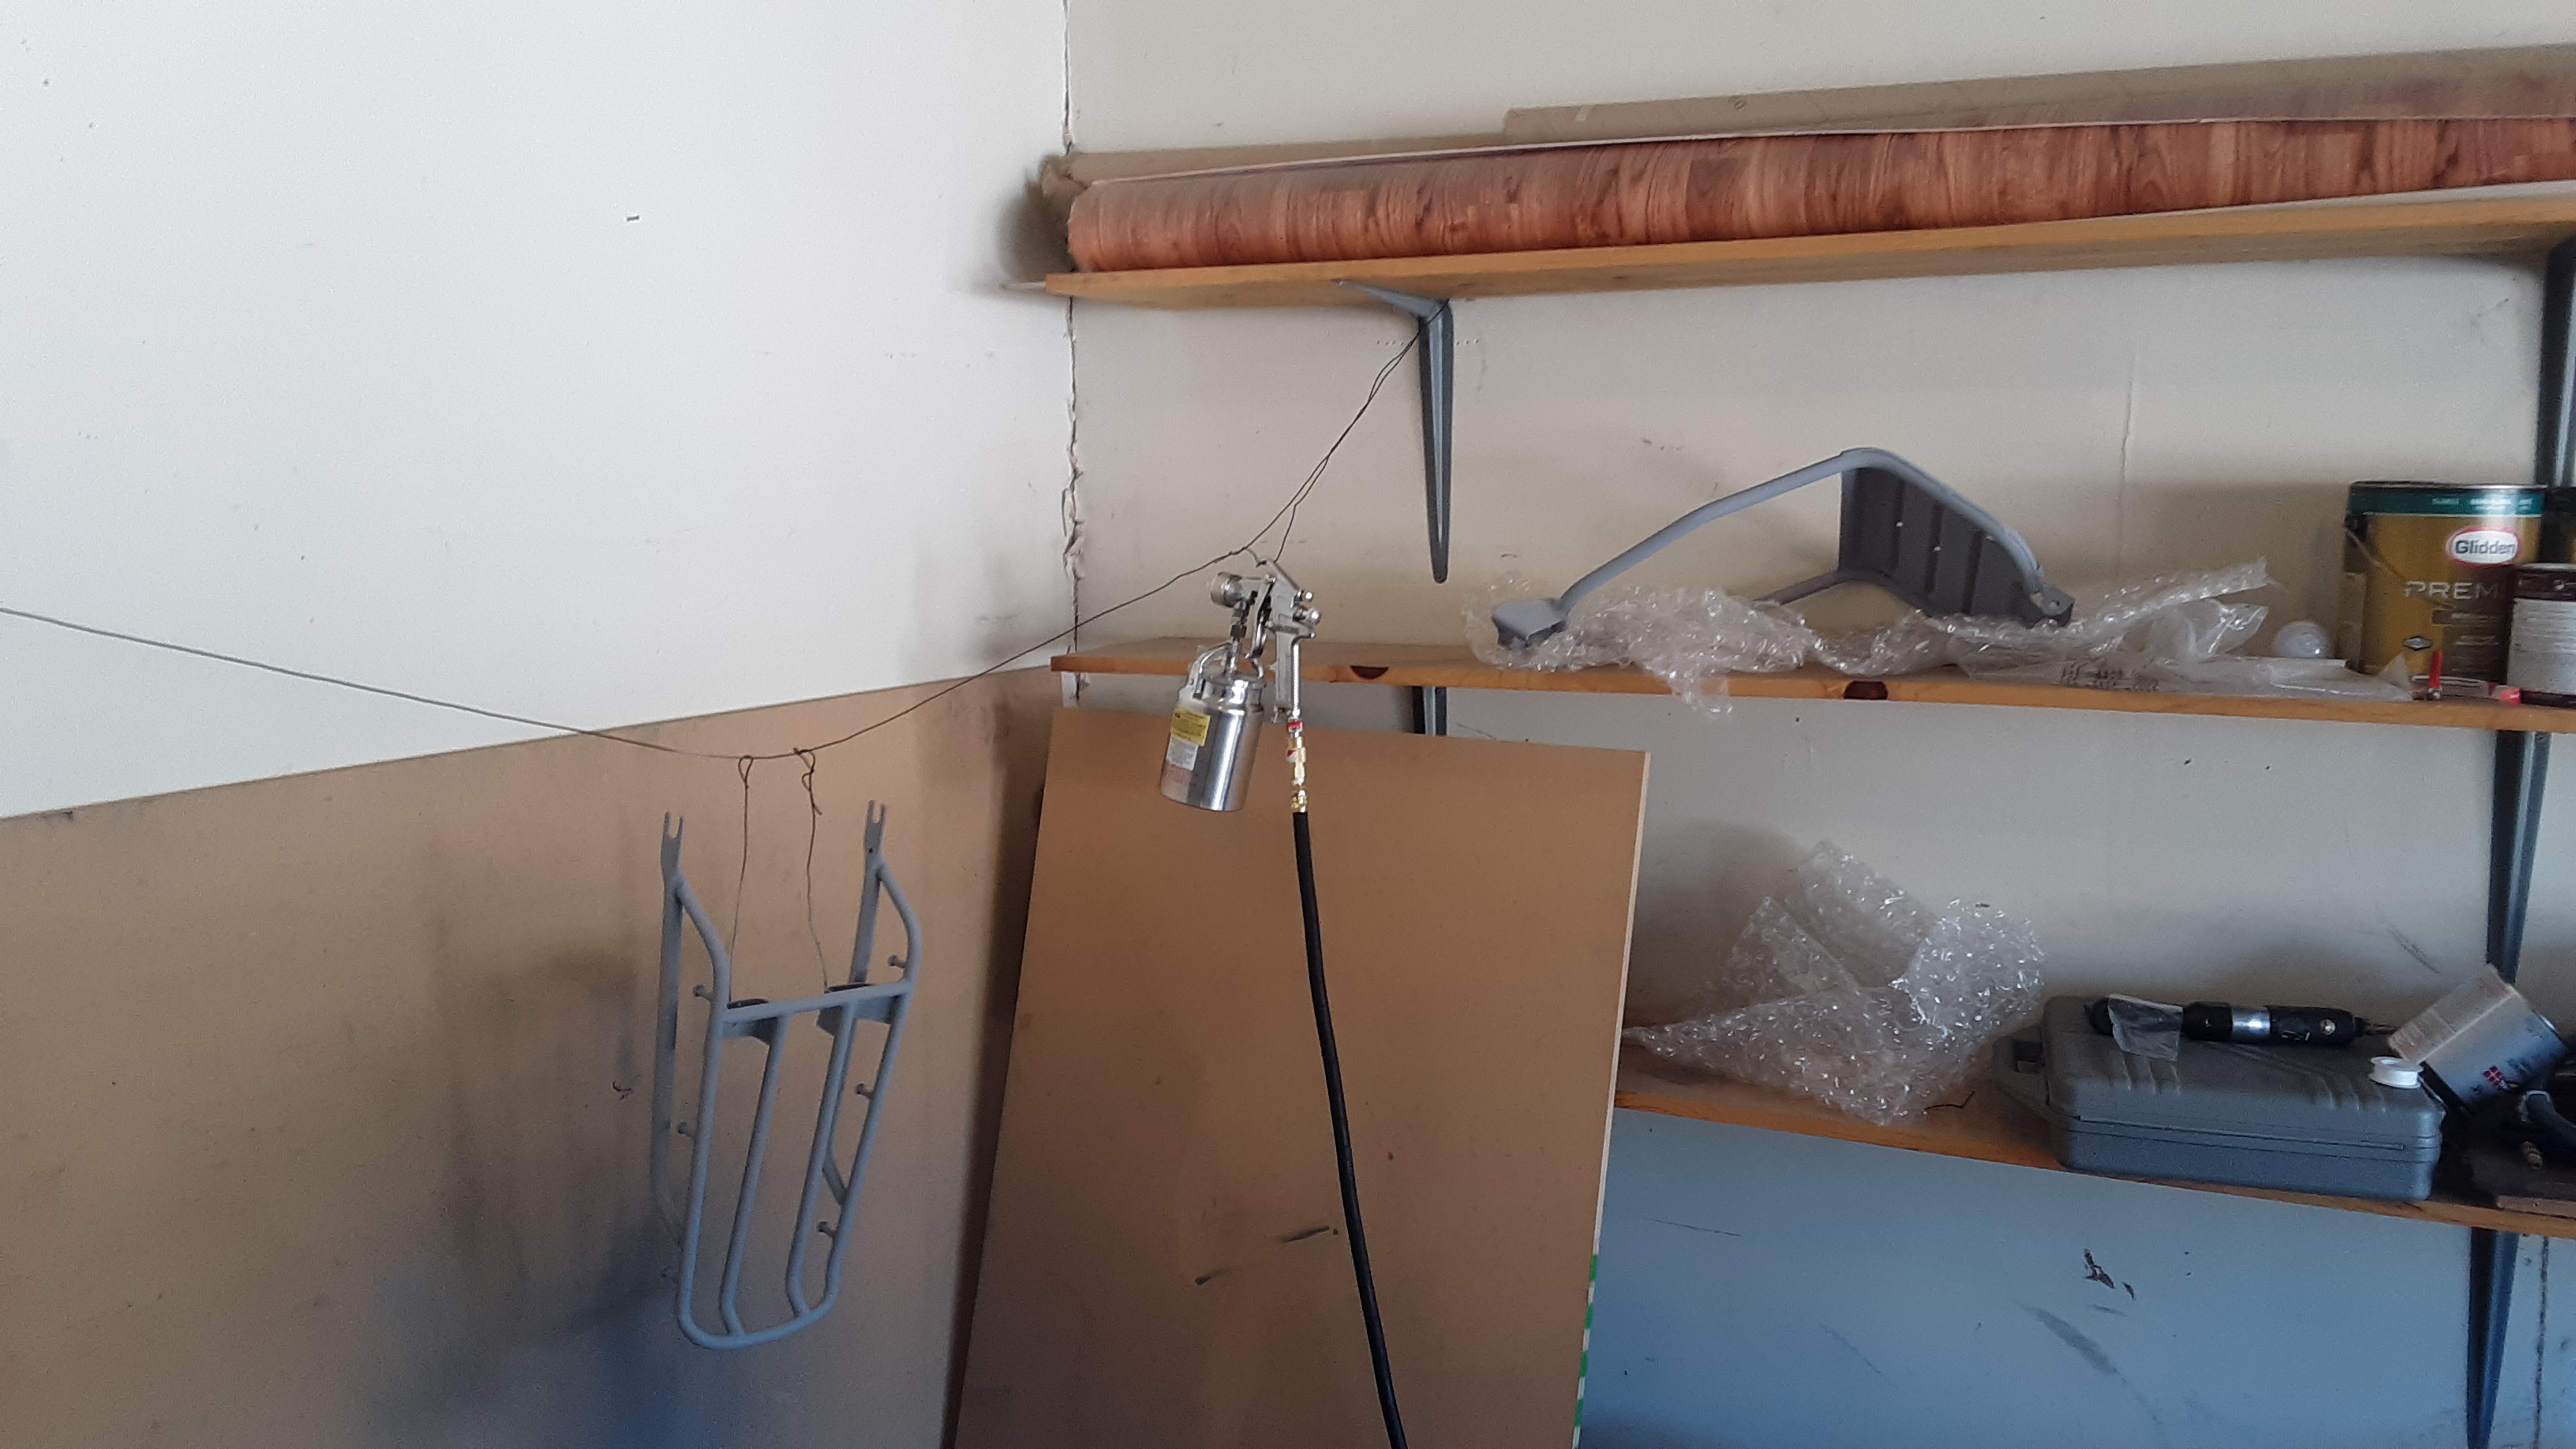
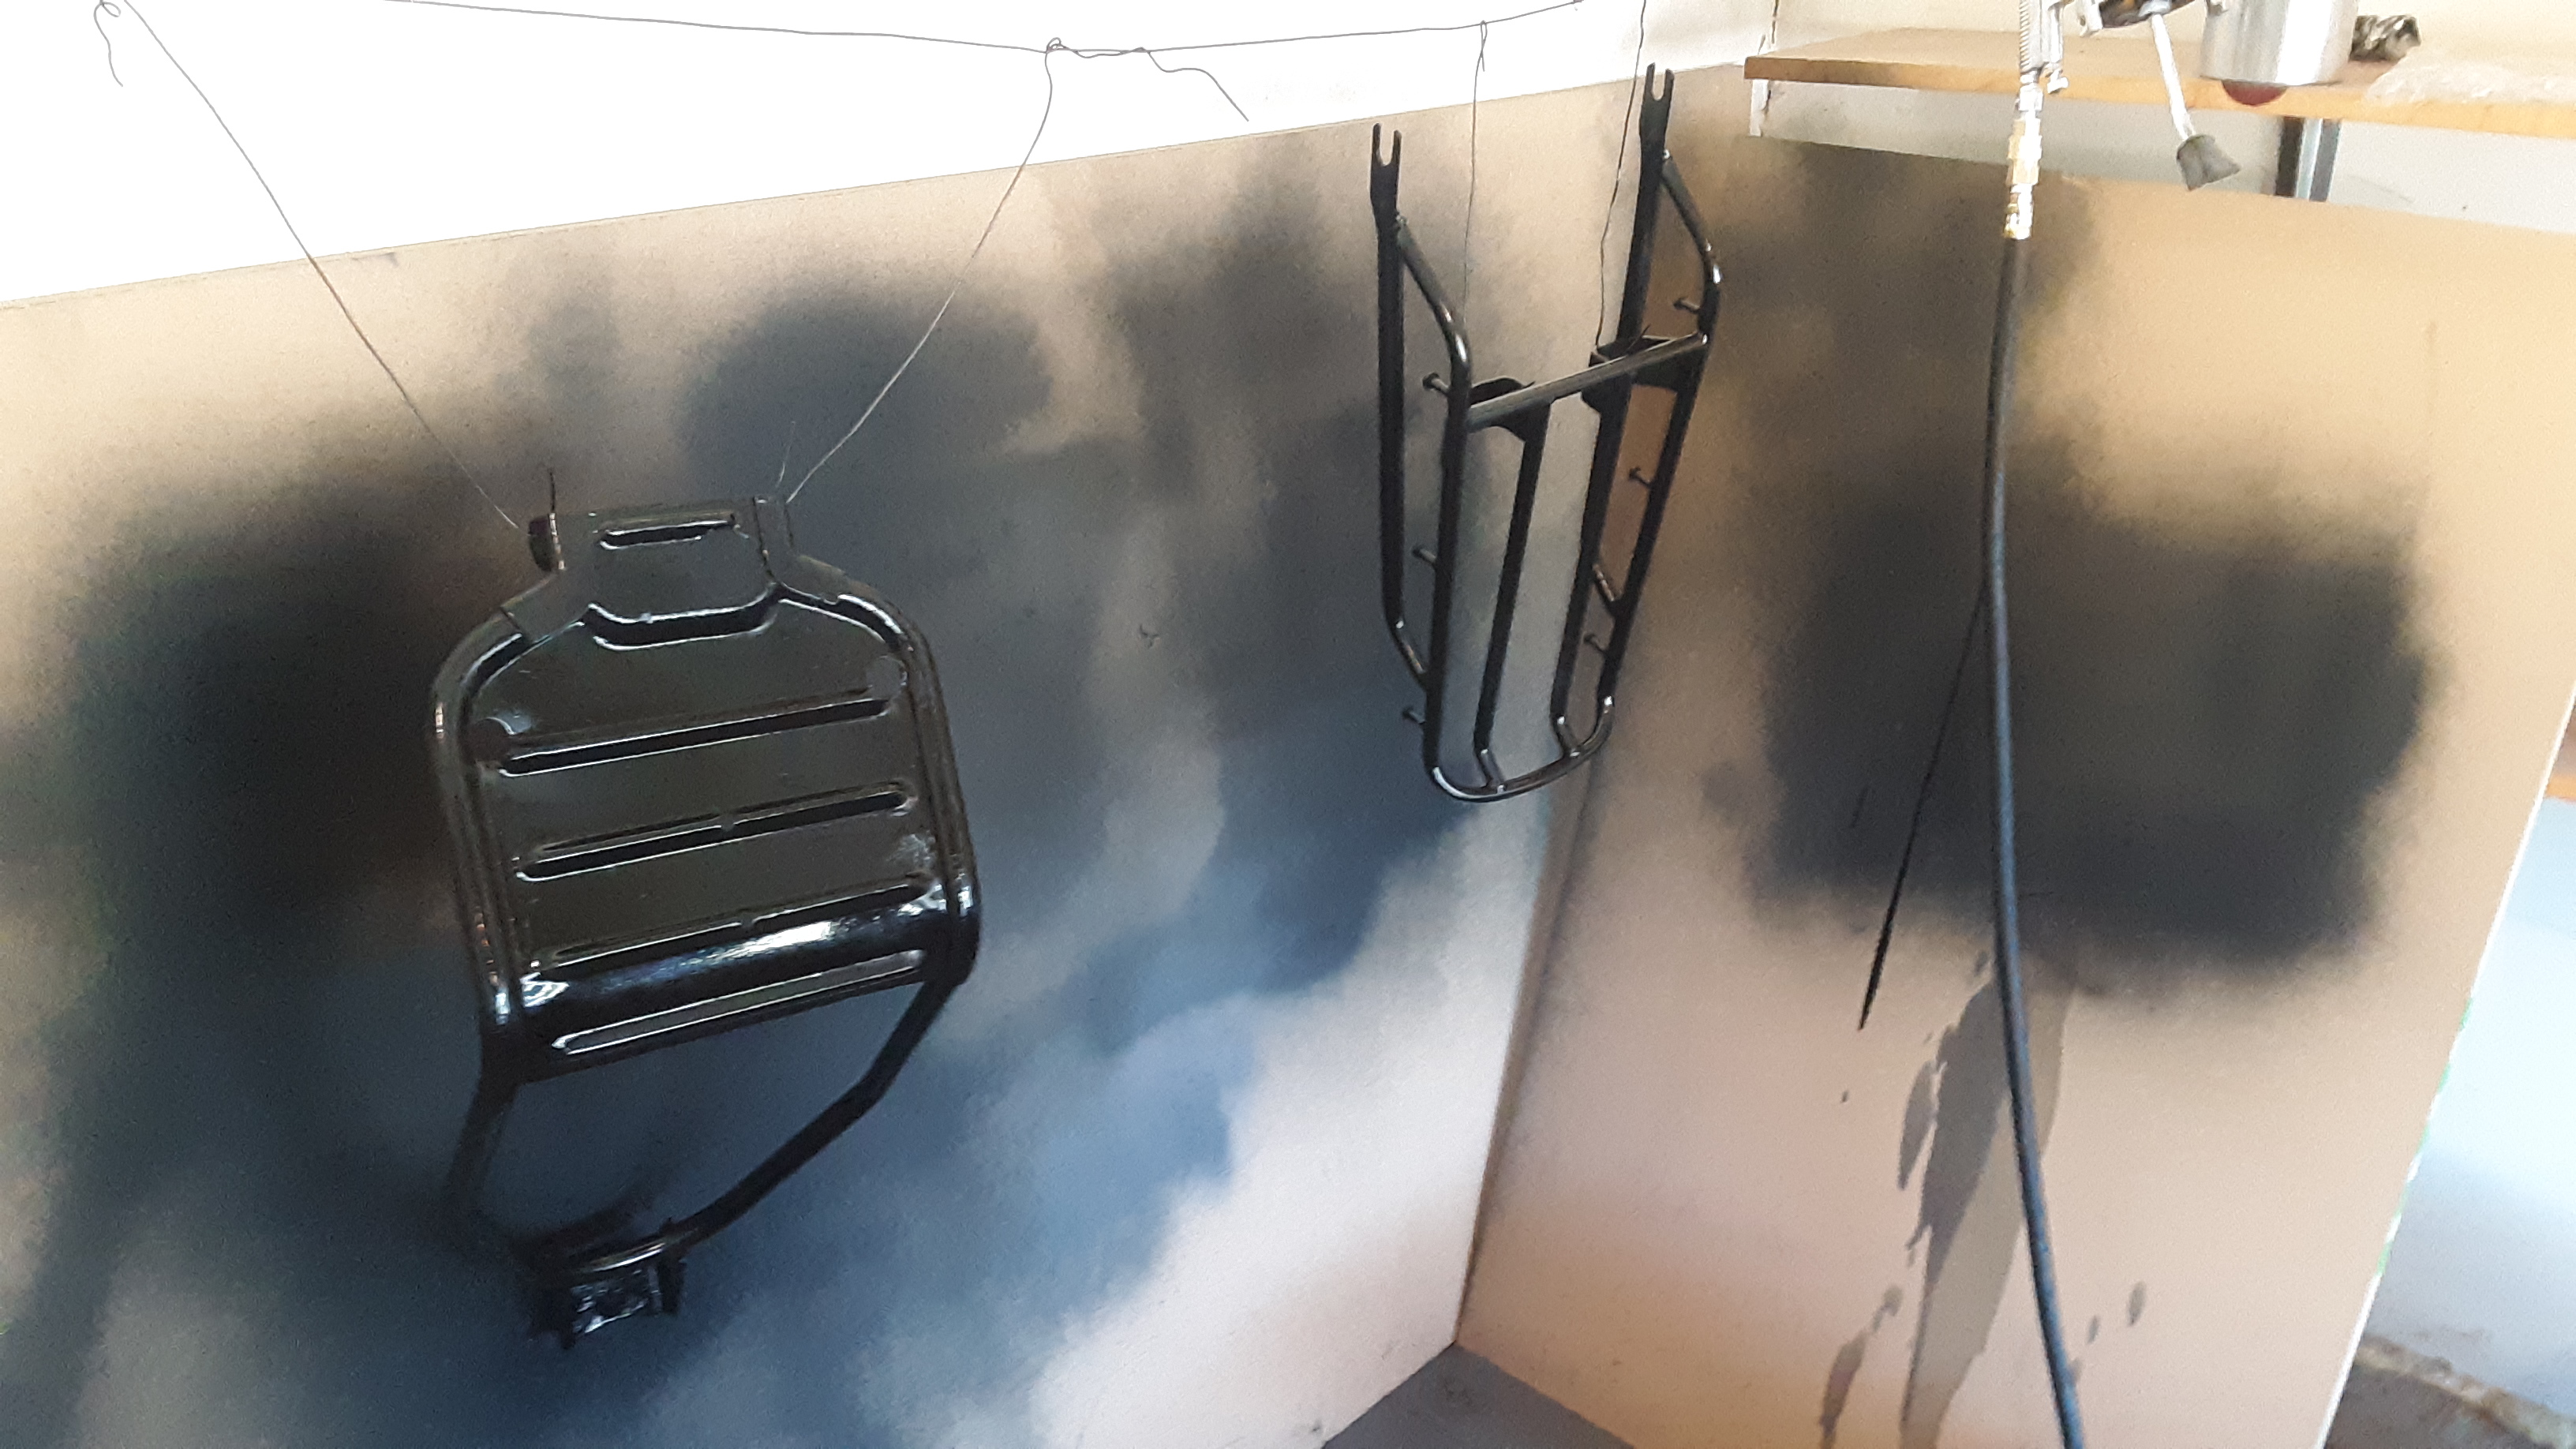
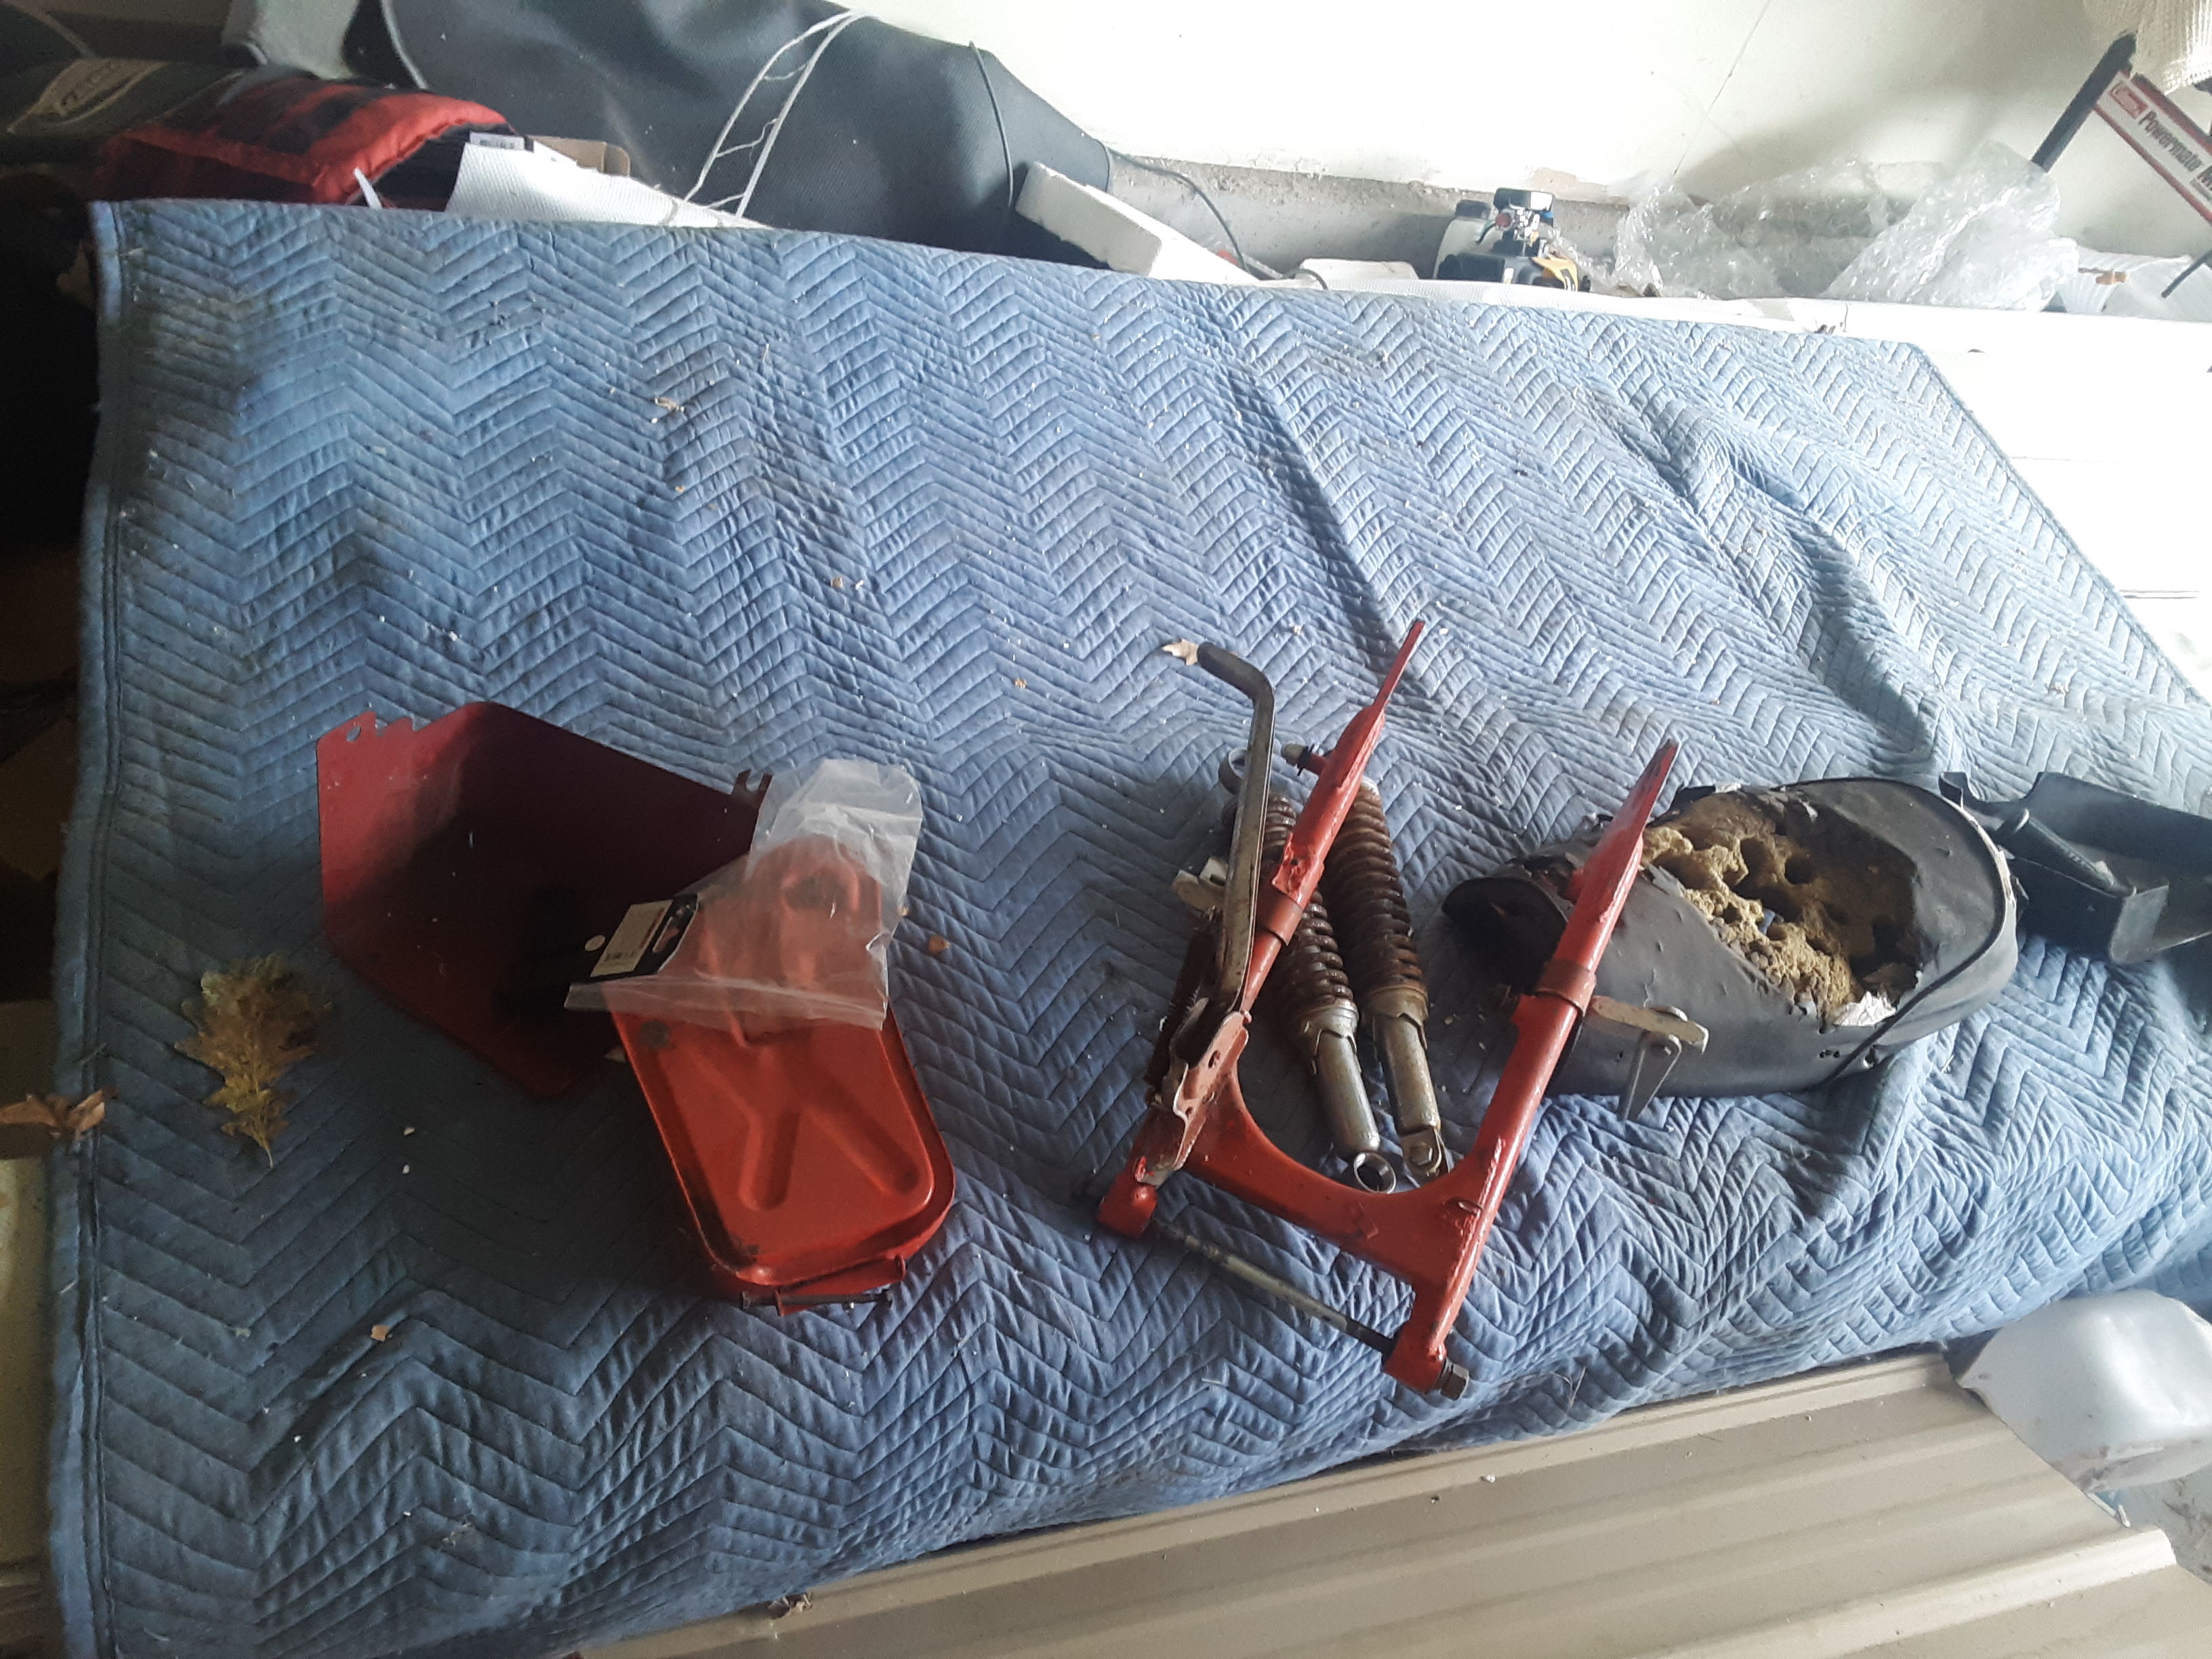
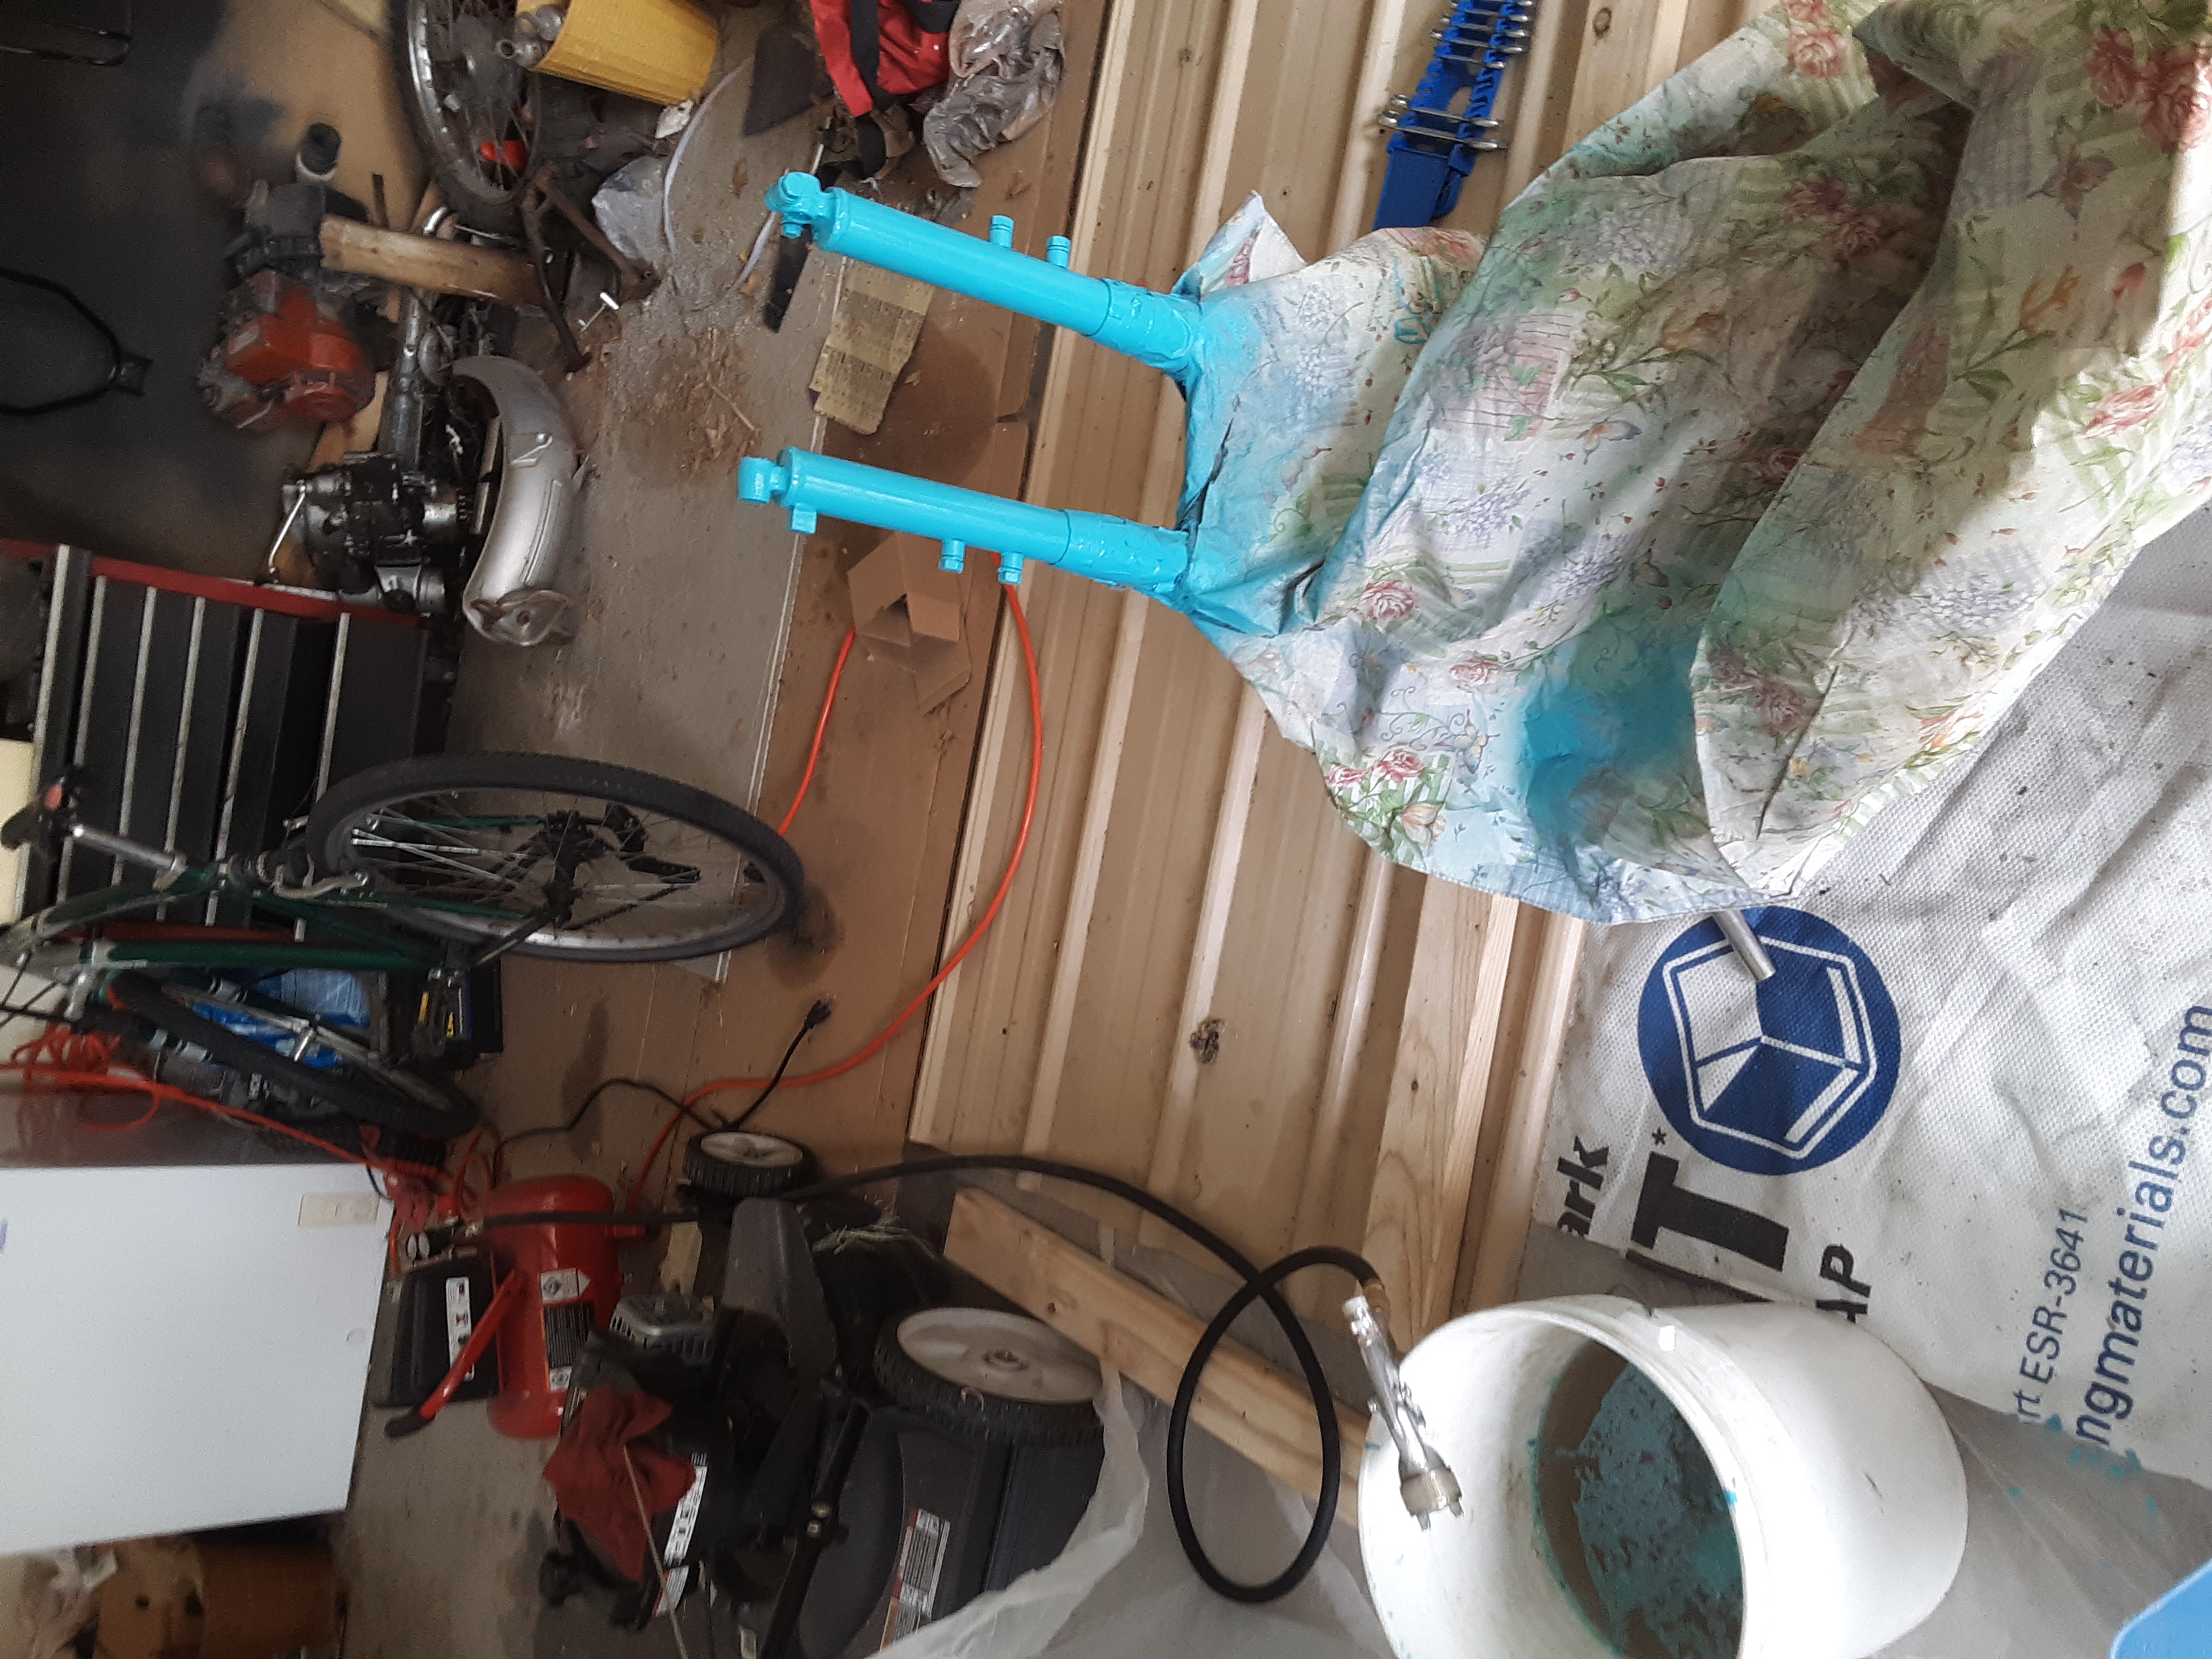
So far, I have taken the entire bike apart and painted some of the components in enamel. This is the first step for me as I can only really paint them in the summer. I can work on the batteries and the other design parts any time of the year. One of the things that I already did was re-upholser the seat, I got new foam and leather formed juuuust right.

To-Do List

Here's a long list of things that still need to be done on this:

  1. Enamel paint the rest of the body
  2. Set up brakes on the rear wheel(electric motor)
  3. Reverse engineer/alter the battery packs
  4. Design battery pack holding rack
  5. Create wiring diagram
  6. Set up support electronics and key the system
  7. Refurbish the Front brakes
  8. Cry from my poor decisions
Image
Image
Image
Image
Image
Image
Image
Image
Image
Image
Image
Image
Image
Image
Image
Image
Image
Image
Image
Image